Ease a sleeve, haha! I just love how that sounds.

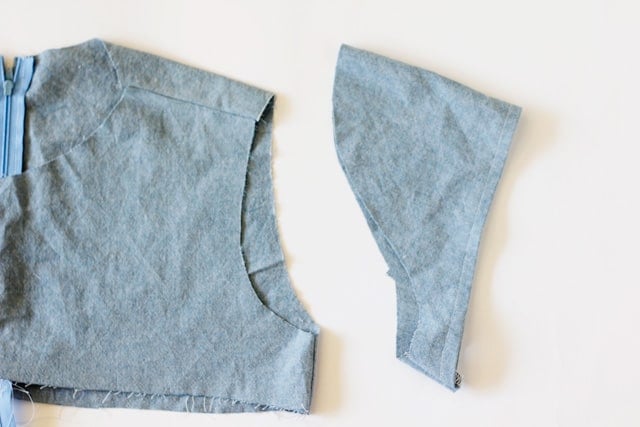
I have some new patterns coming out soon (^^sneak peek alert!) and some require sleeve easing…it’s always been one of the trickier techniques for me to get right and my testers found it challenging also. So today I wanted to go over how to how to ease a sleeve into an armscye. It’s easier than you might think and once you learn, you’ll be set for more advanced sewing!
Sleeves have lots of built in ease for wear. Just think of all the movements your arms can do, you can stretch, wave, clap, dance, jump (and flail your arms), etc, etc. So many movements that require fabric to stretch and move. So sleeve caps have a really high curve full of extra ease. If you just sew the sleeve underarm seam and try to pin it to your armscye you’ll have a really big problem. Why? Because that extra ease means extra fabric. We have to prep it first so we can ease it in.
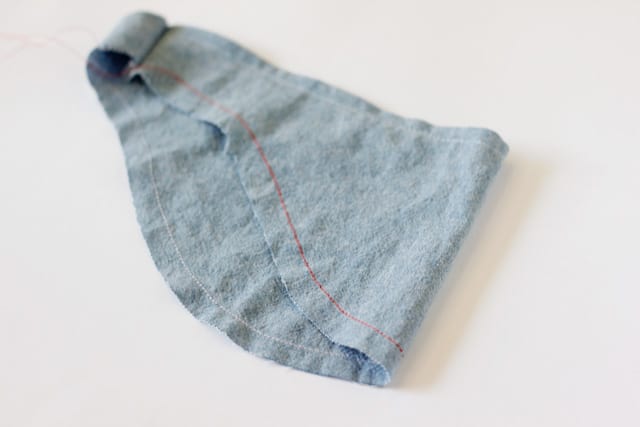
The first thing you’ll do is ease stitch the top of the sleeve cap right at 3/8″, or your pattern’s seam allowance. We need to tighten the fabric right where we are going to sew it so we can avoid tucks and gathers that don’t look pretty.
Ease stitching is not longer or shorter than normal stitching you use to sew seams. It is the same stitch length.
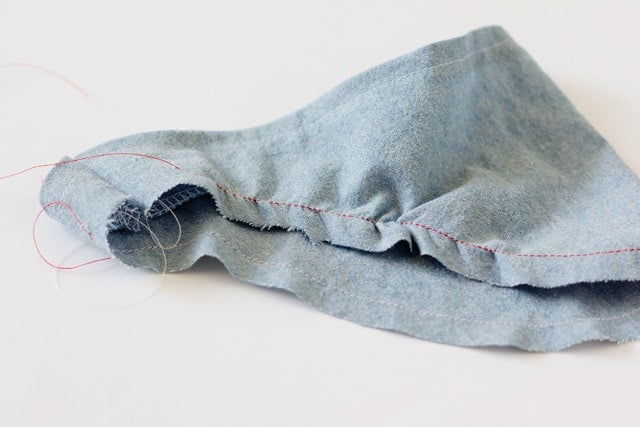
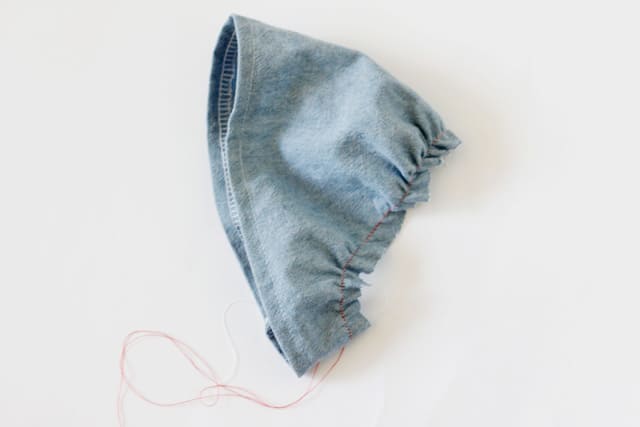
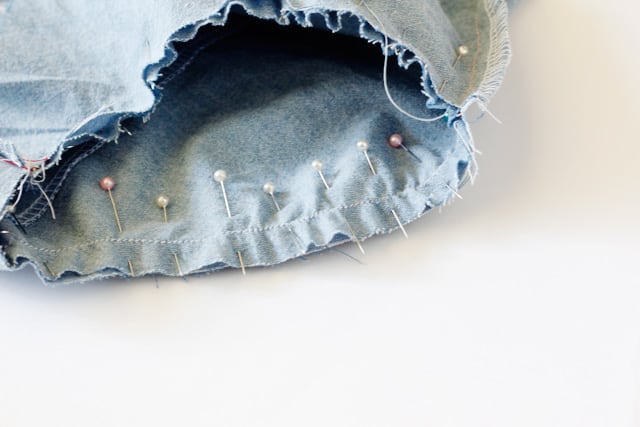
Now pull your threads and redistribute the fabric. This will remind you of gathering fabric with basting threads but the fabric will remain taut and shouldn’t bunch up like gathers. This part could take a while, so sit back and take it slow.

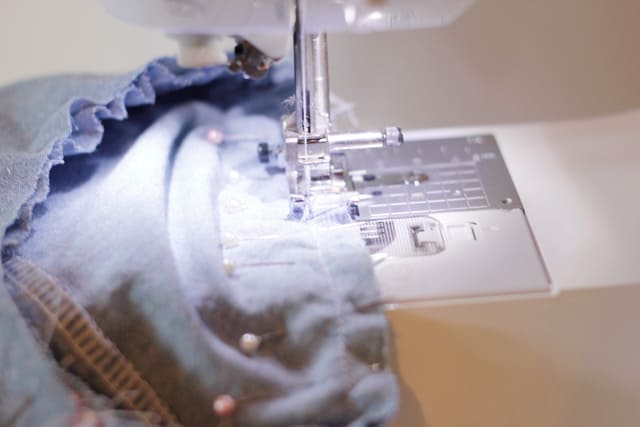
Once you’ve done that you can pin it into your armscye. Make sure the fabric is flat where the seam will go. Then sew along the ease stitching. Watch for tucks and gathers and smooth the sleeve as you sew.
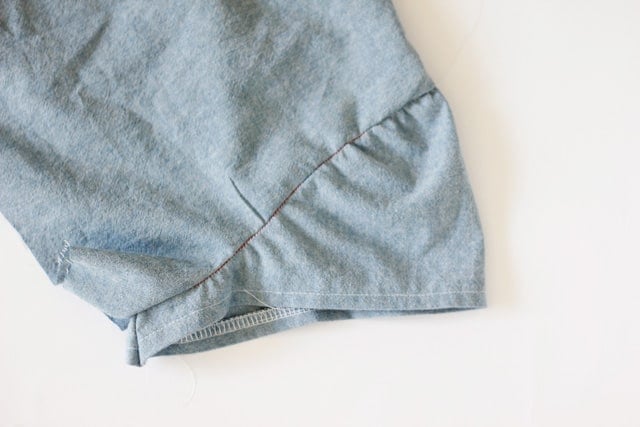
When you’re done, remove the ease stitching and look for tucks that you may have to unpick and re-sew. Then give it a good press and you’re done! Not that bad, right?
Cheater method: If you’re just ready to give up, you can use my quick cheater method. Use a longer stitch length and slightly gather the fabric. You really don’t want to gather the top of the sleeve unless the pattern calls for it, but a longer stitch length will make it easier to bunch the fabric up. I don’t endorse this method as you will usually end up with lots of tucks that need to be fixed. If your fabric is a little heavier though, it might be the only way to do this without breaking your thread a whole bunch.
That’s it! Check out more sewing 101 tutorials here…
and stay tuned for more patterns soon!





Great tutorial!!! I’ve got a Craft Gossip post scheduled for later this morning that links to your tutorial:
http://sewing.craftgossip.com/tutorial-easing-in-a-sleeve-cap/2014/05/16/
–Anne
Really nice tutorial, thanks!
I will try it soon.
I’ve always struggled sewing sleeves so I have to try this technic.
Thank you so much for the great tutorial!
I was always taught to sew two lines a quarter inch away from each other only from notches then gather to fit and sew between lines. Much easier and smoother fit.
i like this website