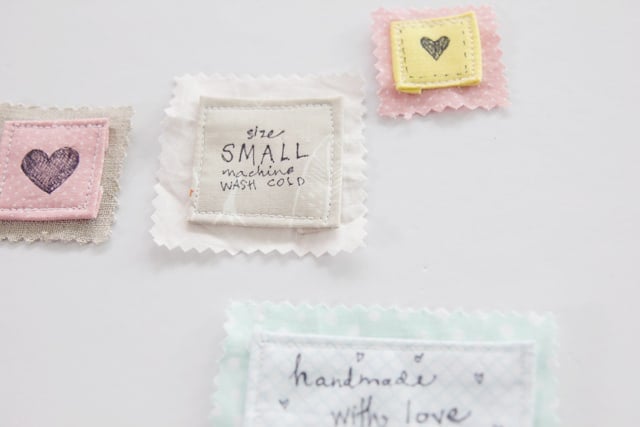
Today I am 4 ways to make your own clothing labels. Clothing labels add such a special touch to handmade items! I love them because they are really cute and make a project looked more “finished” or store-bought.
They are perfect for branding your items or just adding a finish to a gift.
And there are lots of great ways to make them yourself, I have FOUR favorites.
All four of my DIY sewing label tutorials are washable and inexpensive to make! There are 4 different ways to make them for 4 unique looks to fit any sewing project. I’m excited to slap some screenprinted “HANDMADE” labels on quilts and the smaller ones in clothing and on accessories.
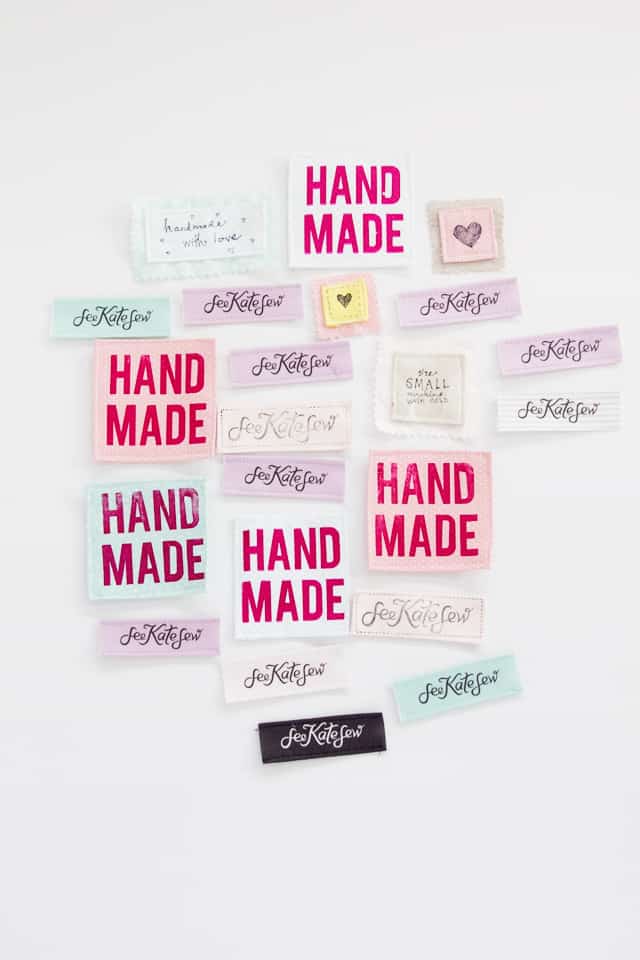
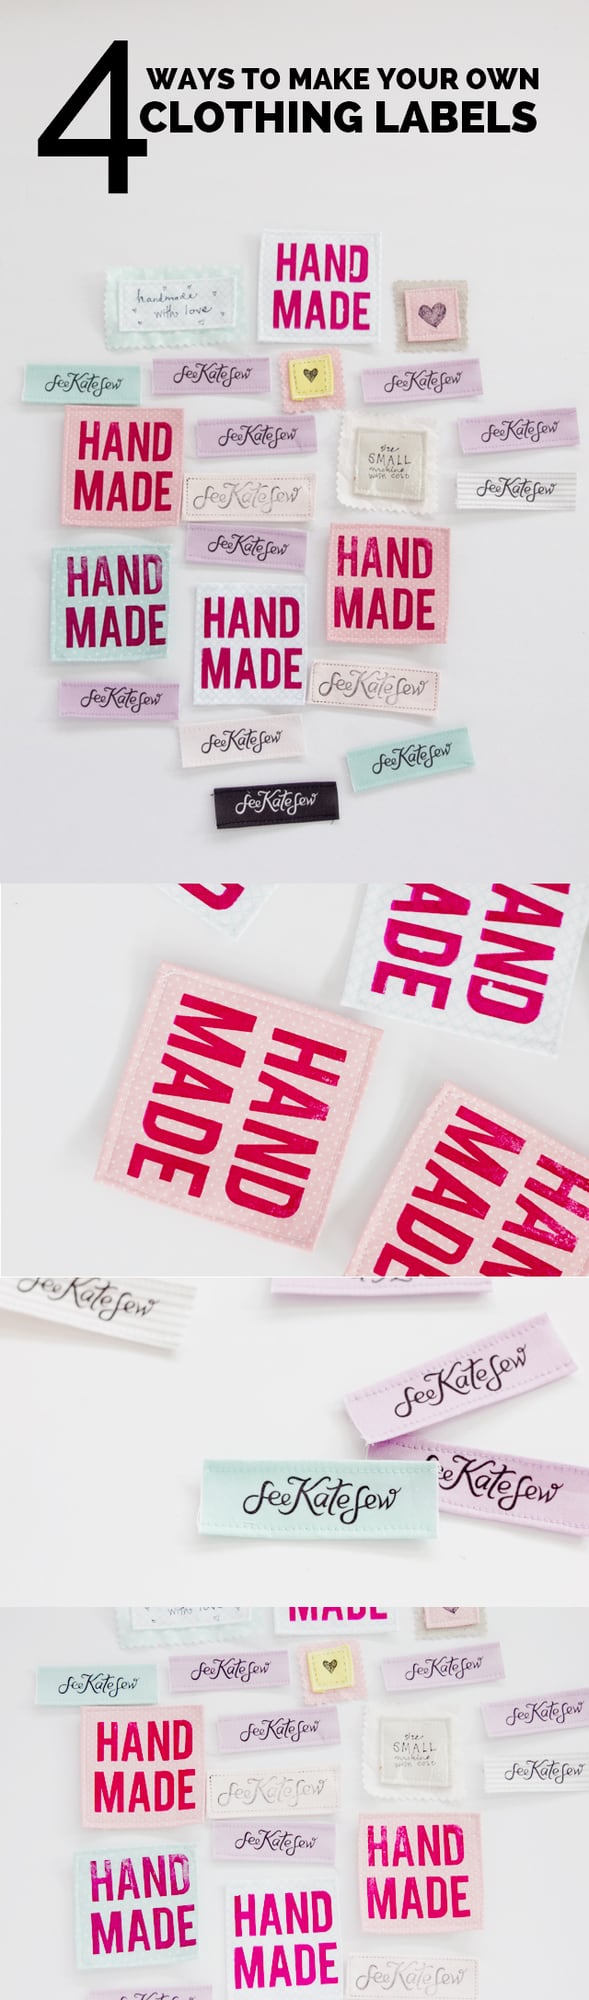
4 Ways to Make Your own Clothing Labels
Here are my FOUR ways to make your own clothing labels:
- Printed Labels
- Custom Stamped Labels
- Screenprinted Labels
- Fabric Pen Labels

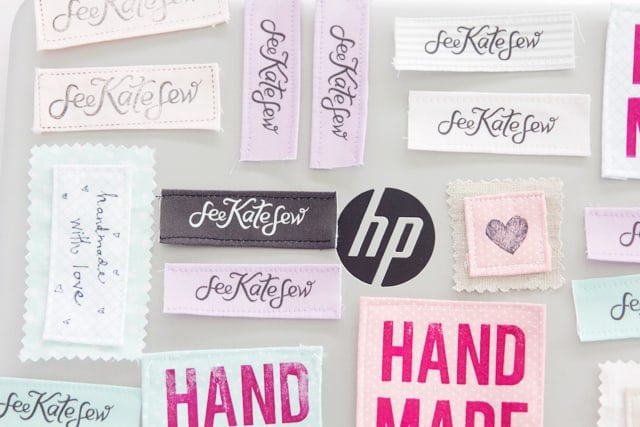
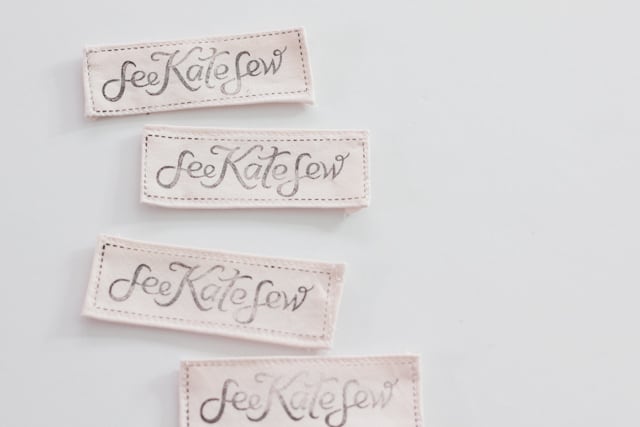
1. Fabric printed clothing labels
I shared my label secret a few years back in this post. I finally printed some updated ones and I have some more tips to share to get these perfect. This method is simple: design your logo or design on a computer and either print it yourself or have a fabric printing company do it.

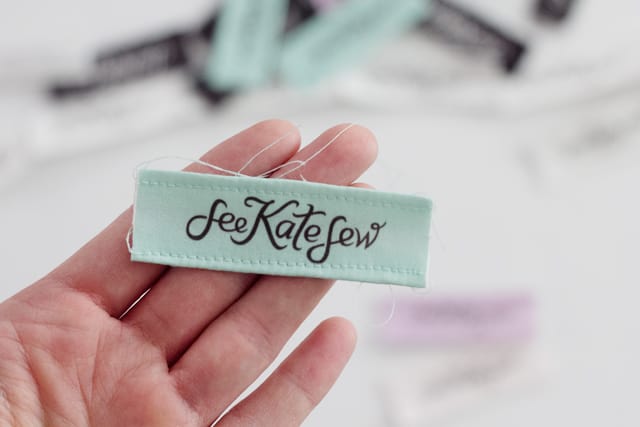
- Design labels in Photoshop, Picmonkey or other design software
- Upload design to Spoonflower, or another fabric printing service and have it printed
- (You can print from home, too with photo fabric paper, however the designs won’t be washable.)
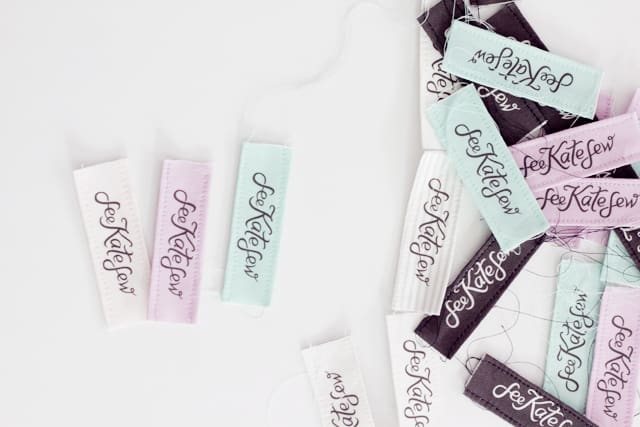
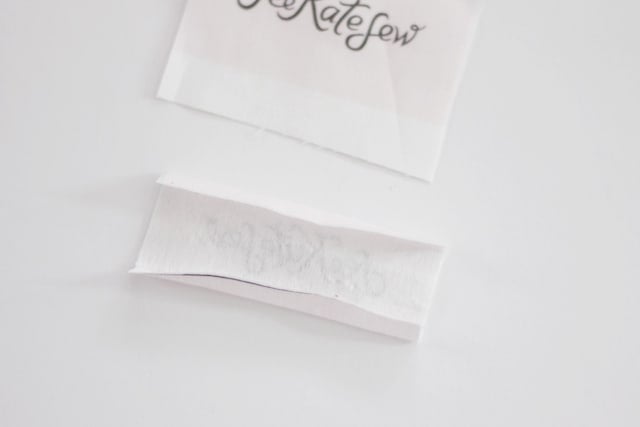
- Cut along edges of labels and press under top and bottom 1/4″
- Press fusible interfacing to the back
- Stitch along top and bottom about 1/8″ from edge of label
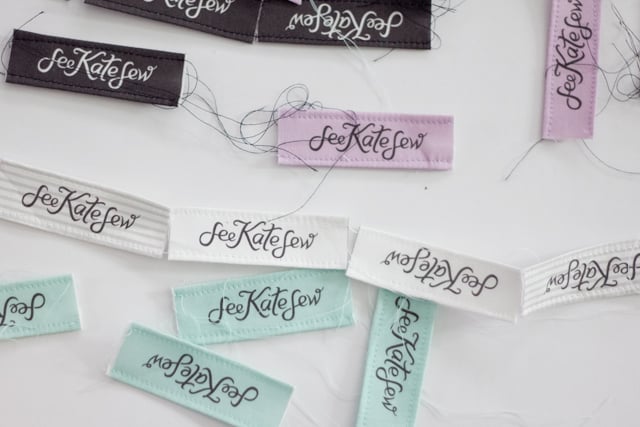
- You can do multiple at once by sewing them onto a chain and then clipping the threads later.
- Press sides under 1/4″
- When you are ready to sew the label onto a project pin sides to project and stitch along each side edge. Backstitch at start and stop.
Tips
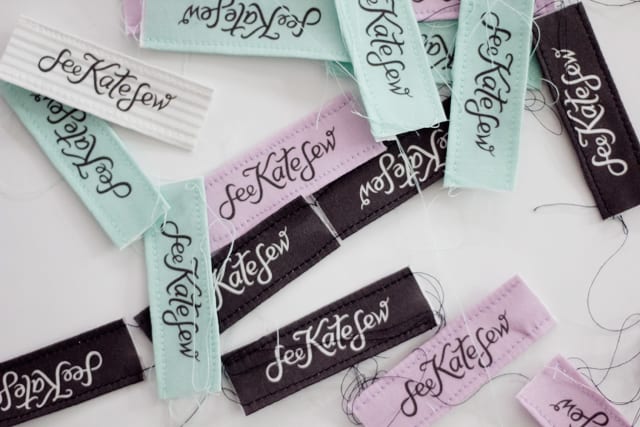
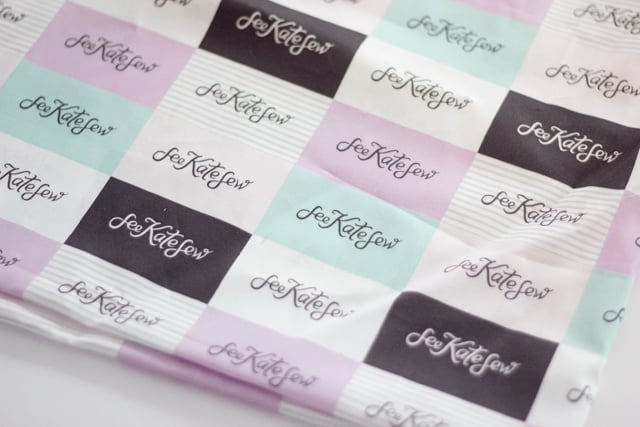
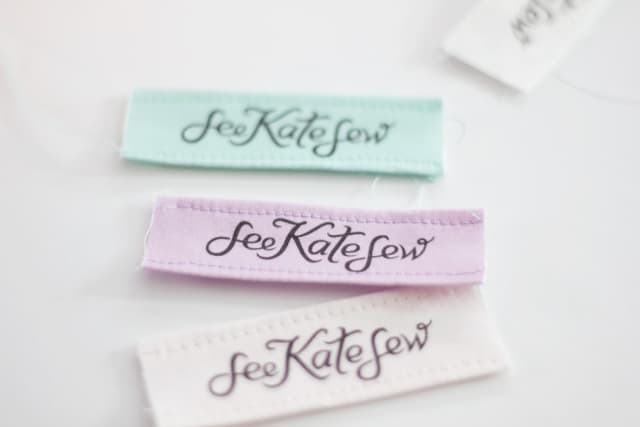
- My labels measure 1.75″ tall by 3″ wide and I made a design with 6 colors.
- One yard of fabric will get you about 300 labels when printed at this size.
- Here is what my file looked like for these:
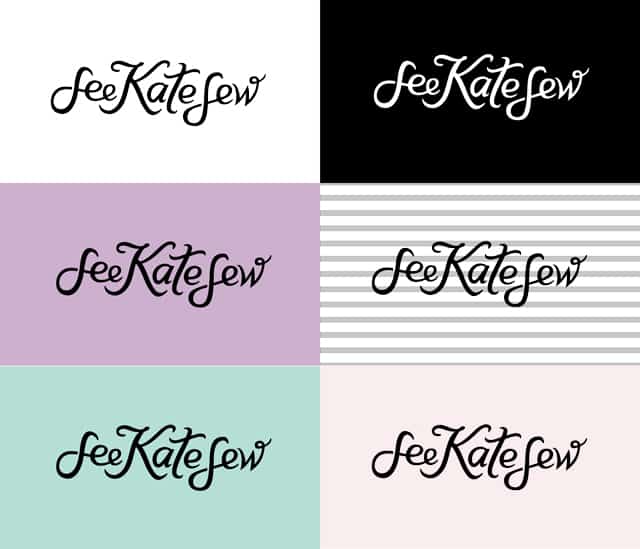
And printed with a basic repeat on basic combed cotton:
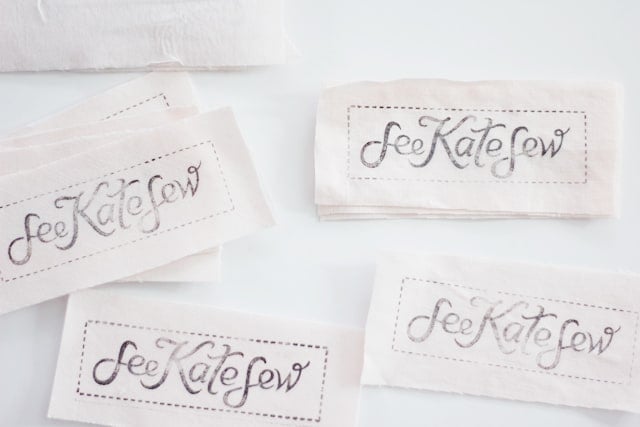
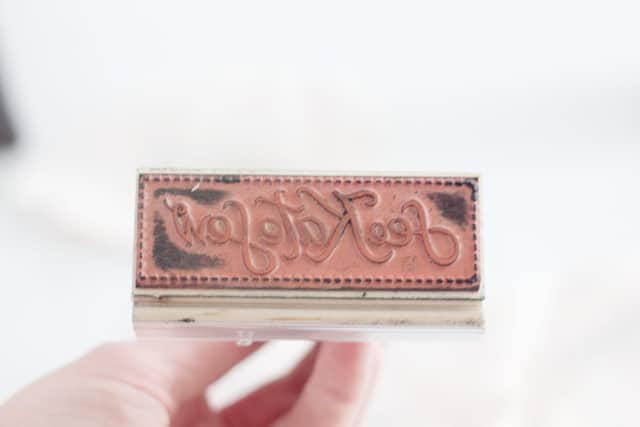
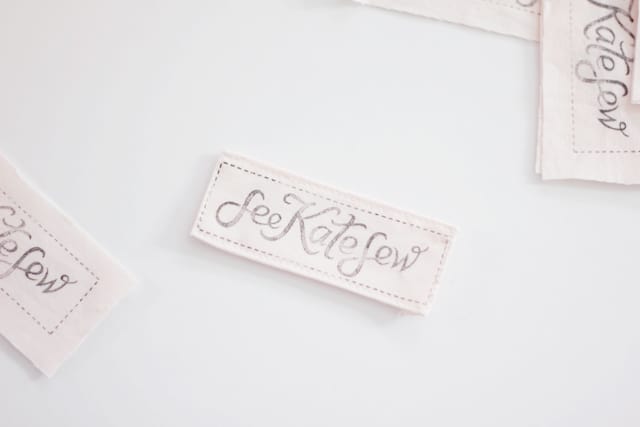
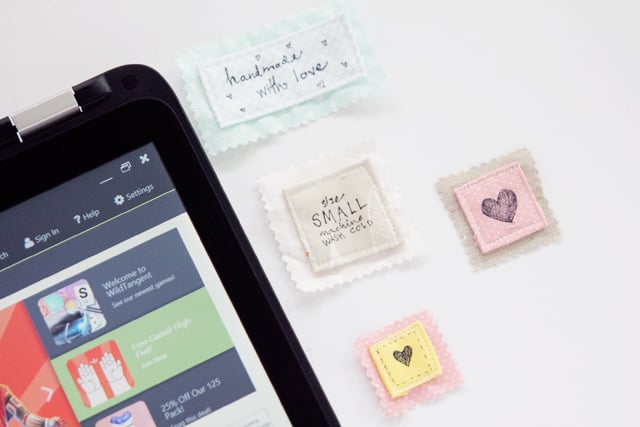
2. Custom stamped clothing labels
My newest toy is a custom stamp with my logo on it! It’s just a rubber stamp that I ordered from a seller on etsy. I uploaded a design and had them make it. However, you can also use letter stamps to stamp out words and phrases, or use a store-bought stamp with a picture or graphic on it, like a heart or cute phrase.
You need special ink for this, fabric ink. I use something similar to this product. It is washable and I’ve had the same bottle for over 6 years now and it’s still good! I don’t use it super often, but it lasts. The fun thing about stamps like this is that you can stamp directly on your project or even make “fabric” with your stamp and fabric ink!

Instructions:
- Stamp scraps of fabric with logo design
- Trim edges leaving an extra 1/4″ or more around your design
- Fuse lightweight interfacing to the back
- Fold all edges under 1/4″ and press well
- When you’re ready to use, pin and sew to your finished project!

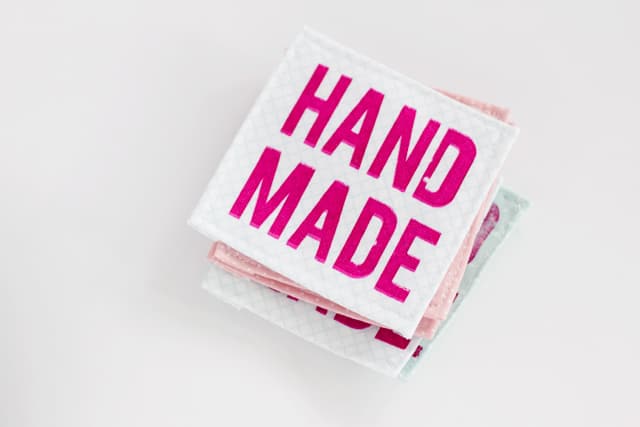
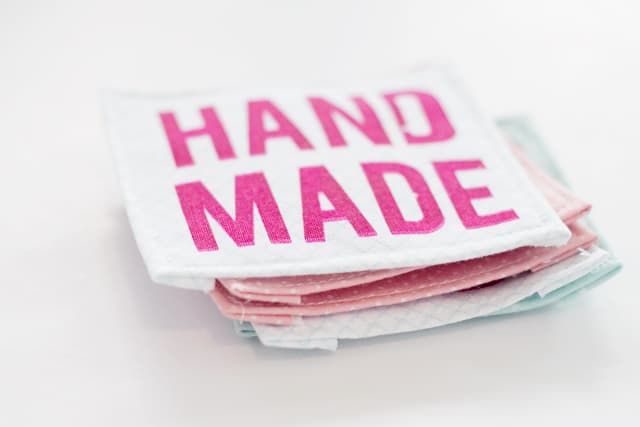
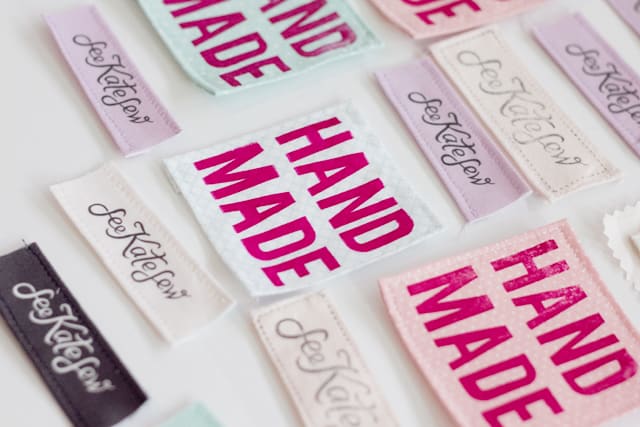
3. Silkscreened labels
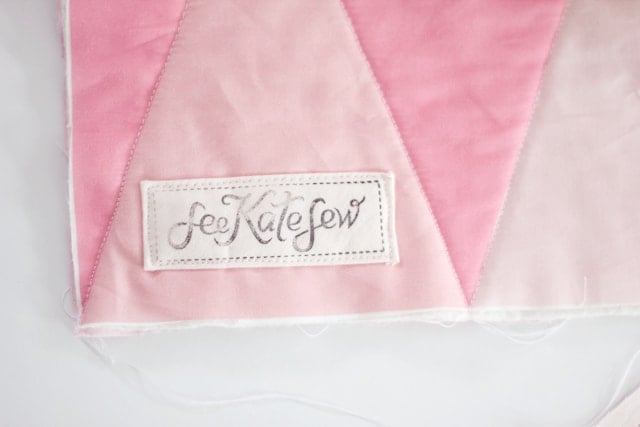
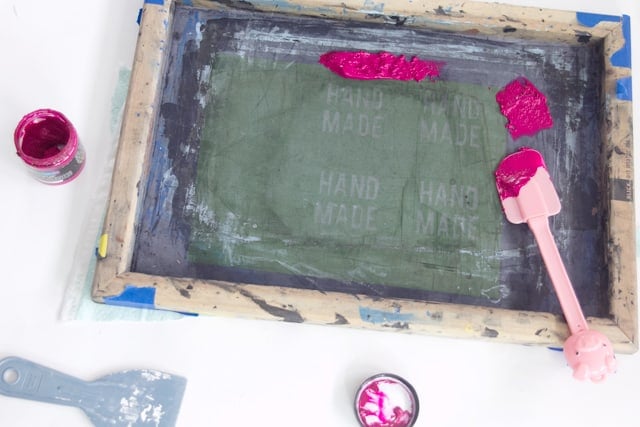
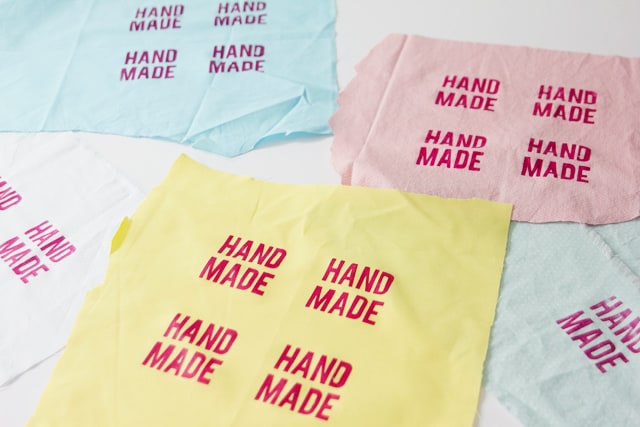
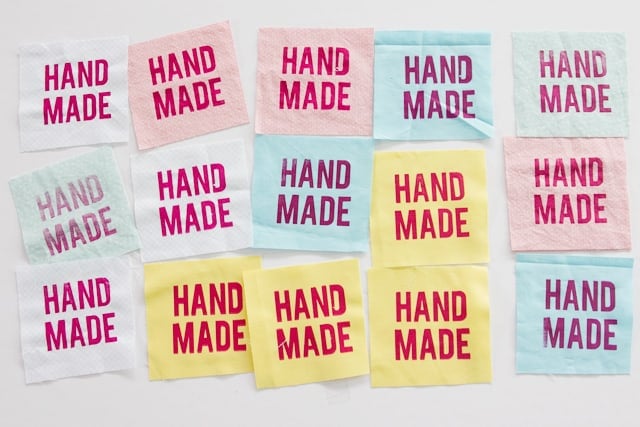
I’ve always loved screenprinting and I have shared some of my printed projects before. I had never printed labels though, and I’m not sure why! I love these! I just used things I had on hand: bright pink ink and fabric scraps and the result is a very handmade looking label!
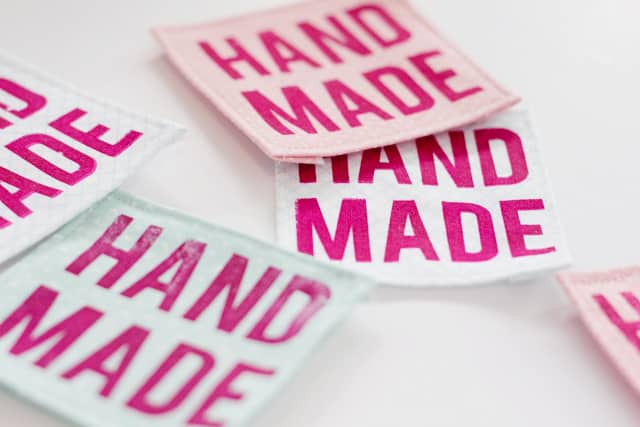
Screenprinting is great because when your screen gets old and kinda dirty from old ink, it leaves imperfections that cannot be replicated any other way. Each label turned out slightly different from the others.
You’ll need a few supplies for this: a screen, ink, a squeege and vinyl or tape. Here is a great starter kit for under $50.
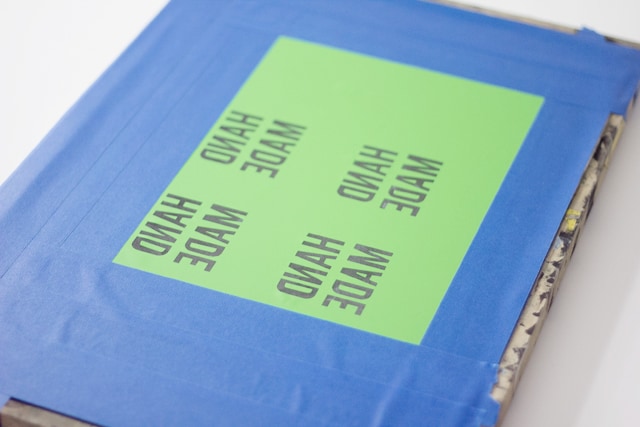
- To screenprint labels, cut your design out on a vinyl sheet using an electronic cutter or small craft blade
- I recommend cutting out a few to each sheet so you get more labels each time you screen. I cut 4 for these.
- Attach to a silkscreen and fill in all the gaps with masking tape
- Screen ink through the screen and print as many labels as you want!
- The ink must be heat set, you can do that as you iron the interfacing to the back of the label.
- For a more in-depth tutorial on screenprinting click here
- Tips: Cut out words backwards to make sure they show up correctly when you screen the ink through

My design here is about 3″ by 3″ so these are nice big labels that I plan to use on quilts.
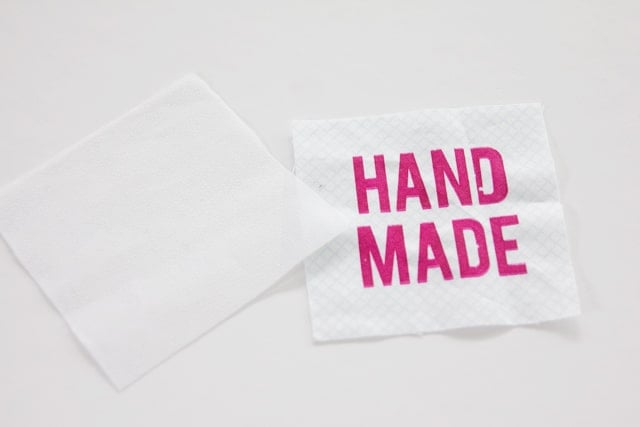
Screen the ink through the screen and onto your fabric!
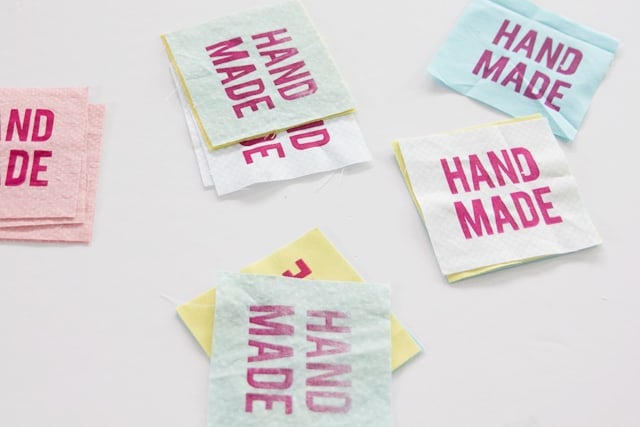
Cut out labels and fuse interfacing to the back.
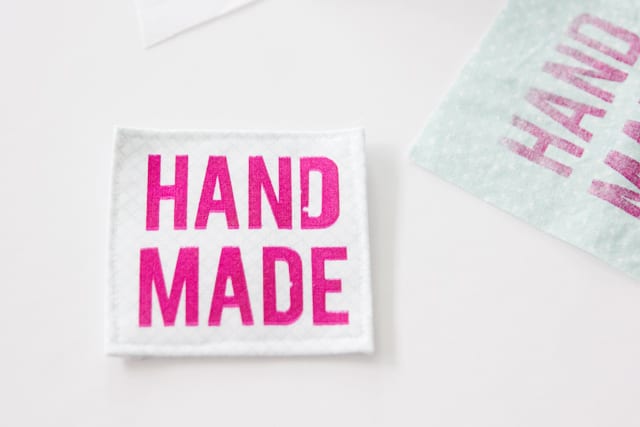
Fold over edges to give your label a nice border and press.

Stitch around and onto a project!
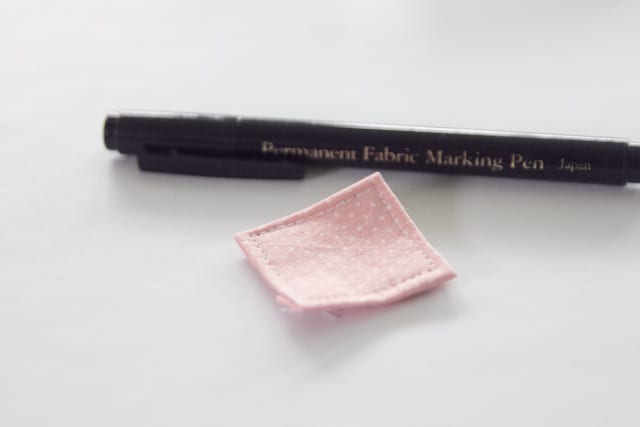
4. Permanent Fabric Pen Labels
These labels use a basic fabric pen found at many craft stores. It’s a permanent wash-safe marker, I use the one made by Dritz! I like the idea of being able to make just ONE label because you can write specific notes to people, add care instructions, etc.
- For these labels, you can write directly on your project or make a little label with scrap fabric and write on that.
- Use interfacing again and fold over all edges at least 1/4″ and press
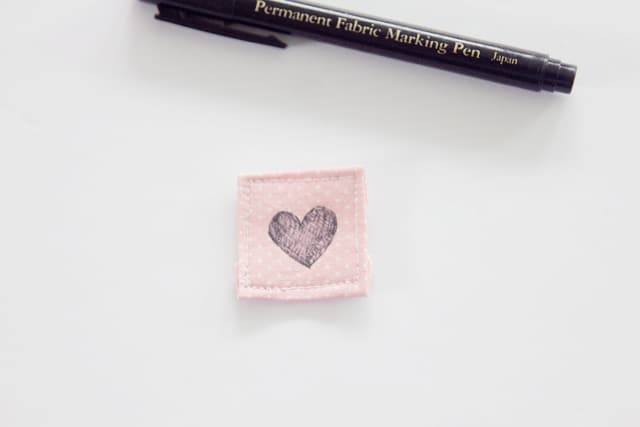
- Sew around the edges
- Add your message, pictures or care instructions
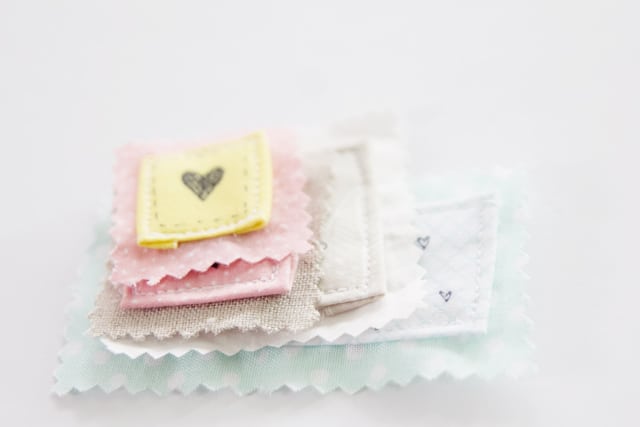
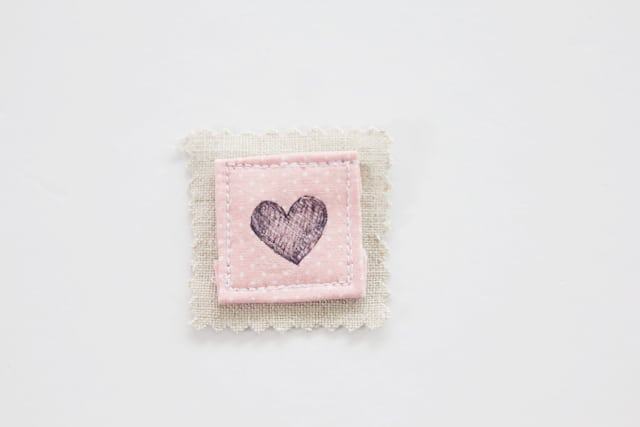
- For these, I sewed the first label onto another scrap of fabric, using pinking shears around the edges, just for an extra pop of color!
And there you go! FOUR ways to make clothing labels. I hope this post inspired you to make your own labels!


What cute labels! I actually used your Spoonflower printed labels tutorial to make my labels, but I’m almost ready to print some more! I did them in black and white last time, but I want to try some colors in my next order! Using the fabric marker to write sizing and washing instruction is brilliant! Totally going to do that :)
I am so impressed! I love homemade labels. My favorite are probably your fabric printed clothing labels, though all of them are pretty cute.
What great ideas! I need to make some things that need labels now so I can make some labels too!
HI!
Lovely ideas, I must try them!
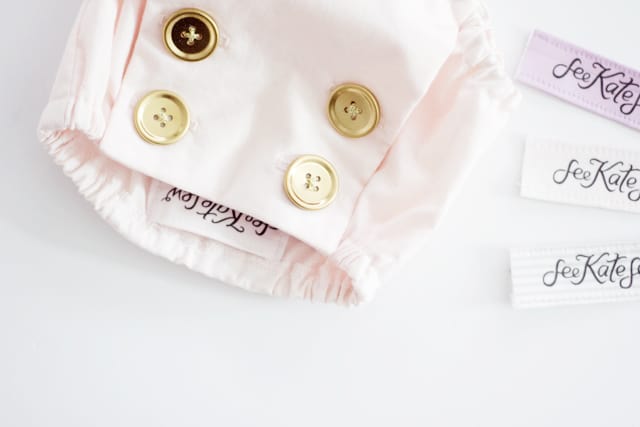
I was wondering about that golden-button pink-ish bloomer/short in the photo at the very end of your first label method (fabric printed clothing labels): is that one of your patterns? If not, could you please tell me where I can find it? It seems a really lovely piece!
Thank you!
Laura
It will be available soon! Thanks Laura!
These are beyond cute and really chic! I love the simplicity of these ideas. I love the stamped ones and the pens!
Very great tips, thanks a lot!
I also want to share another tip: print our labels on transfer paperand then transfer it to theclothing or on a a fabric(sorry for my English, it’s not my native language).
so fun! oh my gosh….I love all these!
I made a homemade address stamp….but I think I need to make a MADE one. It’s just too cute on your quilt. Love it!