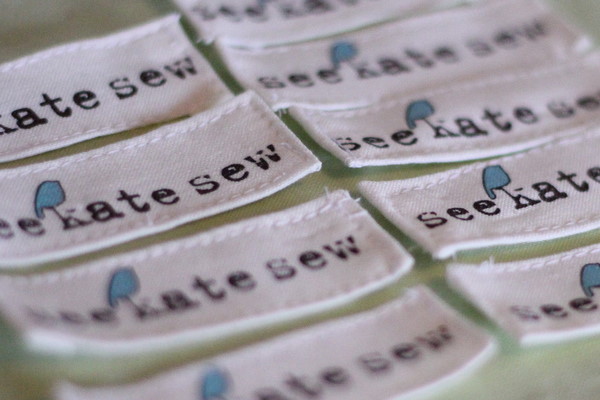
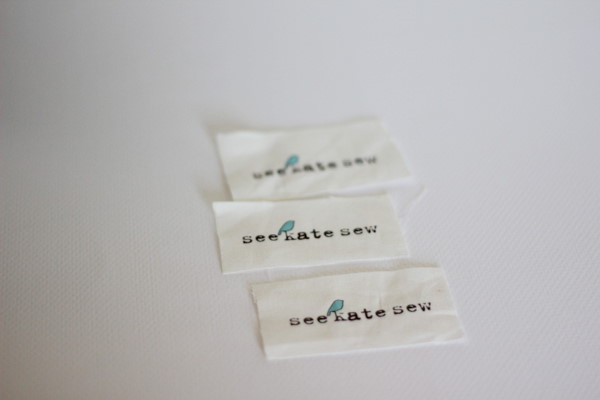
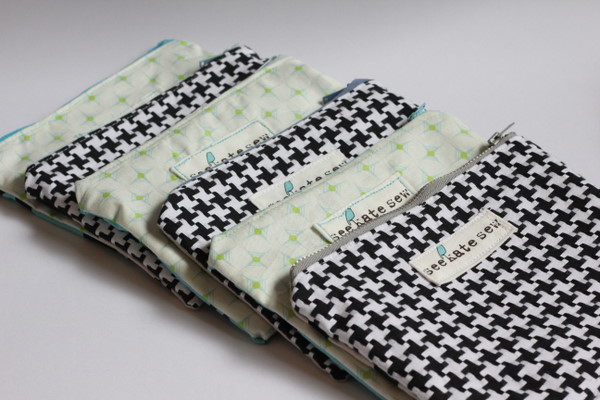
My most frequently asked question is about my clothing labels. Where did you get them? Did you make them?
I did make them. And it was really easy. And the price was right. You can’t beat $20 for this many quality clothing labels and that’s a fact!
I’ve also made lots of promises that I was going to tell you my secret and make a tutorial. It’s only taken a few months :)
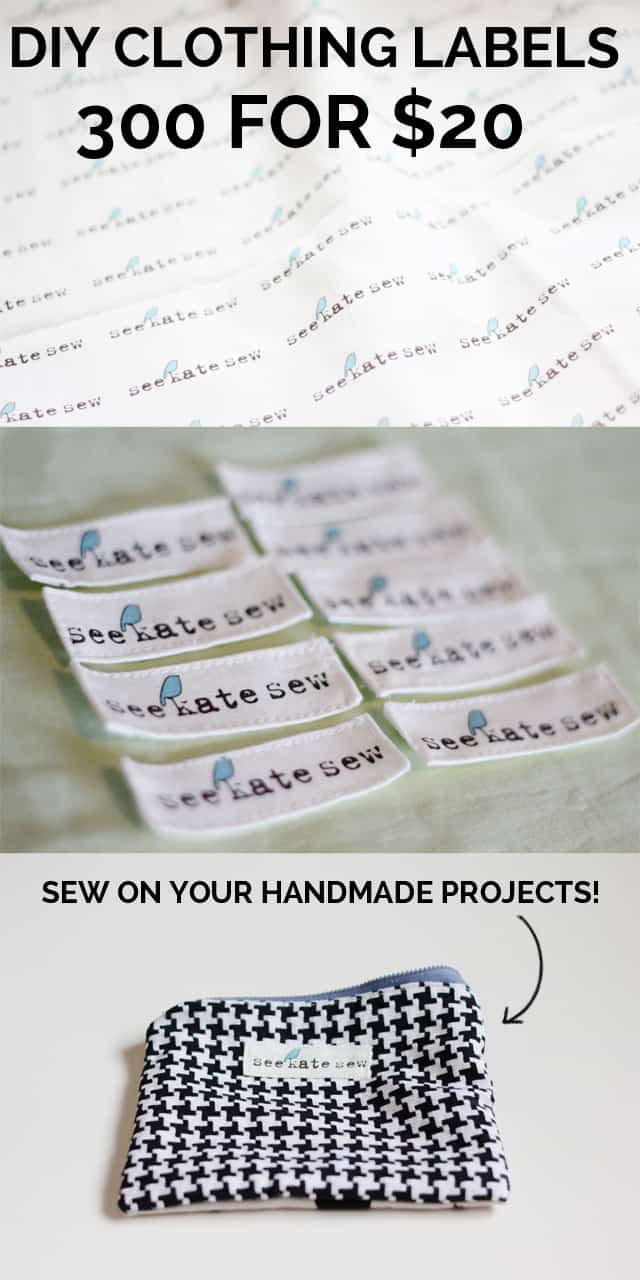
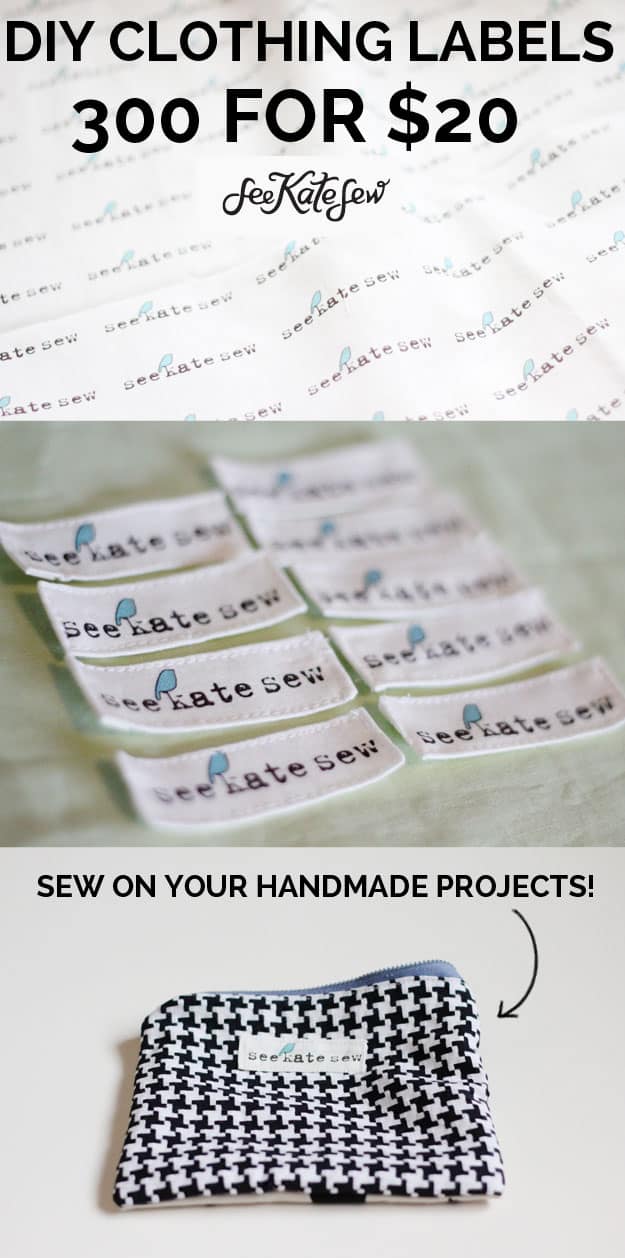
So here it is. If you are looking to brand your product to sell, or just for fun, this is a great way to start out at a low cost. Clothing labels aren’t cheap. The nice woven ones usually cost at least .50 cents each, and you normally have to order a bazillion.(Total cost: half a bazillion dollars!) So this will get you started. It really is fun to add a little touch of you to each thing you make.
These labels are great because: you can print in FULL COLOR! You can use your logo, words, pictures, whatever. They are 100% washable and colorfast. Plus they look legit. Bonus: they are made in AMERICA because YOU make them.
They aren’t so great because: you have to make them (it takes TIME) and you might burn your fingers with the iron. No biggie. Just be careful.
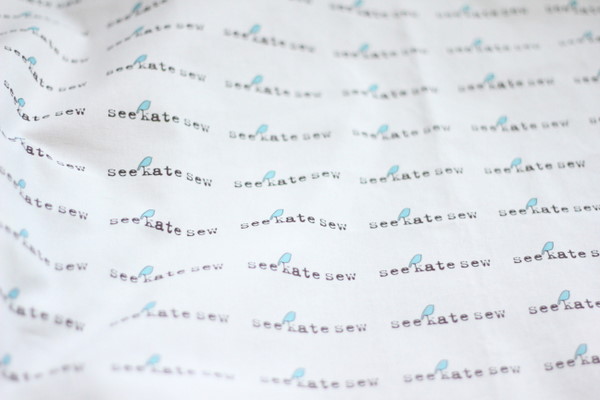
I used Spoonflower to print my fabric. But first I calculated out how big I wanted the labels to be and created a logo in Photoshop (You can use other editing software but it has to be able to size your label precisely in inches or centimeters.) Your file needs to be exact.
When you are calculating out how big the label needs to be make sure to add 1/2″ on all sides so you can iron the edges over later.
Then upload your image to Spoonflower. Choose basic repeat to make them easy to cut out later.

Order your fabric. If you want to test it you can just get a fat quarter or swatch.
When it comes, rip it open, jump for joy and revel in your new fabric with your logo all over it!
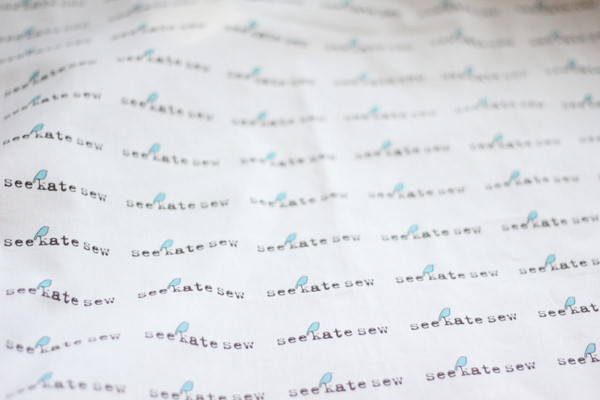
Then throw it in the washer. When it’s all done, iron it flat.
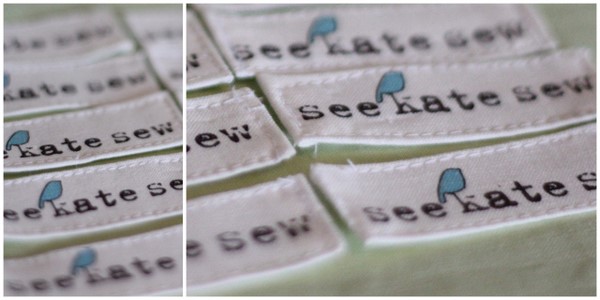
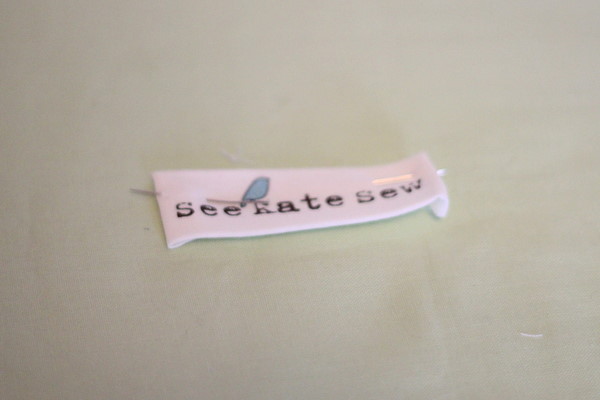
Then cut out each label.
To make ironing the edges over easier, cut a thin piece of cardboard to the exact size you want your finished label to be.
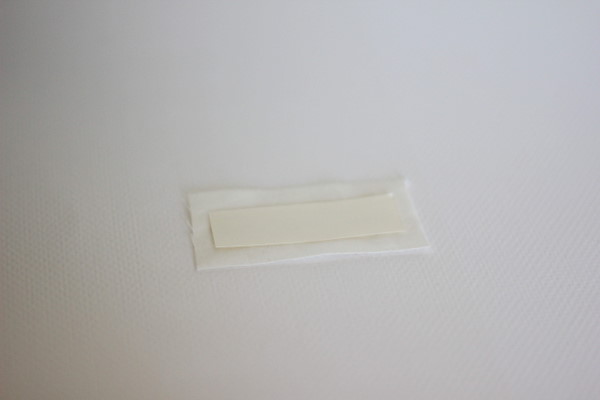
Use it as a template for ironing the edges over. Iron the top and bottom over first.
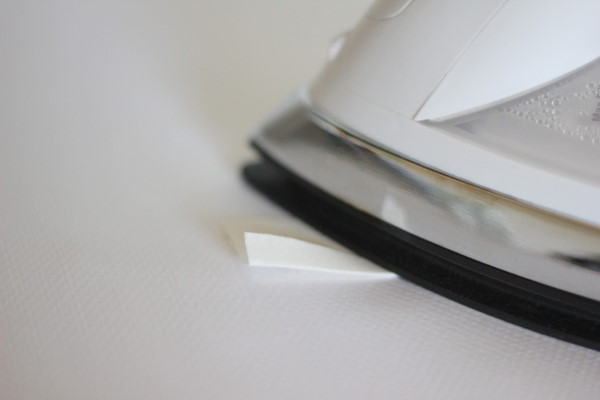
Then fold the corners in on the sides and fold over the sides and press down.
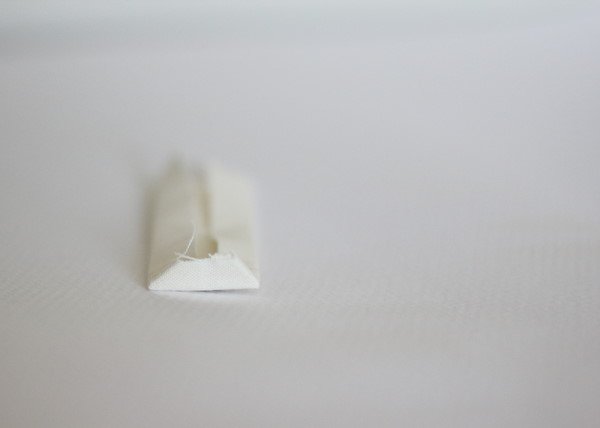
Now you can sew up the edges and leave it waiting or just press it really well and let it sit until you need it. I like to put a few pins in the keep the edges straight.
Sew close to the edge, just to make sure the edges stay where you want them.
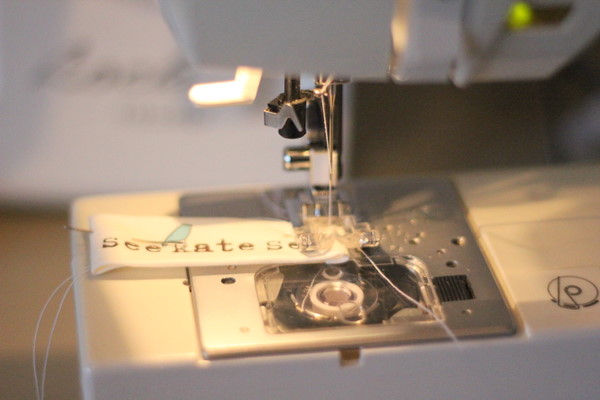
DONE!
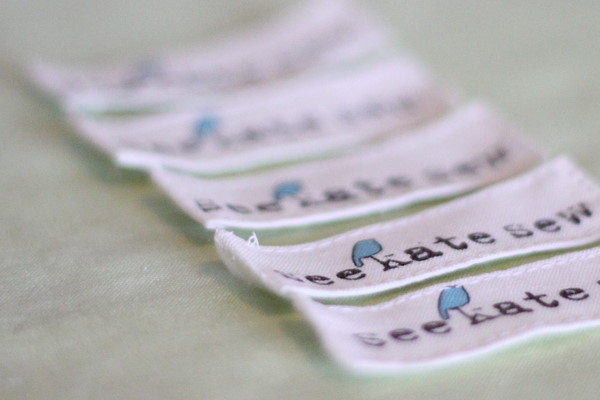
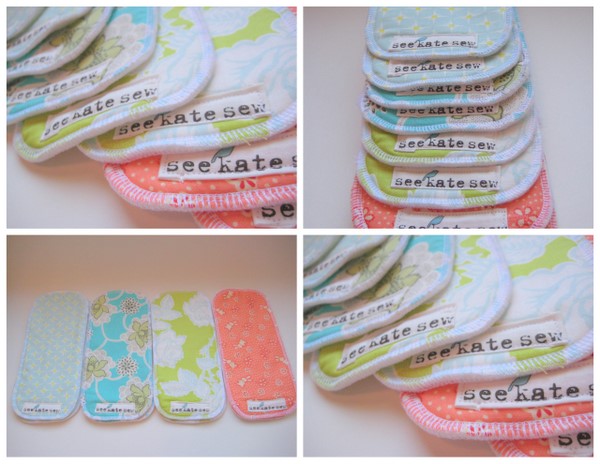
Now go sew it onto your smashed ruffle clutch:


Oh wow girl, this was a great tutorial. So how long does it take to iron and sew 300 labels??? Do you do them all at once, or one at a time as needed. Gosh it sure does beat saving $130.00.
Thanks so much Kate, you are awesome for sharing your little secret.
Hugs,
Bella :) Bella Before and After
Sweet! So so cool. Thanks for sharing, i’d love to try this.
thanks for sharing! they looks so great!
What a great idea. Thank you so much for sharing. I hope you stop by DIY Home Sweet Home and link up to More The Merrier Monday.
http://diyhshp.blogspot.com/
I love this! Not thinking of selling anything but they would be nice to put on things I make as gifts!
These are awesome! I’d love for you to link up at may Make Something Monday link party!!
~Sarah
http://sarahndipities.blogspot.com/2011/03/make-something-monday-link-party-3.html
That’s such a great idea. Is there any reason you sew the edges of the labels in advance rather than just sewing them down when you put it on the product?
Thanks for the directions. You are always so helpful. Now I just need to learn how to create a good logo without having photoshop. This is where my tech savvy FAILS.
wow! they look really nice! a lot of work though! maybe it would not look bad if you just cut them and sew them as is!
cheers,
Sibylle (fun.kyti.me)
Love this! I absolutely love your labels. Love that lil birdie perched on the K.
You’re not going to believe that I have been looking and looking for a tutorial on how to do this! I’ve been trying to figure out how I want to put my name on my knit/crochet items using Photoshop & Illustrator and this IS IT :) Yay!!! I couldn’t figure out what kind of paper my logo needed to be printed on in order to sew it on the finished product, but this is even better! I love the idea of using Spoonflower! Thank you!!!
absolutely genius!!!!!
Nice work! I have never heard of spoonflower, but it sounds great!! Thanks for the info! Oh…i am also one of your newest followers :)
Heavenly!! I’ve been looking and looking for something like this! Thanks!!
Great idea! I wonder if it would also work to have it printed on canvas or twill and just put fray check on the edges? It seems like a lot of labels are printed on twill, etc. and it sure would be nice to skip all that ironing and sewing! :)
I love this idea!! I hate actually sewing but love making anything & everything I can lol
thankyou thankyou thankyou thankyou, dear friend!!!! so excited to make mine :]
Thanks this is awesome…gonna get busy :)
Your labels look fantastic! I have never used spoonflower before. Or photoshop. Clearly I am living in the 18th century. :)
Thank you SO much for sharing. I use Spoonflower, too. This is an excellent idea that I can’t wait to try. Thank you for sharing.
Have a fun day!
Joan
Wow I never would have thought of Spoonflower, thank you.
I just found your blog and was going to ask how you did your labels. I am definitely going to give this a try. Thanks for sharing.
So smart! Love these!
Thanks for sharing! I’d never heard of Spoonflower…but now I’ll have to give them a try!
That is such a great idea! I have used fabric sheets and printed them on my inkjet, but I always worry they will fade after several washing.
sweet tute! thanks for sharing….best diy labels I’ve seen…nice and crisp colors! I might cut them into long strips of labels and iron the tops and bottoms that way, then cut into individual labels and iron the sides…..might save yourself a few burns that way :)
Great idea, thanks for sharing it!
brilliant!!! Great idea. Love your out of the box thinking on this. Love how it saves money and they look fantastic. Everything looks so professional. So glad you shared this!
Amy
@SistersoftheWildWest.blogspot.com
Thanks for such a great idea! I’m with Sarah though-I’d cut them out in strips and iron top and bottom and then sew them, then cut them in smaller pieces and iron and sew sides. (or vice versa) Although yours look prettier all sewn at once…..choices, choices!
brilliant!
LOOVE this idea. Definately on my to do list. I don’t sell things either, but I do gift ALOT! How about instead of cutting each label out individually, you cut them into one long strip, and feed it through a bias tape making thing, THEN cut and finish the sides?! just a suggestion. WHEN I design my logo, and try this tute for myself, I think i’m going to try the bias tape thingy! Thanks!
Thanks for the idea! What about printable fabric? I’ve wanted to try making my own labels and thought printable fabric would work…I haven’t checked out the fabric though so it might not be soft enough for what I need. Thoughts?
LOOOVE this idea! I don’t sell items, but I gift alot! Would love to try this myself. First I need to actually design a logo, then I can follow your instructions, and have some sweet labels! just a suggestion though, how about instead of cutting each label out individually , you cut them into long strips, and feed them into a bias tape thing, iron, AND THEN cut each label out, and finish the sides!? Make sense? WHEN I try this tutorial, I think i’m going to try the bias tape thingy too.
Great idea and thanks so much for the tutorial. I would love it if you would link this up to my Marvelous Mess party. Each party I pick one project to feature on my sidebar for a week!! Here is the link: http://bit.ly/i5BHt8
Instead of photoshop you can create your logo using a program called GIMP, which you can download via Portableapps.com. It’s free and has nearly all the functionalities that Photoshop has. If you need any more info, drop me an email
WOW – this is the BEST IDEA EVER!!! I’ve already ordered my Spoonflower labels!!
Brilliant! I love it when I come across a tutorial that is so common sense that I never would have thought of it. Isn’t it funny how the brain works that way? Like you can only do something one way because it’s the only way you know, until someone (like yoooooooooooooou) comes along with something so profoundly simple and awesome that the whole world just changes. Thank you for this! I’d never thought to use Spoonflower for mass printing. :) xoxo
Oh you just made my day/week/year! I’ve been trying to decide on who to use for a vendor for labels and they are all so expensive!! This is PERFECT!!
SOOO CUTE!! Love it! I thought it was going to be harder! But so easy! Thanks for sharing!
BRILLIANT! Thanks for sharing that, I’ve been wanting to make labels for ages, and couldn’t get the colour ink from my basic computer printer to hold through the wash! You’ve solved my problem- thank you!
Thanks for linking to a Round Tuit!
Hope you have a great week!
Jill @ Creating my way to Success
http://www.jembellish.blogspot.com/
Sew fabulous! Thanks for sharing.
http://bucketofbuttons.blogspot.com
Thanks for linking up! I’ll be featuring this on my blog on Saturday!
http://sumossweetstuff.blogspot.com
Sumo:)
If you printed them on the bias and sprayed with no fray spray you might not even have to hem them.
Great ideas and really well photographed!
I love it!
Great idea! I have to do this. Thank you so much for sharing!
These are sooooo fun!! I’d love for you to link up to Wow Me Wednesday!
http://polkadotsonparade.blogspot.com/2011/03/wow-me-wednesday_23.html
Oh My, those are the cutest lables ever. You did amzing, thanks for sharing.. Just Darling -happy new follower. Thanks for sharing ideas-inspiration
Karryann
Hi – what size is your labels you have…I love that size! :) Thanks
Thank you thank you thank you . I have been trying to figure out how to make my labels.
I’m here for 2 reasons…
I come on over from The Girl Creative Blog Hop and I had to tell you I ordered me some labels today.
Now if you could just teach me how to sew…..
This is fabulous!! Thanks for the tutorial!!
As wonderful as your tute is, I am totally computer-challenged but have been wanting to make a bunch. I’ve been making them by hand as I need them, but it’s a pain and they don’t have anything cute on them. I’m going to see if I can get my daughter to check your tute out and make them for me! Thanks a bunch!
Thank you so much for sharing!!!!
Kate! I finally borrowed my mother-in-law’s sewing machine and made my own :) I posted about it here (http://www.brandiscreativespace.com/2011/04/few-things-crafty.html) if you want to check it out ;) I’m sooo glad I found your blog! Have a great day ;)
What a great idea.Thinking of a design for my own.
this is great! and i love the gdiaper inserts… now that i have a serger on my hands with baby #2 coming… i can make my own!!! brilliant!
thanks for sharing!!!
the size of your labels are perfect for what i would like for mine. but i cant figure it out by just looking at ur screenshot of spoonflower! i have tried so many times lol! please help! what were your dimensions for your label in photoshop??
Hi! Just wanted to let you know I just did this and it is awesome! I made a baby robe for my best friend’s little boy turning 1 and sewed in my first label. Looks so professional. I love it. Thanks for the idea. : )
nice! I am definitely making my labels like this. have you tried using pinking shears to cut the labels?? that could help with the fraying and it gives it a raw-edge look. beats the ironing.
Kudos to you! such a smart idea of using Spoonflower! Love it, and have to give it a try soon!
Fabulous idea! I wanted some labels but did not want to special order them because of cost. Now all I need is a catchy phrase and then I’m off to make some!
I think these look BETTER and more legit than the spendy ones! I’m totally doing this, u rock!
These look BETTER than the spendy ones! Great job!
Nice collection…Thanks for sharing with us…I really like it… Clothing Labels Company
Love the clothing labels! You are very talented and creative. Thanks for sharing your secrets. Robin therobinbirdsnest.blogspot.com
Thank you!!! Ive been looking for labels for my projects! what size do you have on photoshop?? i did mine at 1.75 x 1.75 inch
Thanks for this!!
Great idea! I printed some, but printed them diagonally, so that they cut out on the bias. Hoping then I wont need to fold over the edges and press and burn my fingers in the process
http://www.thingsforboys.com
I make purses, Marmie Bags, and do my own labels too! What a money saver. I have discovered a way to print my own fabric too! Here is my link to my DIY. It will give save you the $18 yard price (I think). Plus you can experiment on all kinds of fabrics & sizes.
https://www.facebook.com/photo.php?fbid=174219642627024&set=a.174219635960358.36559.156395524409436&type=3&theater
This is so neat! I’ve seen things like this around the internet for months, & kept thinking “I’d really like to do that”. Today I actually went for it, got my design made in Gimp & I’m about to purchase my ‘test swatch’! Spoonflower is a really cool site, & especially for this use – it’s so cheap! $6 for over 100 labels? WIN! Thanks so much for this wonderful idea!
Thank you so much for the tip and great tutorial! I just placed my order in Spoonflower and hope to receive the fabric in few weeks time… Self-made labels will be just way much cooler than those expensive ones that also I was about to order before I found your blog post!
What a neat way to do your own labels – thanks for sharing!
Wow neat post. That is impressive that you were able to do all that yourself. Please keep posting your stuff.
Seems like it would work to cut in horizontal strips, fold over top and bottom and stitch, then cut each label on the vertical edge. The sew each shorter side? Isn’t there a way to continually stitch, even if you’re stitching two separate pieces? Not a sewer, more of an engineer but just thought I’d pop in my two cents …
Absolutely awesome and thank you ever so for this! I am in need of labels but don’t have bazillions so I was going to be in trouble. You saved the day! I appreciate it.
Hi Kate, I’ve just used this tutorial to make these labels. Thanks! Though i found it easier to use double sided interfacing. It made it so easier to fold back the edges. Thanks again.
Beautiful, except that I’ll use pinking shears to cut out. I don’t have the patience to iron and sew 300 tiny labels! You, on the other hand, are amazing!
Thank you SO much for posting this!!! I’m ordering mine as we speak!
Thanks! I used your tutorial and mentioned it here: http://www.youngnesters.net/2012/09/how-to-make-craft-labels-for-your-brand.html
Very helpful :)
KATE, I LOVE YOU because I am doing this as soon as I can get my act together and design a logo, but have one small suggestion…or big if it works. :)
What about putting your text DIAGONALLY on fabric so all your labels would be cut on the bias, minimal raveling no stitching required unless desired. Am thinking about just stitching all the lines top, bottom, both sides while fabric is whole then use a rotary cutter, or have them printed with label borders lines, wavy or straight and cut them apart leaving 3/16 or so raw all the way around label. Could be stitched or not, and wouldn’t ravel beyond stitching or very far if not stitched because of the bias?? Is just a thought !?! I am going to try it any way. I can waste 20 dollars easier than I can a half a bazzillion on labels printed overseas. And if the first few I cut off on one corner to experiment with don’t work out, I can use the fabric to line a totebag or something. Spoonflower is GREAT, I bought fabric from them before!!! Have a great day…I’m off to scribble out some ideas ;)
Absolutely fabulous! I just ordered some ribbon with my “logo” on it, and I like it, but I will like this much better! Thanks for the idea, absolutely genius!
Your site is AMAZING!! Thank you for sharing your awesome ideas. Keep up the great work. I new fan!!!
Kate, Can you please tell me the size that you created in photoshop? Thanks
Have you had any problems with the print washing off? I want to put my labels on cloth diaper so I want the labels to hold up with tons of washings.
great idea – thanks!
Oh my goodness! I could kiss your face for sharing this. Thank you soooo much. You are awesome.
Thank you so much for sharing this… I have been looking everywhere to be able to put my logo on a label….youre a living Angel x
Just stumbled upon this post while searching for a place to buy labels! :) This is BRILLIANT! I’m so excited to have found this tutorial! Thank you, thank you!!