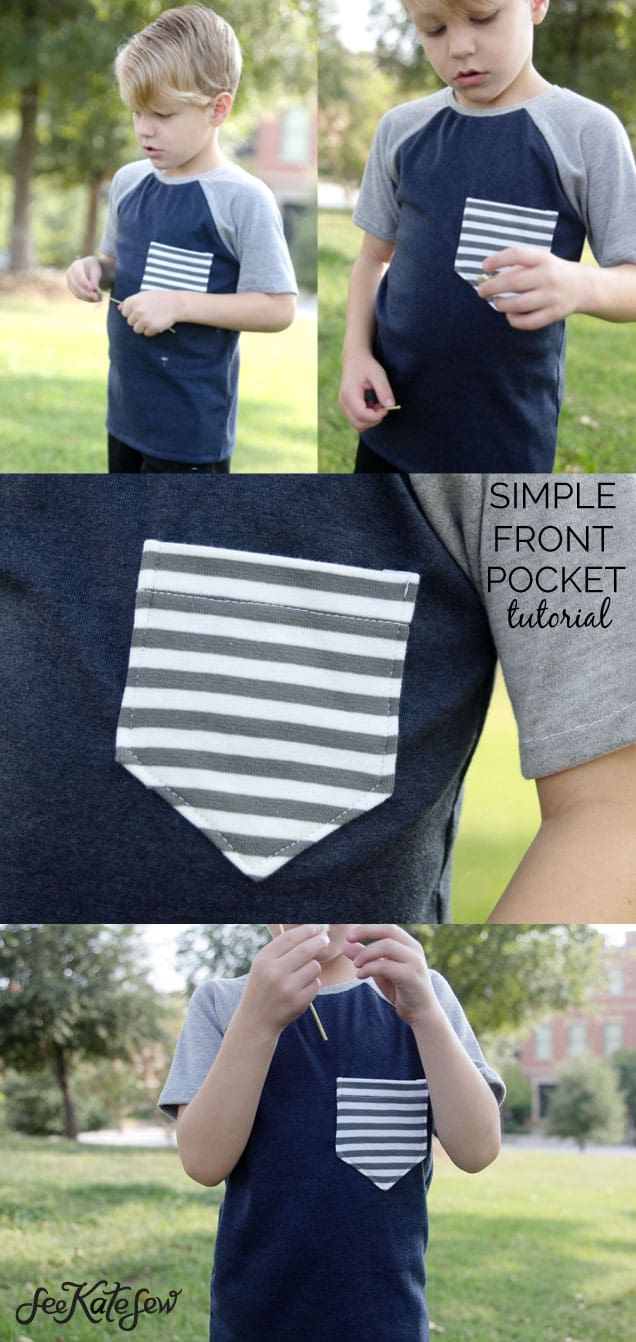
I’m continuing Recess Raglan week into a second week, but only for 2 more days! I had more to share! Today is another pocket option, the simple front pocket tutorial! You can really add this to any pattern, it’s a simple sewing skill that can add a lot to any garment.
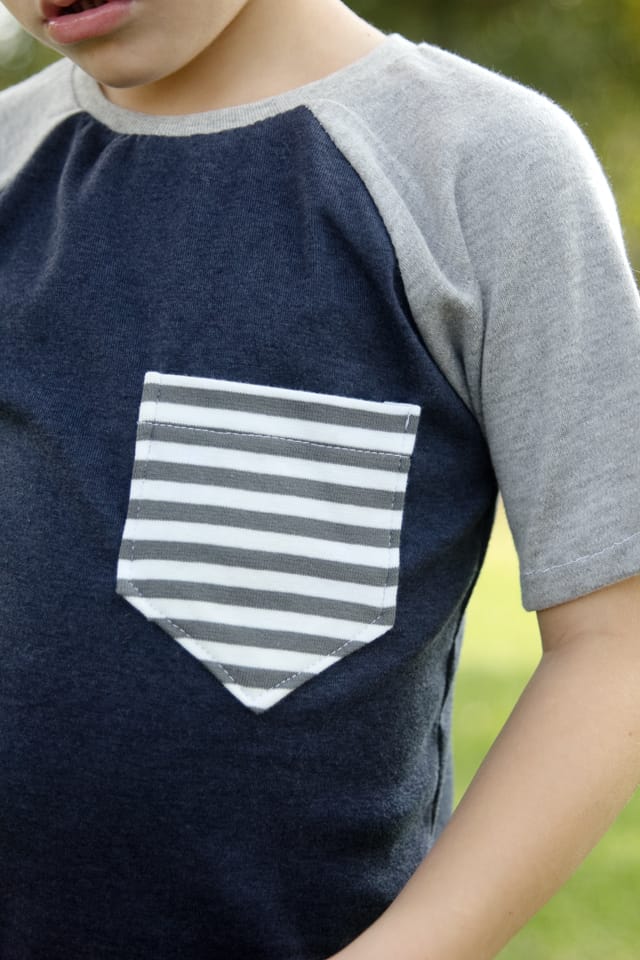
I love using pockets for accent fabric, especially if you have a little scrap of fabric lying around that you can’t bear to part with.
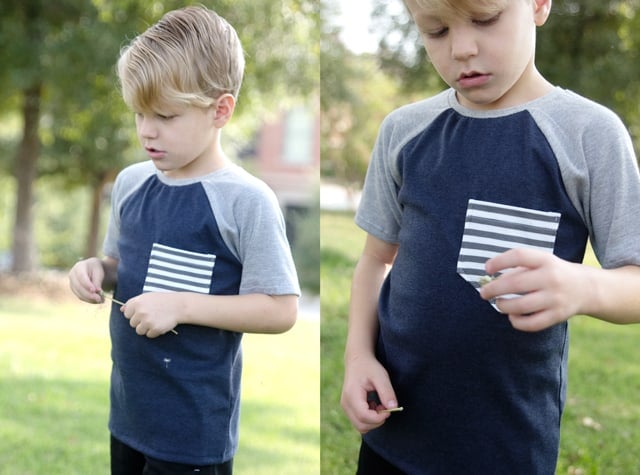
After I made this shirt, I wasn’t quite sure about the scale of the pocket to the shirt, this one might be a little too big. But it is enough to hold lots of things! The pocket piece comes in 8 sizes, so you can choose how big or small you want the pocket to be!
Pocket Pattern Download
Simple Front Pocket Tutorial
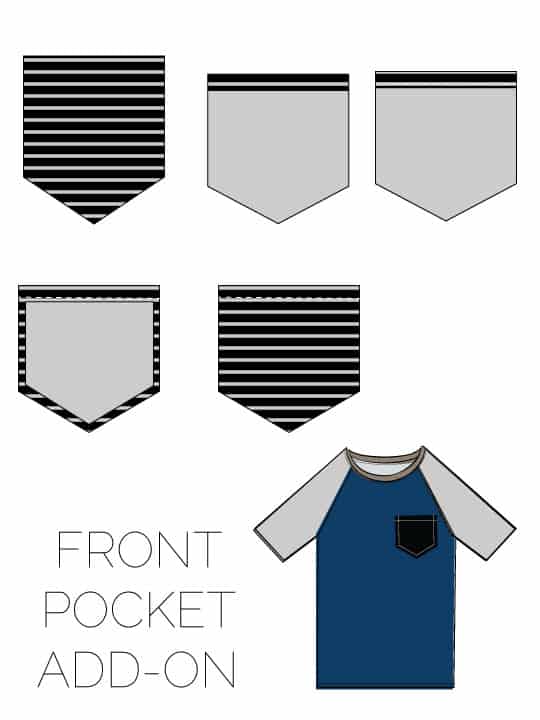
Step 1: Cut 1 pocket
Step 2: Finish top edge with serger or zig zag stitch.
Step 3: Fold top edge under 1/2″ and stitch.
Step 4: Fold side edges under 1/4″ and press.
Step 5: Fold bottom angled edges under 1/4″ and press.
Step 6: Sew to shirt on the bodice front. Start at the top and sew around, pivoting. Leave the top open. Backstitch at the both ends.
And you’re done!
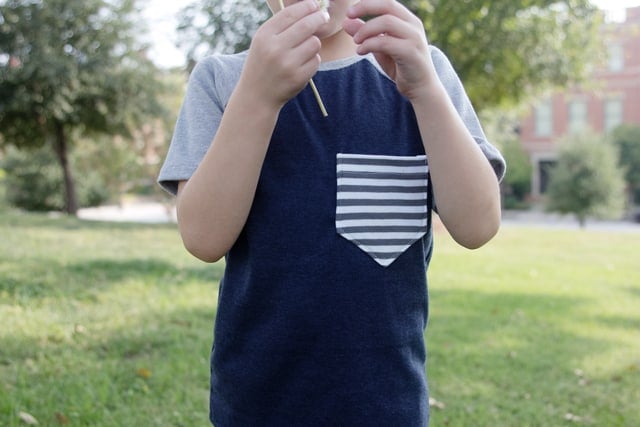
Don’t forget to grab the Recess Raglan Pattern and start sewing!
If you like this tutorial, try adding a welt pocket to your next pattern!
