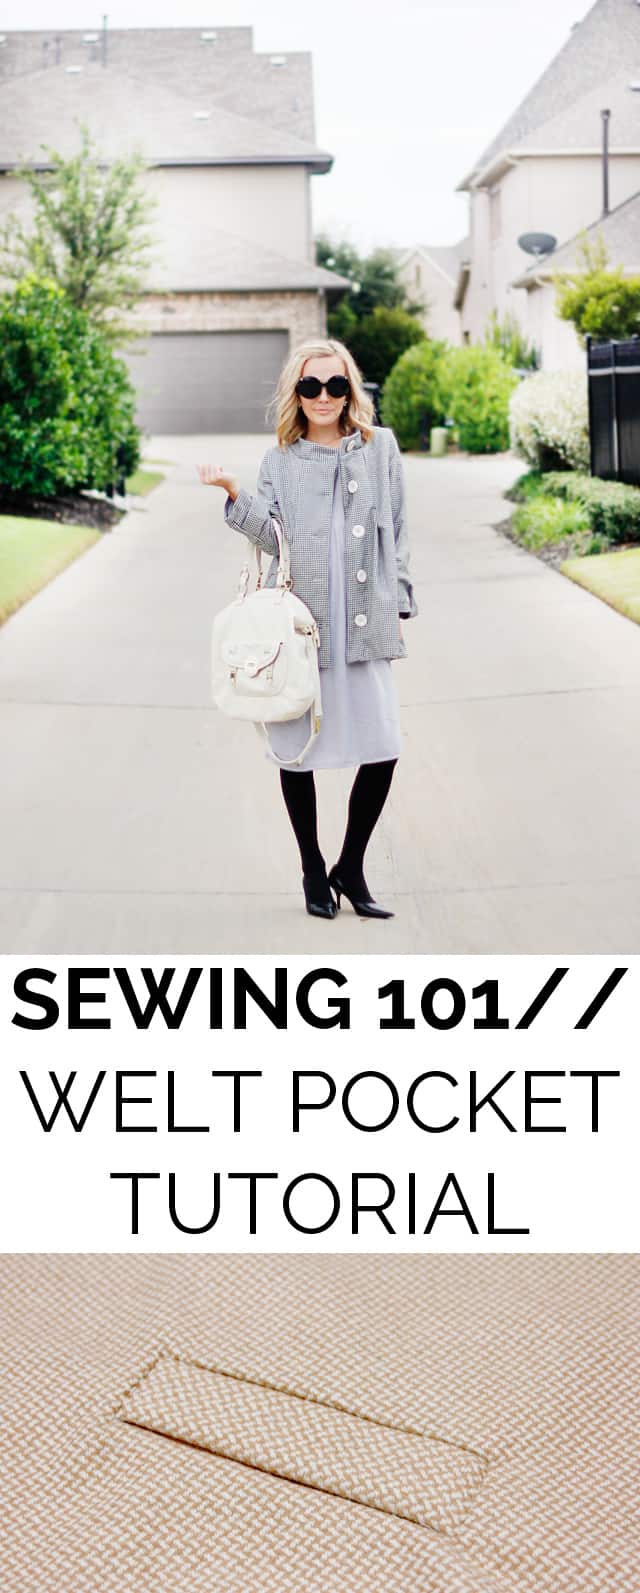
We’re on Day 3 of the Icon Coat Sewalong! If you missed the first few days, check out this post about fabric selection and this post featuring a powder blue icon coat on a plus size model. Today’s post is all about how to sew a welt pocket! One of my favorite features of the Icon coat (And the Kennedy, too!) is the welt pockets. Welt pockets are so cozy and inviting on cold winter days! And they look slick also! If you’ve never done a welt pocket, you may be intimidated. And if you have done them before, I hope you’re just excited! This welt pocket tutorial will give you a ton of sewing confidence, too!
These pockets aren’t really hard to do, but the first one you do does require that you pay attention to all the little details so you get it right. I promise this is a technique that will have you high-fiving yourself when you’re done because it is so satisfying! It looks great and creates a professional, functional pocket. You’ll love welt pockets when you are done, I just know it!
Today I’m sharing photos to help you figure this welt pocket thing out. If you’ve never sewn a welt pocket before, I recommend reading through these instructions a few times to get a good grasp of the process before diving in. Like I said before though, it’s not hard and you’ll be acing these in no time!
Welt Pocket Tutorial
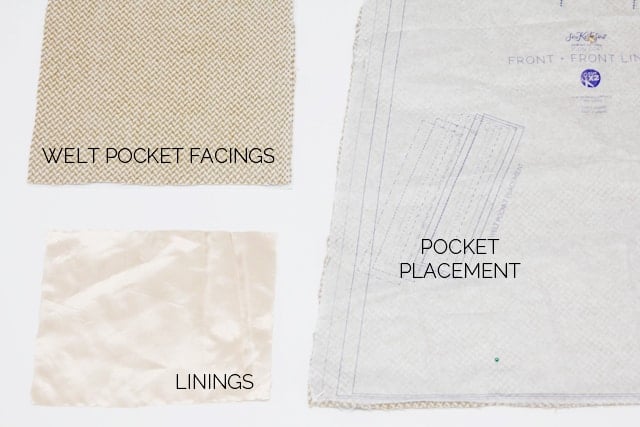
The single welt pocket consists of the following pattern pieces:
-body of your coat (front piece in this case)
-the welt pocket facing, which is the same fabric as your coat
-interfacing
-welt pocket lining, any fabric (the shiny fabric in the photos)
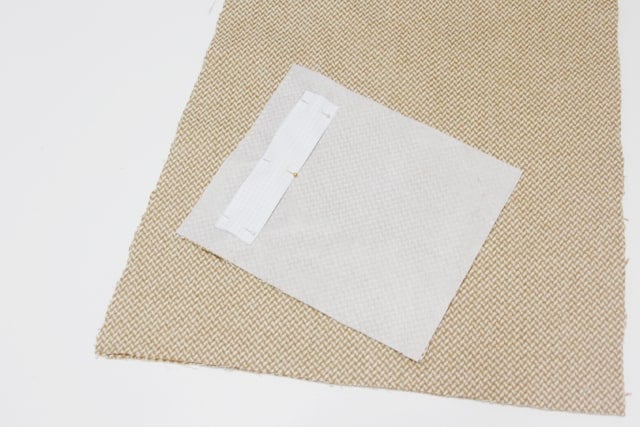
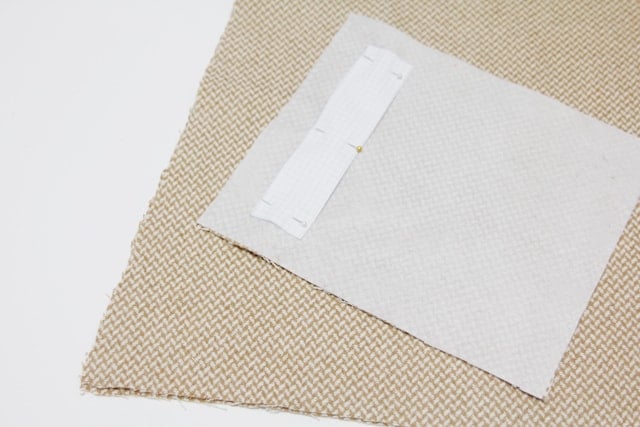
I have a little trick for making welt pockets a breeze! Take an extra piece of paper and trace the welt pocket rectangle located on your welt pocket facing piece. Then cut it out.
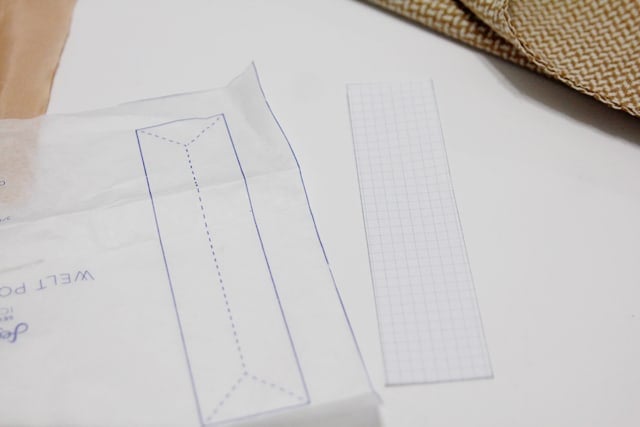
Pin the paper on right where the pocket placement is on the facing and front piece. I mark my welt pocket placement using the thread method that I showed you last week.
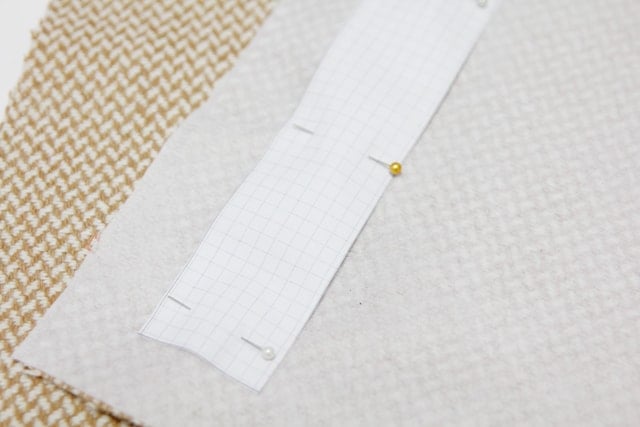
Then sew around the edge of the paper. I usually snag the paper a little bit, too.
Pull the paper off and use it again for the other side.
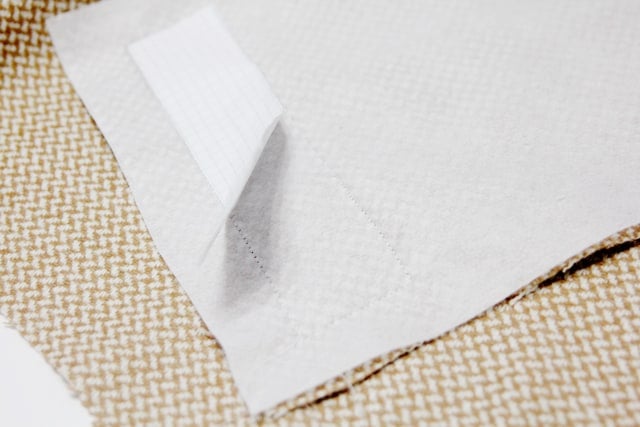
Clip into the middle of the pocket opening and create a “Y” shape into the corners. Make sure you clip all the way into the corners but not past the thread. 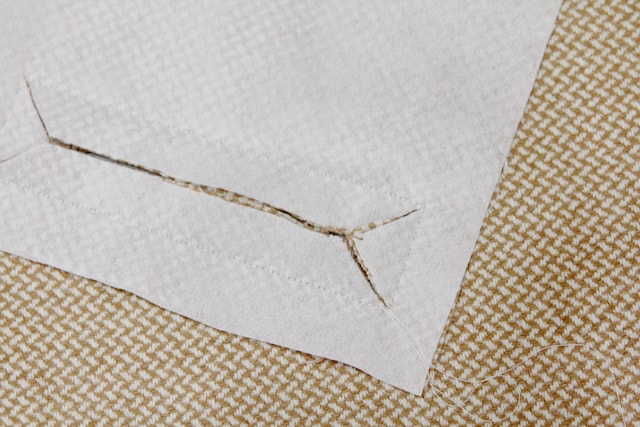
Trim the seam allowances. You don’t have to trim the triangles if you don’t want to.
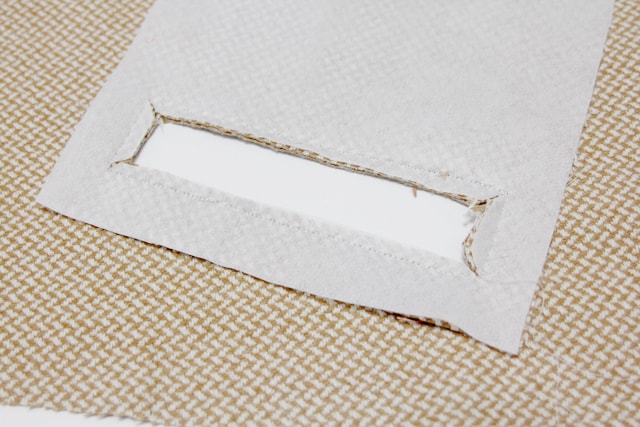
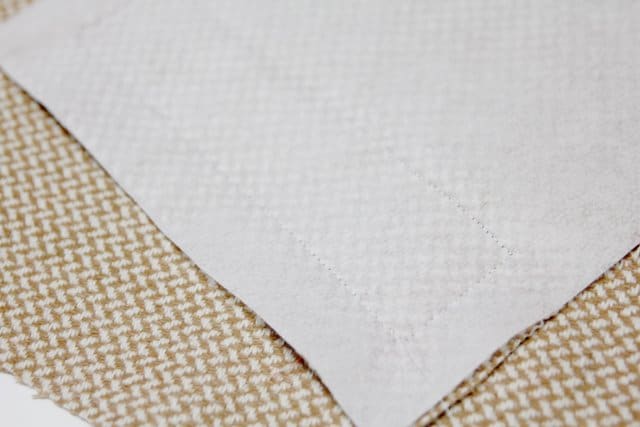
Flip the facing into the inside of the coat and press well.
The inside of the coat will look like this:
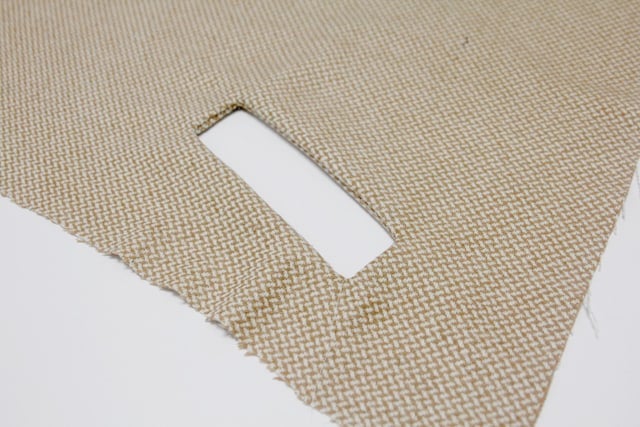
Now fold up the facing to create the welt.
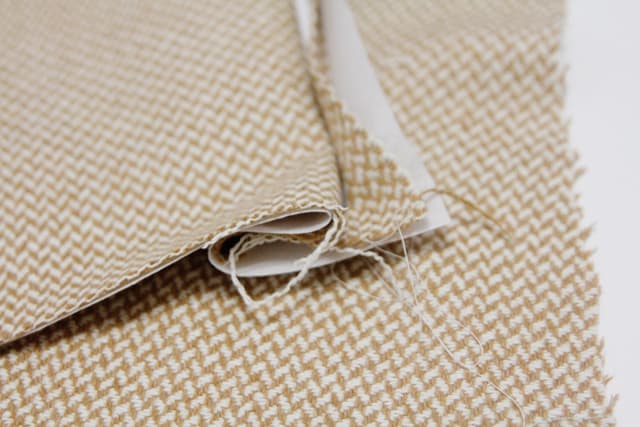
There is a dashed line on the pattern piece to help you with this step. I drew the dashed line in this photo so you know where it goes.
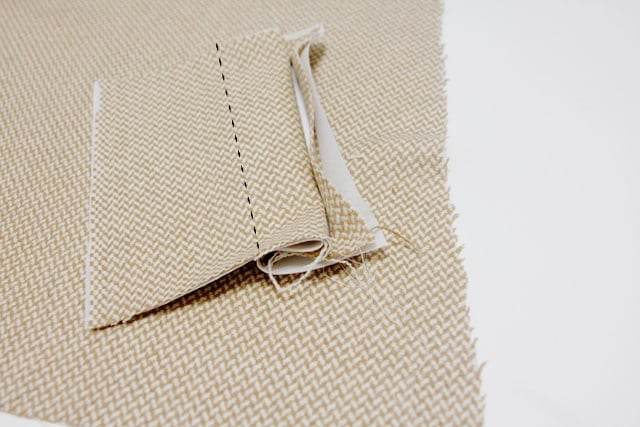
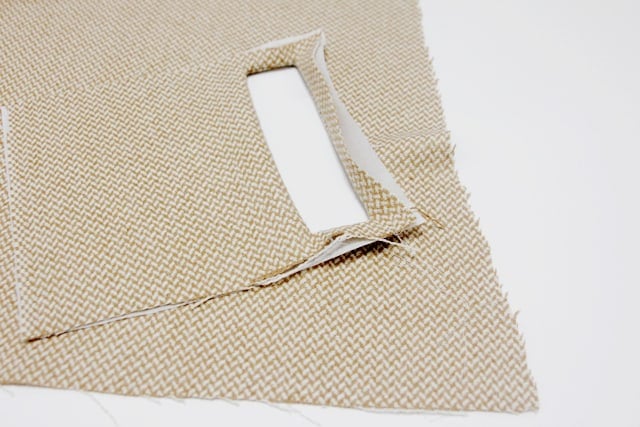
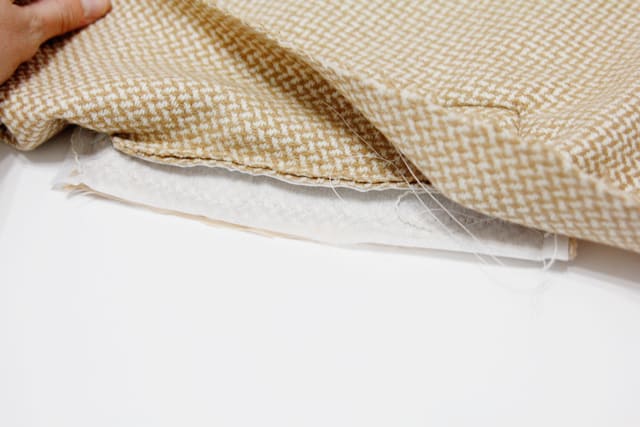
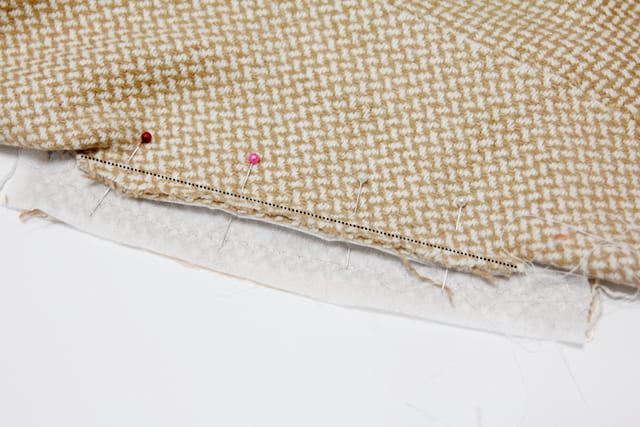
Pin the welt to the seam allowance, but not to the front of the coat.

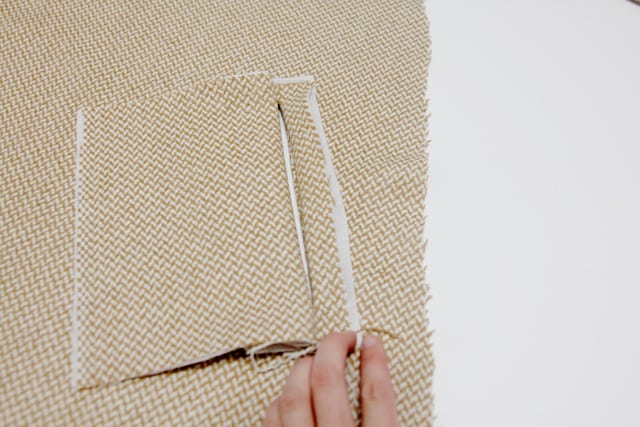
Now sew all the layers you just pinned (everything except the front piece) right over the little triangle seam allowance. Stitch right on top of the stitching that is already on this piece of fabric.
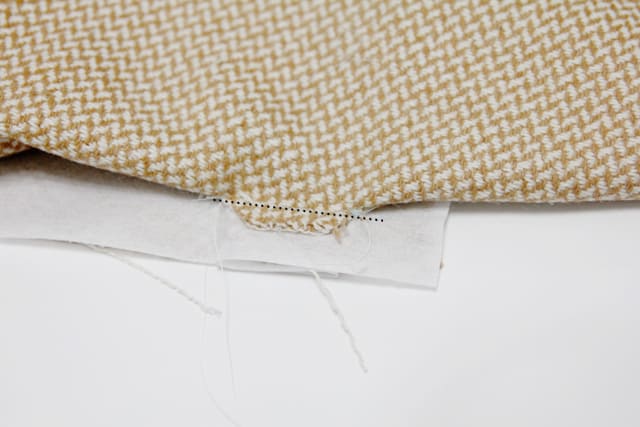
Repeat on the other side. This will adhere the short edges of the pocket to the coat. 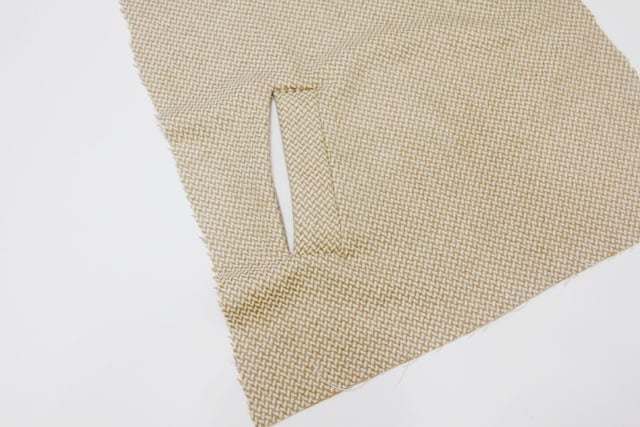
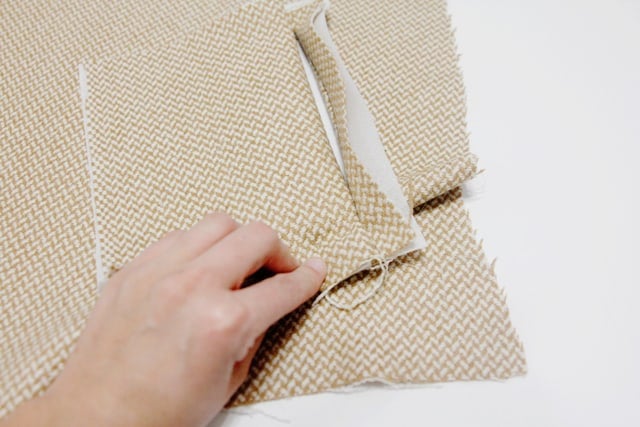
Here is a view of the pocket and the piece you just sewed, just to give you another view if you are lost.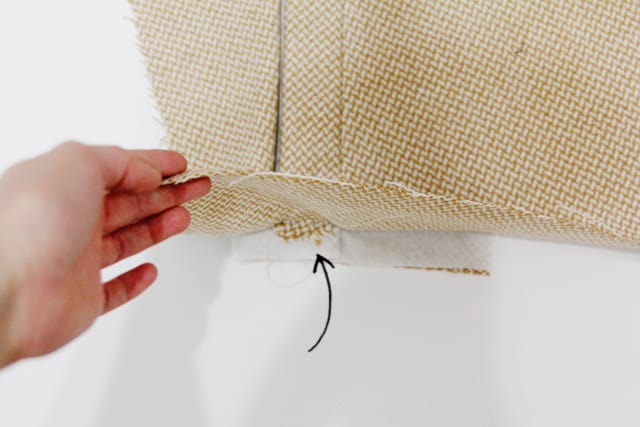
The back will look like this when both sides are sewn up.
Place the pocket lining on top of the facing.
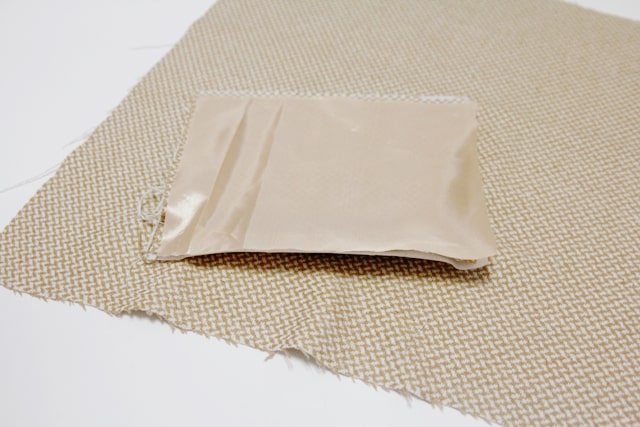
Pin the lining on top with right sides facing.
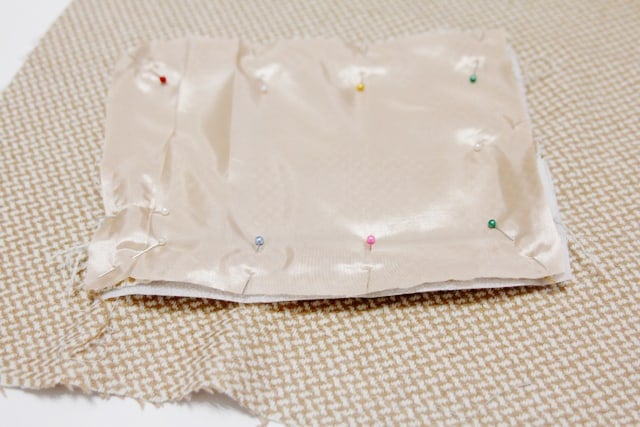
And sew all around the edges.
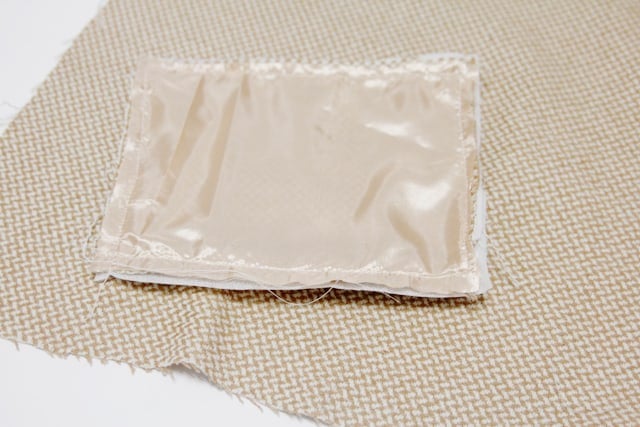
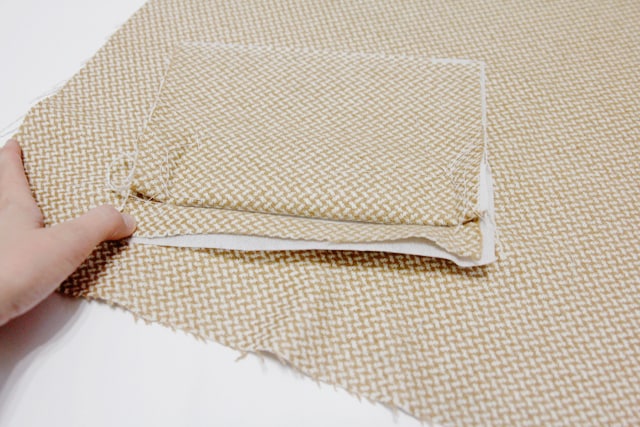
Almost done! 3 sides of the welt pocket are closed leaving only the opening where you put your hands.
One more final touch is to stitch along the top of the seam allowance behind the opening of the welt pocket. This will make the pocket appear more structured and nice.
Lift up the outer edge of the coat.
Pin the outer fabric out of the way. You will be sewing just the seam allowance, pocket facing and pocket lining in this step. Sew over the existing stitching like you did in the previous steps on the short edges.
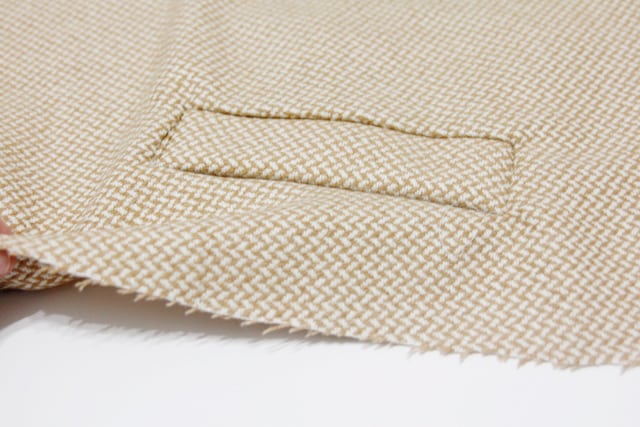
Give it a good press and there is your professional single welt pocket! Pretty snazzy, huh? 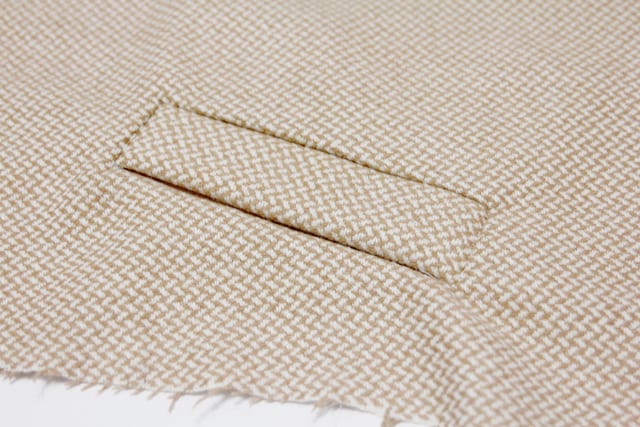


I have been afraid to attempt welts! I think I’m going to give it a shot!!
Awesome!
I love welt pockets. They can be intimidating, but once you do one, they are so fun to do!
this is great! I love all the step by steps… I’ve made several welt pockets, but I really need some tips on the technique! pinned it!