This was originally posted at Sew Sweetness about a month ago. My first version of this post was super confusing. So I hope this one makes more sense!
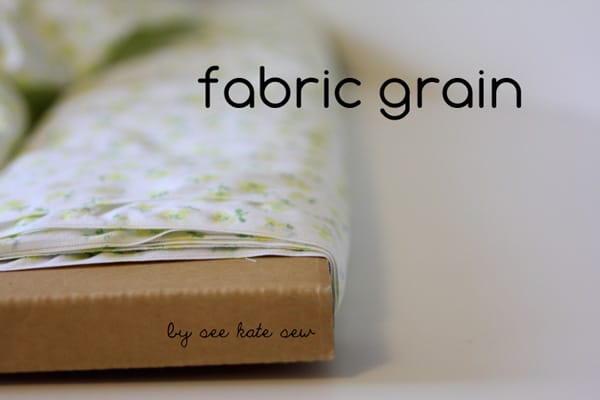
Fabric grain used to be one of my least favorite things. It meant preparing fabric before getting to the fun part of sewing it up. As I have studied my clothes more and more I have realized how important fabric grain is in lots of projects! You may have a shirt in your closet whose side seam has twisted to the front. That fabric was cut off grain! Oh no!
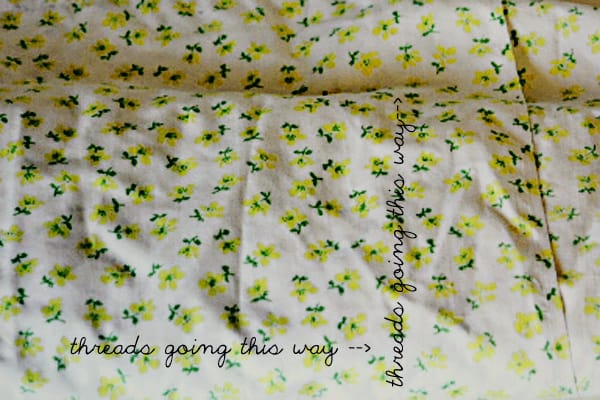
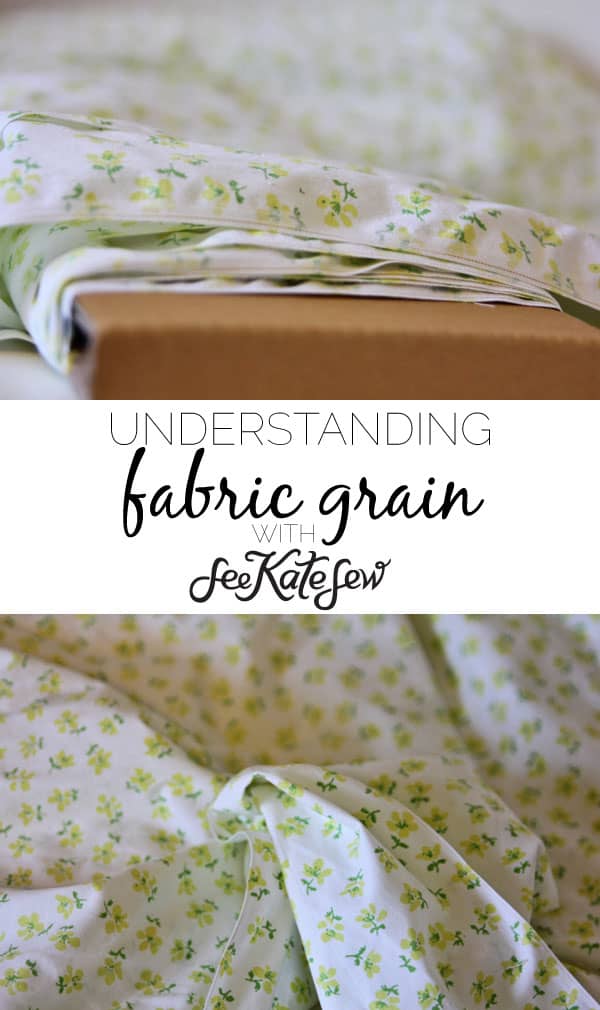
What the heck is grain?
Every piece of woven or knit fabric has grain. Grain describes the direction of the threads. Lengthwise grain, crosswise grain and bias grain. It’s important when sewing, just like woodgrain is important when building. When a piece of fabric is “on-grain” all the threads are lined up how they should be. Clothing that is on-grain is typically more expensive because it means the pattern pieces have to be cut a certain way, which may not be the most economical way.
****Non-woven fabrics (such as felt or leather) don’t have grain, so you don’t have to bother with any of this when using those fabrics.****
Why bother with grain?
Cutting fabric on grain is important because it will ensure that our garment stretches out and wears evenly. It keeps the fabric’s threads happy and level. You see, each pieces of fabric is made of thousands of threads. Some go parallel to the ground and some perpendicular. They are woven together, under-over-under-over or maybe knit together. Gravity, washing and wear affect those threads and their balance. By cutting garments on-grain, the pieces of garment will wear and stretch at the same rate, lengthening the life of the garment.
****A lot of clothing manufacturers don’t pay attention to grain on purpose. Cutting on the grain is not always(…never!) economical, but it will make your clothes hold up better.****
Which grain?
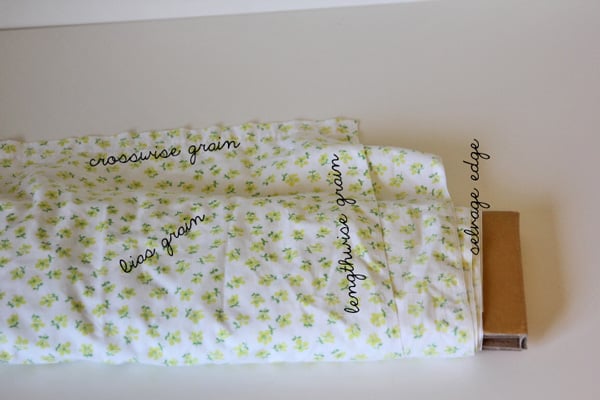
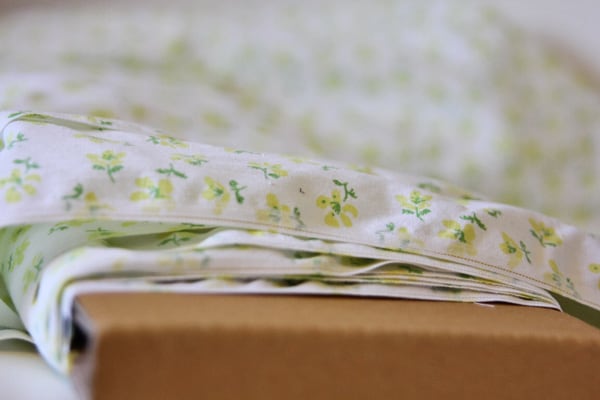
-The lengthwise grain is parallel to the selvage edge. The selvage is the end that is “finished” with tighly woven threads and usually has a series of little tiny holes in it from needles in the production process.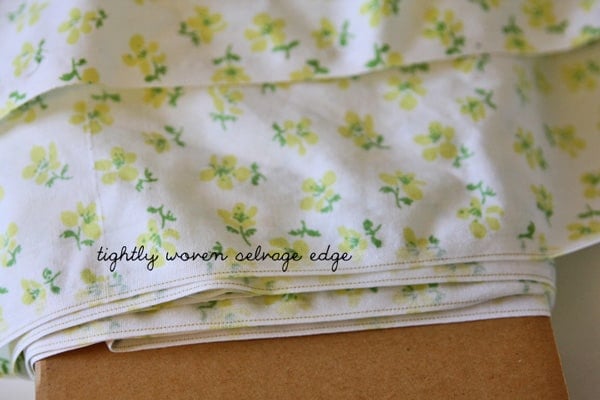
-Crosswise grain is perpendicular.
-Bias grain runs at a 45 degree angle from lengthwise and crosswise grain.
Lengthwise grain tends to have the least stretch or give.
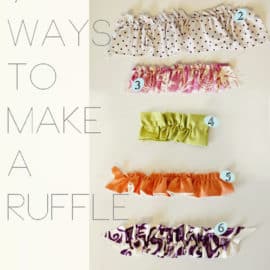
You can cut your pattern pieces out on different grains to get different effects. For example, bias grain is used often in skirts to give a flowy ruffle effect. It’s pretty! But if flowy isn’t what you’re going for, you have two other options!
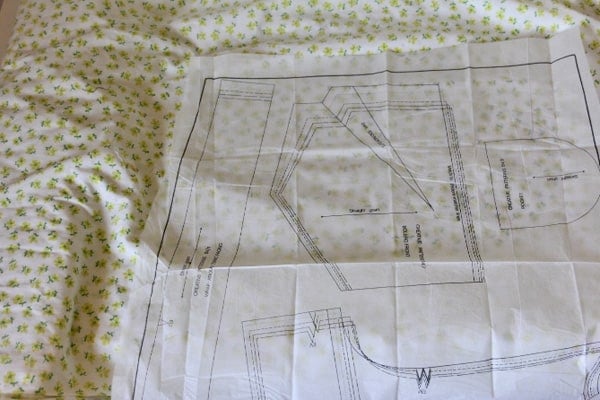
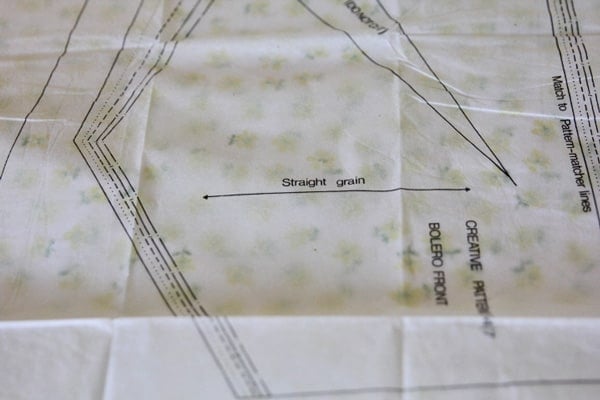
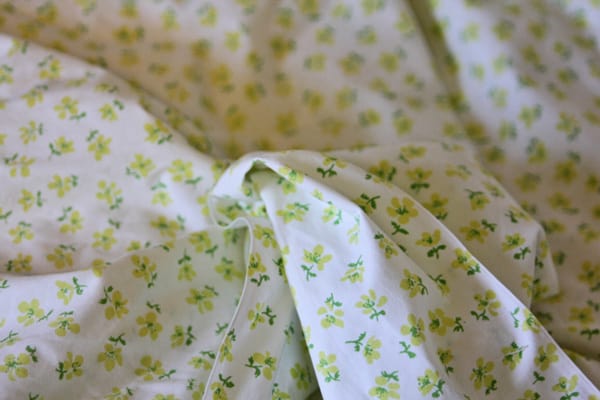
How to get your fabric on grain:
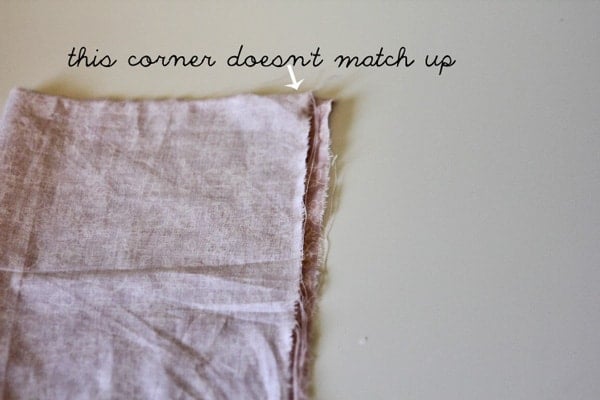
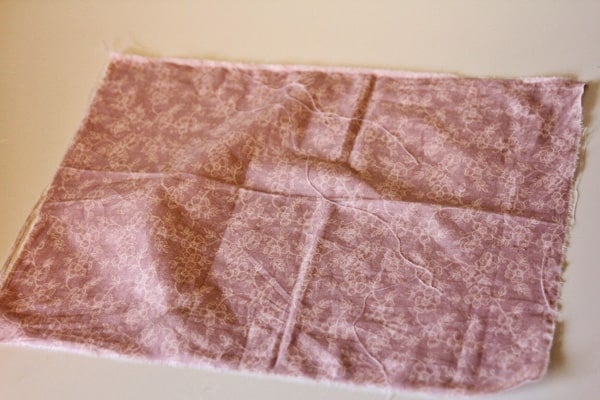
For this piece of fabric you’ll pull the upper left corner and the lower right corner until the threads line up and the edges match.
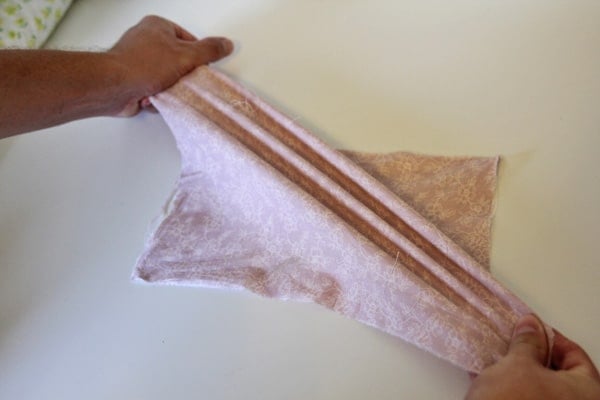
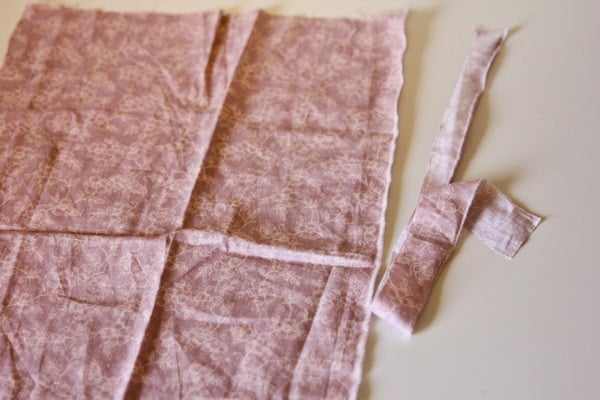
If you’re using a knit, cut along one of the stitches, making sure you are cutting straight and do the same thing for wovens, pull the edges.
Let’s get technical:
Lengthwise and crosswise grain are also referred to as the warp and weft, respectively.
warp=lengthwise
weft=crosswise
Warp threads are the first to go on the loom. They are secured tightly and then weft threads are woven back and forth to make a woven fabric.
Does it always matter?
Nope! Grain doesn’t always matter. If you’re just using your fabric for a little crafty project, it really won’t matter how you cut it. If it’s not going to drape on a body, then it really doesn’t matter! I also mentioned above that this only applies to woven and knit fabrics, so if you’re sewing with a non-woven, you don’t need to bother. Even then, it’s not as important when sewing with knits, since they are stretchy anyway.

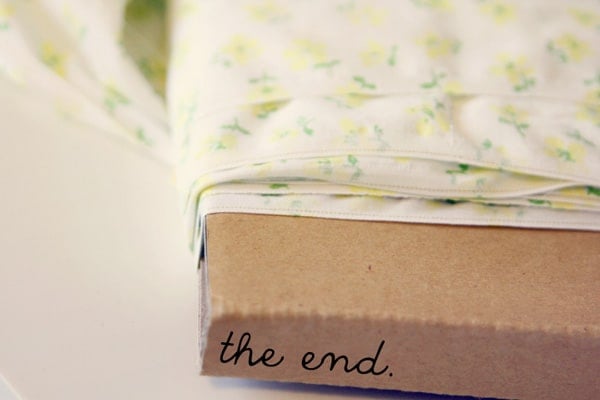
And that is your lesson on grain and ripping fabric. I hope that made a little bit of sense! Happy sewing! Here are some more sewing tips.


Once I had to finish a project for my sister in which she’d managed to cut partially on the bias, partially crosswise, and partially lengthwise. Now that takes talent because it was sometimes that way all in one piece! And because it was unpredictably stretchy, it was a nightmare to sew. Parts stretched that had no business stretching and her bad cutting turned a three hour project into a ten hour project….
Thank you, that was very helpful! I’m a very very very new seamstress, In fact I probably shouldn’t even call myself that. I’m learning, but that was very informative! Thanx for sharing!
Natalie
http://www.projectdowhatyoulove.wordpress.com
Just came across your Adorable blog…. And SEW happy I did… Also just became your newest follower.. : ) would LOVE for you to stop by…
http://shoprubyjean.blogspot.com/
Just wanted to say thank you for this explanation – it was really helpful and informative for me!
Great post! I’m always surprised when ladies have been sewing for years and they don’t know how to put their fabric on-grain. I just wanted to politely disagree with the statement that grain doesn’t matter if it’s not being draped on a body. Throughout the years I’ve received homemade burp clothes as gifts that I had to throw out after only one wash because they cut the two peices of fabric in different directions and they also didn’t prewash their fabric. So after I washed them, they were twisted and impossible to fold and reuse.