Lots of things! This is a long post! And there’s a giveaway at the end, like a pot of gold or something!
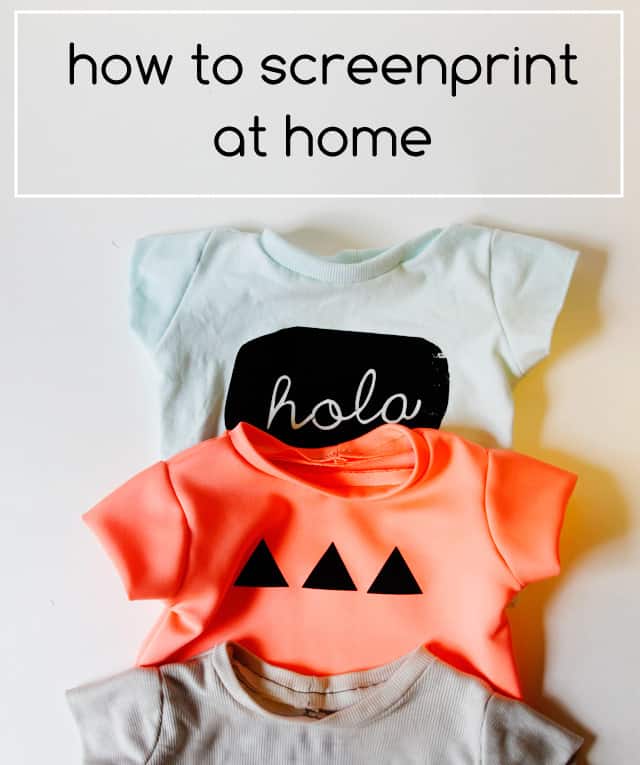
If you follow on instagram, you may have seen these little tees pop up in my feed on Saturday. I had lots of questions about screenprinting, so today I’m going to give you the low-down on how to screen print at home. I’ve been silkscreening for 10 years (yikes, am I old?) now and this is my favorite method. It’s clean and safe. Some methods require horrible chemicals or waking up in the middle of the night to set up a photo emulsion screen, but this one doesn’t!
Screenprinting is really fun and the result is awesome! It gives you a nice clean even layer of ink on your fabric project and doesn’t leak as much as stenciling. Also, if you want to print lots of the same thing, it’s super easy to with a silkscreen, but not so easy with a stencil. If you used your screens over and over, you’ll also get some neat imperfections that can only be achieved with a silkscreen. I think that’s my favorite part. Screenprinting has given me lots of freedom to print my own fabric, too!
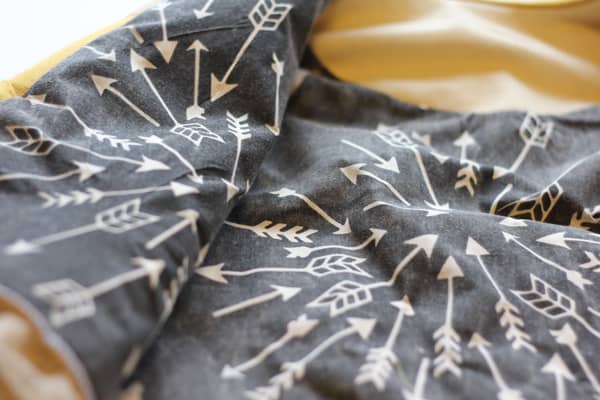
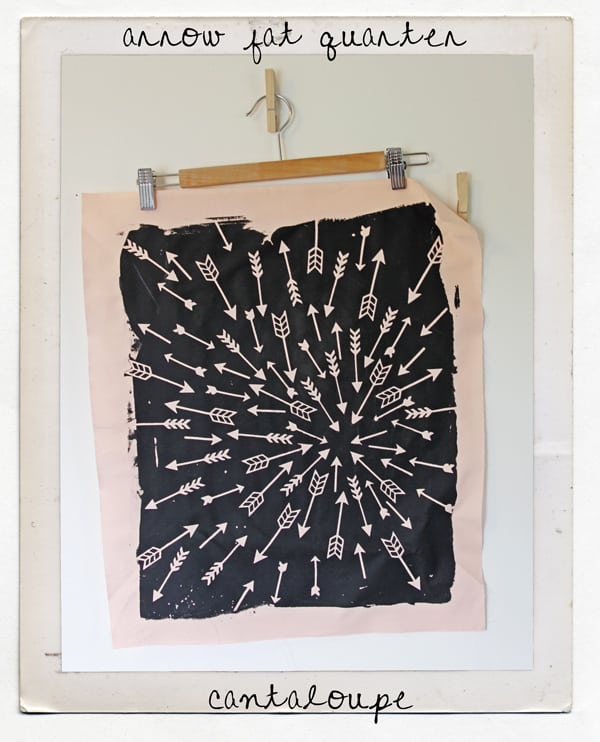
Last year I printed the lining of this coat for my ruffled riding hood project. At one point I printed and sold arrow fabric in a few different colors.
So many things you can do with it! It’s pretty easy, too. You just need a few supplies:
What you need:
–a screen
-a squeegee
–water based fabric screenprinting ink, I use Speedball most of the time.
-an xacto knife, or a cutting machine. I use my Cameo exclusively now.
–printmaking film or standard vinyl (pretty much the same thing, film is a little thicker)
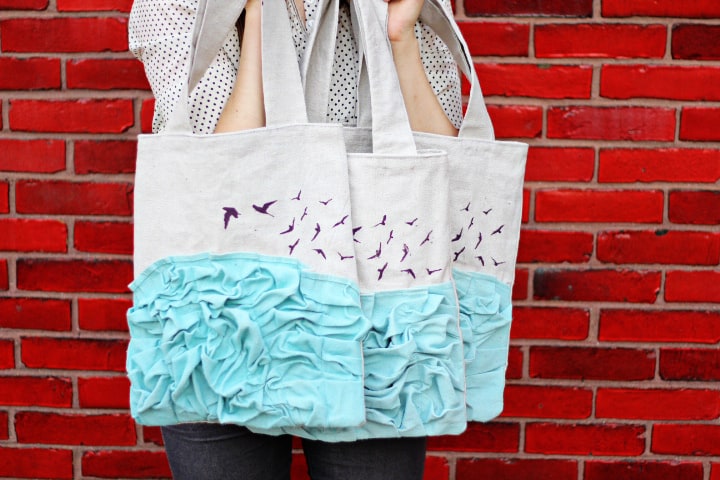
There are a few different ways I screenprint and I’ve outlined them all in posts in the past. I wrote a post about using contact paper to “print” on fabric. This method is really just stenciling with vinyl, which is great if you only have 1 or 2 things you need the design for. I made these bird tote bags (pattern here) by cutting my design out with an Xacto knife and stenciling it on. I used vinyl for the stencil.
In my original screenprinting tutorial post, I used my Lifestyle Crafts Epic to cut the arrows out of that design. The only problem with that is it isn’t computerized so my design was limited to the die cuts available. It worked though, better than the X-acto and that’s when I decided I should get an electronic cutter. (I also sold some arrow fat quarters for a little bit.)
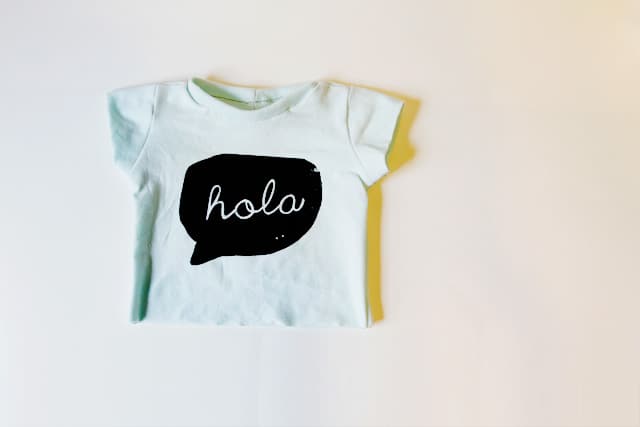
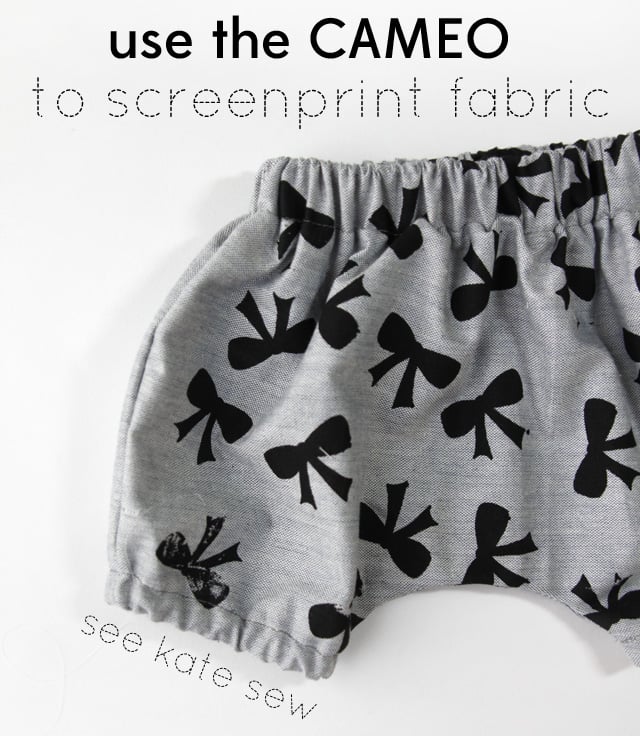
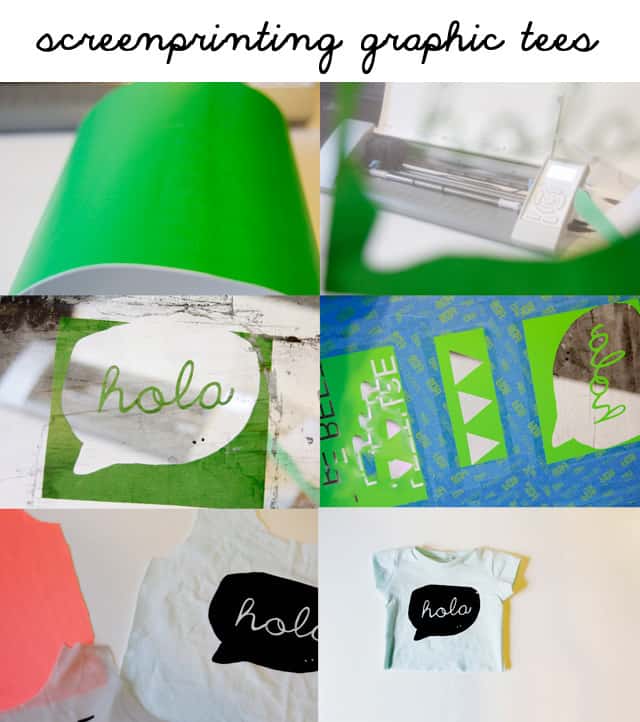
Last summer, Silhouette sent me a CAMEO and it became my screenprinting sidekick. Now my silkscreening method is lightning fast! Before I got my Silhouette CAMEO machine, I had to cut my design out by hand. It took FOREVER and the result was not always that awesome. Now I can produce any design I want, transfer it over to the Silhouette Studio software (included with machine) and cut it out. It takes about 5 minutes and the design is PERFECT. I highly recommend purchasing a cutting machine for this reason alone. This is pretty much the only thing I use my CAMEO for, even though I know there are a million other uses for it. So anyways, the Silhouette is a big part of my process now and you can enter to win one below or take advantage of the great package deal. Here’s the full post about screenprinting with the CAMEO. This is exactly what I did to print these graphic tees using silhouette vinyl.
This CAMEO comes in a variety of bundles, including starter kits!
Tips:
*Don’t cut during naptime, this thing is loud!
*If you’re screenprinting make sure you cut out the image in reverse, this is especially important for words! The design goes on the underside of the screen.
Summary of posts cited:
–how to screen print on fabric
–using the cameo to screenprint fabric
–how to print with contact paper
–8 clothing projects with the CAMEO
Enter the giveaway in the widget below!
US residents only!
a Rafflecopter giveaway



Ahh this is such a great giveaway!! I’ve been curious about screenprinting for a long time, and it’s awesome to hear that you don’t need a private studio to do it!
I’m so excited that you shared this!! I’ve been wanting to learn how to screen print for a long time!
Ok, this may sound like a silly question – but, what do you use to create your designs themselves? A certain software program? Already like you on FB and follow you on Instagram. Excited for the giveaway!
Either Photoshop, Photoshop Elements, or Silhouette Studio (which is included). Not a silly question at all! You can pretty much use any image and trace it with the Silhouette Studio software! :)
This is great, thanks! I have been reluctant to try full-on screen printing so this is a nice alternative idea. I LOVE the bird tote – your post indicates that there is a link to a pattern for it? I think the link is missing – if so, could you post it? Or just point it out if I am missing something obvious!
Ooops! Totally forgot to add it, the pattern is right here: http://seekatesew.bigcartel.com/product/crushed-ruffle-tote-pdf-pattern
Thanks for catching that! I’m glad you like them! :)
Hi, Kate!
This is Alicia Joy from ajoyworthhaving. I just wanted to let you know that I’ve nominated your lovely blog to receive the Most Inspiring Blogger Award! You can read all about it and pick up your award here:
http://ajoyworthhaving.blogspot.com/2013/04/very-inspiring-blogger-award.html
Thanks for the inspiration, and keep up the good work!
Alicia Joy
Oh my goodness now you have my wanting one of these machines. My husband is going to love that ;) ha well I hope I win. and if not I will definitely know what I am putting on my christmas list this year :)
Oh how exciting! I would love it!!
What a wonderful give-a-way! Thank you so much!!
I really want to try this, I already have a digital cutter too. Hopefully later in the year I’ll be able to invest in the screen and inks because I absolutely love all your screenprinted projects.