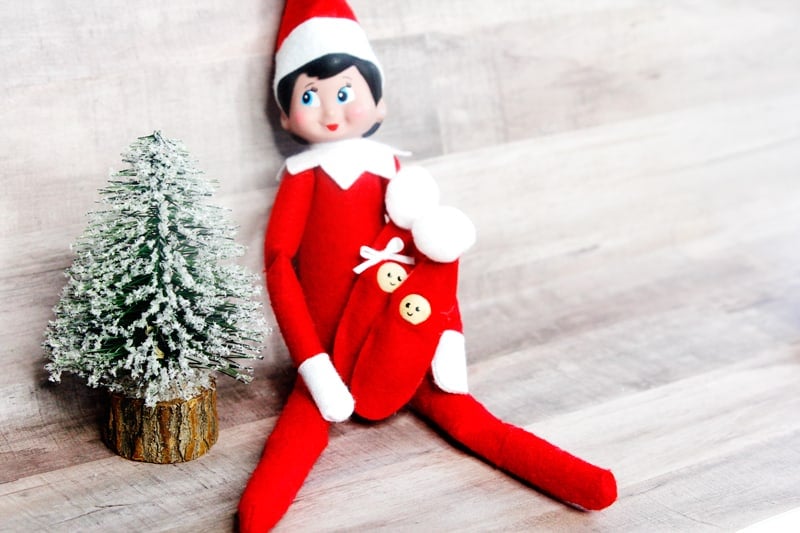
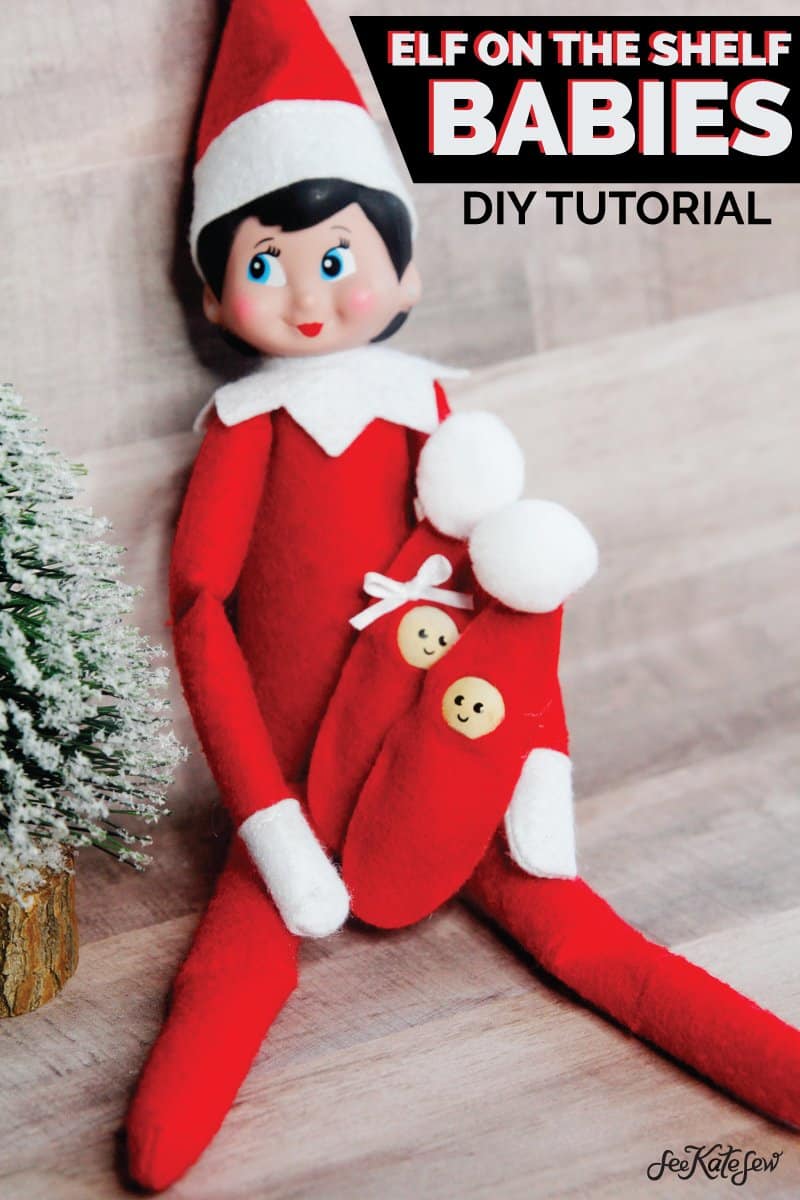
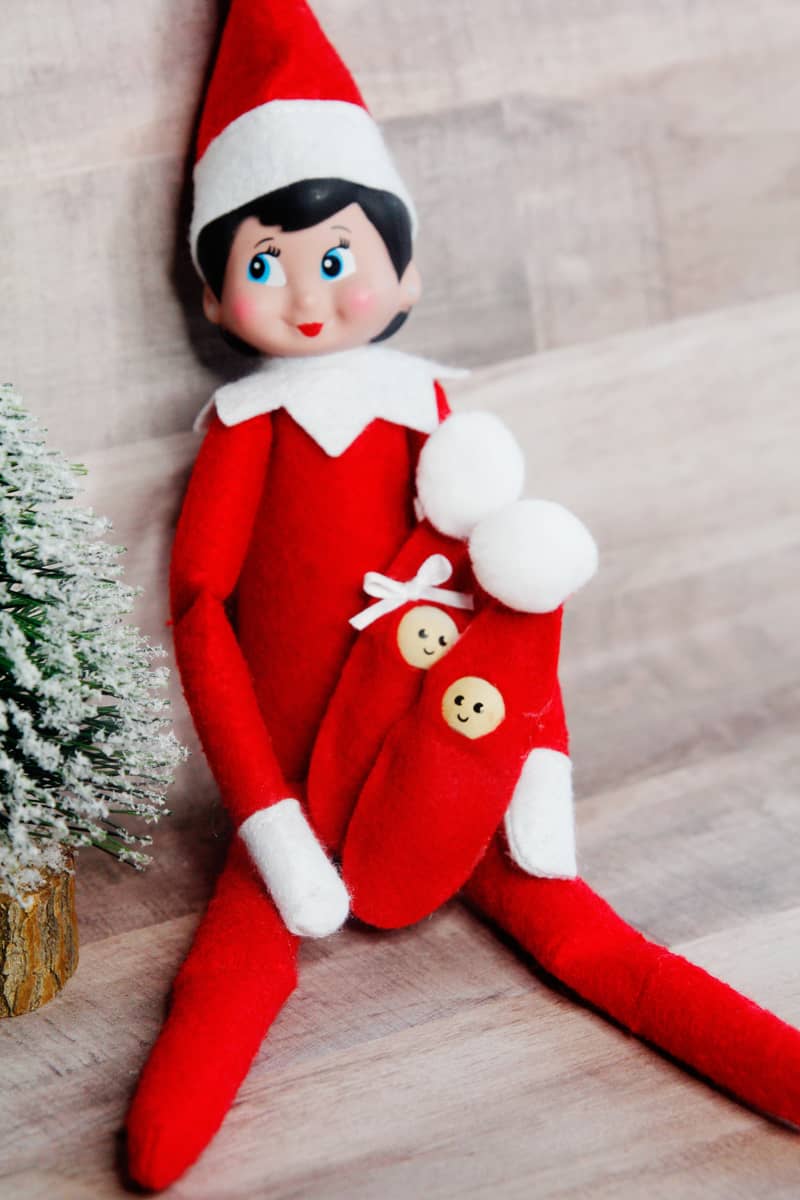
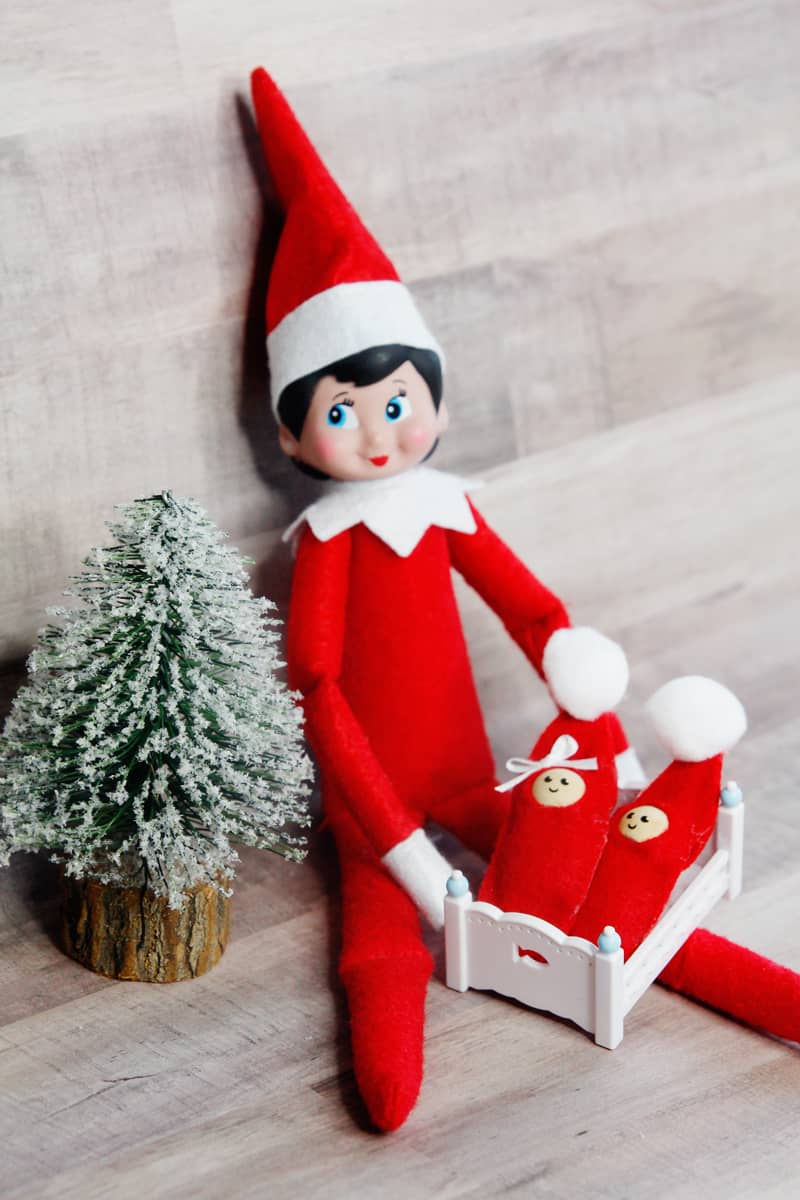
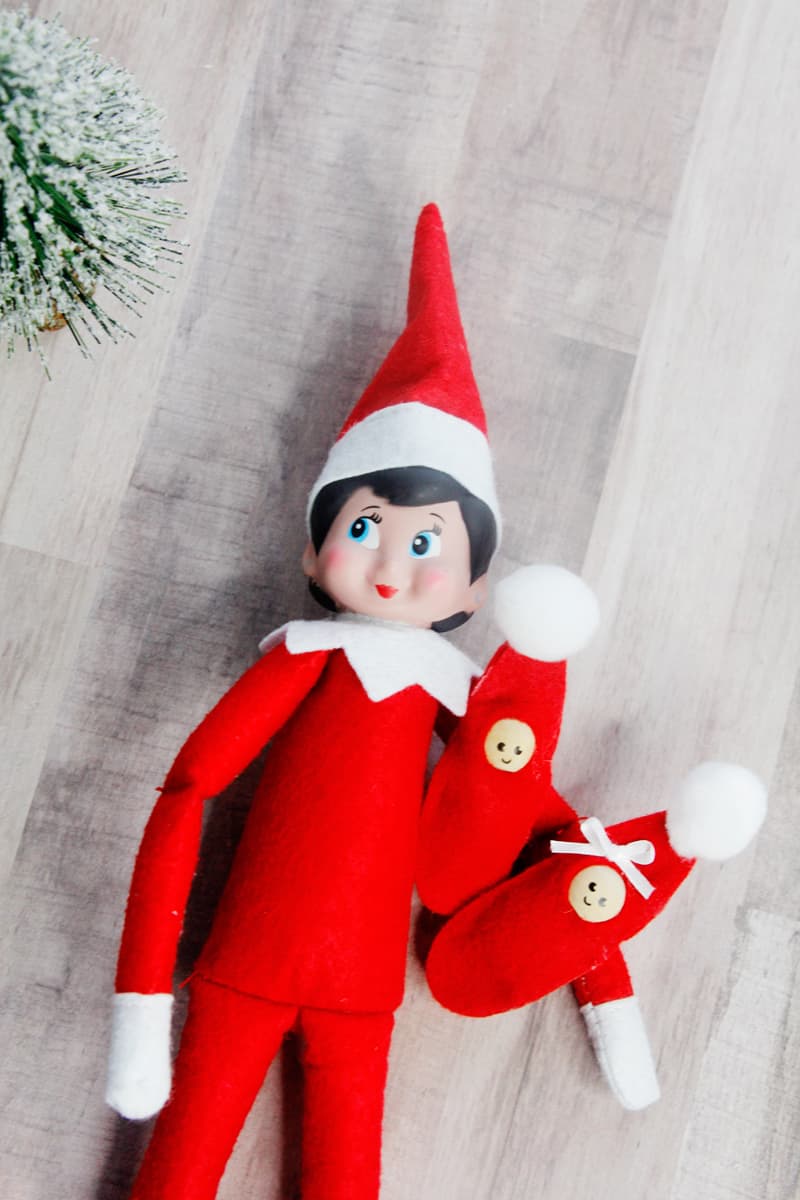
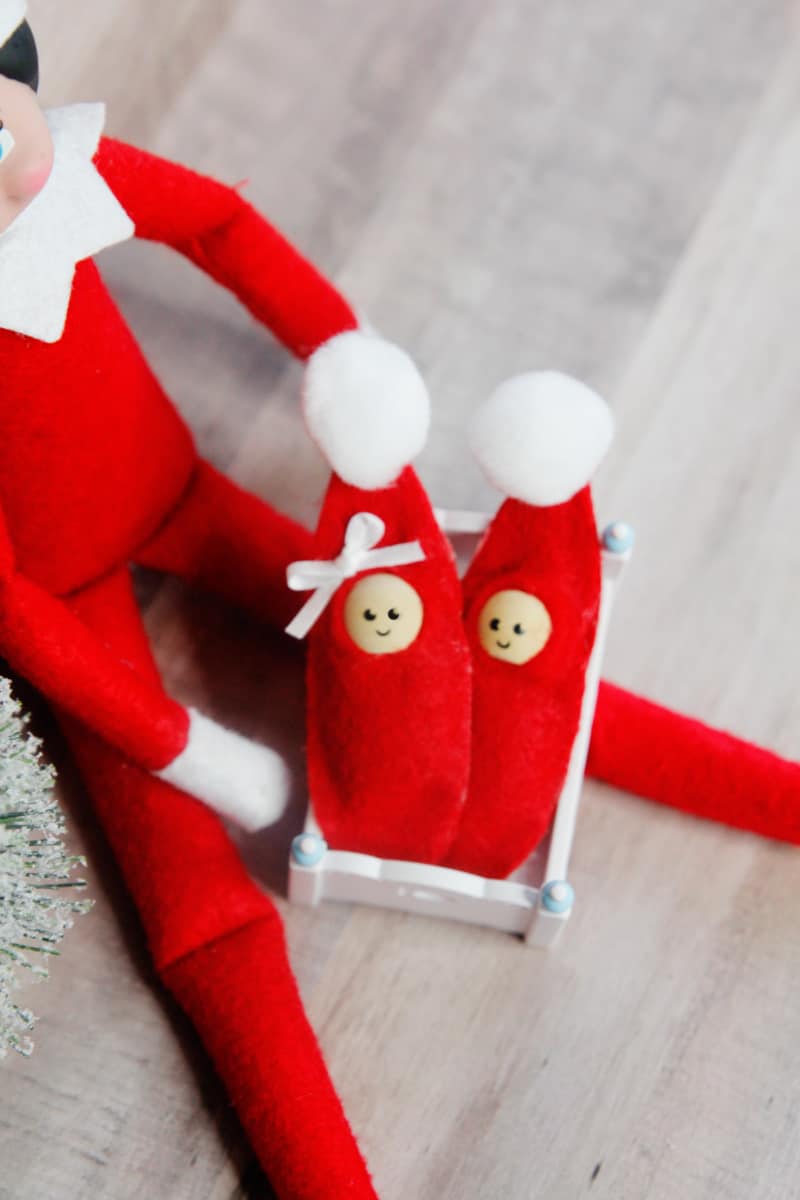
It’s a boy! It’s a girl! It’s an elf on the shelf baby! It wasn’t my idea, I promise, but in this post I will show you how to make a baby elf on the shelf, it’s so easy! Not sure where my kids got this idea (oh wait yes I do: YouTube!) but I took it as a craft challenge! So Santa gave Zoey two baby elves! They are named Chloe and Bowie, hah!
These little DIY baby elf on the shelfs are made with felt and a glue gun – no sewing required! They are super easy and pretty fun, too!
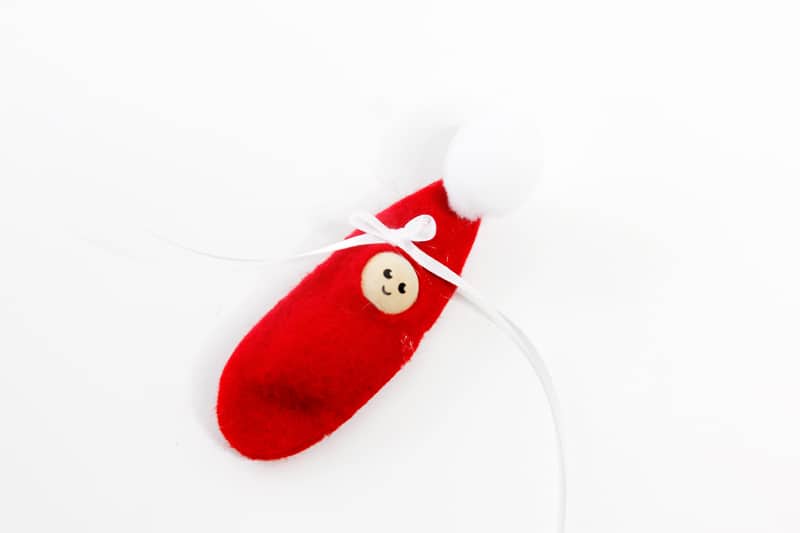
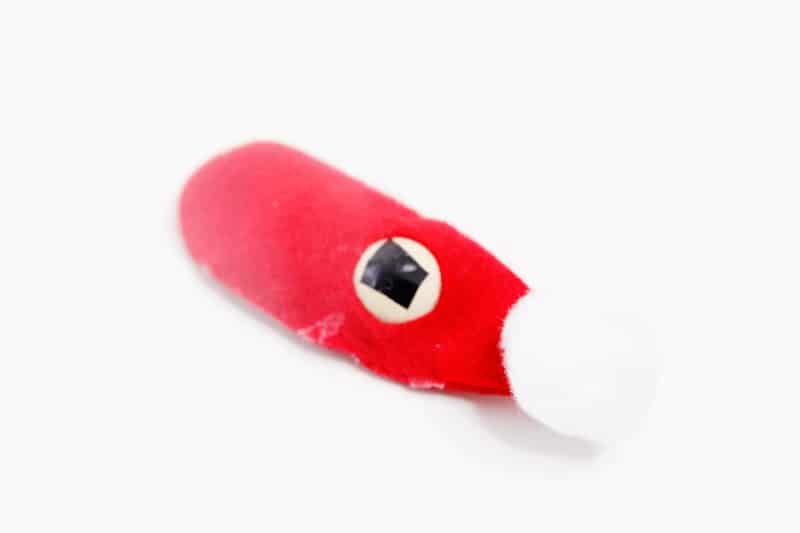
I made their little faces with a wooden ball and vinyl and their hats are topped with pom poms. These would be cute toys for a Barbie or other doll, too, with different colors of felt!
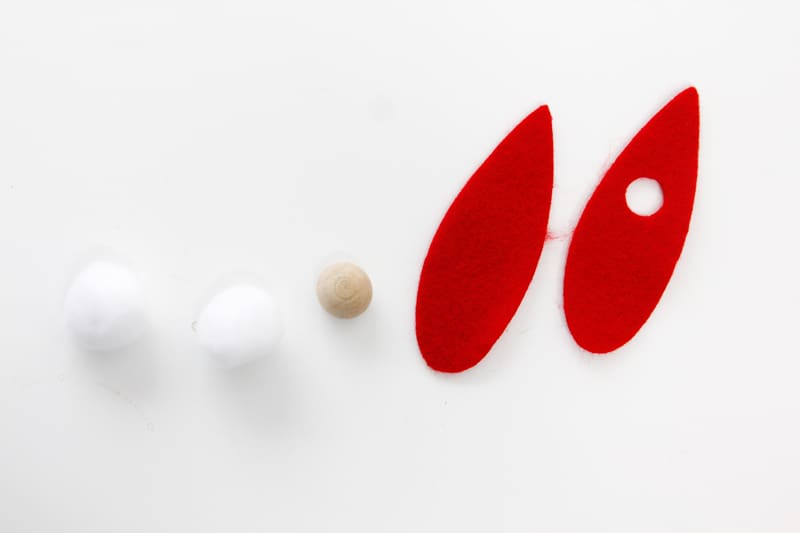
Materials for Baby Elf
- 1 sheet red felt (affiliate links)
- white pom poms
- doll head or wooden bead, about 1/2″
- glue gun
- optional ribbon
You can cut this out by hand or make it even easier with the Cricut Maker! Get the pattern by clicking on the button below!
Cricut Materials and Instructions
Upload the file to Design Space and cut it out! You can see photos of the process in this post! Attach the design to the canvas before cutting. Choose “Acrylic Felt” as your material and use the Rotary Blade to cut!
How to make a baby elf on the shelf
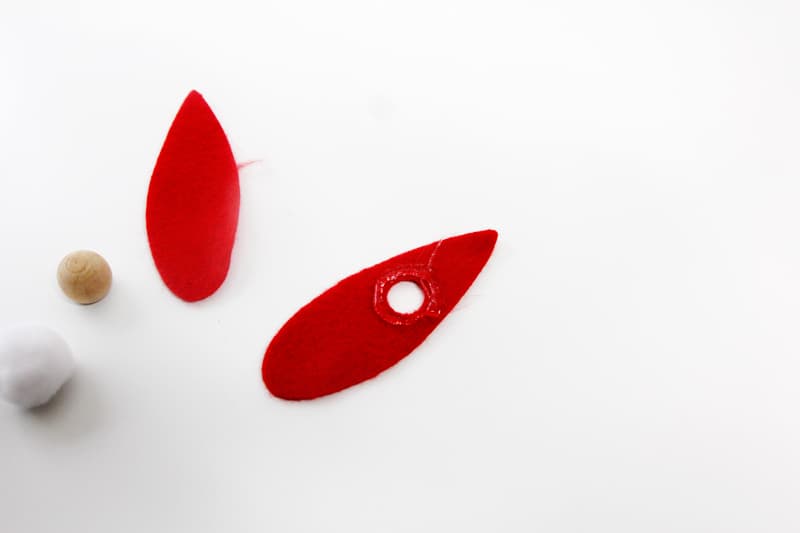
Cut out 2 swaddle pieces, one with a hole and one without.
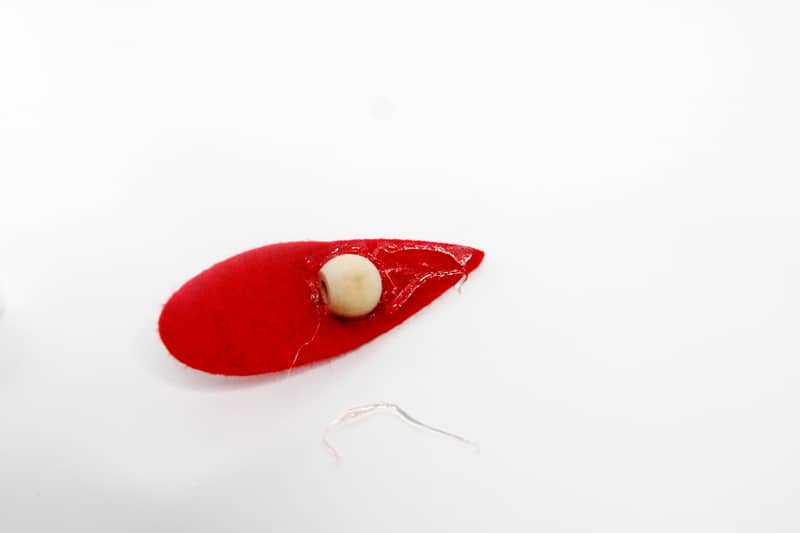
Put glue all around the circle.
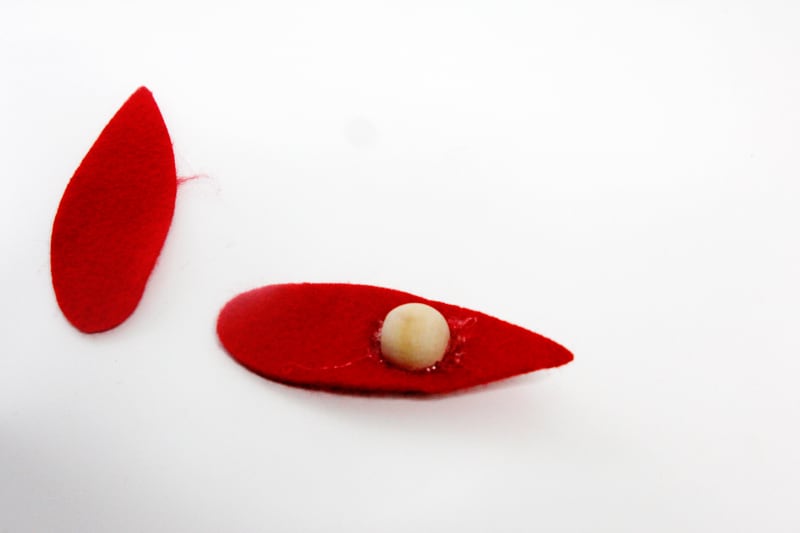
Then stick the wooden ball on top and push down.
Glue the top of the swaddle/hat down.
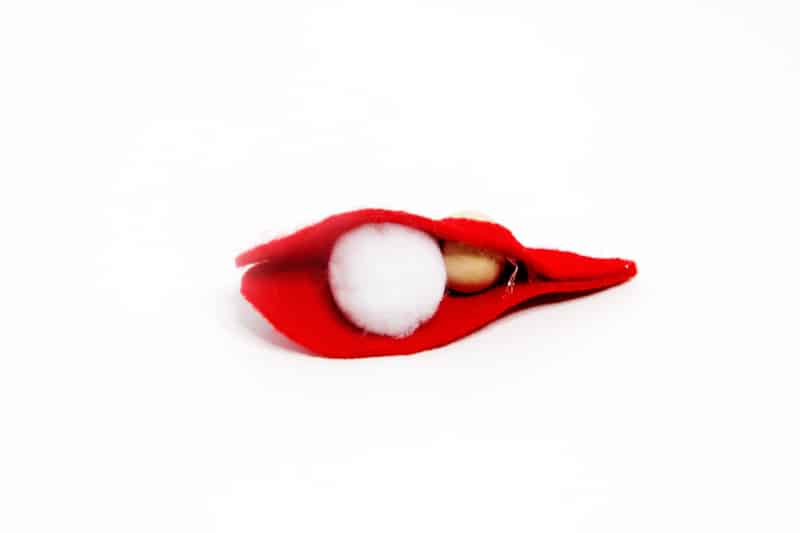
Stuff the rest of the swaddle with a pom pom and glue all around the edges.
Add the face with a sharpie or vinyl. If you’re using vinyl skip the weeding. Instead, keep the whole face together by sticking the vinyl on and pressing hard and then peeling off the extra.
Add a little bow to the hat if you want!



thank you . Very cute