• Skip to main content
  • Skip to primary sidebar
  • Skip to footer
  • Blog
  • About
  • Contact
  • FAQ
  • Sponsor

see kate sew

sewing, crafts, tutorials, DIY

  • Patterns
    • Free Patterns
    • Pattern of the Month
  • Tutorials
    • Accessories
    • Bags and Pouches
    • Clothing
    • Costumes
    • Crafts
    • Cricut Projects
    • Holiday
    • Household
    • Kids
    • Maternity
    • Quilting
  • Topics
    • Baby
    • Boy
    • Christmas
    • dog
    • Dolls
    • Easter
    • Girl
    • Halloween
    • Lookbook
    • Party
    • pet
    • Printables
    • Training
    • women
  • No Sew
  • Sewing 101
  • Sew4Good
  • Pet
  • Sewing Room
    • DreamBox
  • Reviews
Home
  • Patterns
    • Free Patterns
    • Pattern of the Month
  • Tutorials
    • Accessories
    • Bags and Pouches
    • Clothing
    • Costumes
    • Crafts
    • Cricut Projects
    • Holiday
    • Household
    • Kids
    • Maternity
    • Quilting
  • Topics
    • Baby
    • Boy
    • Christmas
    • dog
    • Dolls
    • Easter
    • Girl
    • Halloween
    • Lookbook
    • Party
    • pet
    • Printables
    • Training
    • women
  • No Sew
  • Sewing 101
  • Sew4Good
  • Pet
  • Sewing Room
    • DreamBox
  • Reviews

08.09

the paper bag skirt

Welcome to See Kate Sew! If you’re new here, sign up for my email newsletter for access to free patterns, tutorials and all the latest sewing news! Tour my sewing room HERE!

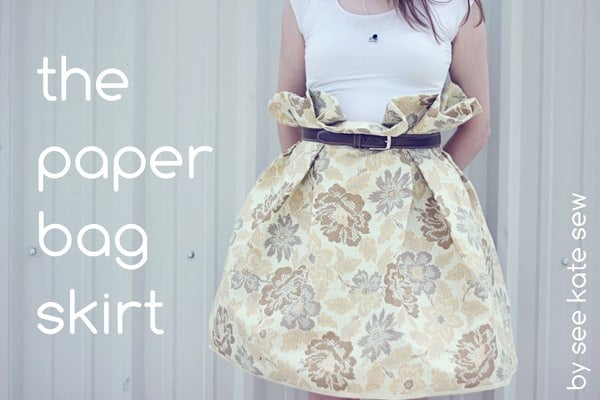
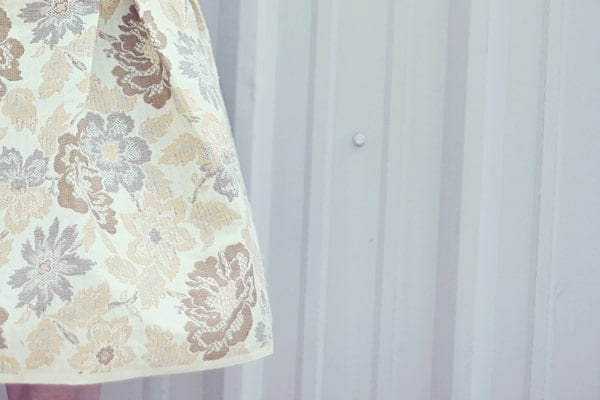
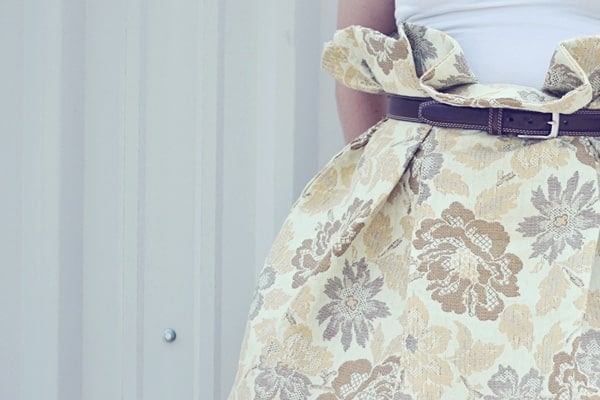
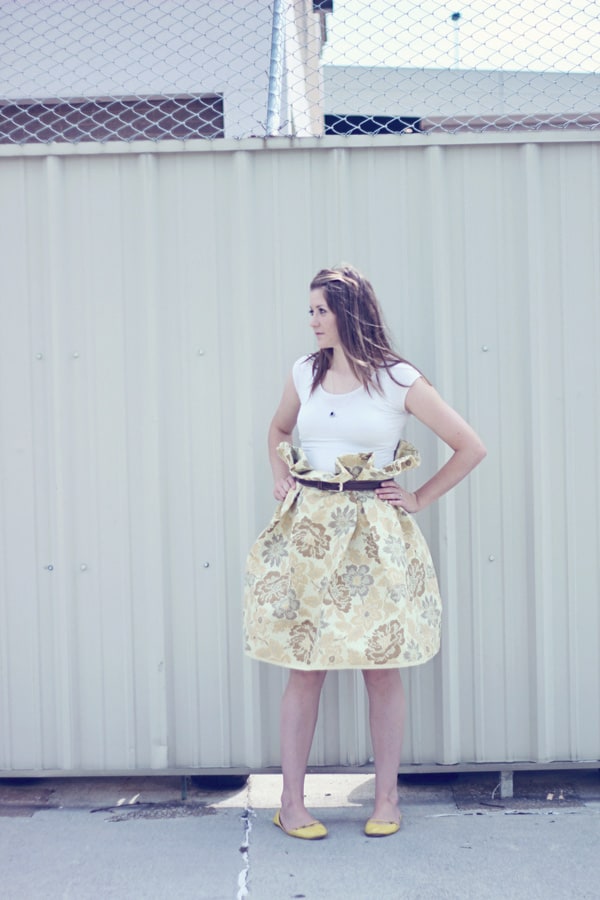
Don’t you just love the classic paper bag skirt? I gave you a little preview of this here. I really love it! Super high waisted. Stiff as can be. It feels so high fashion. I can just see it with some cute grey tights and a tucked in cardi when it gets cooler. … If it gets cooler? 


So this is my twist on a classic style. There are a few ways to make paper bag skirts, this way using…(can you guess?)..pleats! (good guess!)


Fabric Pointers: 
To make this skirt extra paper-baggy you need a stiff material, something that will almost crinkle when you grab it, like a real paper bag would. You can use silk or a thick duck cloth, home decor fabric, etc. I found this upholstery fabric in the clearance section and thought it would be perfect. The cutting lady scoffed at my idea. Then I knew it was a good one. (Often the best ideas are scoffed at initially, right?) Plus, who doesn’t want to dress like an old couch? Right.


You are also welcome to experiment and use other materials though.  You will just get a different effect.
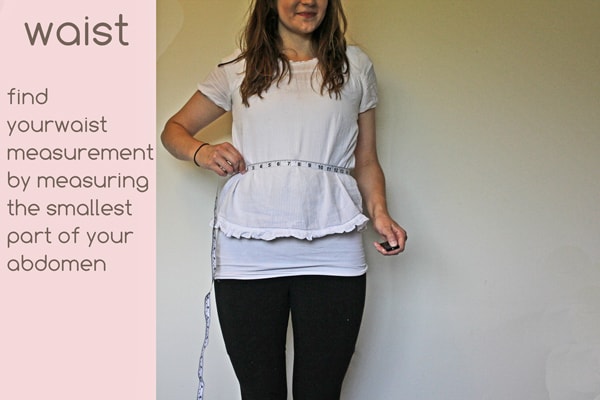
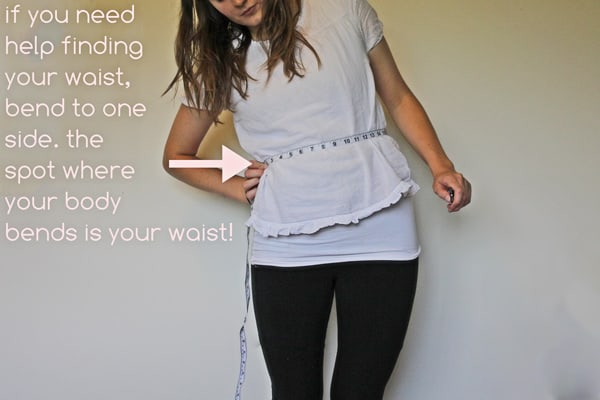

Measure
The pattern for this requires a few simple measurements. Measure your waist, double it, and add 3 inches for the width. For the length, measure from a few inches above your waist (depending on how high-waisted you want this thing) to where you want the skirt to hit, for example your knee. Add 1 inch.  I recommend knee length or longer. There is so much fullness in this skirt and the stiff fabric makes it almost like a tent. (I see London, I see France…) But it’s up to you :)


[(waist + 3″) x 2] by (length + 1)


Let’s get started! 


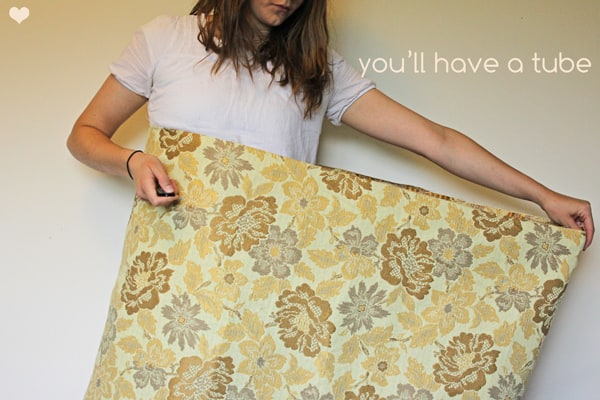
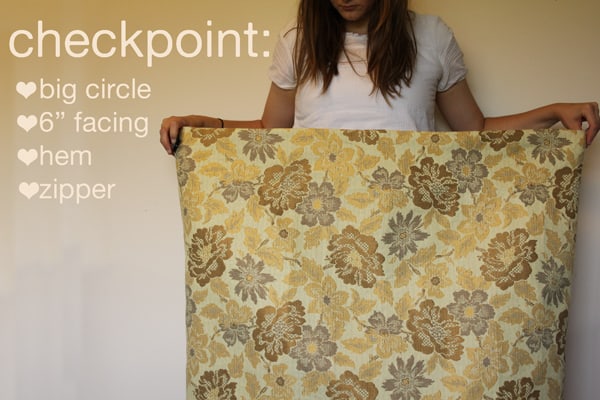
First, cut out your fabric. Okay, then sew your fabric into a tube. I have two seams since I sewed two pieces together to get the width. So, they will be my side seams.  
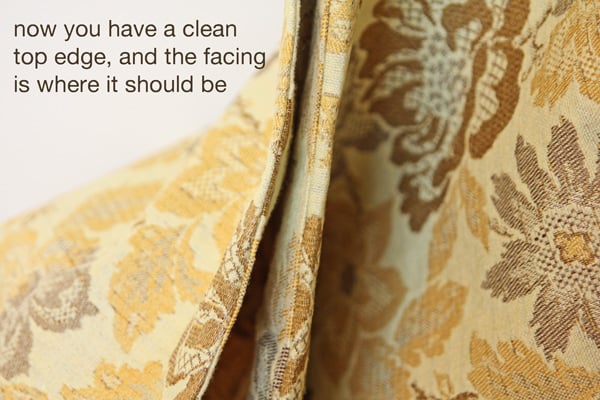
(weight loss ad?)

facing
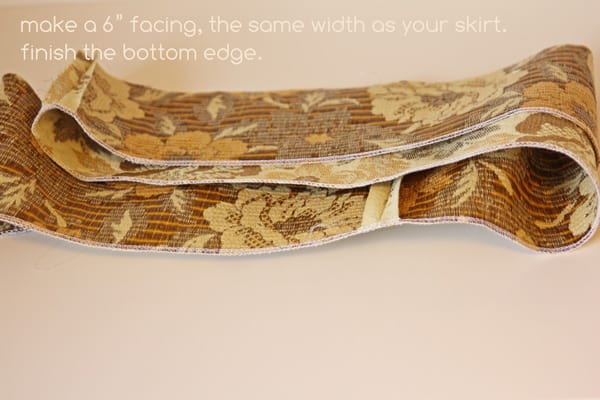
Since the top part of this skirt is meant to billow out, the underside of the fabric is likely to show. To fix this problem, I lined the top 6 inches of my skirt waistband with the same fabric. To do this, cut strips of 6″ fabric and sew together, creating a big circle, the same measurements as your skirt. Serge or finish one of the edges.

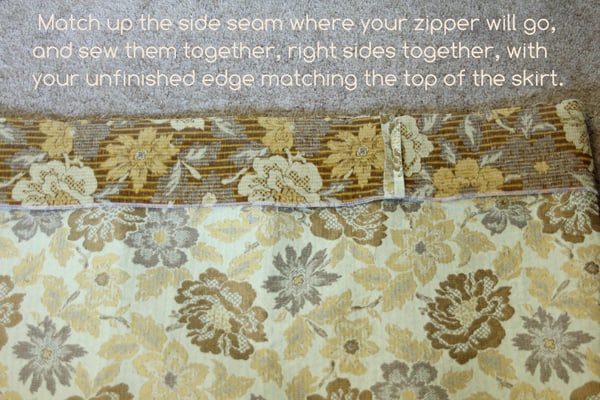
 Pin the facing to the skirt, with right sides together.

Sew your facing on, leaving a 1/2″ seam allowance.

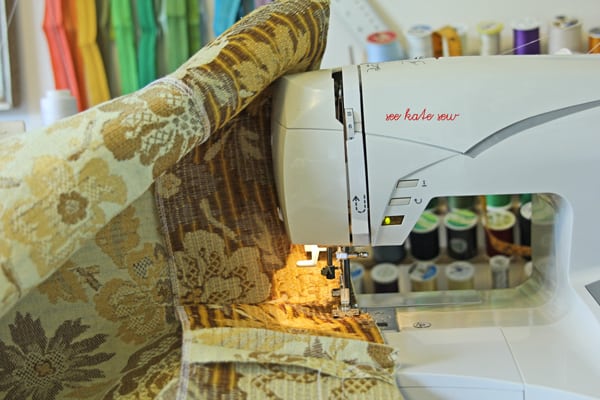
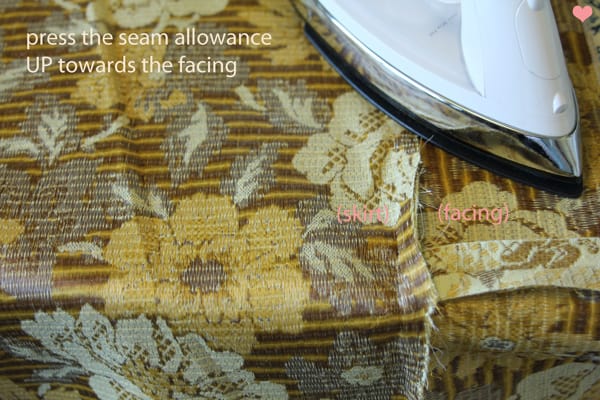
Understitching is super important, especially with heavy fabric! Understitching helps pull facings to the inside of the garment, so they don’t peek out and look tacky! To understitch, press the seam up towards your facing. Then sew the hem to the facing by sewing along the seam you just made at 1/8″. Follow the pink dotted line!

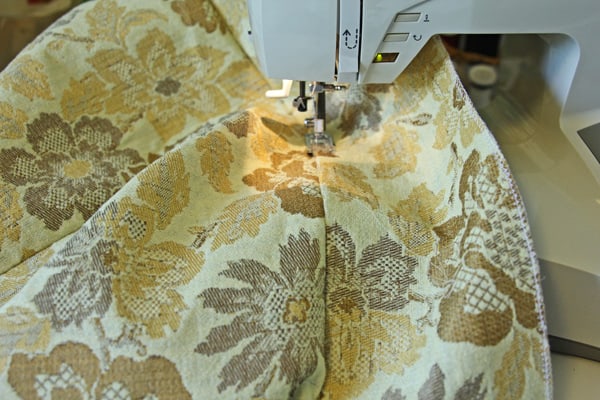
(above: understitching in action)(below: done, can you see it?)
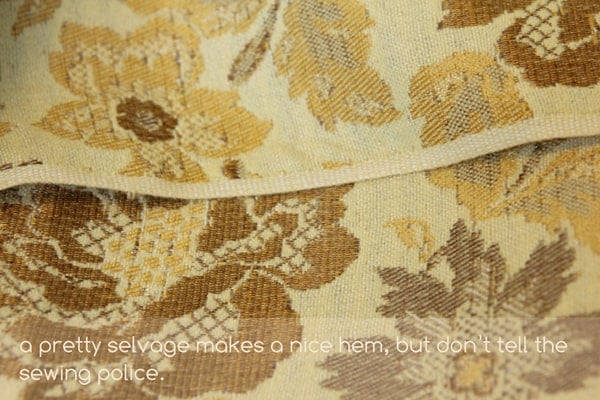
HEM
 I used the selvage edge as my bottom hem. That might be a sewing “no-no” (maybe?) but I think selvages are beautiful. So it will be a yes-yes if you have a nice selvage.
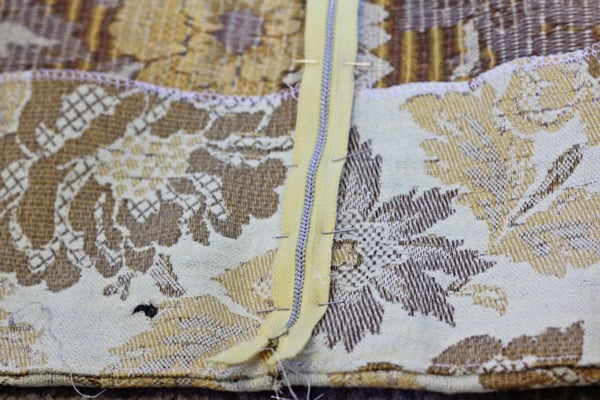
Zipper
Next, insert a zipper into one of the sides. We’re going to make it pretty fitted at the waist, so a zipper is a must! If you want to know how to insert a zipper, check out


…………………………..
…………………………..
Time for pleats!
grab your pins and measuring tape.
Measure the front of your skirt and divide by four. That will be your magic number. We’re going to put two big inverted pleats in the front and two in the back. 
(side note: my crazy pin bowl, which matches this fabric so well, contains magnets and machine feet. that’s why it looks so crazy)

At each pin mark, make two 2-inch pleats, facing each other. That’s an inverted pleat, or a reverse box pleat. Double the fabric over and pin towards the original pin spot. 
Here’s a chart to help you visualize what you’re doing. Pin where the pink lines are. The white lines indicate where you will sew each pleat. You will want to backstitch each time you sew a pleat. (I’ll show you a way to not have to backstitch later this week!) If you’re using a crazy fabric like mine where you won’t see the stitching, backstitching is fine to use.
While you’re making these pleats, we’ll want to pin them down to at least 6 inches from the top of your skirt. We’re only going to sew up 2 inches of the pleat, but pinning it all down will help you keep things nice and straight.
Now, measure the top and compare that to your waist measurement. We need to leave about 1″ for ease, so how many inches left to go? We’ll pull out the extra inches by making pleats at the side seams. Mine are 1″ wide on each side, but yours will depend on how much fullness you need to remove. 
Got that? I hope so! You may have to do a little adjusting of the pleat sizes depending on your size. If you’re making one for a little girl, a 2-inch pleat will be way too big, so scale it down.


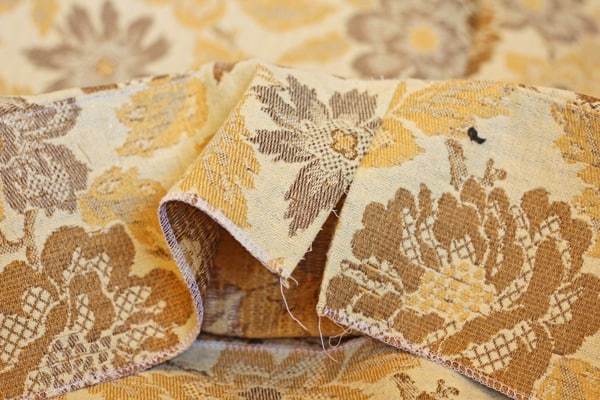
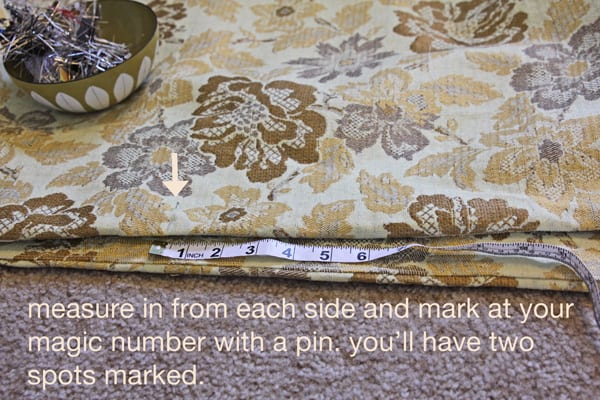
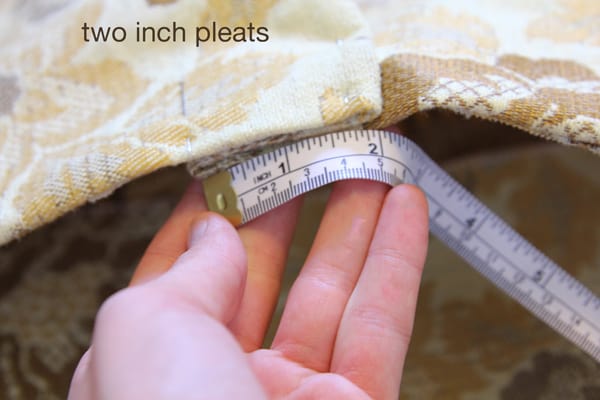
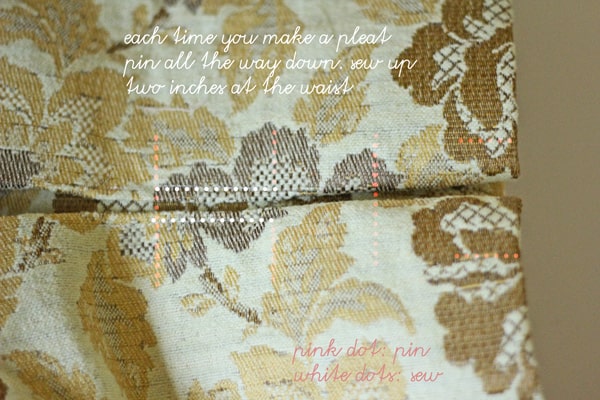
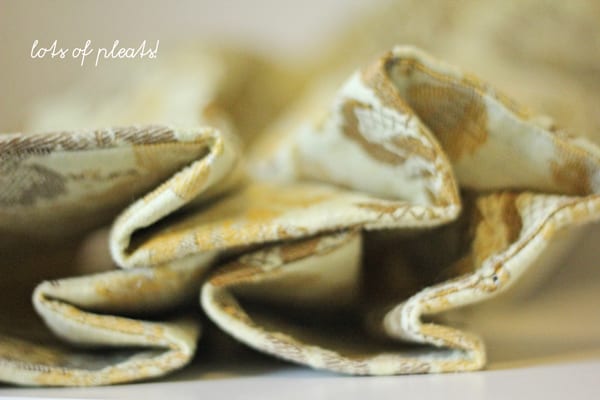
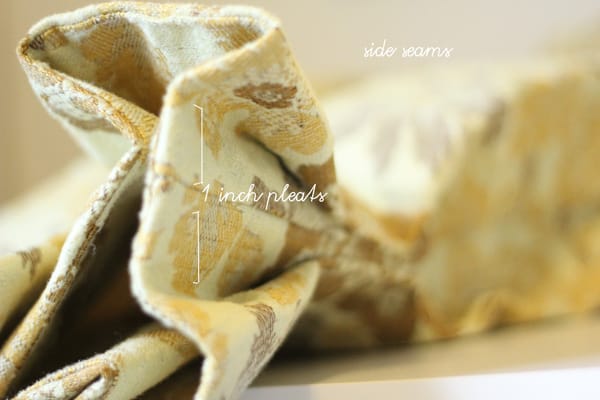
Once you’ve sewn up those pleats, you’re done! 
Now time to model that skirt! But make sure you look serious. This is serious stuff.

It would make me super giddy to see some of these pop up in the pleat week link party! Let’s see them girls!!


I have another one I’ll show you tomorrow. It’s a little less “Alice in Wonderland.”

7 Comments | Clothing

Exclusive Free PatternRuffled Apron

Sign up for my email newsletter and receive my ruffled apron pattern totally FREE!

We take your privacy seriously. See our privacy policy here. Unsubscribe at any time.

You may also like these posts...

DIY faux leather arrow teeDIY faux leather arrow teevanilla frosting shift dress tutorialThe Sydney Skirt FREE PATTERN!snowy day hat pattern (free!)

Reader Interactions

7 Comments

  1. Eline S.

    08/09 at 8:05 PM

    Lovely! ;)

  2. Christina

    08/13 at 2:22 AM

    Great skirt!

  3. Melon

    12/14 at 10:15 PM

    This is really pretty :)

  4. Anonymous

    06/18 at 2:08 PM

    Why are you using upholstery fabric? – Michelle

  5. Anonymous

    07/07 at 8:55 PM

    you give the best directions post more patterns

  6. Deidre

    07/08 at 9:18 PM

    Seriously cute!

  7. Deidre

    07/08 at 9:19 PM

    Seriously cute!

Primary Sidebar

  • Facebook
  • Twitter
  • Instagram
  • Pinterest
  • Email

Exclusive Free PatternRuffled Apron

Sign up for my email newsletter and receive my ruffled apron pattern totally FREE!

We take your privacy seriously. See our privacy policy here. You can unsubscribe at any time.

Don’t miss these popular posts!

easy baby dress pattern for the summertime

easy baby dress pattern for the summertime

modern ombre + b/w triangle quilt tutorial + pattern

modern ombre + b/w triangle quilt tutorial + pattern

Fabric

Quilted Cosmetic Case Kiss Me KateKiss Me, Kate FabricOne Hour Granny Square Quilt Tutorial | See Kate SewModern Granny Square Quilt Whole Cloth

Pattern Hacks

Easy Baby Summer Dressthe EMMA pattern | See Kate SewThe EMMA Dress

Footer

Hello friends!

My name is Kate, a twenty something fashion lover and mother of two. When I’m not chasing kids you can find me at my sewing table or daydreaming up new designs. You can read more about me here. Thank you for visiting!

8a918f8da8e0e69102dc0f33a718de85a99c31a57283e0e3e2

FOLLOW ME HERE

  • Facebook
  • Twitter
  • Instagram
  • Pinterest
  • Email
  • Blog
  • About
  • Contact
  • FAQ
  • Sponsor

Copyright © 2023 See Kate Sew  •  All Rights Reserved  •  Privacy Policy  •  Site Design by Emily White Designs