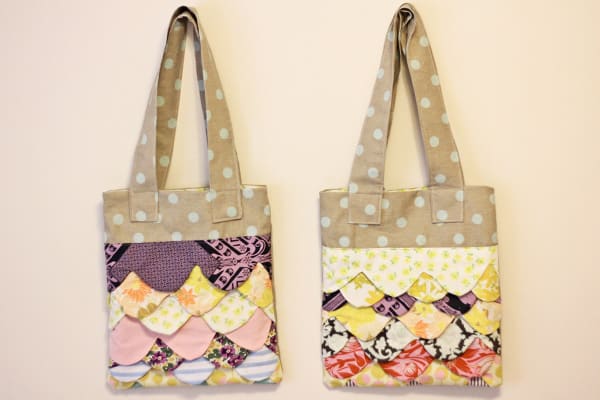
You asked for it, you got it! A FREE PATTERN from the studio of see kate sew! The Sweet Scallops Tote Pattern is hot off the press!
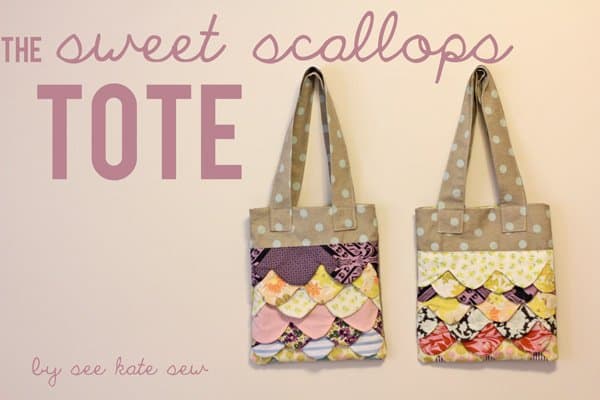
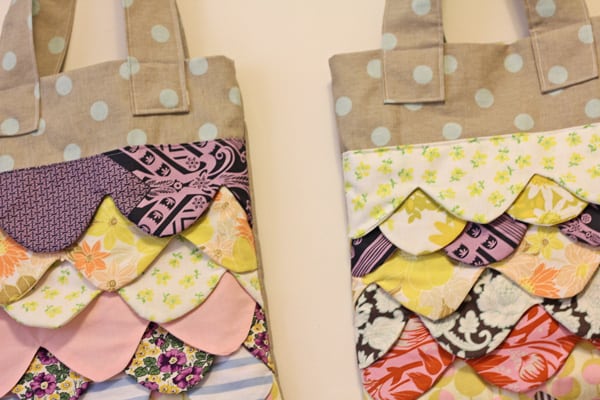
I’m so thrilled with this cute little tote. It’s just so happy.
Sweet Scallops Tote Pattern Materials:
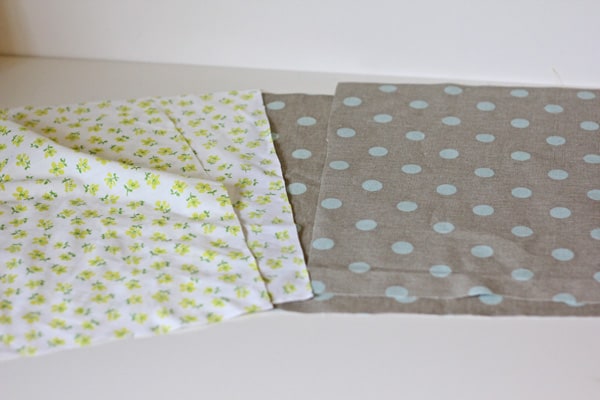
- 1/2 yard home decor weight fabric
- 1/2 yard quilting weight cotton for lining
- 1/4 yard of 7 different quilting weight prints or solids
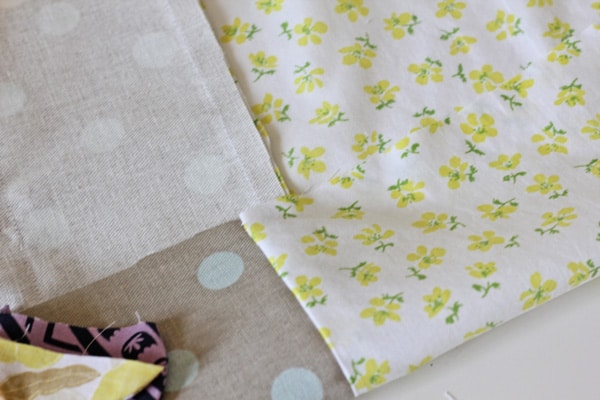
Create the Scalloped Tote
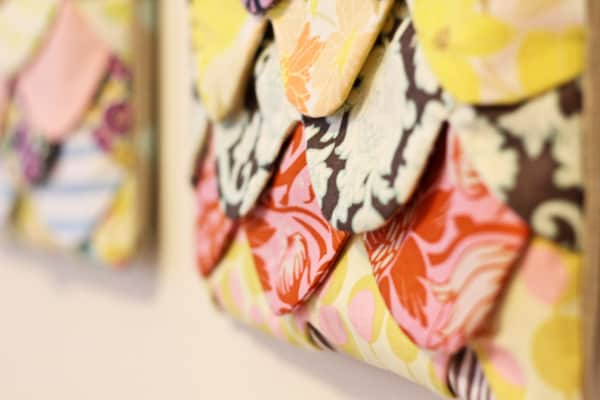
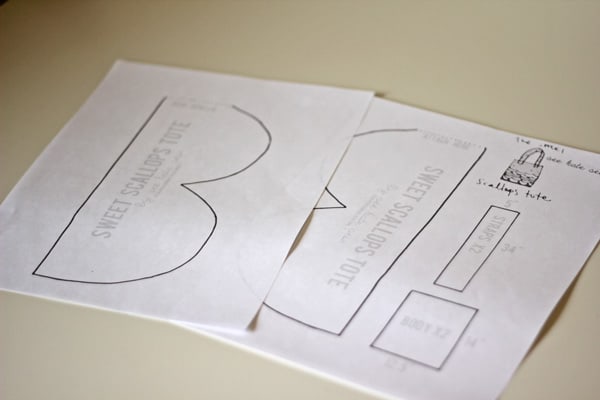
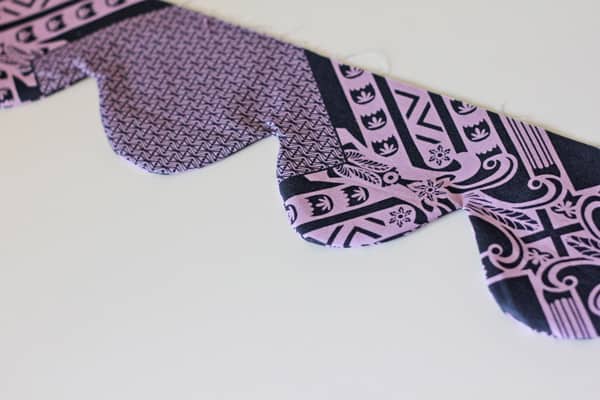
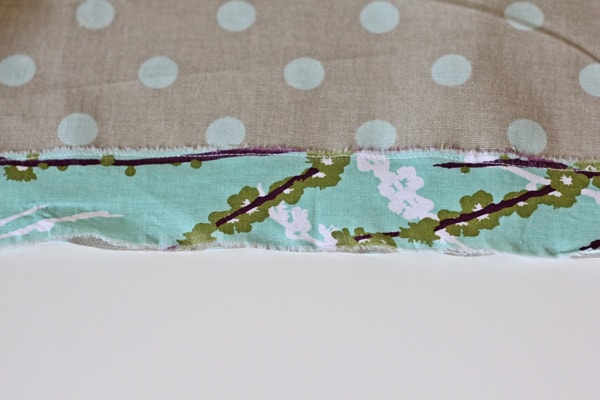
Let’s start with the fun part! For the scallops, raid your fabric stash for 7 prints and/or solids that look good together. Then print out the free pattern pieces. Cut out the scallop pieces and tape them together along the dotted line.

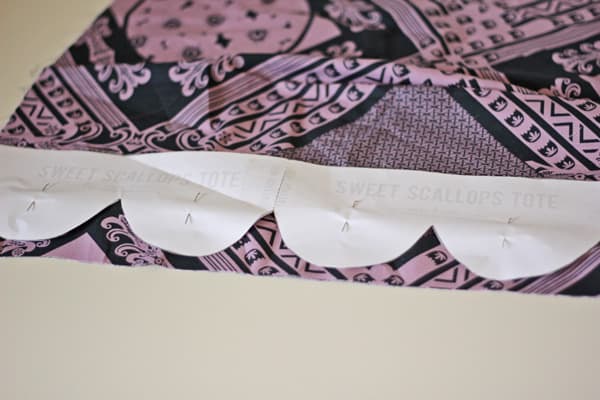
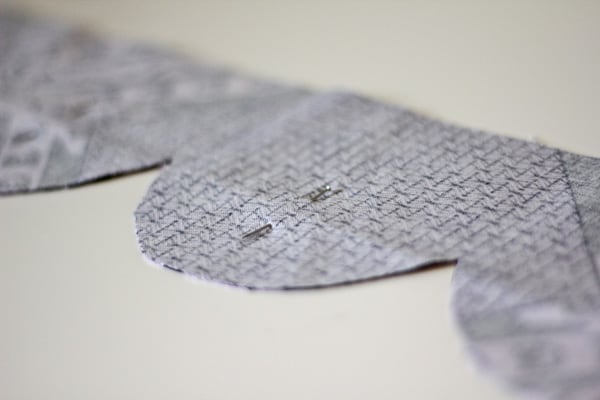
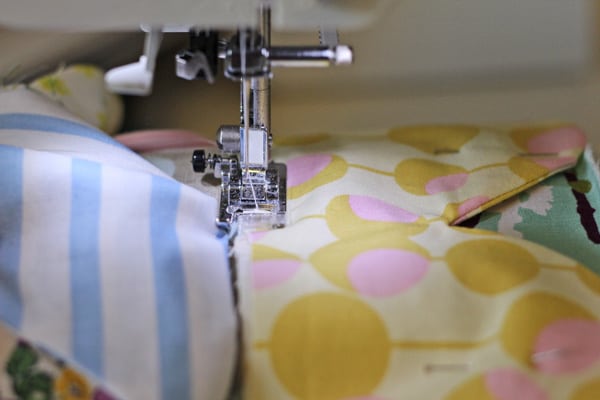
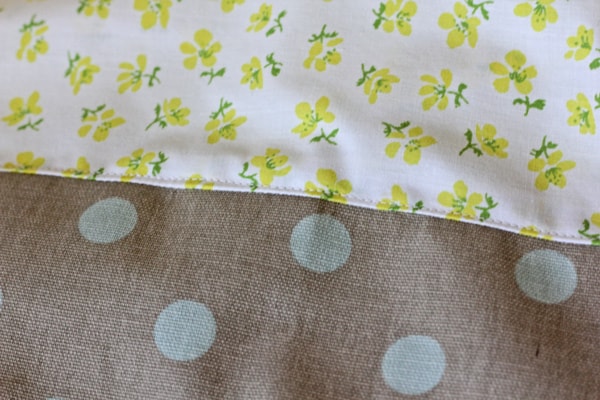
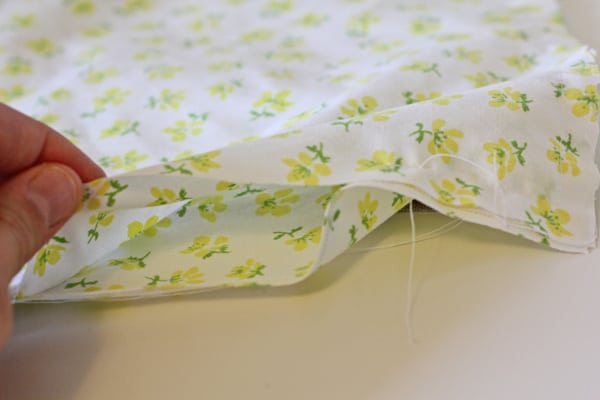
Sew the bottom edge at 1/4.” Leave the straight top part open.
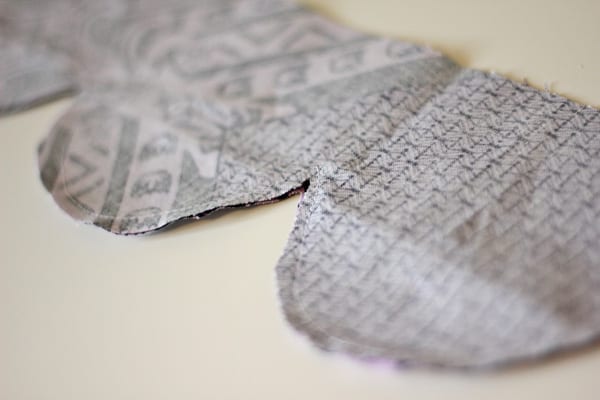

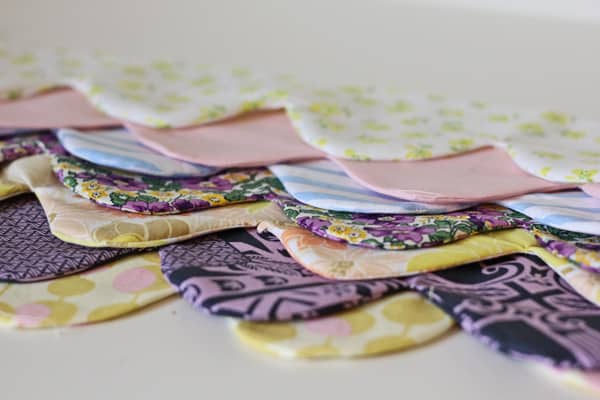
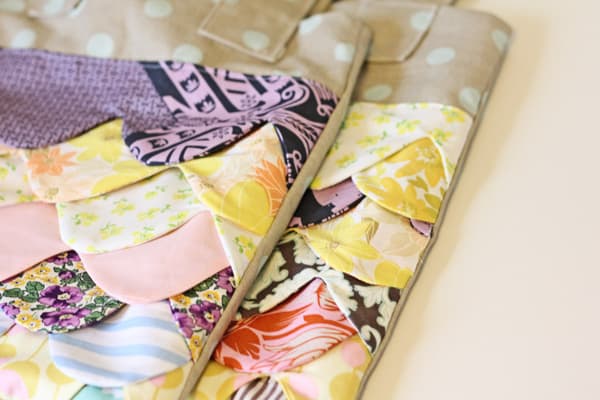
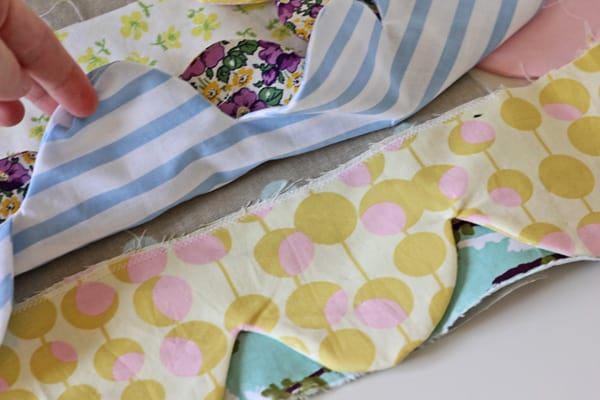
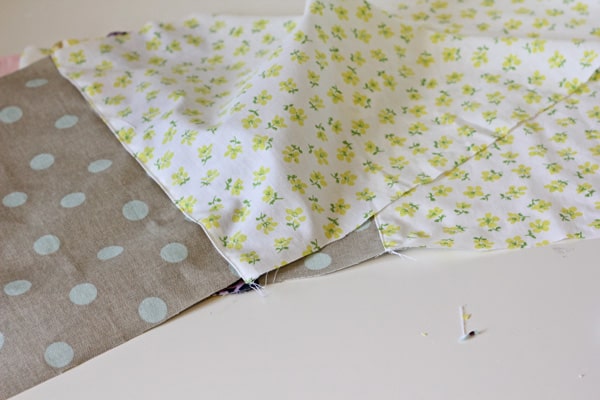
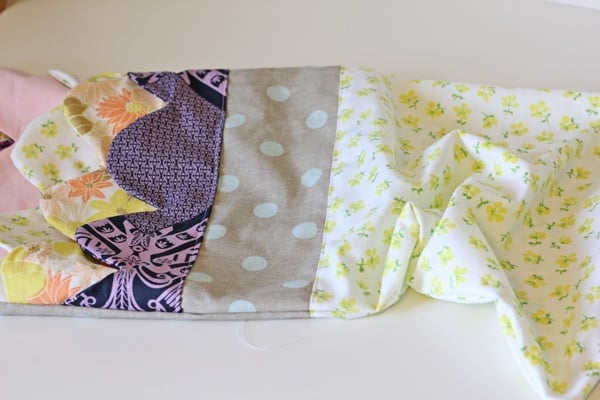
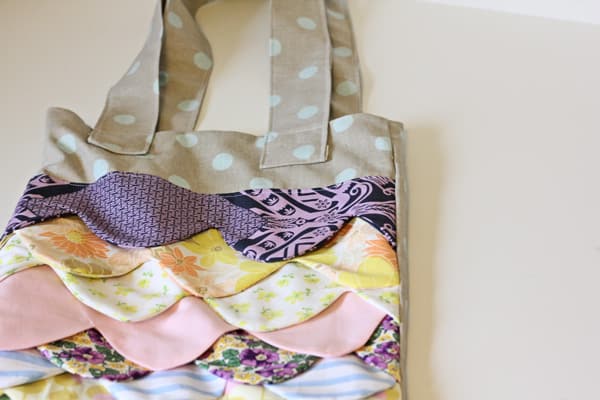
Now stack your scallops. The scallop pieces is longer than the bag’s front, so you can vary the placement back and forth.
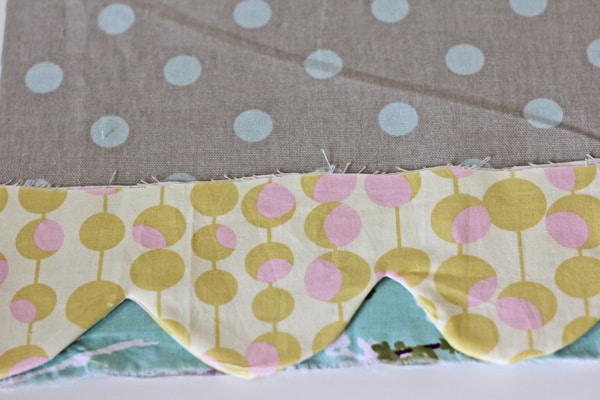
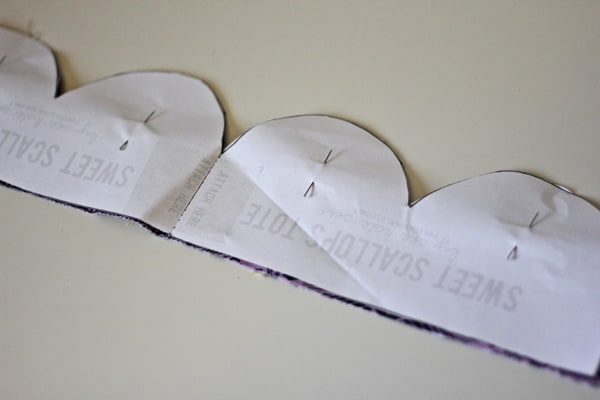
Arrange them kinda like this:
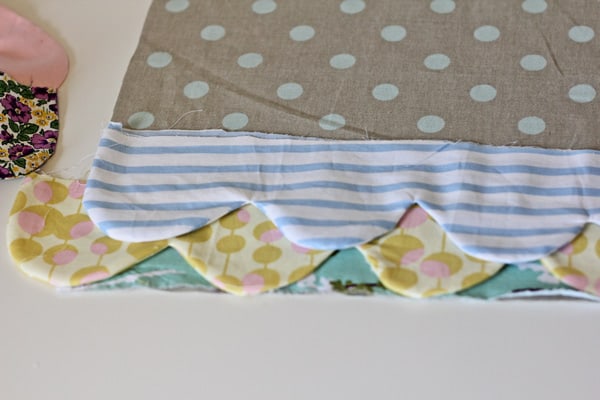


Like this!
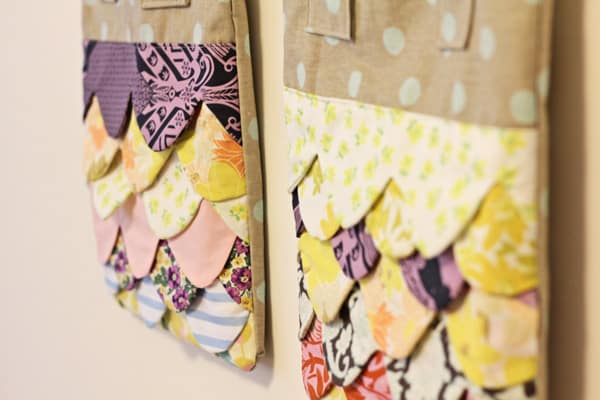
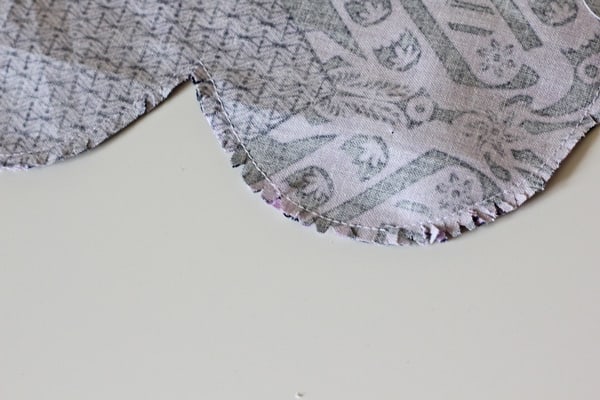
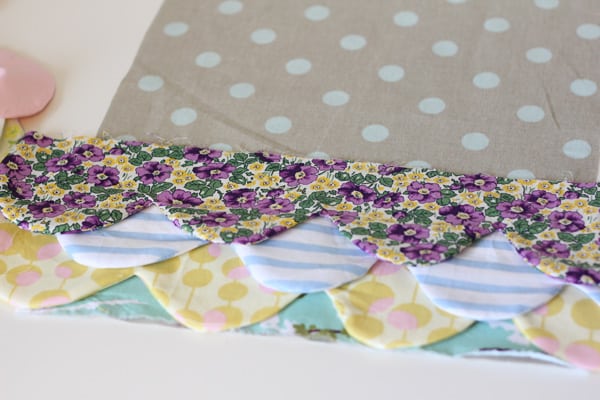
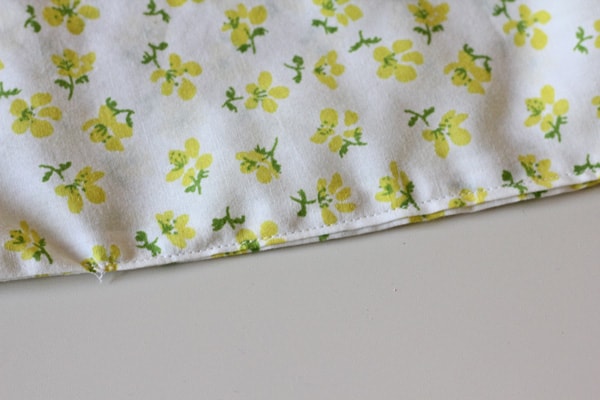
Top stitch the very top one at about 1/8″.

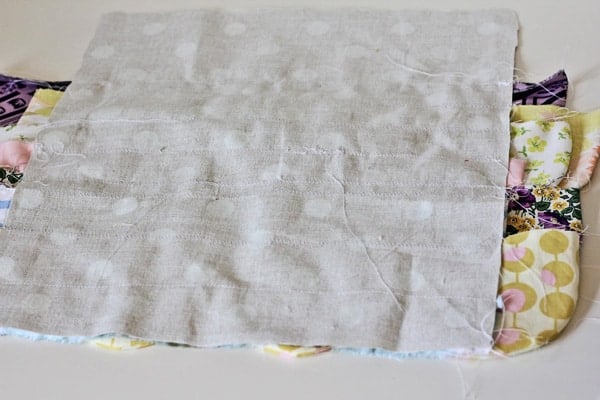

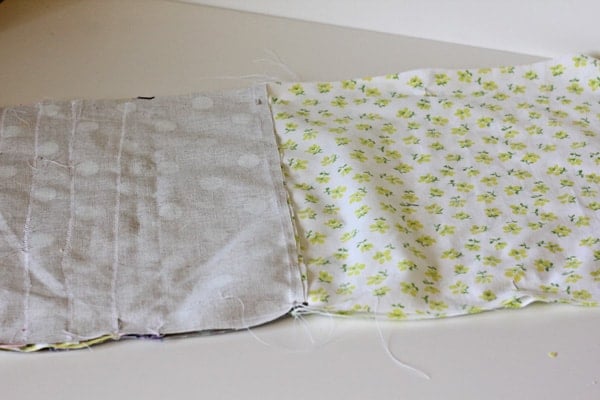
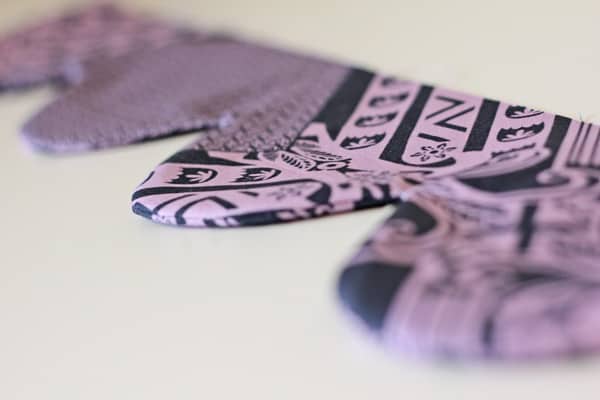
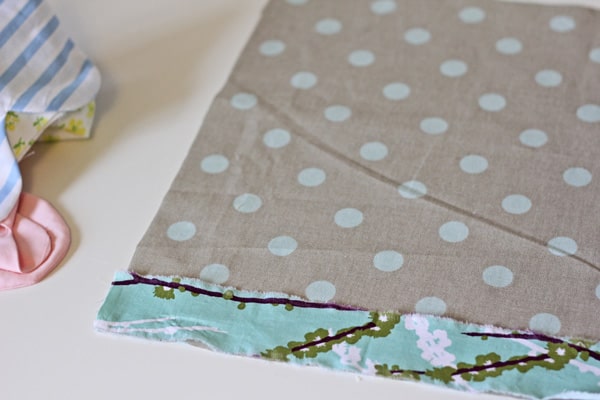
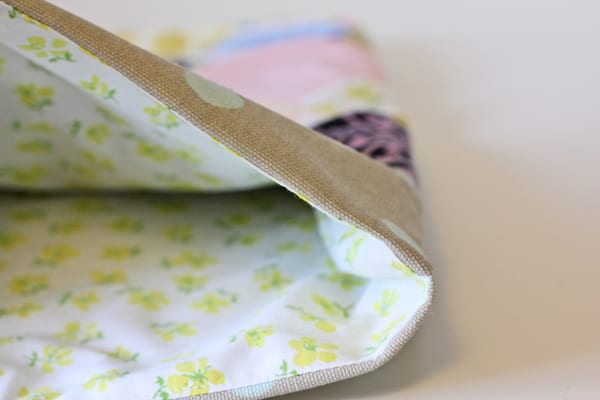
Sew all the way around the outsides of the lining and outer pieces, leaving a 4″ hole at the bottom of the lining.
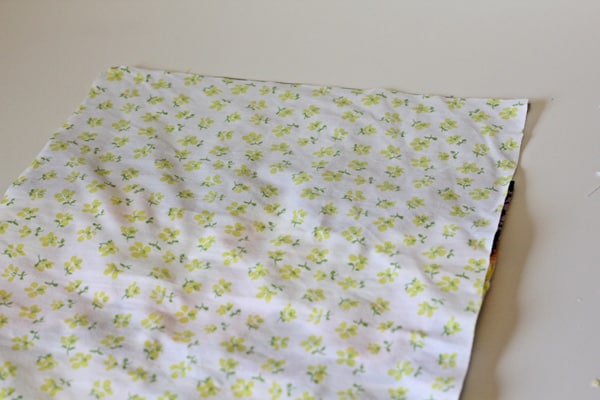
Press the opening closed and stitch it up.
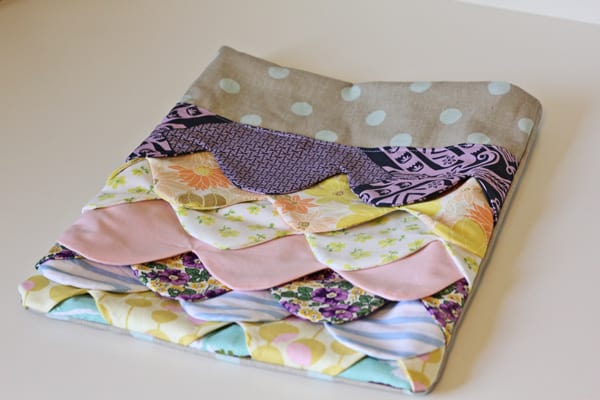
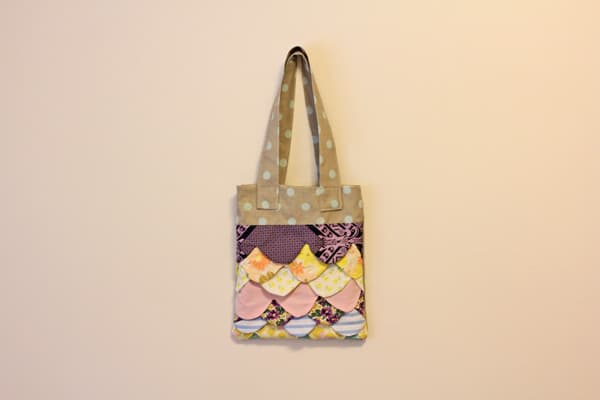
Now your bag is finished! We just need to add the handles!

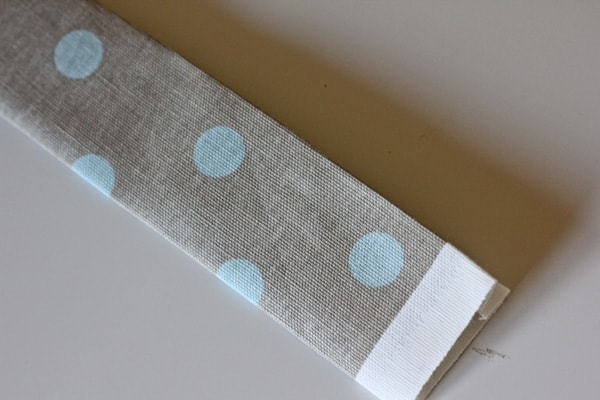
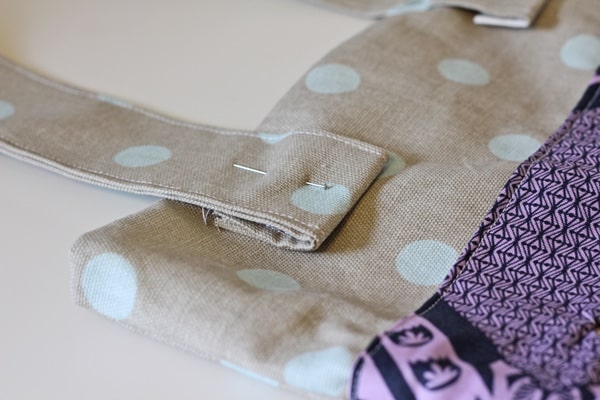
Fold it in half like this. Pin in place.
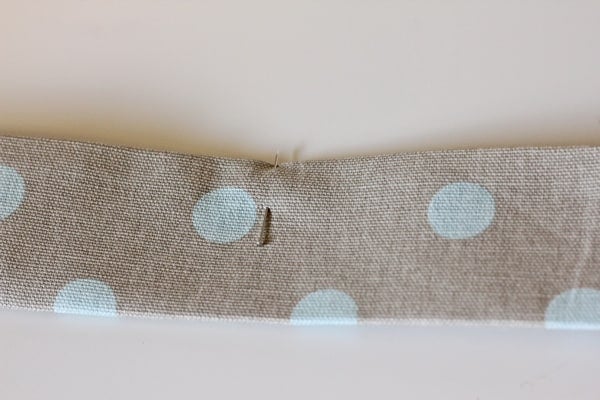
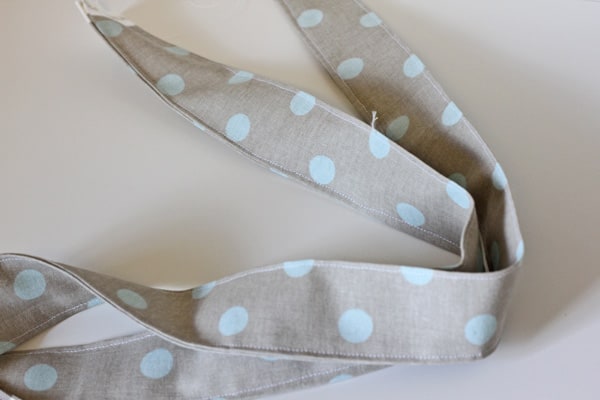
Topstitch both sides all the way up.
Fold over the bottom edge about 2″ and pin onto your bag, about 2″ in from the sides.
Sew a square around the end of the handle and repeat for the other side.
That’s it you’re done!


I LOVE this! I don’t think I can do it right away as I just bought my sewing machine and haven’t even gotten to use it yet! But I will do this once I feel confident!
That is precious! I see some Christmas presents to make out of some of the vintage fabric I have. :) Thanks for sharing this!
I am in love. I think you live in my brain and dig around for stuff that you know I will like and then create it. Which saves me tons of time by the way! So Thanks! I will be printing this shortly! :)
I love it so much! You are so creative : ) When I move at the end of the month and set up my craft room, this will be the first thing I make! I’m having sewing withdraws since I am supposed to be packing and not dragging all my stuff out…hehe
So Cute! Love it, and now I want to try it! Thanks for giving us the tutorial!
Natalie
http://www.projectdowhatyoulove.wordpress.com
Love it! Thanks so much for sharing the directions with pics too!
Love it!! Great little bag! I’m gonna have to try this! Thanks!!!
I love it and want it…now only if I wasn’t so scared of sewing curves! I pinned this by the way :)
So cute! Definitely bookmarking this one!
Oh my goodness this is so cute! Thanks so much, you are awesome! Pinning to my to do list (:
I am raiding my fabric closet as soon as I post this comment! Love this bag!!!!!
la la LOVE it! i have such a hard time choosing fabrics, because i love them all. perfect!
jess
Oh, Kate! It’s just so lovely! But shall I attempt it? Well, with the extraordinary photos in this tutorial? Yes, I think I shall! Thank you so much for this pattern! Love it!
Happy bloggy birthday! Thank you for the great pattern. I’m going to pin this. :)
This is super cute! And the layered scallops could also be easily adapted to an adorable apron!
Thanks for the cute tutorial. I love it!
I totally love it, it’s adorable!
That is so cute!!! I don’t think I would have the patience to sew all those scallops though
http://basementsewing.blogspot.com/
kate! this is totally precious :) i adore it!
i want to sign up for the sew along & create it using my sling bag design {with the boxed bottom, adjustable tie straps} and was wondering if i could add it to my shop if i credit you with the scallop pattern?
I am going to do this!
No April, this tutorial is intended for personal use only! (Just like all the tutorials you’ll find on this site.) Thank you for respecting that!
Kate
LOVE this! What a cute idea!
These are seriously gorgeous!! :)
Adorable adorable!! I want one – you should sell them :)
I shared them on my TT&J facebook page.
xoxo
Jen
Pretty cute!
adorable!! love the colors and patterns you chose to make the bags with!!
Thank you so much for such a cute tutorial! I can’t wait to make one.
What a great tutorial! I’ve featured this project as part of Simple Crafter’s Simple Craft Tutorials for this week. :)
This is awesome!! Such a great tutorial!! Once I can conquer anything besides straight lines on the sewing maching I’ll have to try these scallops out! Love them!
Very very cute!
Esther.
This is adorable! Love it.
Girl, you are my sewing hero. This is fab! I shared it in my Saturday Seven lineup this week. :) http://www.positivelysplendid.com/2011/10/saturday-seven-no-27.html
Whooohooo! Great little tote and a fun sew-along! Can’t join you right now, but I’ll definitely watch others’ posts!
Love it! Definitely have to make. Thanks for sharing the pattern and incredibly detailed tute that makes even a novice like myself feel confident in trying this.
Oh Sweet Scallops Tote- You are in my dreams- so weird! Today I woke up thinking of you, imagining your scallopy goodness in my hands, shopping on my arm, looking cool. Today may be the day I give you a try. Wish me luck ladies, wish me luck! I only mastered bibs yesterday! : ) Jess
Oh Sweet Scallops Tote- You are in my dreams- so weird! Today I woke up thinking of you, imagining your scallopy goodness in my hands, shopping on my arm, looking cool. Today may be the day I give you a try. Wish me luck ladies, wish me luck! I only mastered bibs yesterday! : ) Jess
I have fallen in love with this bag. I went to the fabric store and began to work on it as soon as was possible. So I made it! I love love love it! Now I just need to find the perfect outfit to match it :)
Вау! Я хочу такую сумочку! Я к лету ее сделаю! Спасибо тебе! ;)
sunny-susunny.blogspot.com
I want to make this so much! Oh, but I can’t sew. :s
It’s very cute!
I can’t wait! I’ve pinned it so I won’t lose it! I’m not sure I understand the bit where you leave some hem before sewing on the lining, but maybe I can work it out (I’m a new sewer, so it could be a bit hit and miss) I also tried downloading the free pattern but it wouldn’t let me. Is there any other way to get a copy?
It’s so cute and the tutorial with pics is very helpful.
Beautiful Bag!Love the scalloped details!Thanks for the tute.
I really like this idea for the scraps. I have one ENTIRE box of just scraps. I think, though, that I will add pockets to the inside. I HAVE to have pockets in a purse or tote…one of my quirks. LOL Thanks for sharing this – just found it today via allfreesewing.com.
I think this is my favorite pattern for a bag EVER! This is so cute. I have a ton of scraps and can’t wait to have the time to make this one. The tute is very clear and concise. I might have to add pockets as well, but that’s an easy chore. Mahalo nui loa.
this is terrific
this was my goal for the weekend and wow success. great tut great pattern and now a great library bag for me …it will be perfect and super cute
this was my goal for the weekend, and it’s great I made the pattern for the scallops longer and added them to both sides. thanks for the inspiration.
HELP! I’m SO wanting to make this bag but cannot find the actual pattern pieces. I click on where it says to and I get some Google garbage. Could anyone PLEASE email me the pieces? THANK YOU
Nancy
NancyMtnMama@sbcglobal.net Just put pattern pieces in the subj line! THANK YOU!!!!!!!!!!!
you’re a blessing to the world…
I am definately going to do this!!
I cant wait to get my pretty fabrics together!
Thank you for great tutorial
I cannot open the pattern pieces, it takes me to a Google page or something. I want to make this bag, how do I get the pattern pieces?
Thanks so much for this it is beautiful and has given me hours of enjoyment:)
Hi you tote is so cool, can you explained how you sew the square around the handle, Im a beginner and I dont know, how sew without close the tote, thanks a lot!
the tote is so cool, can you explain how you sew the square around the handle, Im a beginner and I dont know how I can sew without close the tote, thanks
just fold the raw edge over on the strap. Then pin the strap to the bag about 1.5″ down and sew all the way around, from the top of the bag, to the bottom of the strap. Good luck! :)
This is very beautiful bag! I will make one for myself later… Sure my friend will be jealous.. LOL….
This is my new favorite way to use up scraps. No zippers or elastic or other notions to buy, no complicated steps that make my head hurt, a project that helps me stashbust quickly, and best of all perfect practical gifts for my friends!