Written by Michael Ann of Michael Ann Made.
Today I’m pleased to introduce you to a new DIY contributor…Michael Ann from Michael Ann Made! Michael Ann is actually one of my college classmates! She has a precise style and adorable glasses that I love. She is a whiz at all things sewing and writes about her creative life at on her blog. Also find her on twitter, instagram, facebook and pinterest!
Hello Friends!
I am beyond excited to be part of the See Kate Sew team! I am a sewer, blogger, and lover of all things crafty, and live with my mr and little one year old boy in Portland, Oregon. Fun fact, Kate and I had sewing classes together in college, but didn’t find each other in blog land until after we had graduated, haha! I think that just makes it extra awesome that we get to work together now.
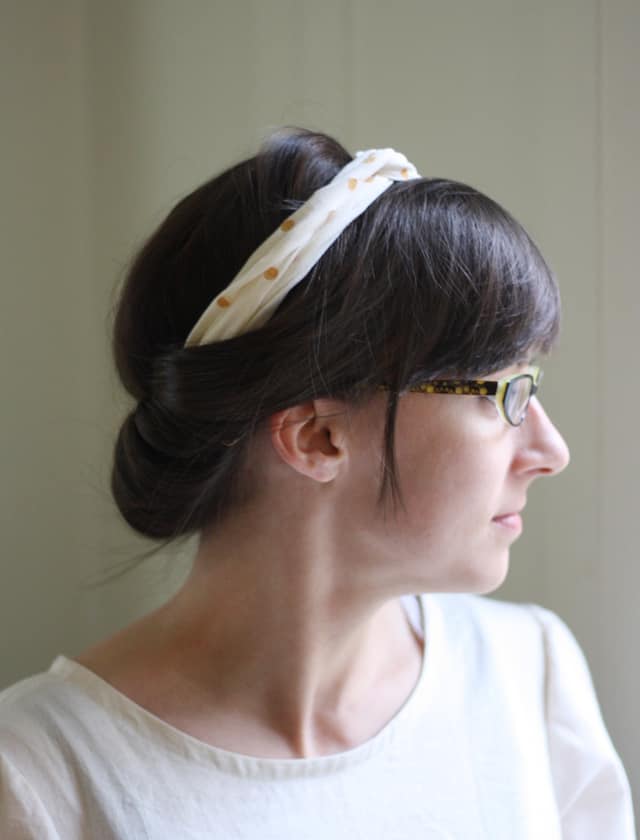
For this inaugural post, I thought I would keep it simple. Who doesn’t need an extra bit of simple during the holiday season?! This no sew headband would make a fantastic gift, holiday craft party activity, or last minute holiday party accessory.
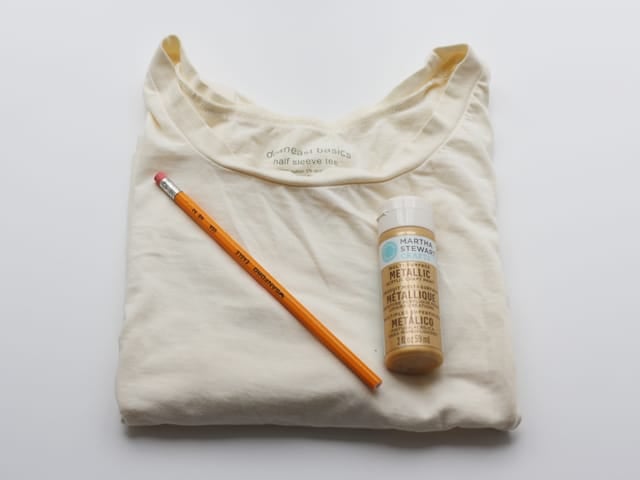
SUPPLIES –
– one old t-shirt
– gold paint
– pencil with an unused eraser
– scissors or rotary cutter
HOW YOU MAKE IT – No-Sew Turband
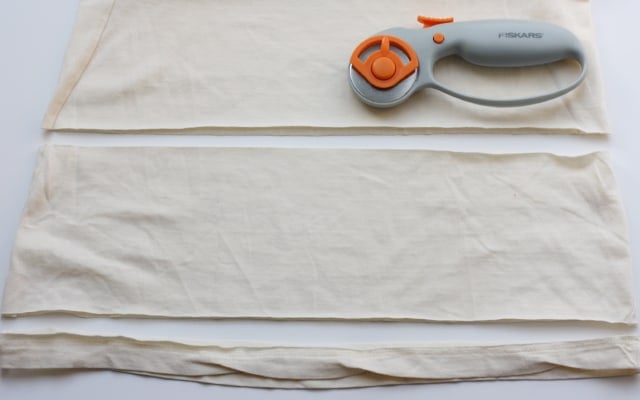
Cut a strip between 4 and 5 inches wide from your t-shirt by first, cutting off the hem, and then measuring up from that.
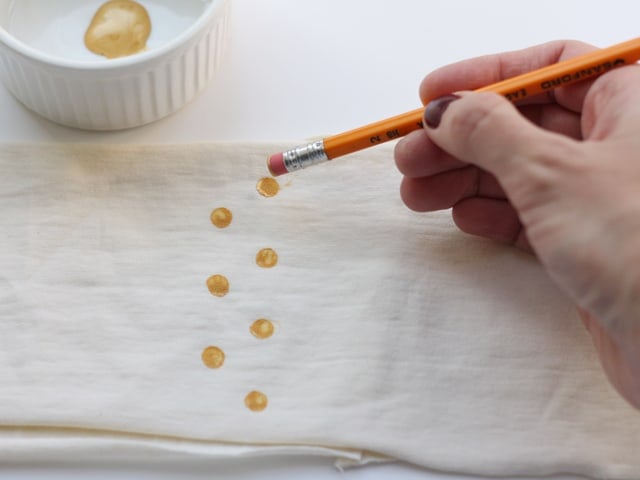
Using the eraser, dip it in the paint, and get stamping!
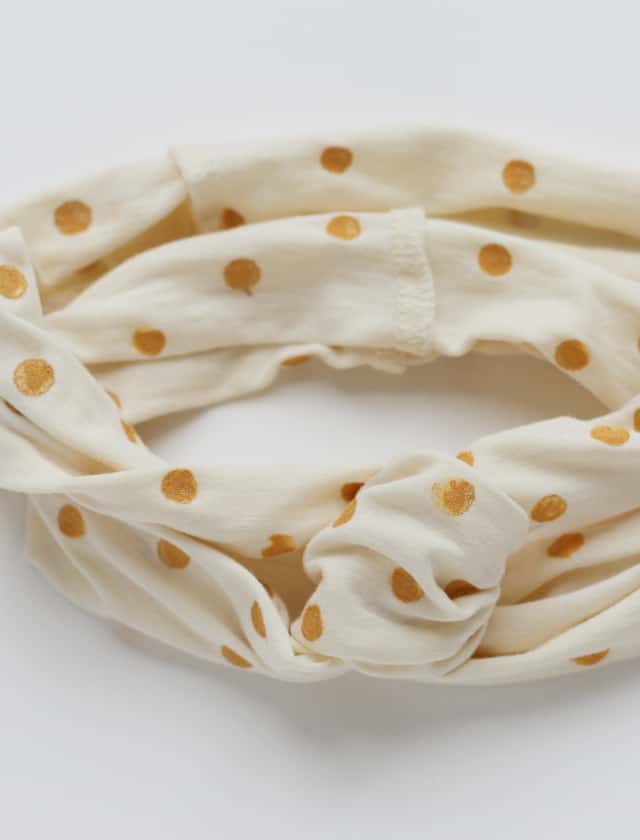
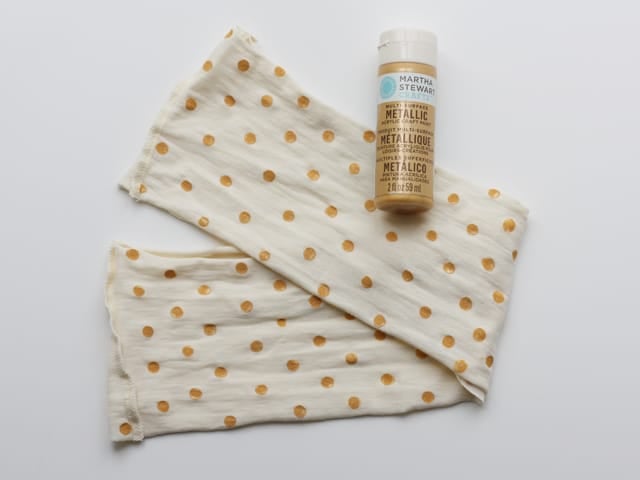
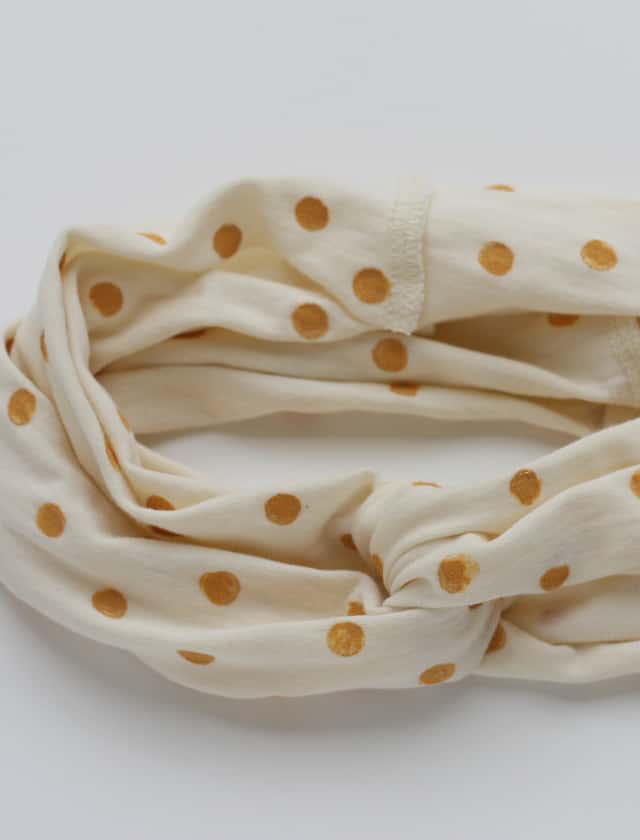
Since t-shirts tend to roll when they are not hemmed, I flipped the t-shirt strip inside out and painted on the backside, so when the headband rolled, you would still be able to see the polka dots.
When you are all done stamping, let it dry. And look! You’re done!
To fold your headband into a turban style, you can use one of two methods.
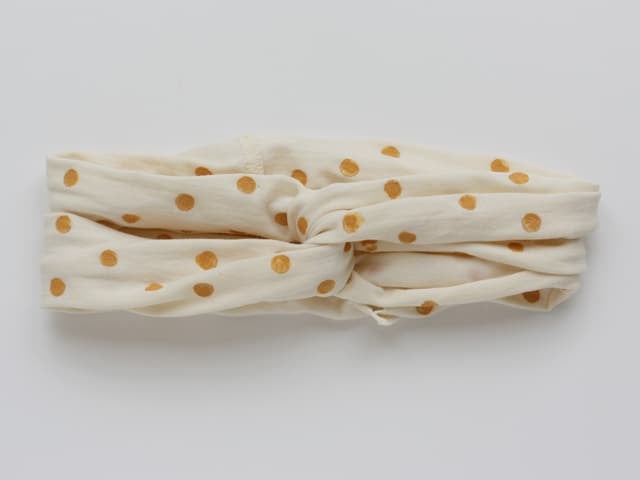
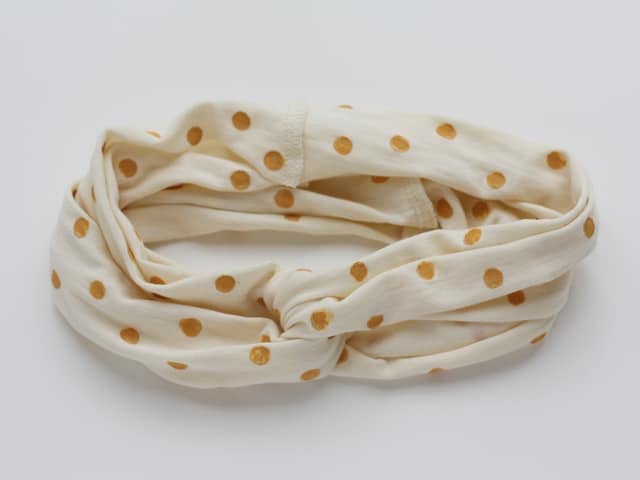
For the looped look, twist your headband strip twice, making sure the original seams of the t-shirt are on the ends, and then bring the ends together to make the headband. 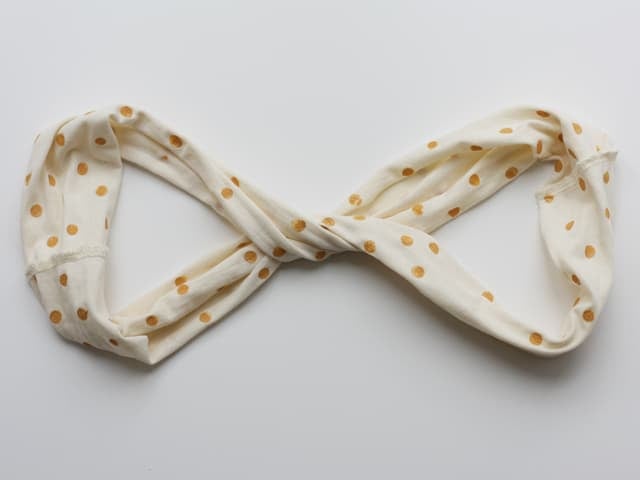
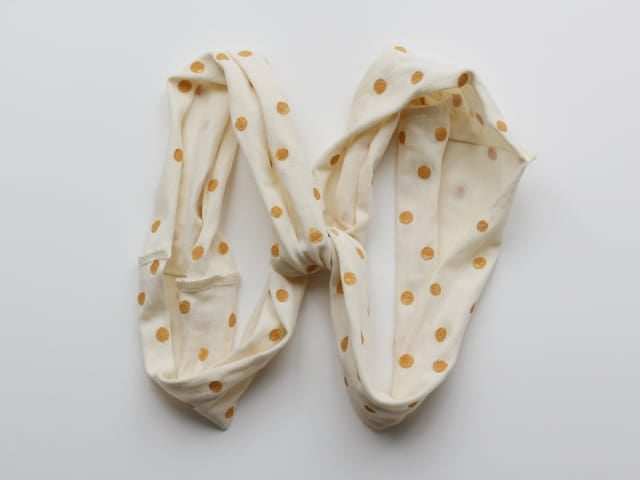
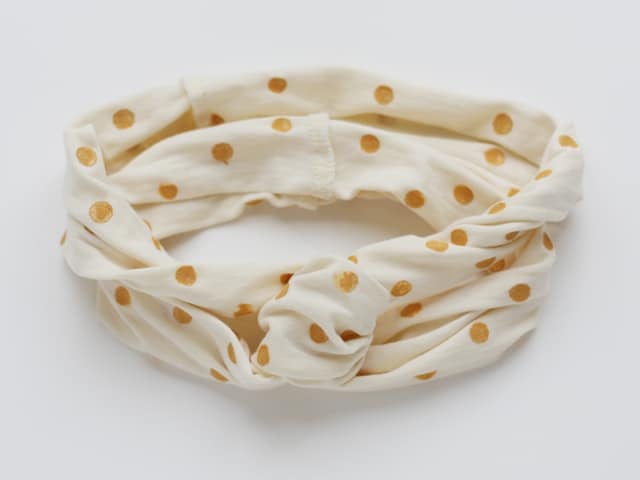
For the knotted look, twist your headband three times before bringing it together. You can play with the little knot to make it bigger.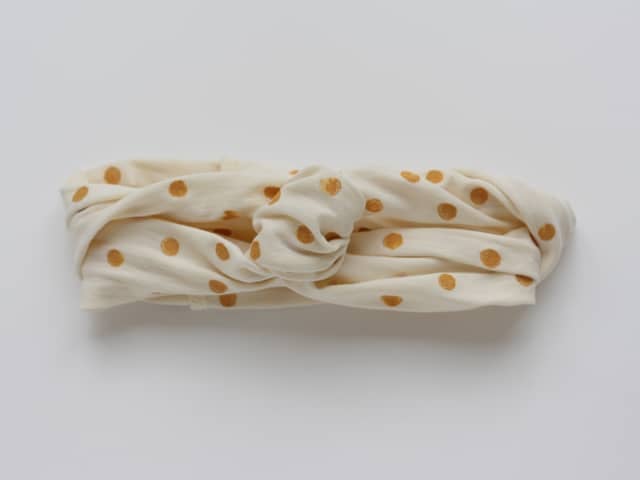
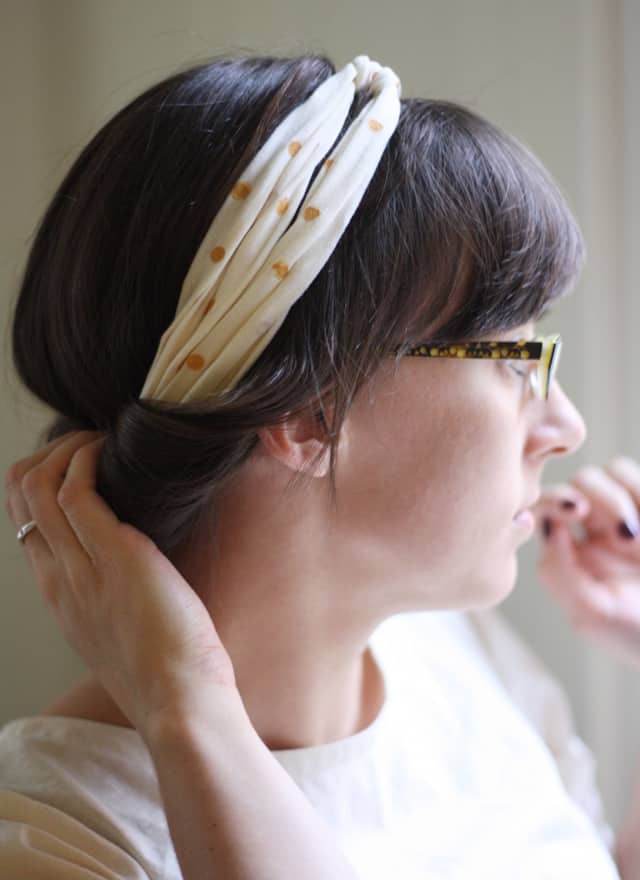
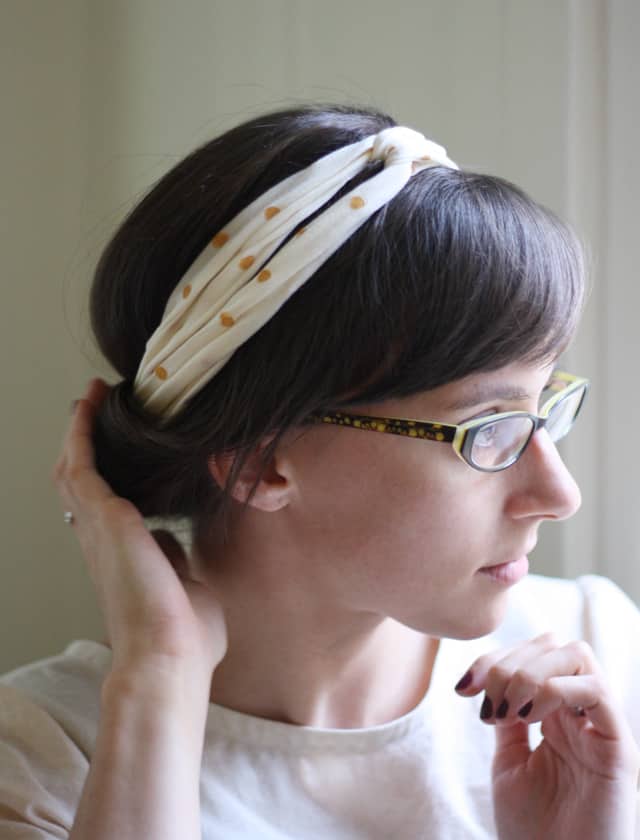
Now I am no beauty blogger, but this little headband seems to have magical powers when it come to making my hair look good! Since this was such a simple project, I thought I would also share how I did my hair in this fancy little roll.
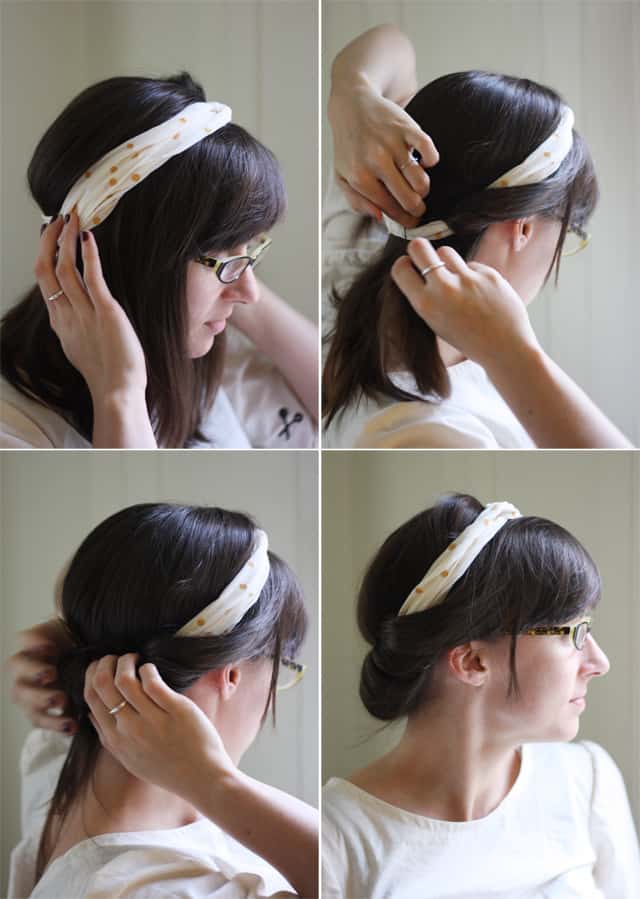
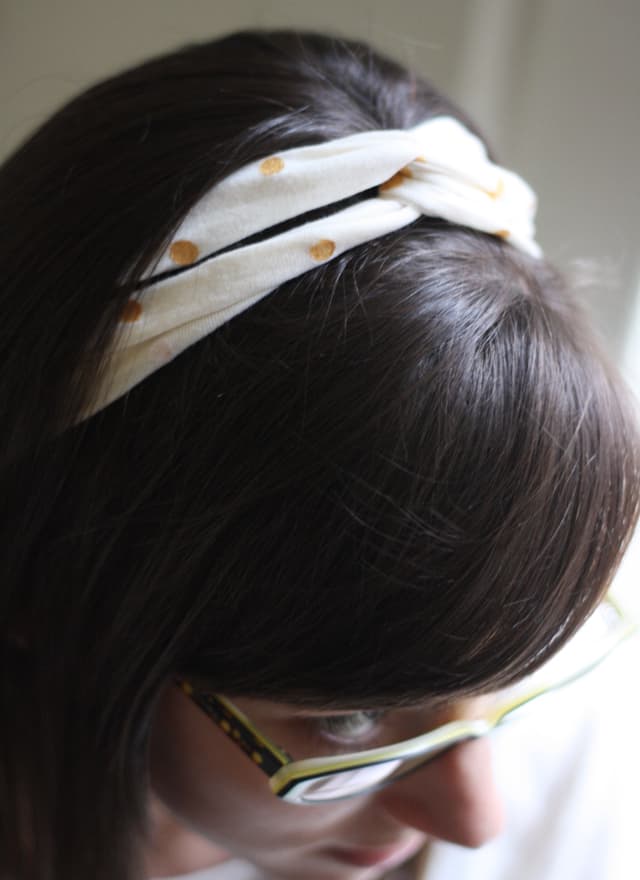
Put the headband on over all of your hair. Secure behind your ears with a couple of bobby pins. Take a section of hair from behind your ears and roll it back, tucking it into the headband. Keep grabbing, rolling, and tucking until you reach the middle of the back of your hair. Then repeat on the other side, starting behind your ear and working your way back. Spritz a little hairspray to keep everything in place, and you’re done!! So easy, even a busy, lazy mom like me can do it, haha!
How is that for holiday season simplicity? You can craft up an accessory, and do your hair, all in less than 15 minutes. Now that’s my kind of project!
I’ll see you either back at my site, Michael Ann Made3, or back here at See Kate Sew with more sewing fun next month! Hope you all have a fantastic holiday season full of lots of crafty goodness ;]




Wow Loving that…will try it later as i have the bestest christmas colour for the task…an old red t-sht…will do it with silver dots…thank you so much for sharing
Daisy jones
I have been looking to buy a cute headband in that style, but now I’ll definitely be making one! Very cute.
Super cute and looks so easy! I think I have an old shirt lying around ready for this project :)