
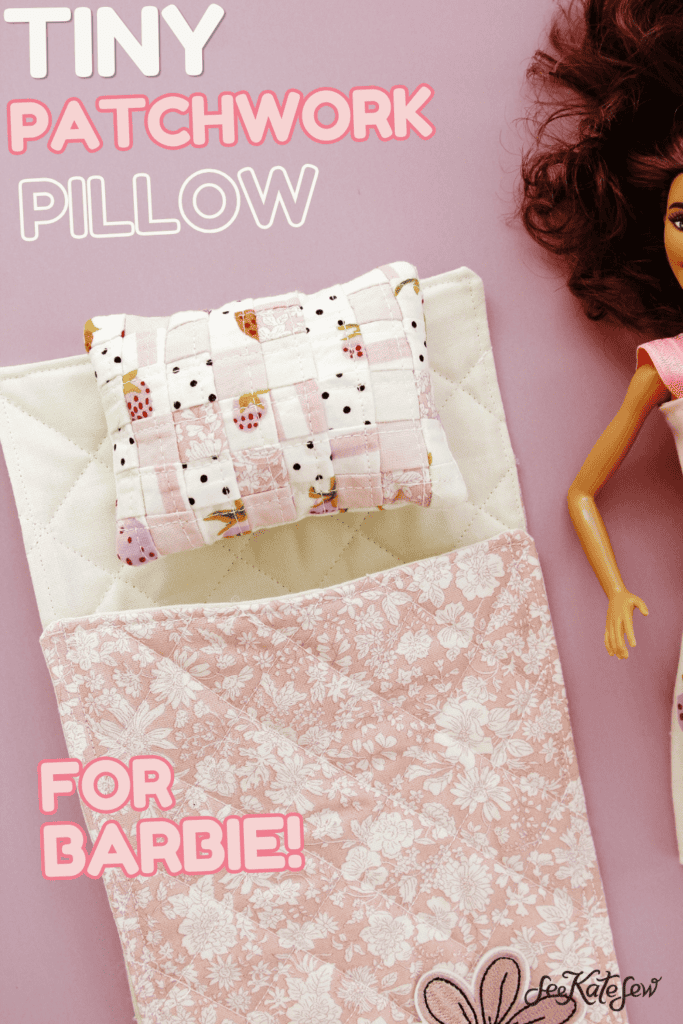
Sew the cutest and tiniest patchwork! This Barbie pillow tutorial will walk you through sewing this scrappy pillow step by step! The best part is we’re using an interfacing technique that makes the patchwork really simple!
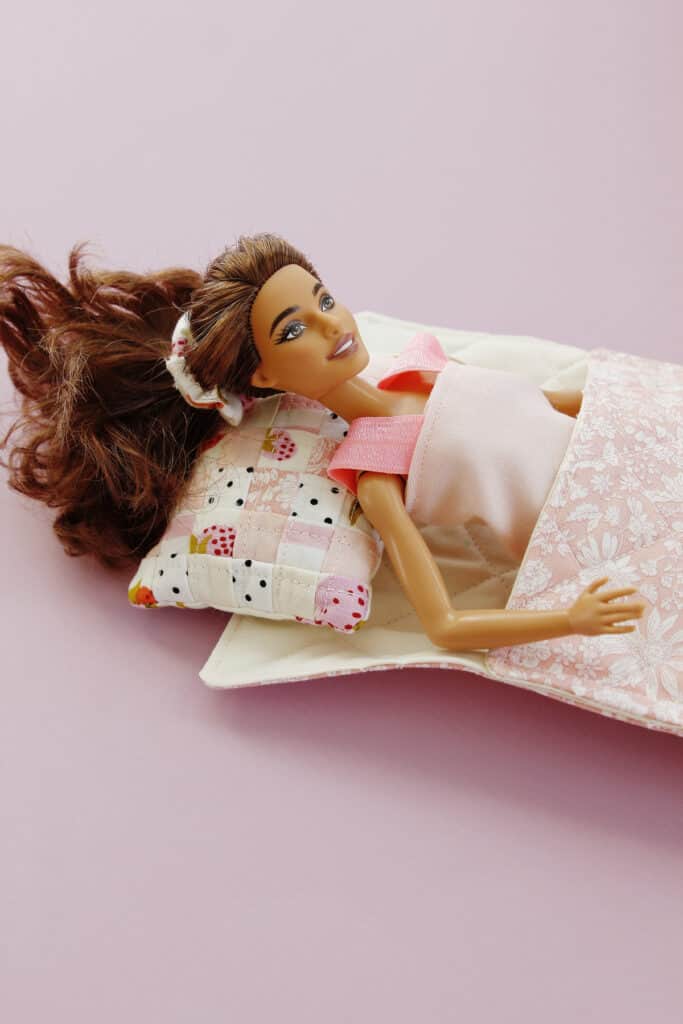
This project coordinates perfectly with the Barbie size sleeping bag! Make them both and get ready for a Barbie sleepover.
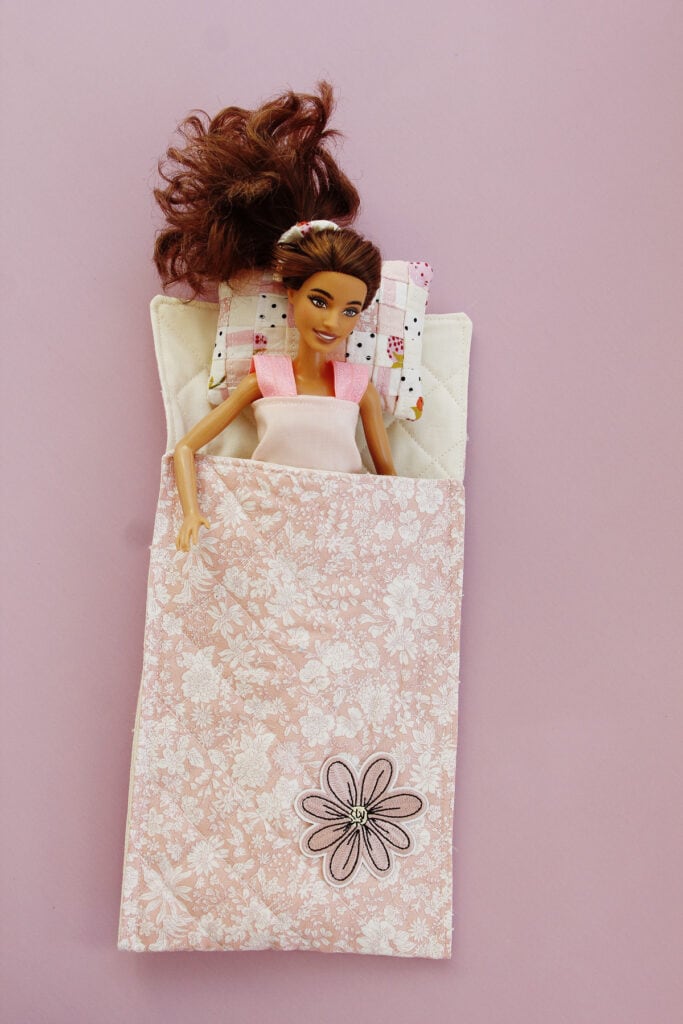
I used scraps from the Strawberries & Cream Box from My Fabric Fix! It hardly uses any fabric especially since I saved all my little scraps.
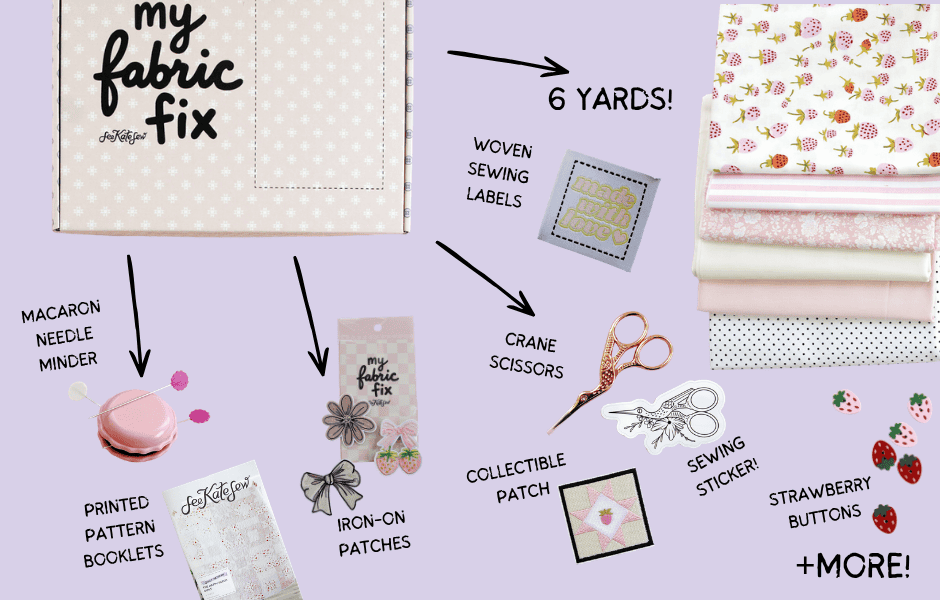
Barbie Pillow Materials
- Tiny fabric scraps
- 1″ grid interfacing
- Quilt batting scraps
- Fiberfill stuffing
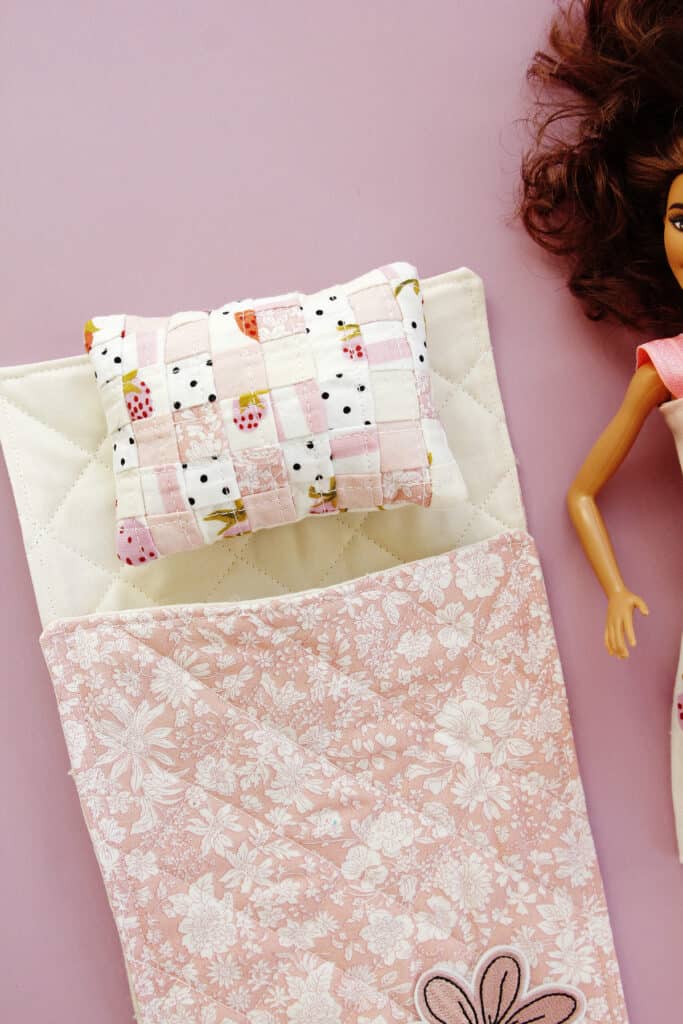
Patchwork Barbie Pillow Tutorial
Cut a piece of grid interfacing 8″ by 6″. Cut lots of 1″ square from fabric scraps. We’ll need 48 for this project. Place the grid interfacing with the rough side (the adhesive side) up. Then start placing the squares in the grid.
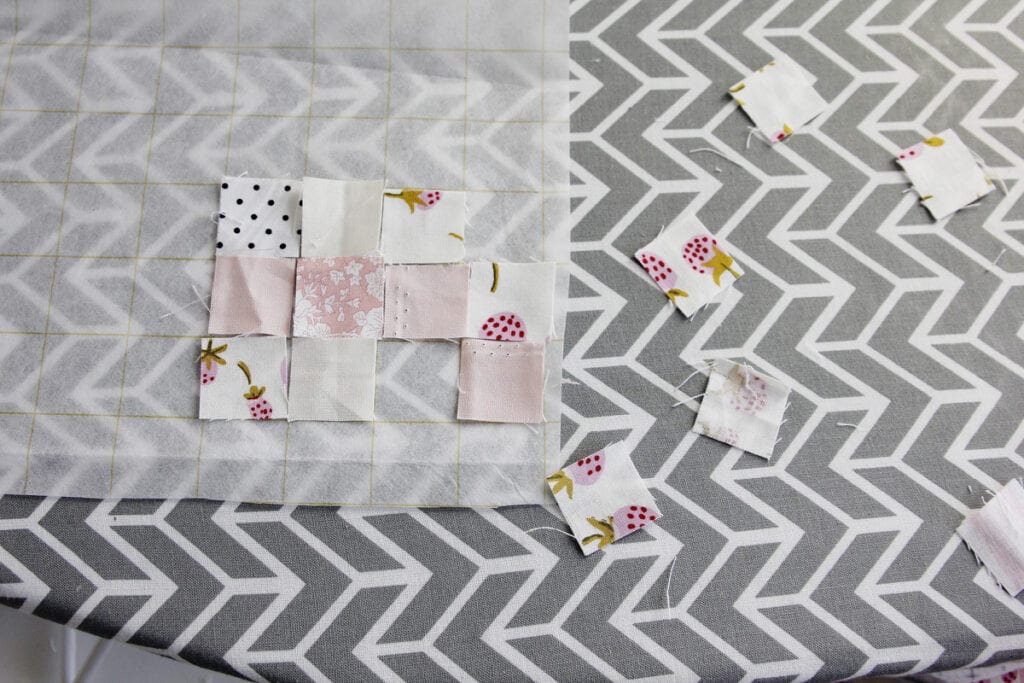
Once you have about half of the square in you can start pressing them. Press gently so you don’t skew the squares. Then continue adding squares until your interfacing is totally covered. You do not have to have the squares perfect – some will overlap a little and there will be space between others. We’ll use a 1/4″ seam allowance so you have some room for error.
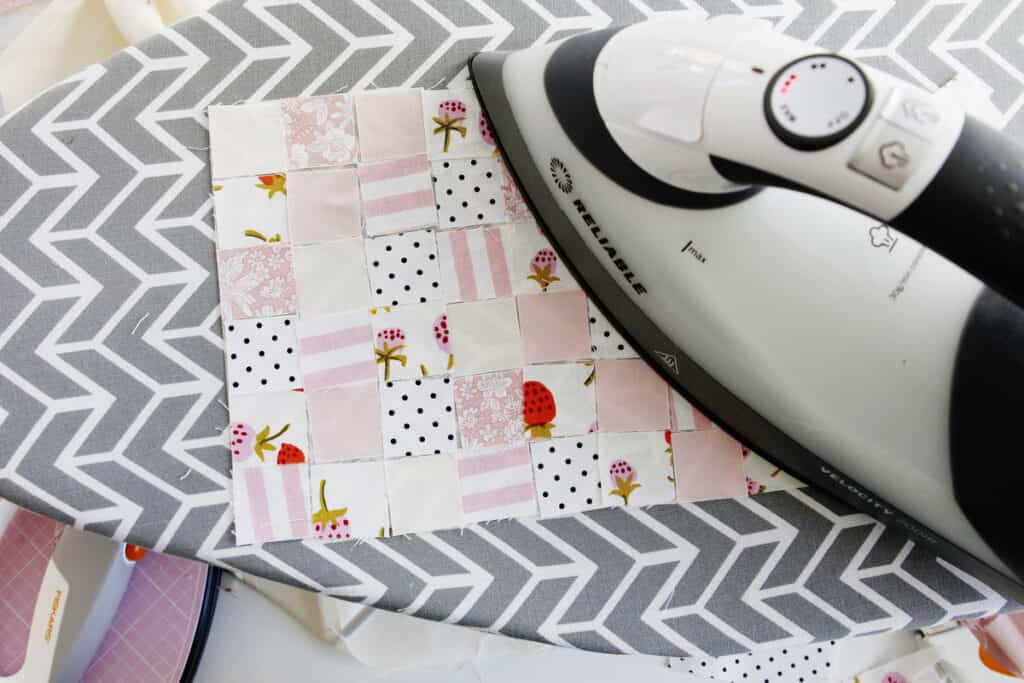
Fold the top row down and press, using the 1″ grid lines as your guide.
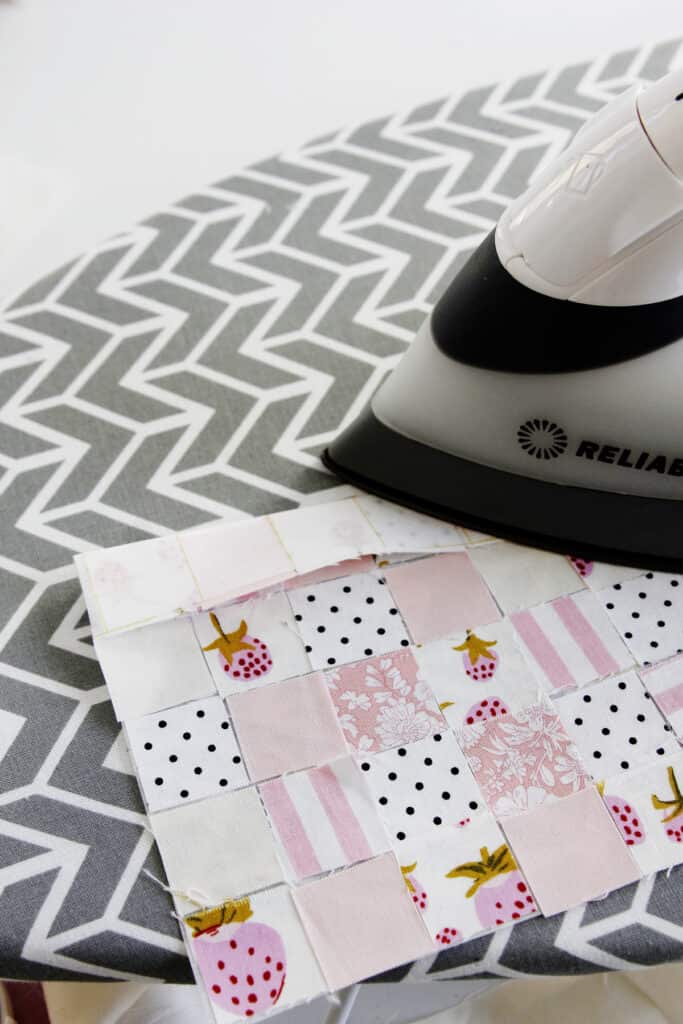
Sew with a 1/4″ seam allowance. This is like sewing 16 tiny scraps together at once!
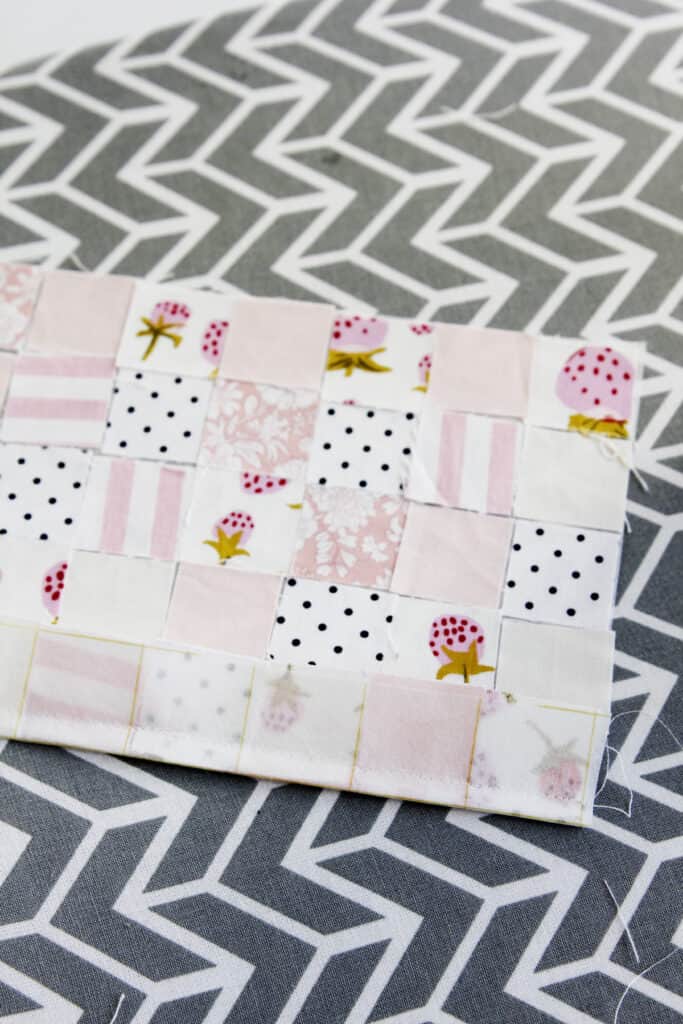
Repeat until you have sewn all the rows.
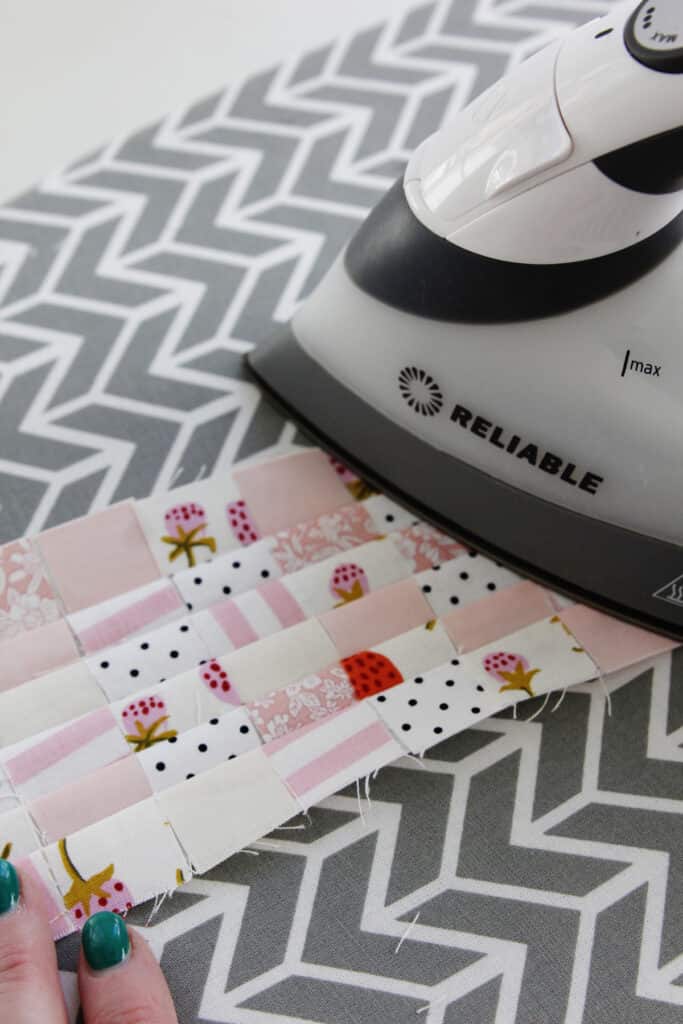
Press the seam allowances in one direction.
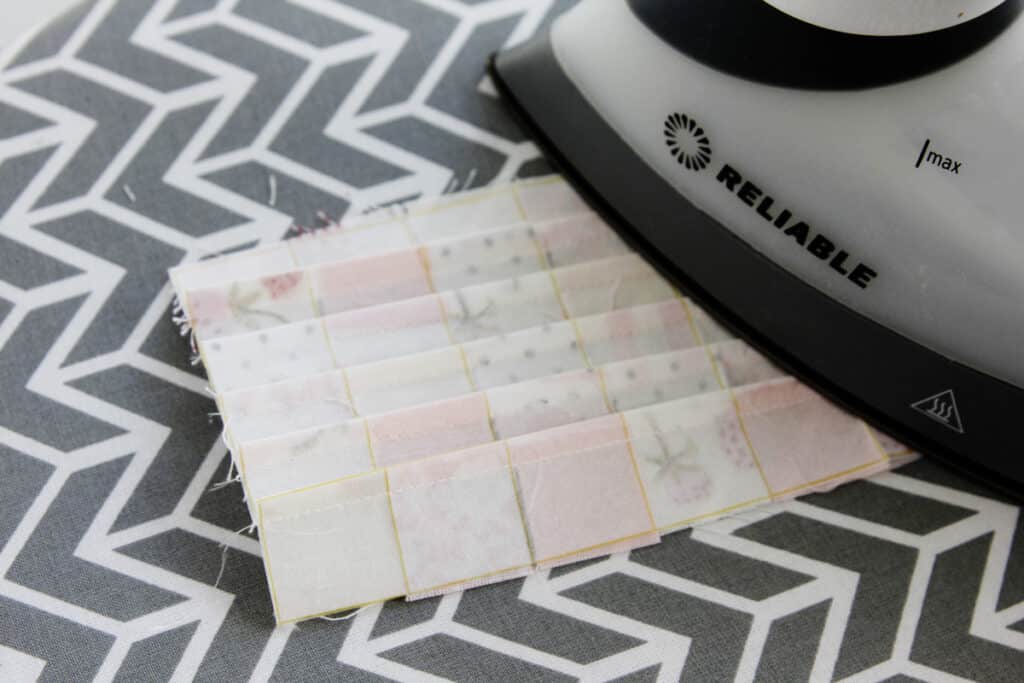
Clip the seam allowance
Use the tips of your scissors to clip the seam allowance at each 1″ intersection. Be sure you don’t clip through your stitching. This will help use reduce the bulk of this thick seam allowance.
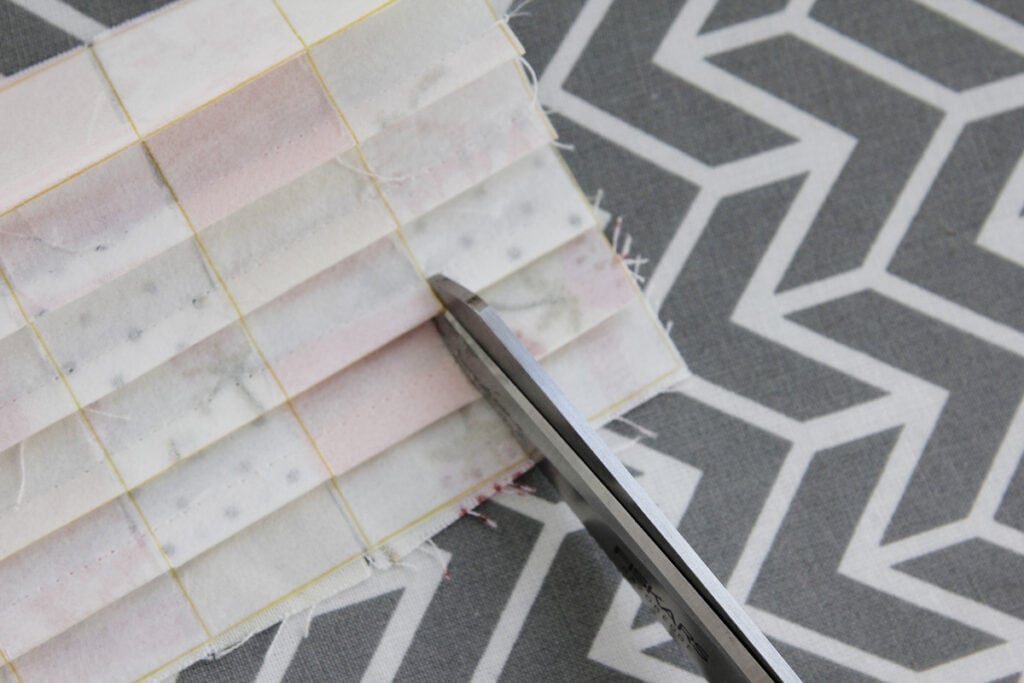
Now press each row in opposite directions.
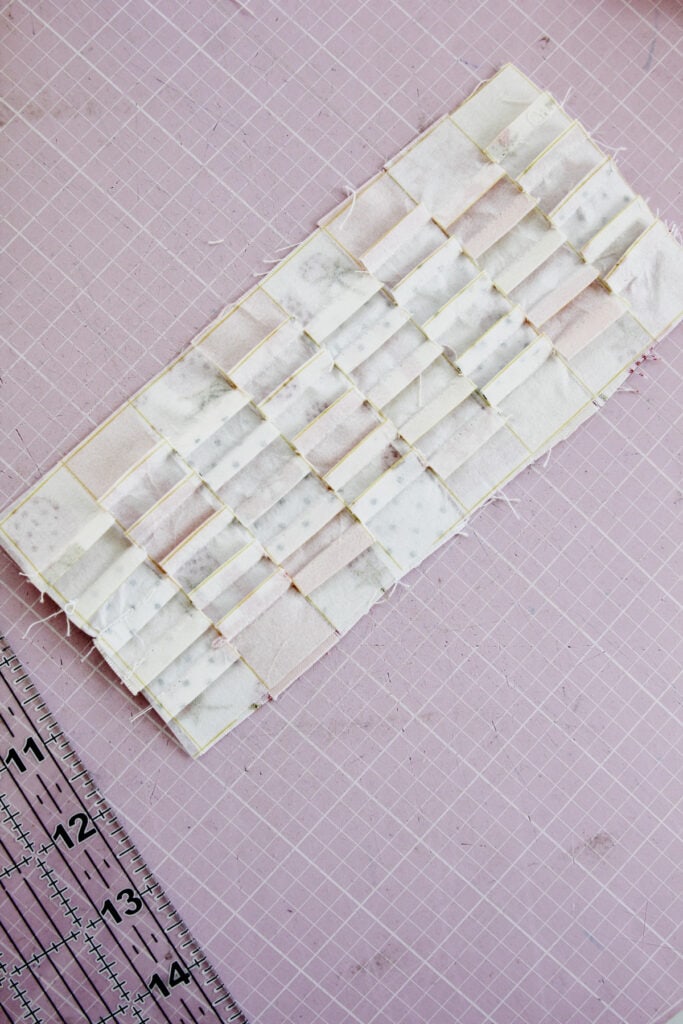
Now we are going to sew the perpendicular seams. Fold over the first one and press, making sure the seam allowances stay how you pressed them, going in opposite directions.
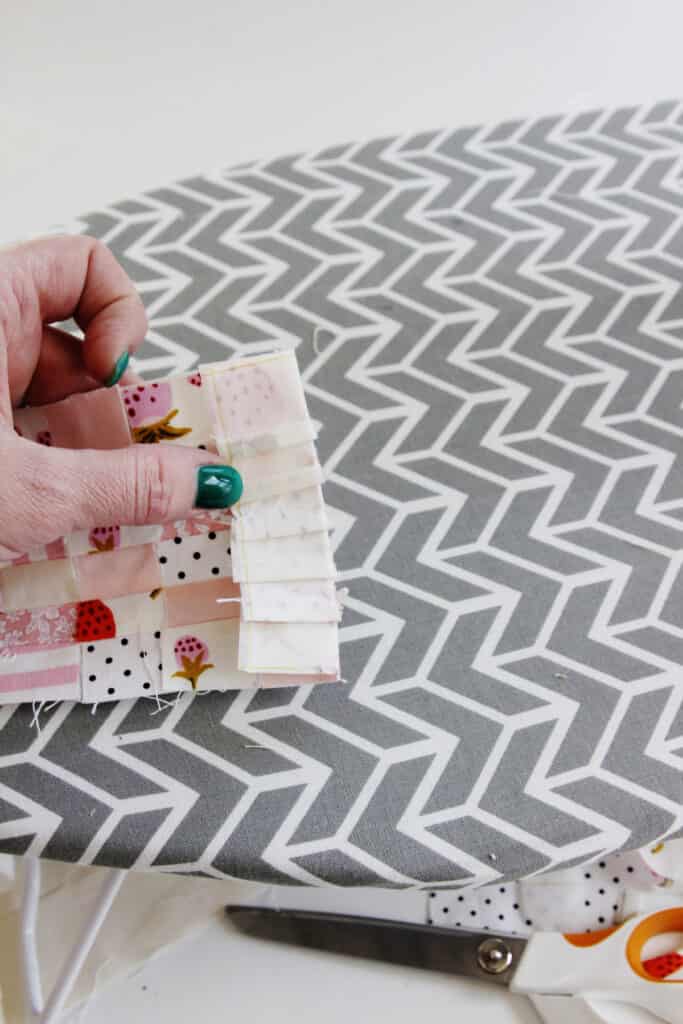
The top seam allowances are pressed to the left and the bottom are pressed to the right.
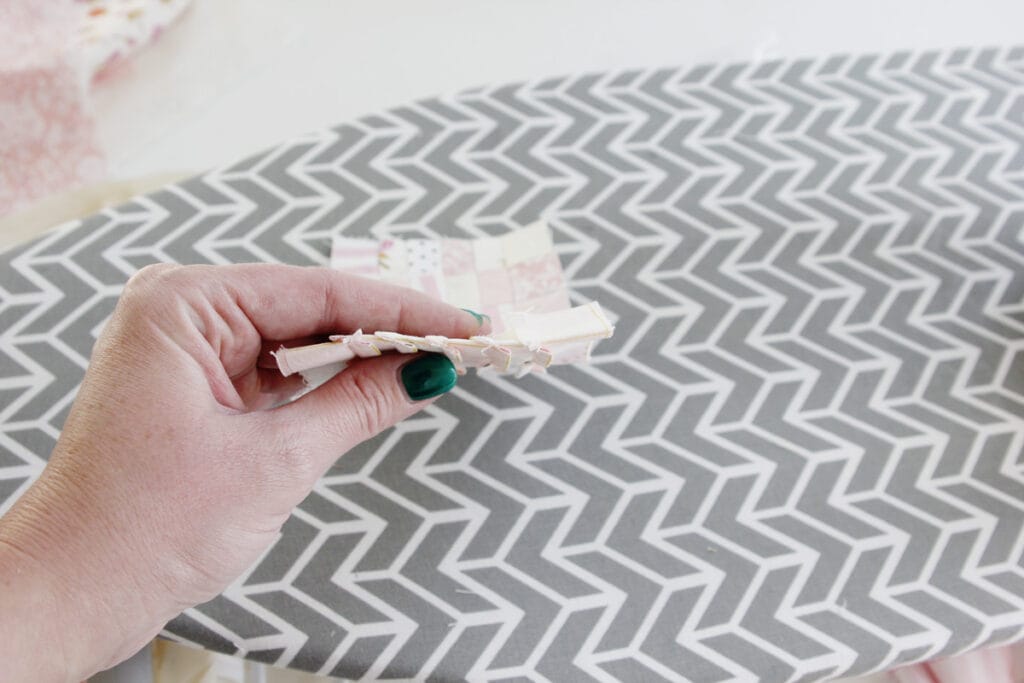
Now sew with a 1/4″ seam allowance. Repeat until you have sewn all the cross seams.
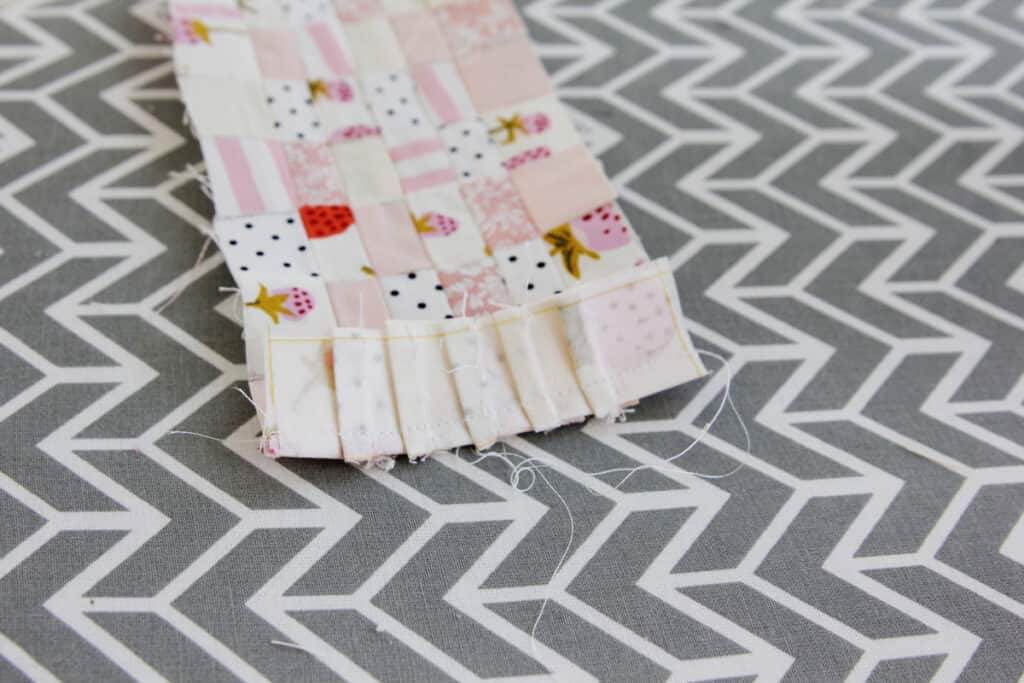
Press well and baste to a layer of quilt batting.
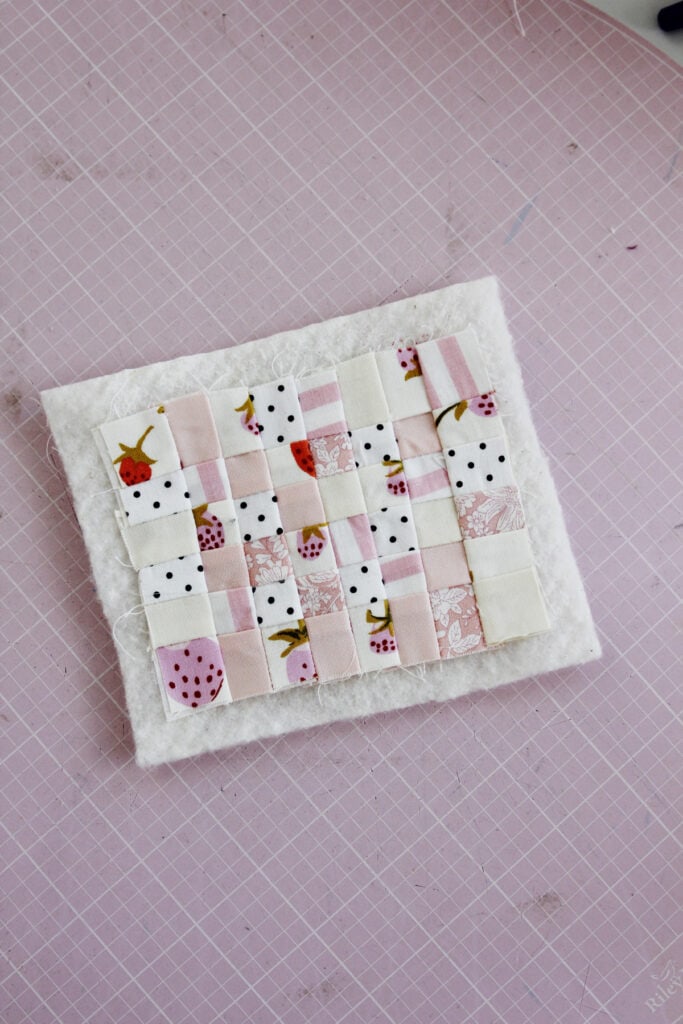
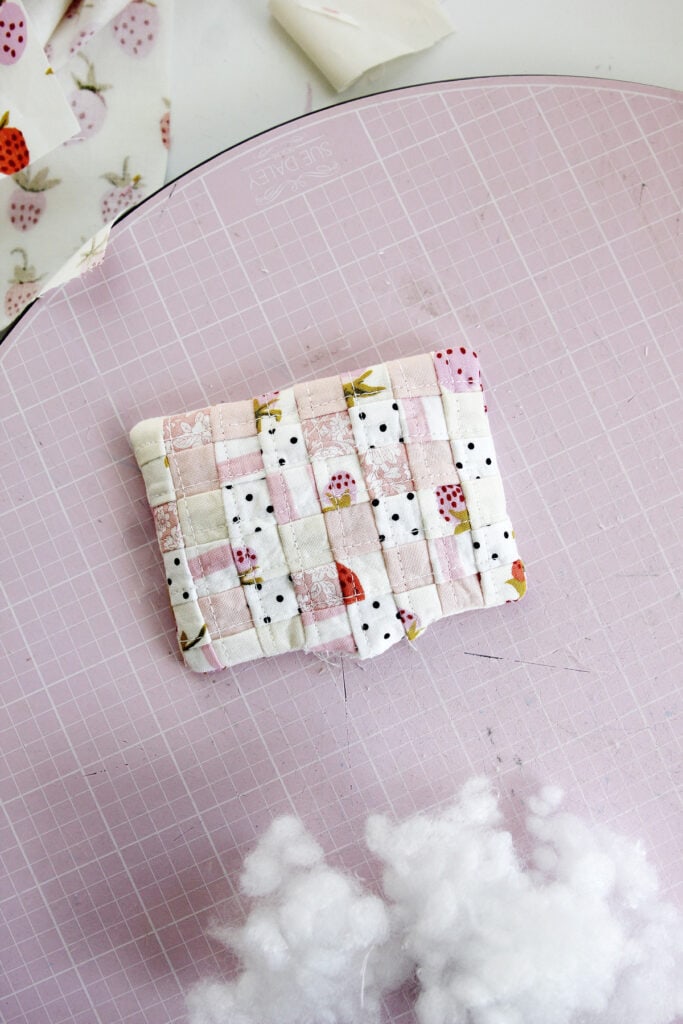
Now topstitch along your seams to make a cute quilted pattern.
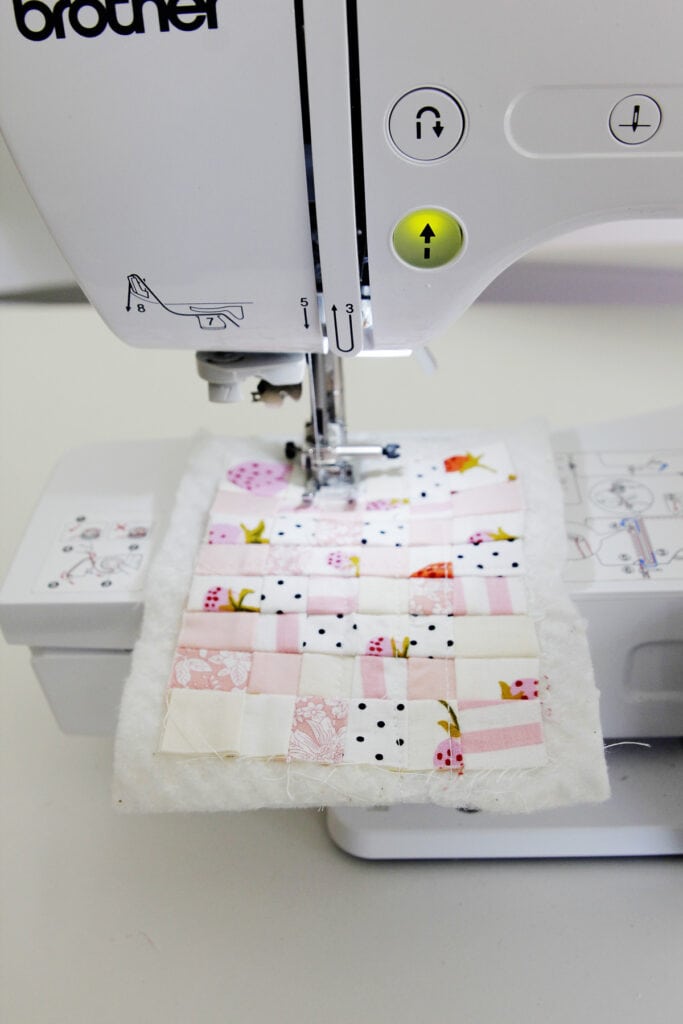
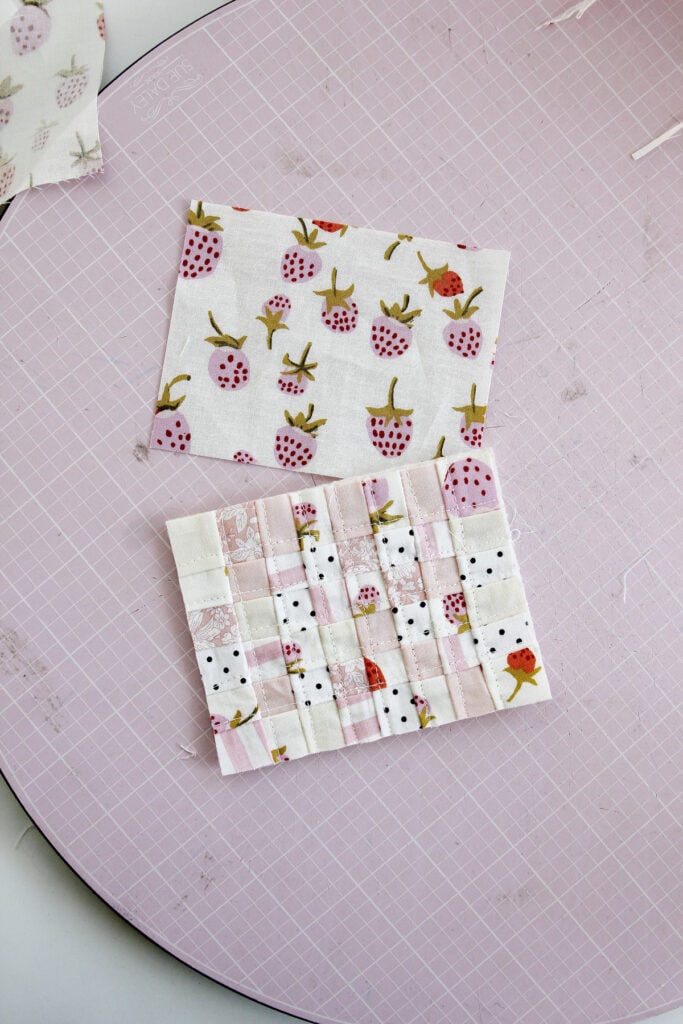
Trim to 3.5″ by 4.5″ and then cut a backing piece the same size.
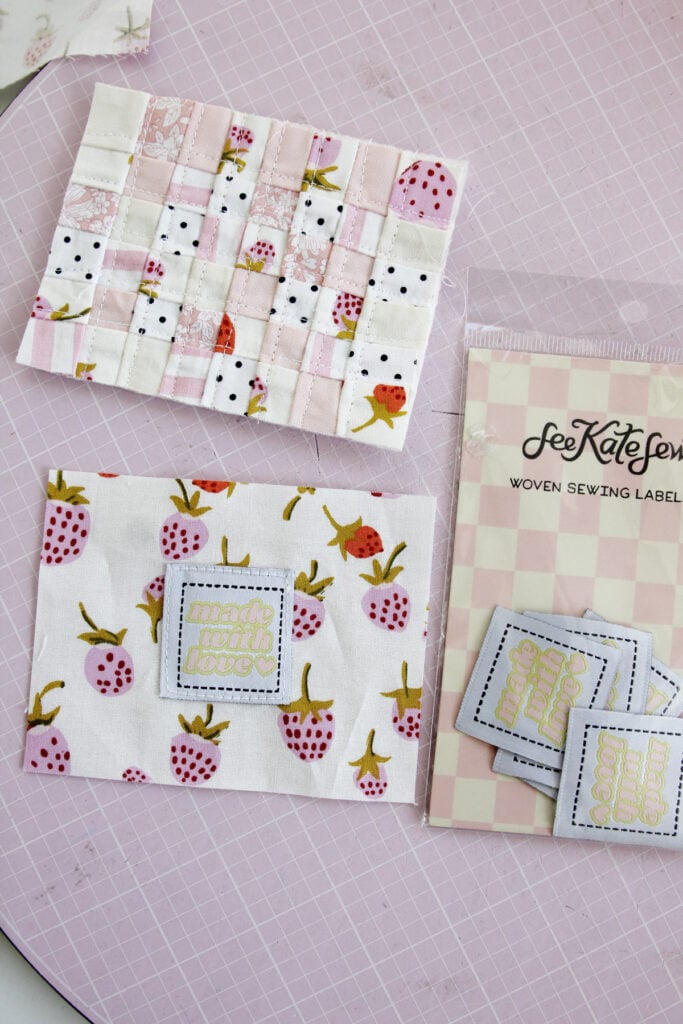
Add a “made with love” label from My Fabric Fix if you want! These are an exclusive that you can only get in the Strawberries & Cream My Fabric Fix Box! I love how cute they are!
Now pin the back to the patchwork panel. Sew around at 1/4″ leaving about 1″ open at the bottom. Clip corners and trim seam allowance.
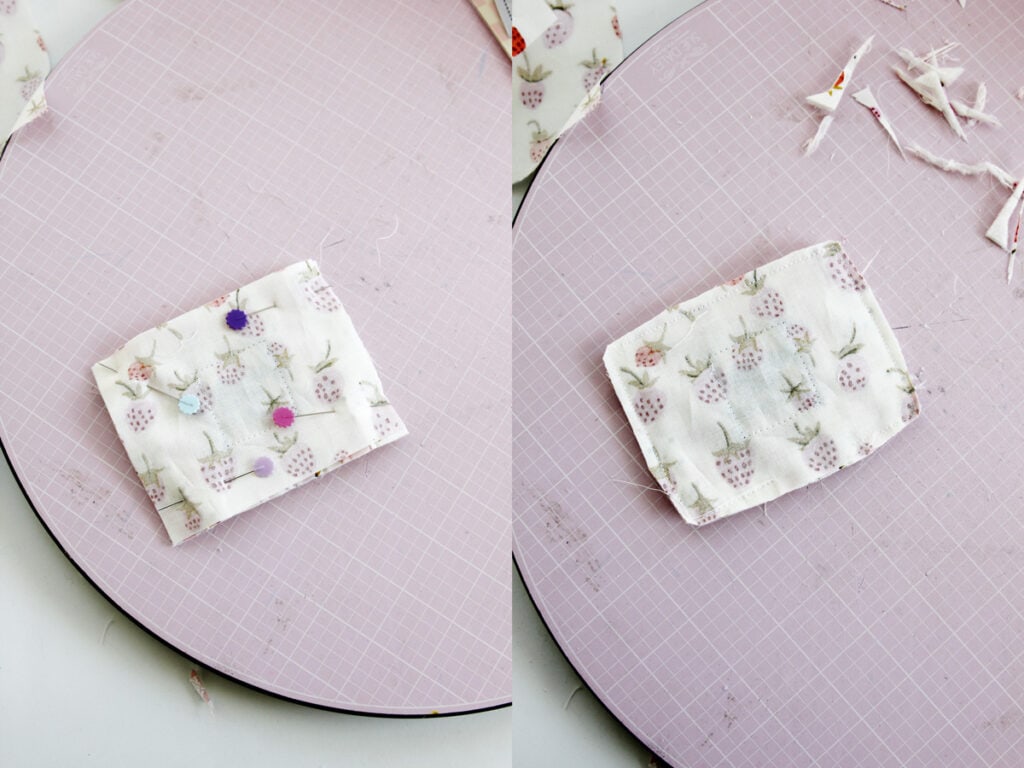
Turn right side out and press. The stuff with stuffing and finish by sewing the opening closed with a needle and thread.
Leave a Comment