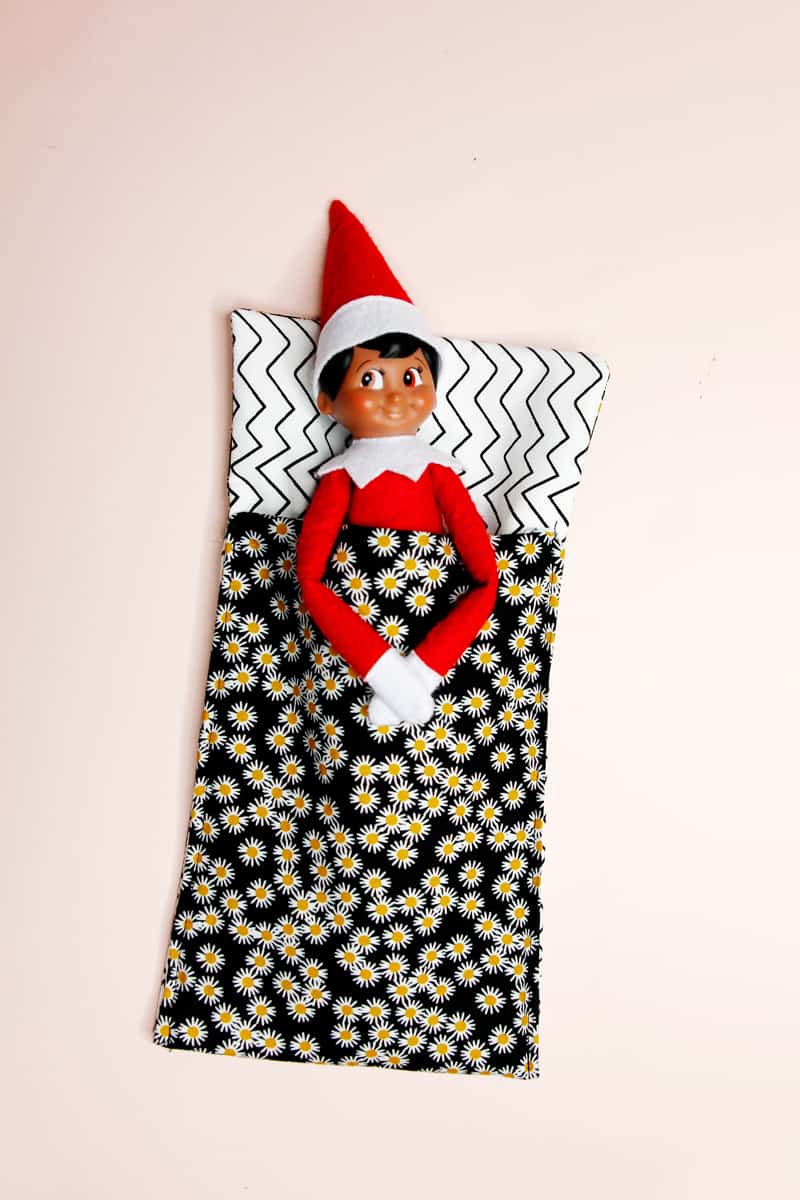
Make your elf her very own sleeping bag with this simple tutorial. I’ll show you how to make an elf on the shelf sleeping bag with a free pattern.
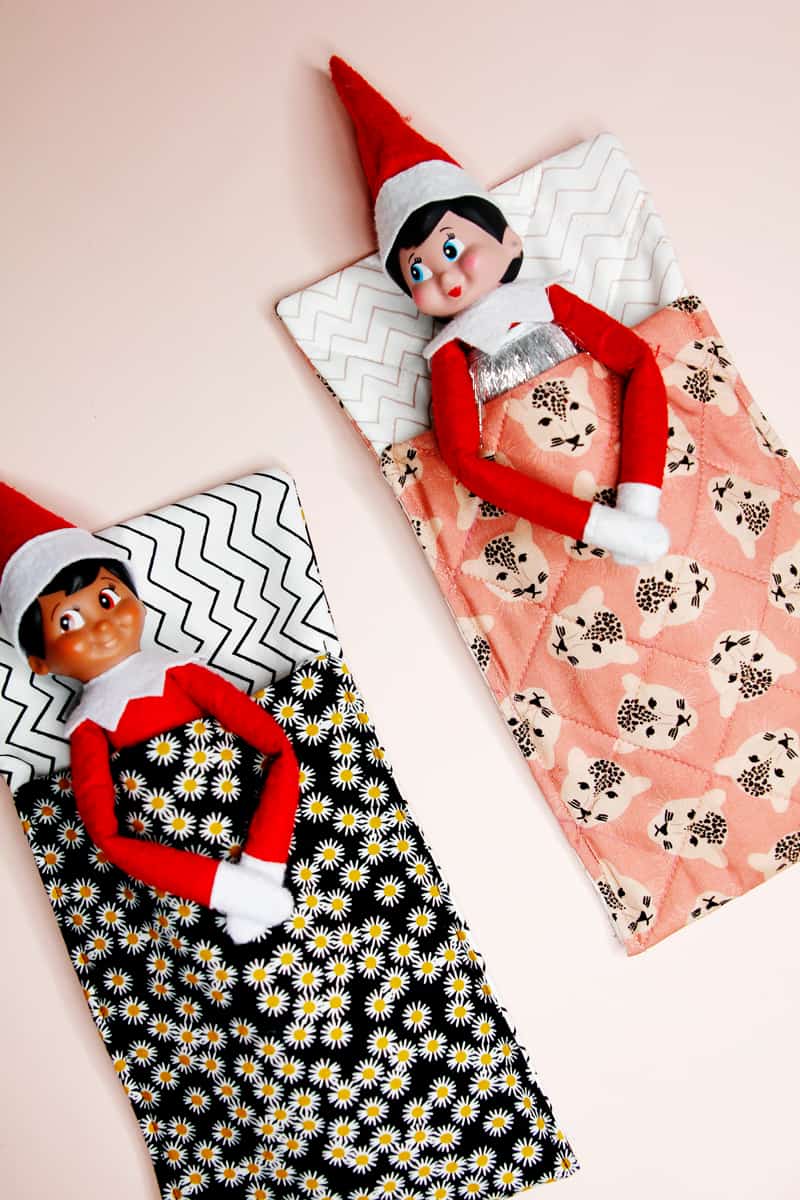
I love adding to the magic of the holidays with Elf accessories. My kids get a huge kick out of them and this sleeping bag is so easy to make!
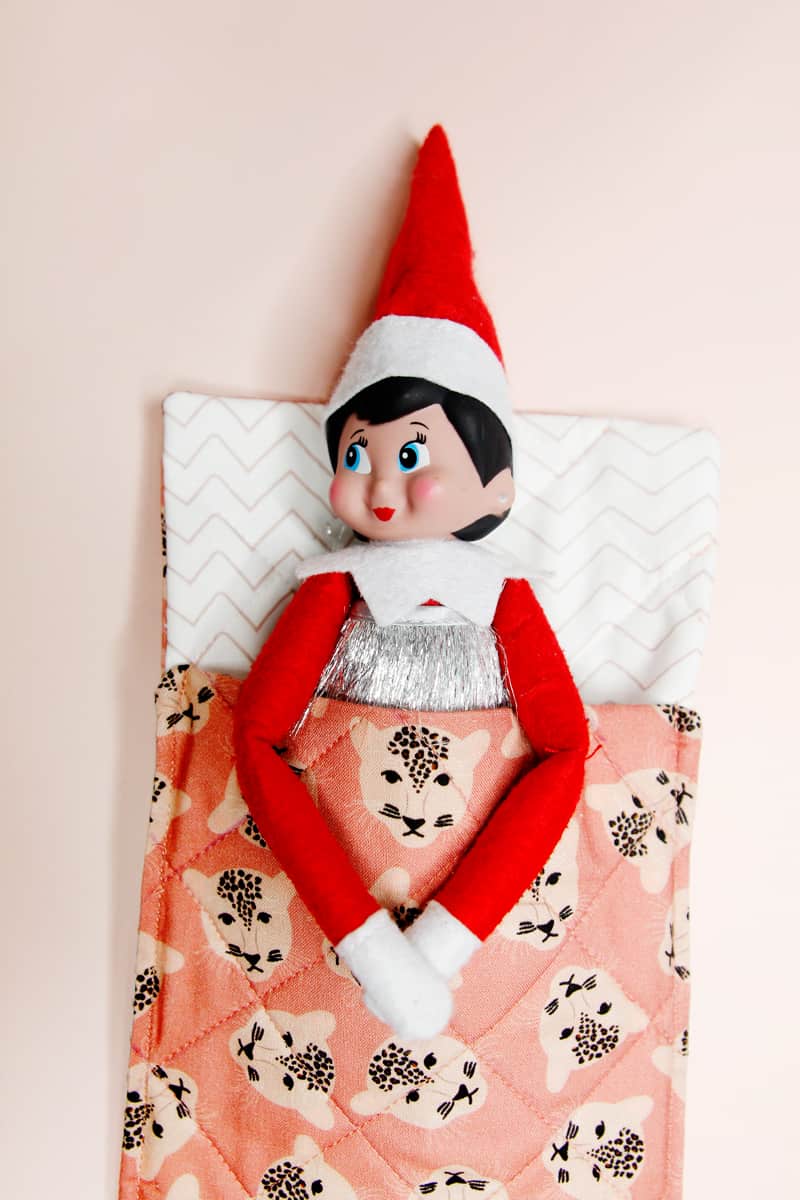
Sleeping Bag Materials
- 1/4 yard cotton for main
- 1/4 yard cotton for lining
- Scraps of needle felted batting or felt
- Pattern download, see below

Printable Sleeping Bag Pattern for Elf on the Shelf
To print this pattern, click the purple button below and enter your email address. Then print on letter or A4 paper at 100% or do not scale. Trim along the dotted lines and tape pieces together vertically.
Make your own pattern
If you prefer to use measurements instead of the provided download, cut a rectangle 6.5″ wide by 21″ long. Lay your first piece on the other layers and cut around.
DIY Elf Sleeping Bag Sewing Tutorial
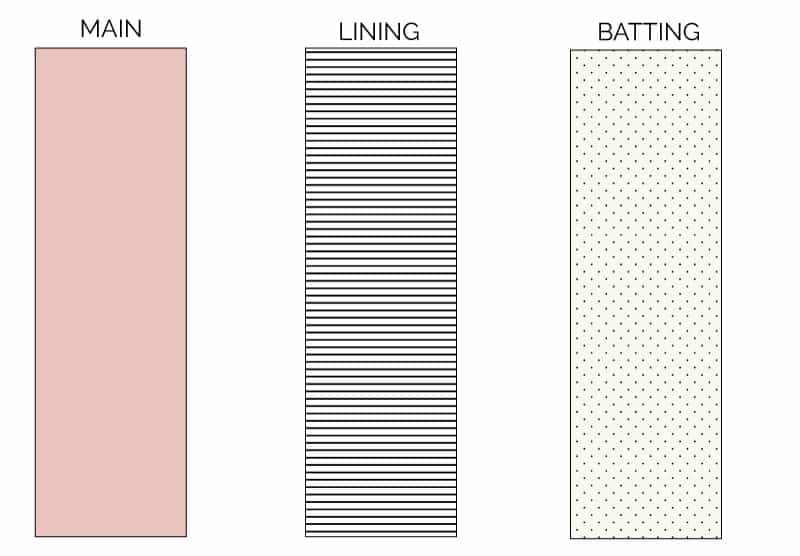
Cut 1 layer of main fabric, 1 of lining and 1 of batting.About WordPress
Layer the main on top of the batting fabric, face up. These two layers will be treated as one from now on.
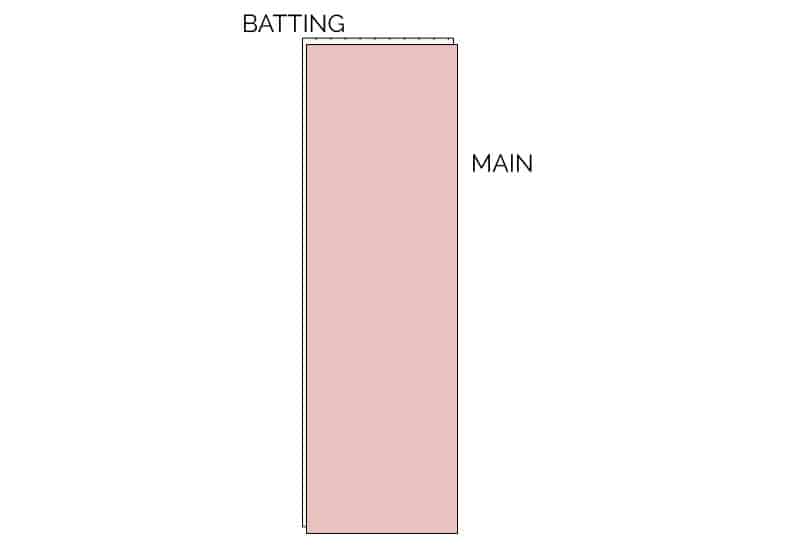
Lay lining fabric face down on the stack you have started.
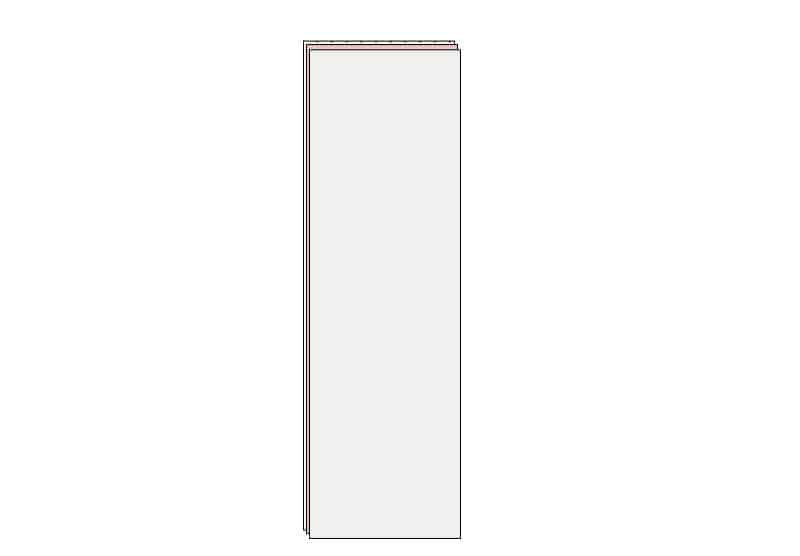
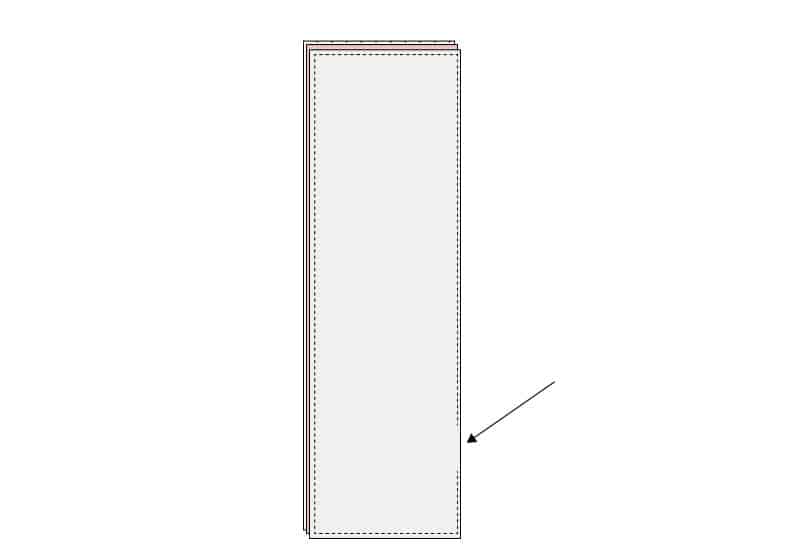
Sew around all layers 1/4″ from the raw edges. Leave a small opening, about 2″ long, on one of the long sides.
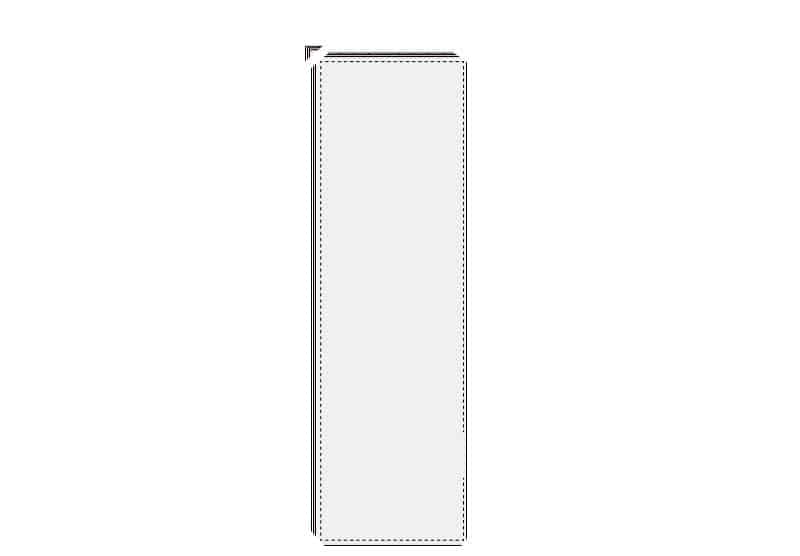
Clip corners.
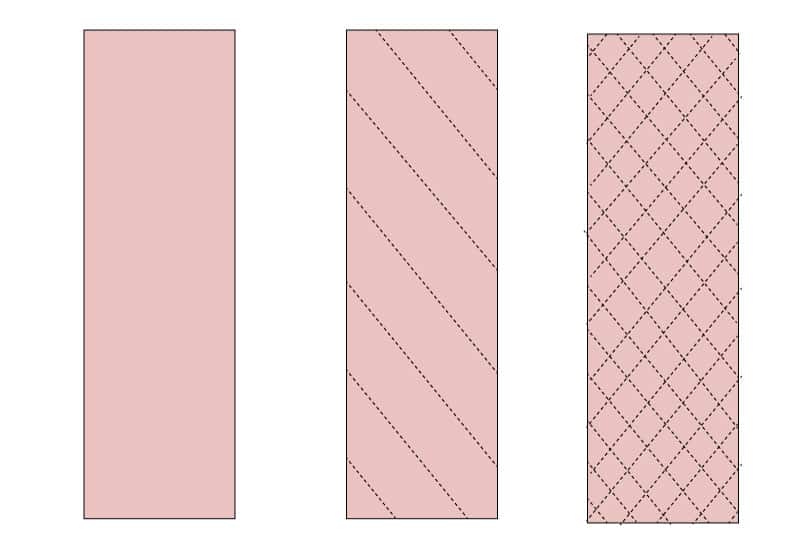
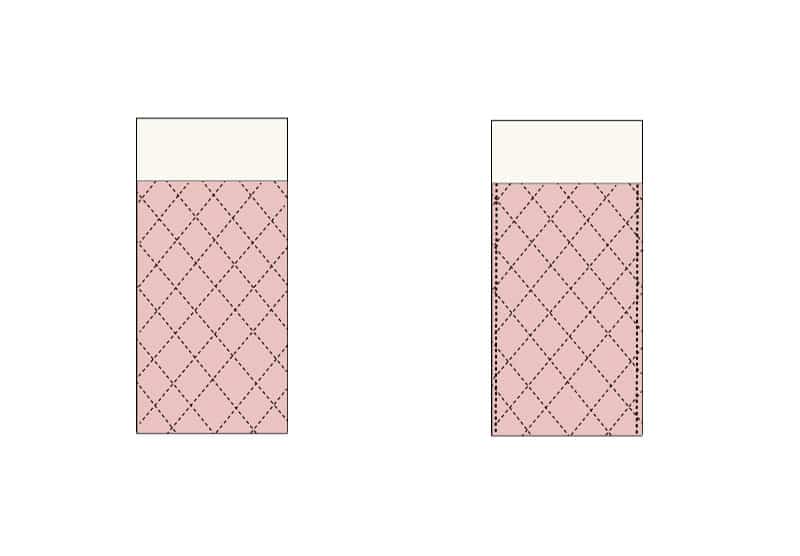
Press well and make sure the open edges are folded in. Optional: Topstitch the sleeping bag with a quilted pattern by sewing diagonal lines in both directions.
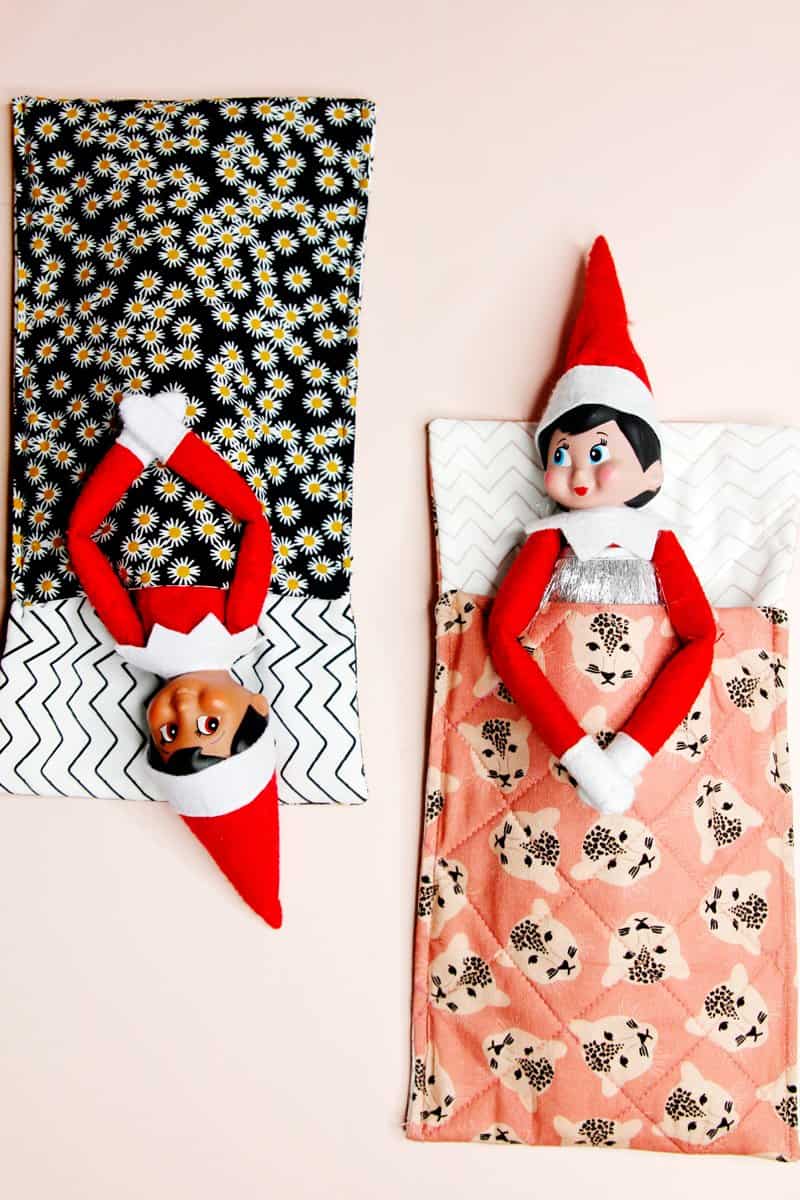
Lay the sleeping bag piece down with the lining facing up. Fold the bottom part up until 3″ from the top and match the side seams. Press and pin in place. Sew along the edges about 1/8″-1/4″ from edges, closing the opening as you sew.
Time for an elf sleepover!


