• Skip to main content
  • Skip to primary sidebar
  • Skip to footer
  • Blog
  • About
  • Contact
  • FAQ
  • Sponsor

see kate sew

sewing, crafts, tutorials, DIY

  • Patterns
    • Free Patterns
    • Pattern of the Month
  • Tutorials
    • Accessories
    • Bags and Pouches
    • Clothing
    • Costumes
    • Crafts
    • Cricut Projects
    • Holiday
    • Household
    • Kids
    • Maternity
    • Quilting
  • Topics
    • Baby
    • Boy
    • Christmas
    • dog
    • Dolls
    • Easter
    • Girl
    • Halloween
    • Lookbook
    • Party
    • pet
    • Printables
    • Training
    • women
  • No Sew
  • Sewing 101
  • Sew4Good
  • Pet
  • Sewing Room
    • DreamBox
  • Reviews
Home
  • Patterns
    • Free Patterns
    • Pattern of the Month
  • Tutorials
    • Accessories
    • Bags and Pouches
    • Clothing
    • Costumes
    • Crafts
    • Cricut Projects
    • Holiday
    • Household
    • Kids
    • Maternity
    • Quilting
  • Topics
    • Baby
    • Boy
    • Christmas
    • dog
    • Dolls
    • Easter
    • Girl
    • Halloween
    • Lookbook
    • Party
    • pet
    • Printables
    • Training
    • women
  • No Sew
  • Sewing 101
  • Sew4Good
  • Pet
  • Sewing Room
    • DreamBox
  • Reviews

10.07

Barbie Pillow Tutorial with Easy Patchwork

Welcome to See Kate Sew! If you’re new here, sign up for my email newsletter for access to free patterns, tutorials and all the latest sewing news! Tour my sewing room HERE!

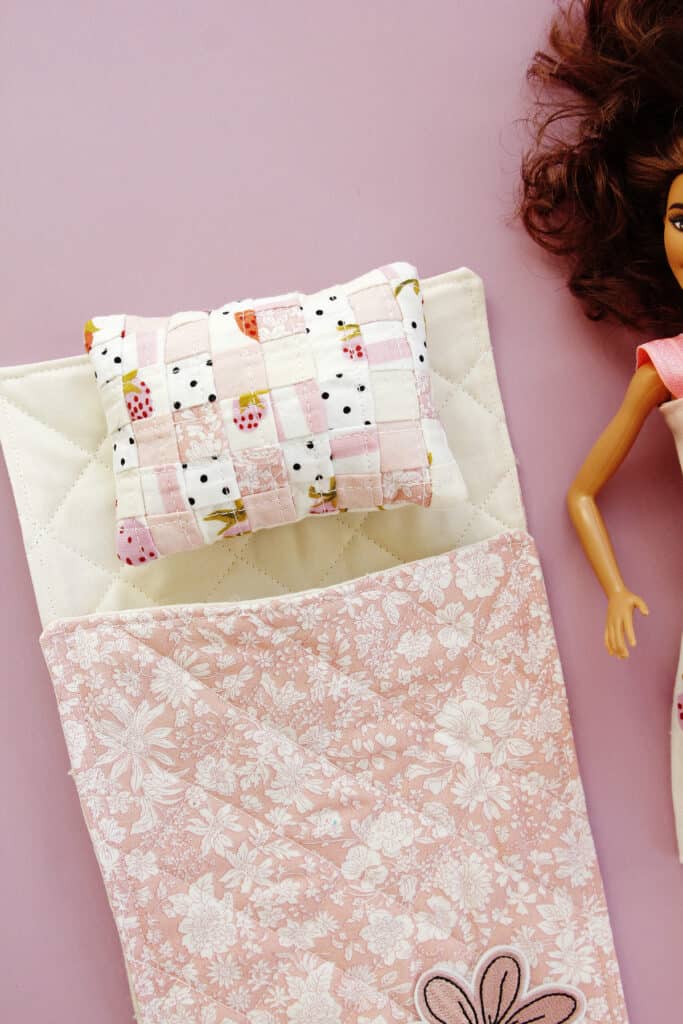
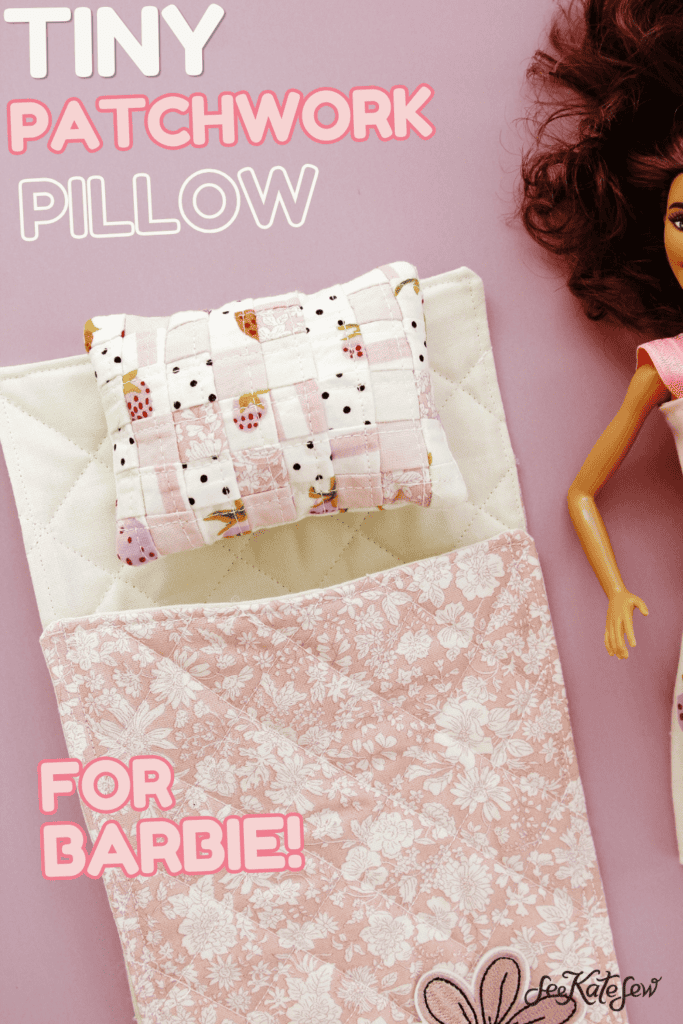
Sew the cutest and tiniest patchwork! This Barbie pillow tutorial will walk you through sewing this scrappy pillow step by step! The best part is we’re using an interfacing technique that makes the patchwork really simple!
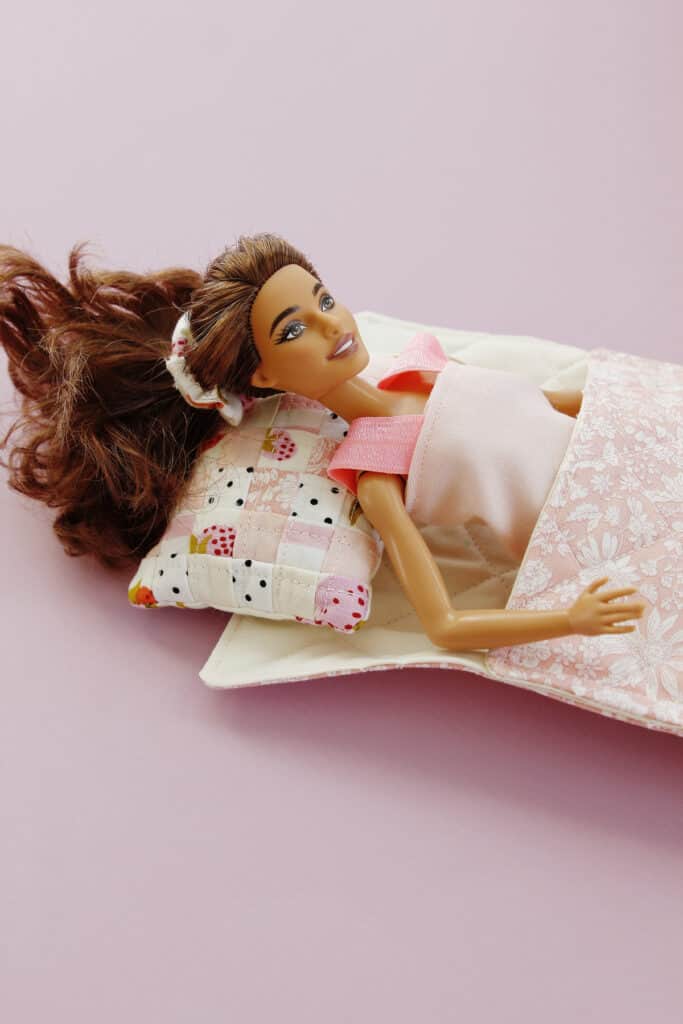
Barbie Pillow Tutorial

This project coordinates perfectly with the Barbie size sleeping bag! Make them both and get ready for a Barbie sleepover.
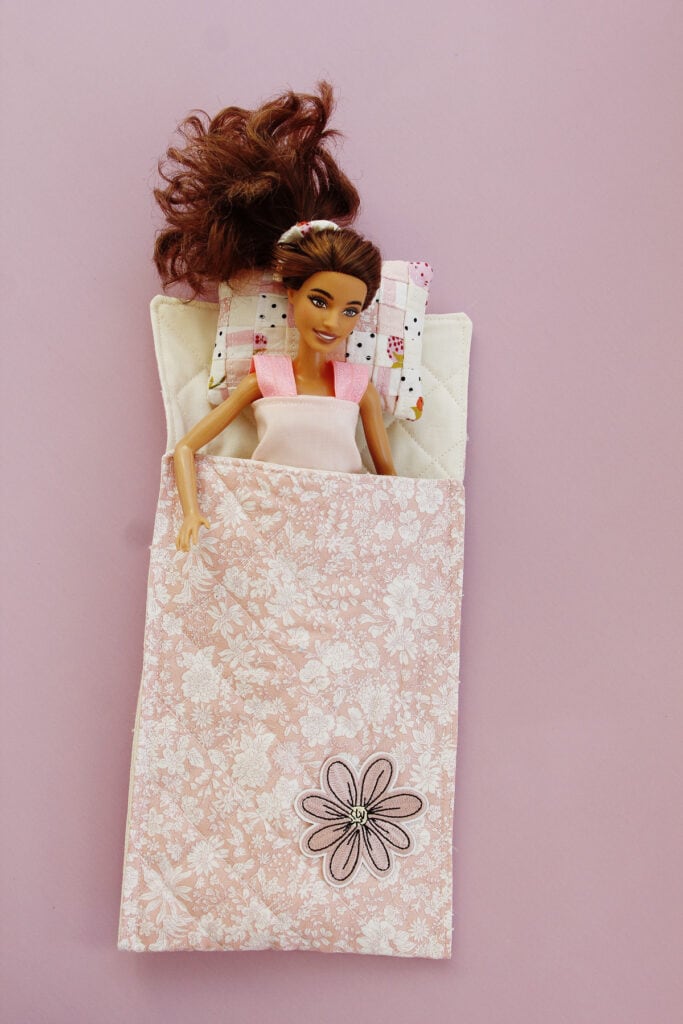
Barbie Pillow Tutorial

I used scraps from the Strawberries & Cream Box from My Fabric Fix! It hardly uses any fabric especially since I saved all my little scraps.
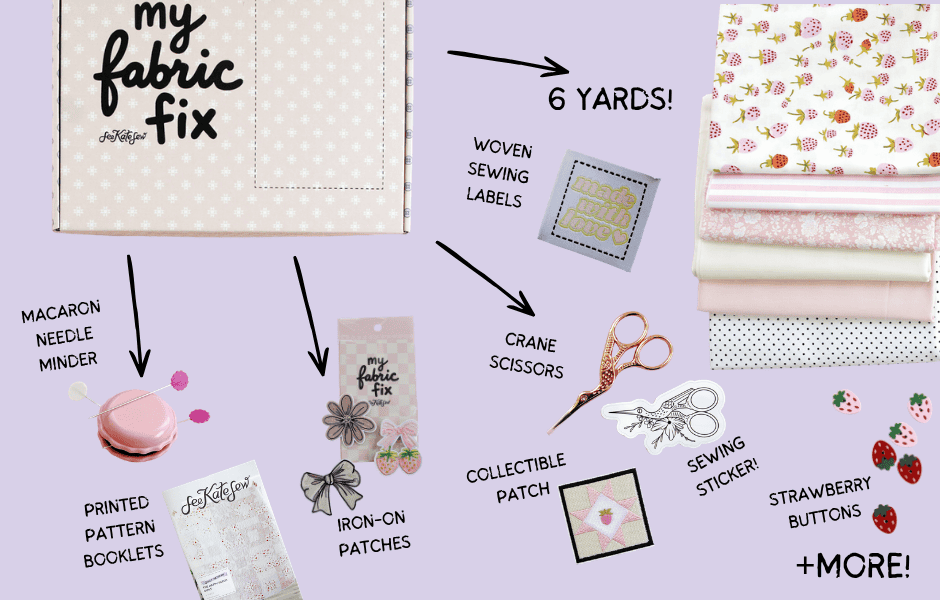
CHECK OUT MY FABRIC FIX

Barbie Pillow Materials

  • Tiny fabric scraps
  • 1″ grid interfacing
  • Quilt batting scraps
  • Fiberfill stuffing

Patchwork Barbie Pillow Tutorial

Cut a piece of grid interfacing 8″ by 6″. Cut lots of 1″ square from fabric scraps. We’ll need 48 for this project. Place the grid interfacing with the rough side (the adhesive side) up. Then start placing the squares in the grid.
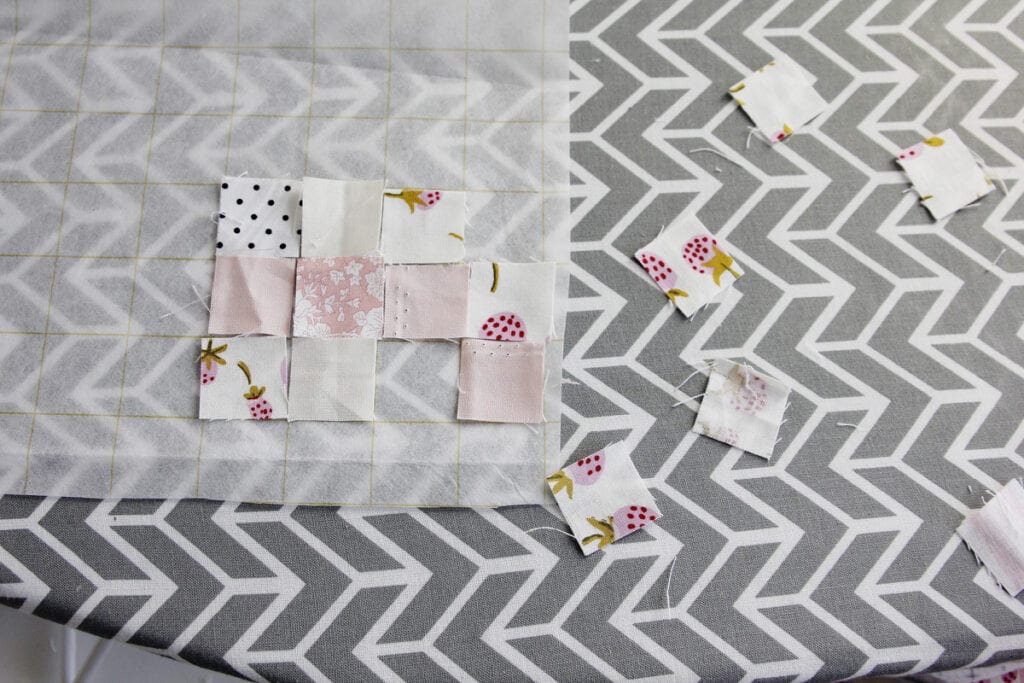
Once you have about half of the square in you can start pressing them. Press gently so you don’t skew the squares. Then continue adding squares until your interfacing is totally covered. You do not have to have the squares perfect – some will overlap a little and there will be space between others. We’ll use a 1/4″ seam allowance so you have some room for error.
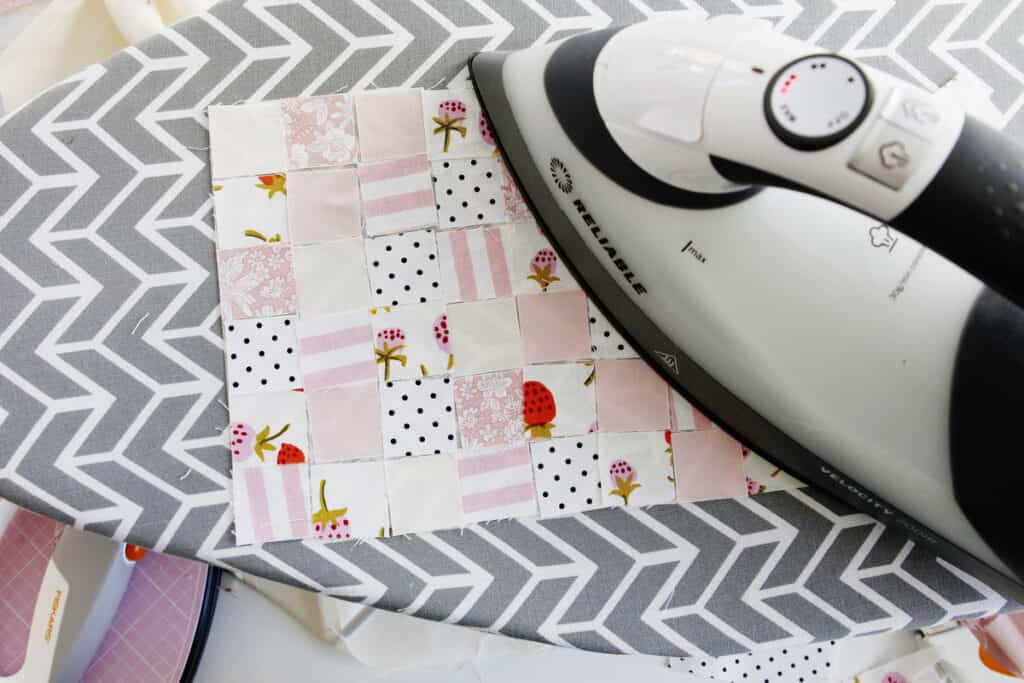
Barbie Pillow Tutorial

Fold the top row down and press, using the 1″ grid lines as your guide.
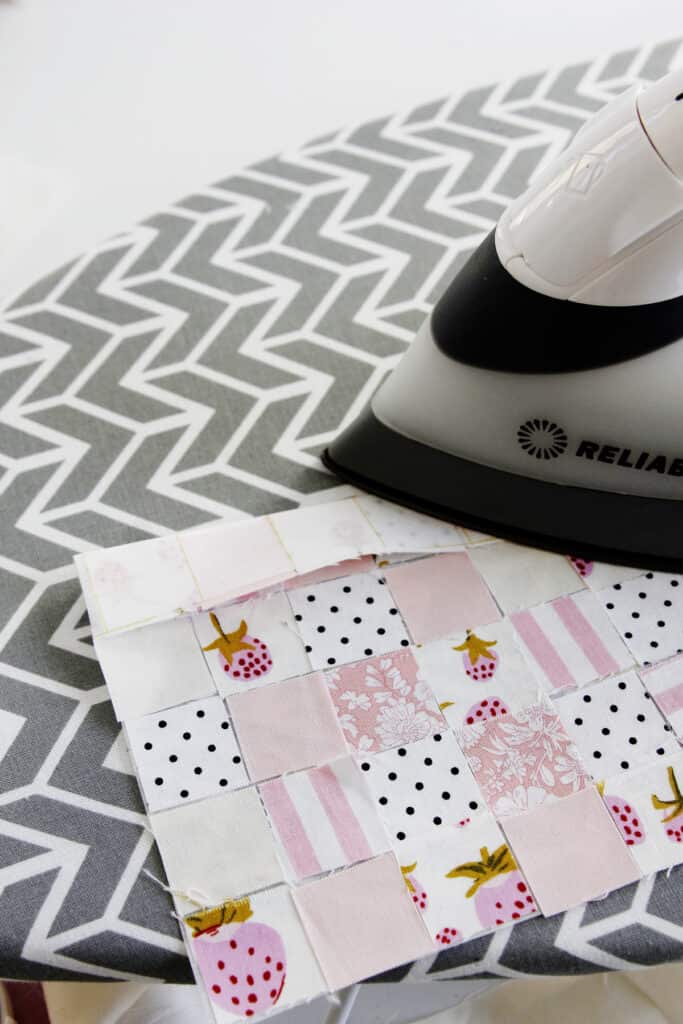
Sew with a 1/4″ seam allowance. This is like sewing 16 tiny scraps together at once!
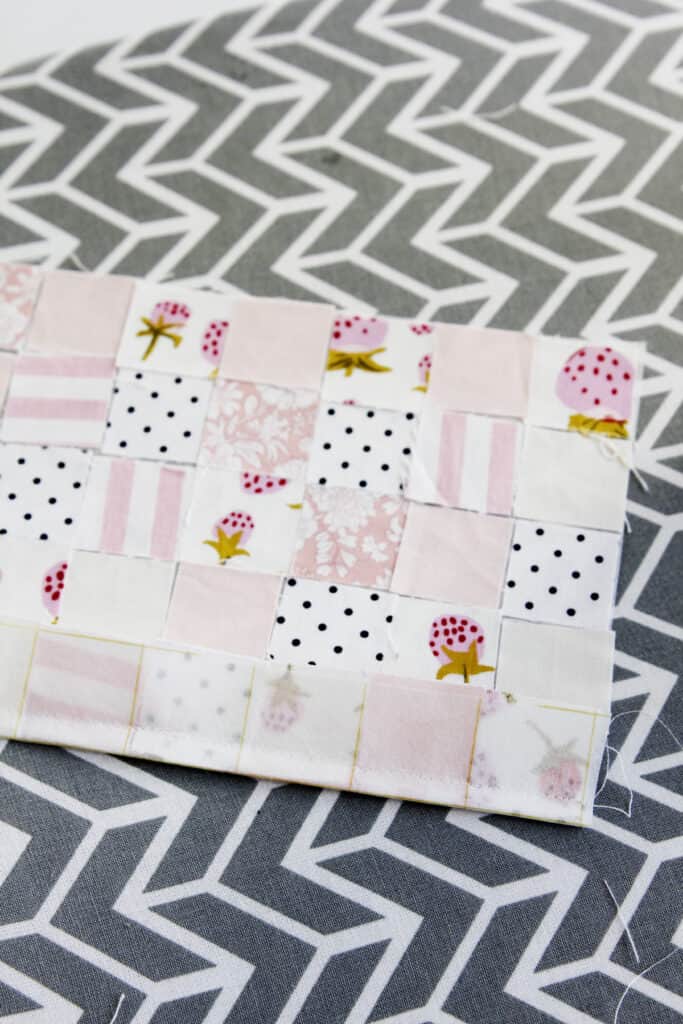
Repeat until you have sewn all the rows.
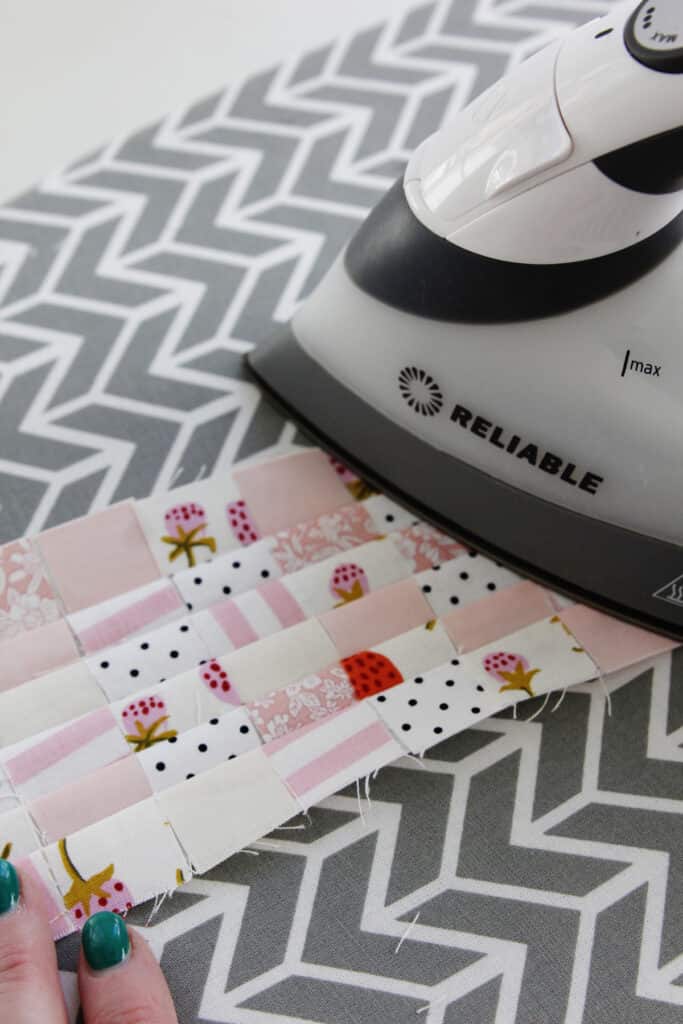
Press the seam allowances in one direction.
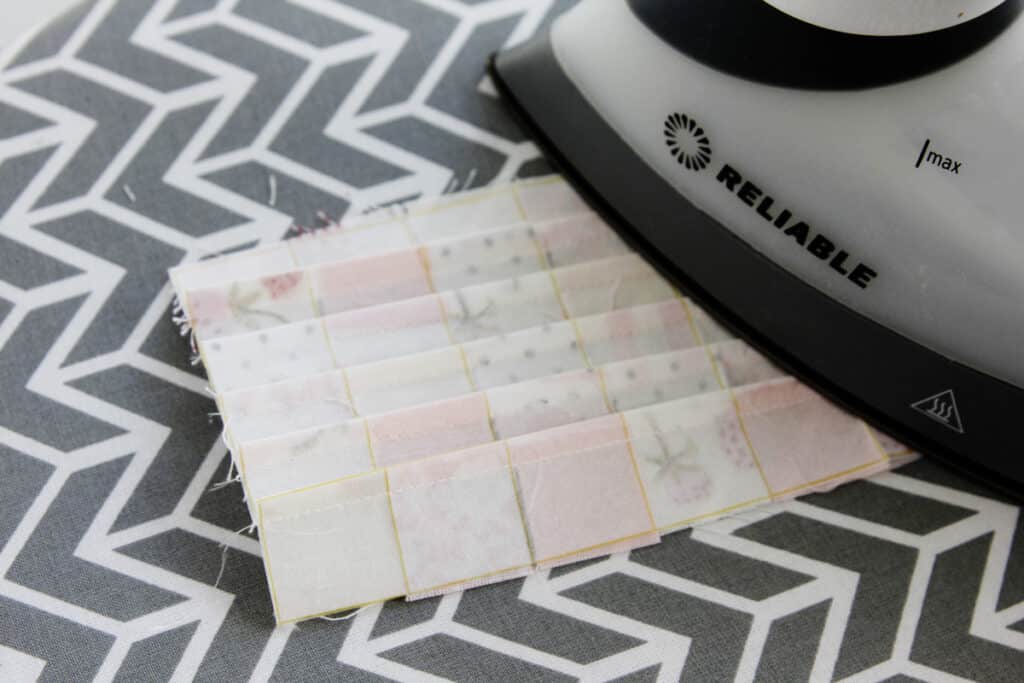
Clip the seam allowance

Use the tips of your scissors to clip the seam allowance at each 1″ intersection. Be sure you don’t clip through your stitching. This will help use reduce the bulk of this thick seam allowance.
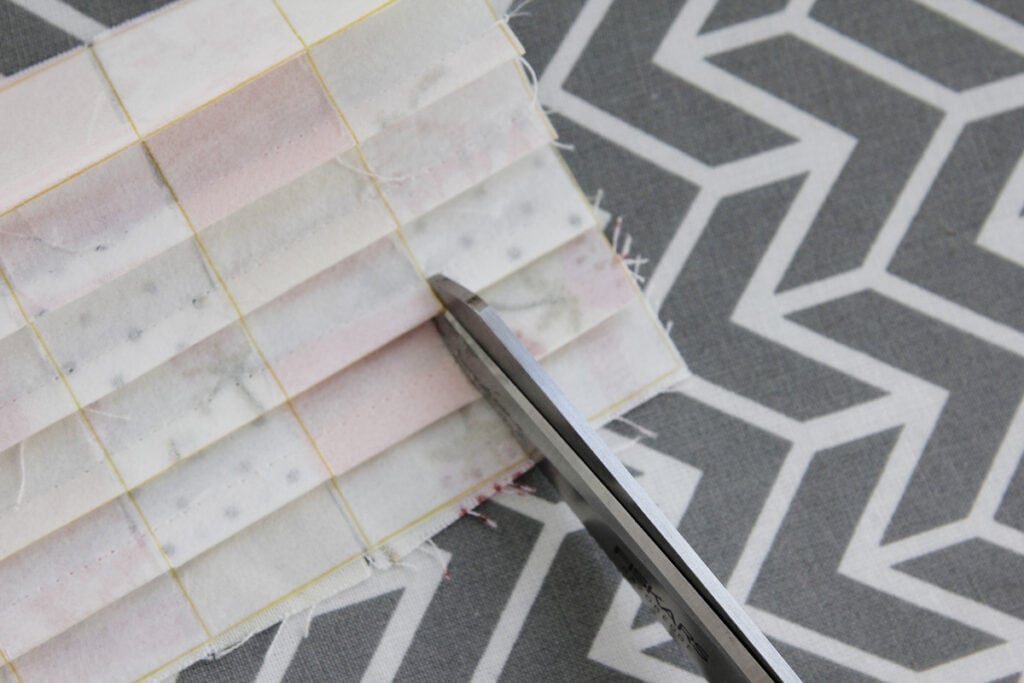
Now press each row in opposite directions.
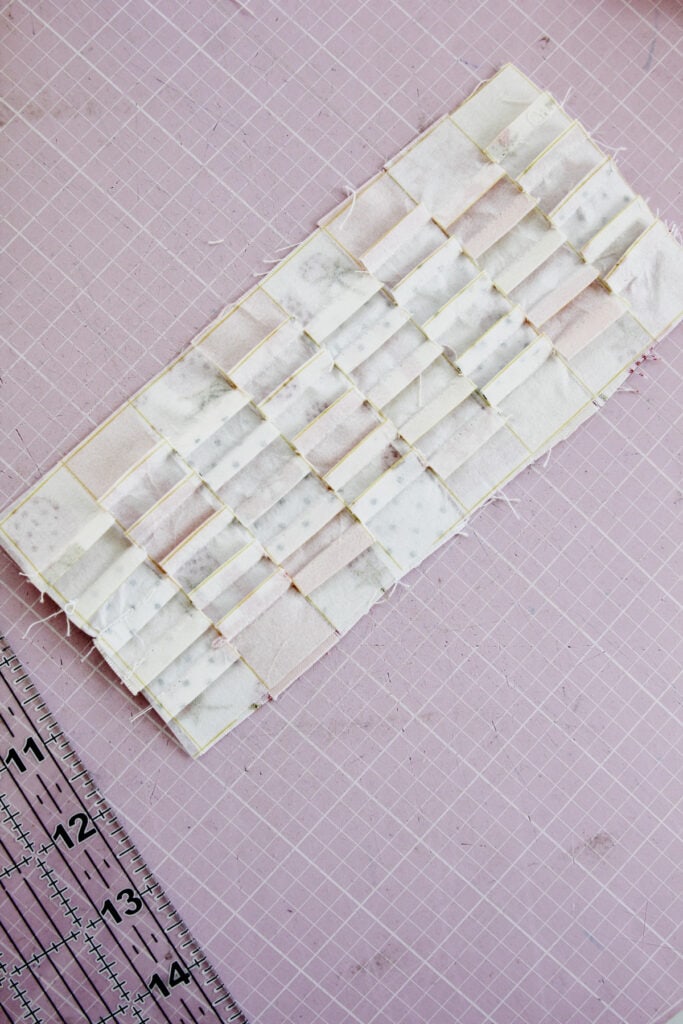
Now we are going to sew the perpendicular seams. Fold over the first one and press, making sure the seam allowances stay how you pressed them, going in opposite directions.
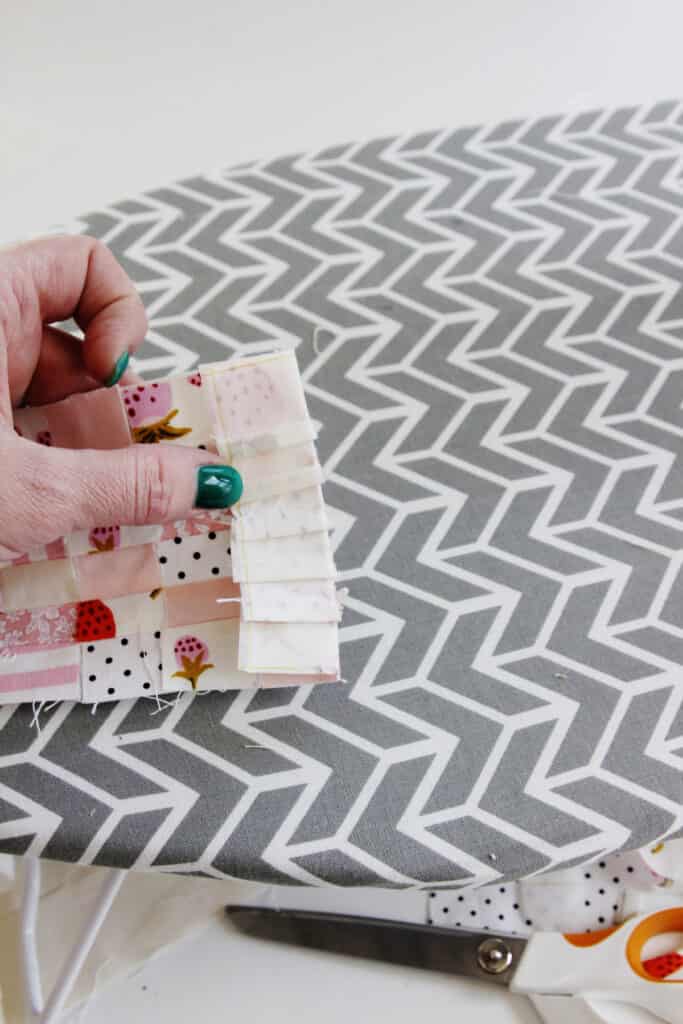
The top seam allowances are pressed to the left and the bottom are pressed to the right.
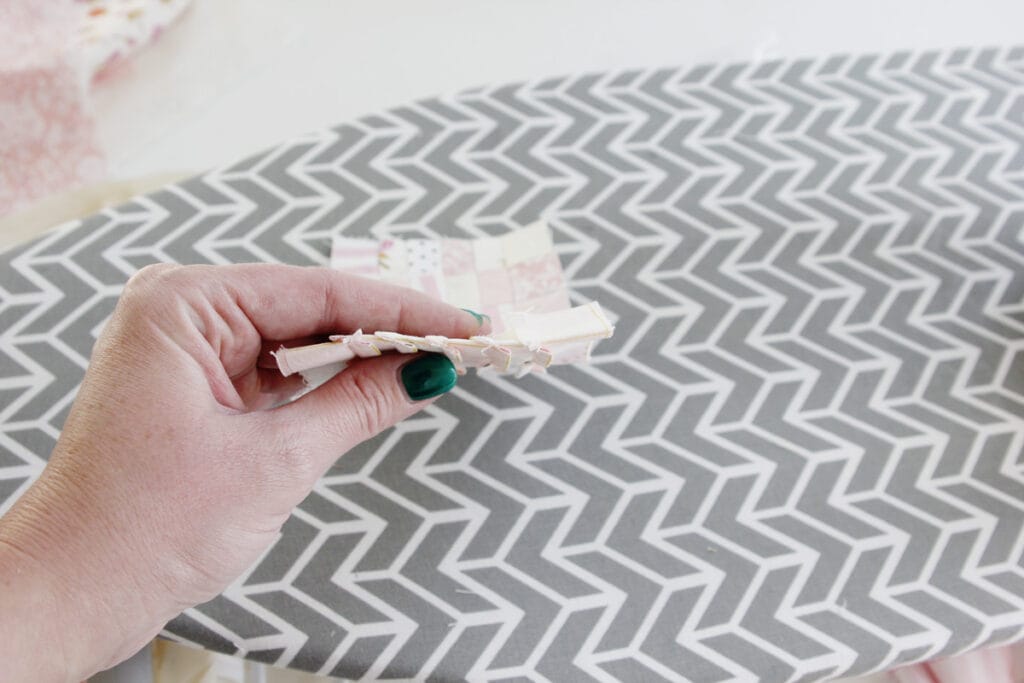
Now sew with a 1/4″ seam allowance. Repeat until you have sewn all the cross seams.
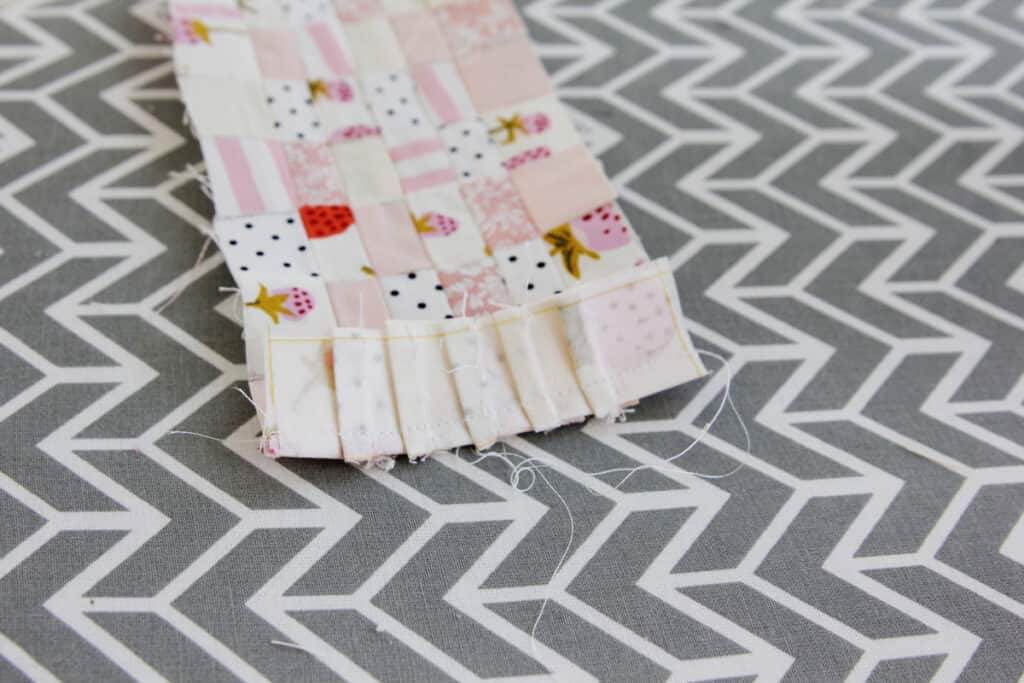
Press well and baste to a layer of quilt batting.
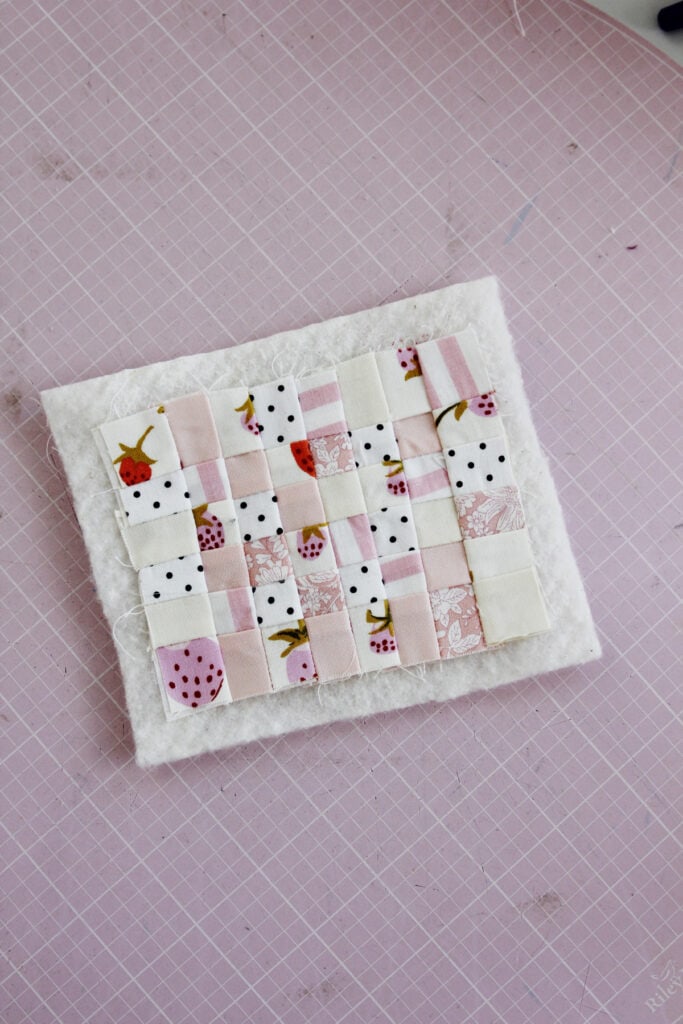
Barbie Pillow Tutorial

Now topstitch along your seams to make a cute quilted pattern.
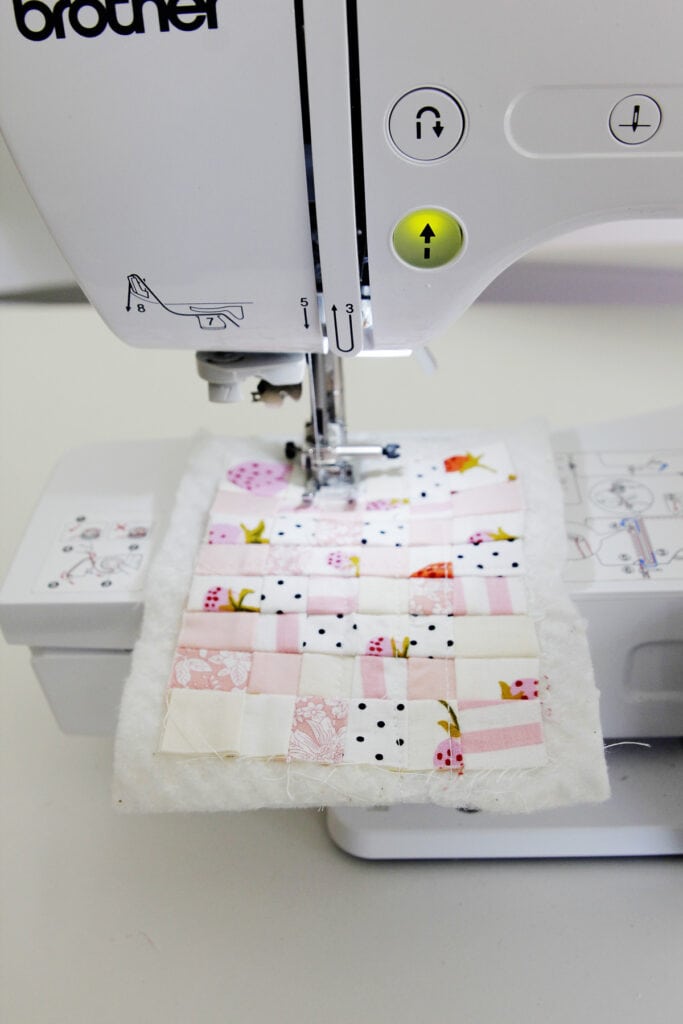
Barbie Pillow Tutorial

Trim to 3.5″ by 4.5″ and then cut a backing piece the same size.
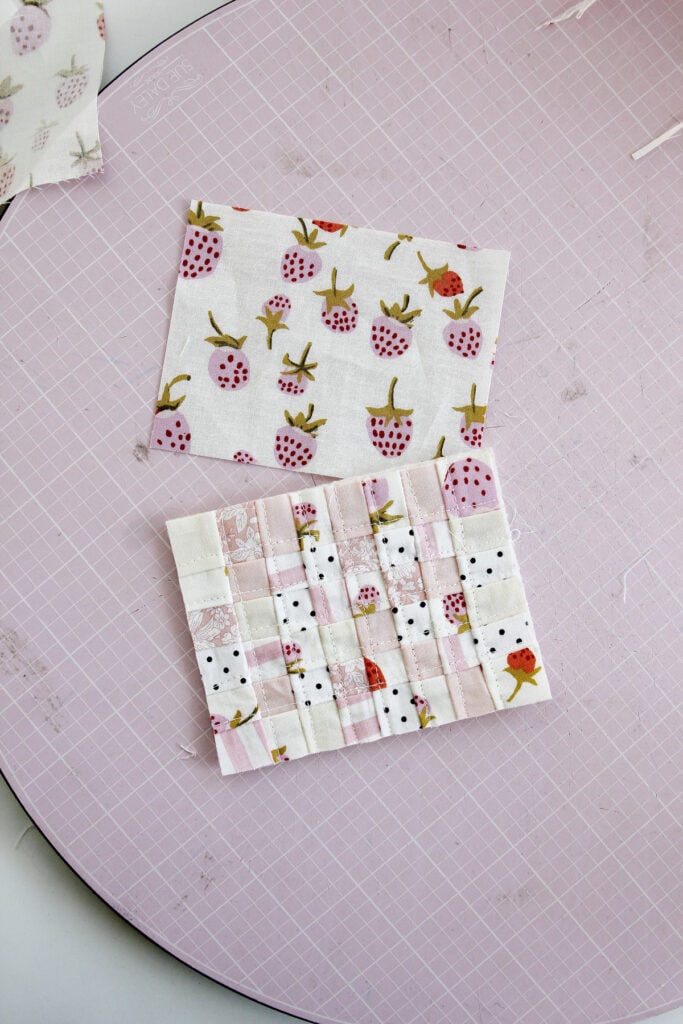
Barbie Pillow Tutorial

Add a “made with love” label from My Fabric Fix if you want! These are an exclusive that you can only get in the Strawberries & Cream My Fabric Fix Box! I love how cute they are!
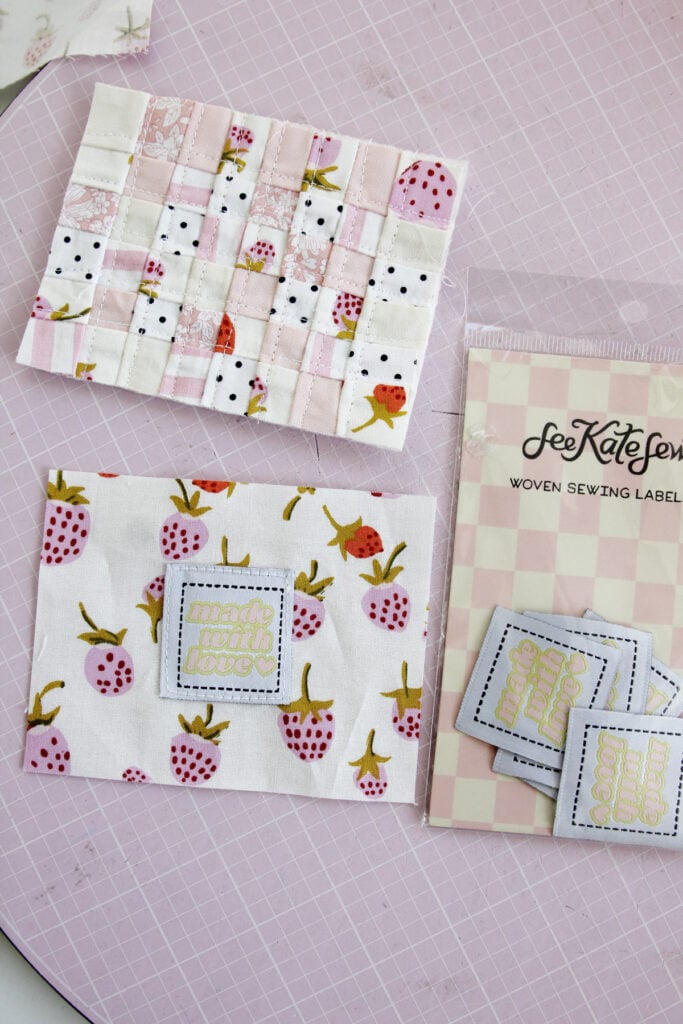
Barbie Pillow Tutorial

Now pin the back to the patchwork panel. Sew around at 1/4″ leaving about 1″ open at the bottom. Clip corners and trim seam allowance.
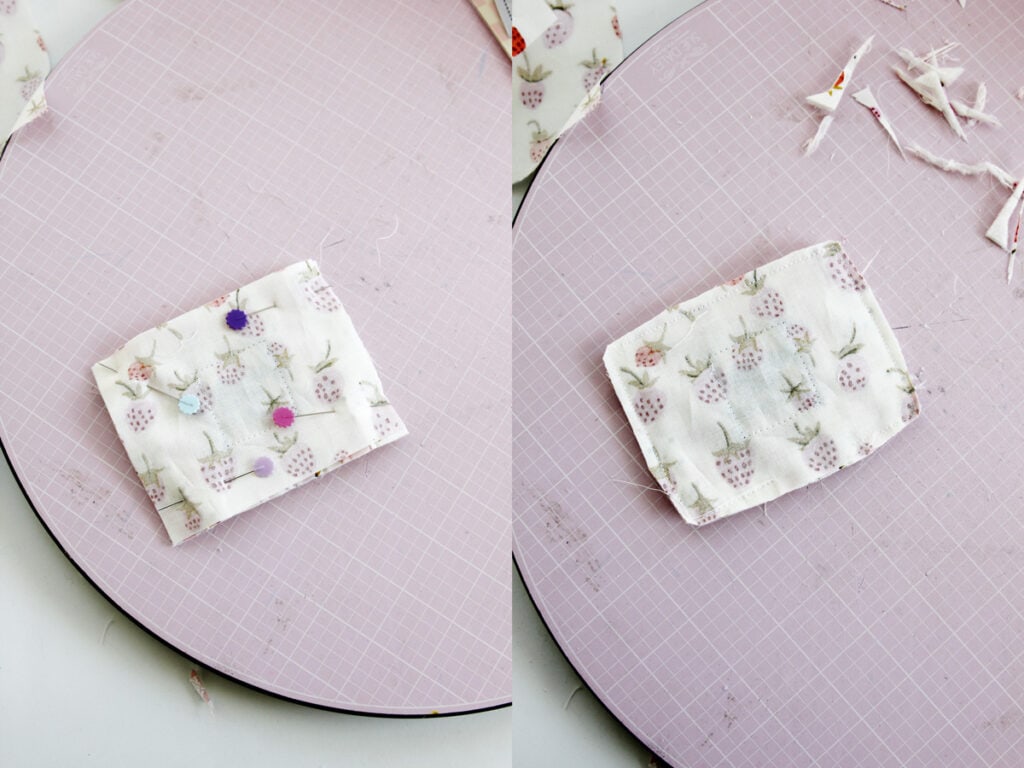
Barbie Pillow Tutorial

Turn right side out and press. The stuff with stuffing and finish by sewing the opening closed with a needle and thread.
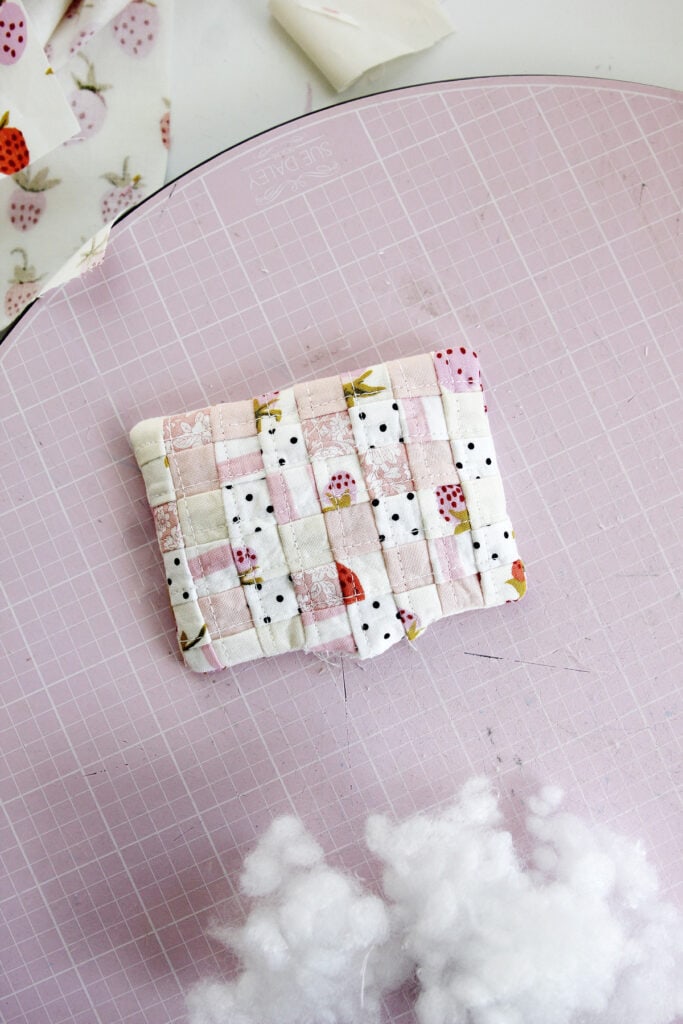
More Barbie Sewing Projects

  • Tiny Barbie Tote Bag
  • Barbie Apron Sewing Pattern
  • Snappable Barbie Purse Sewing Pattern
  • Barbie Sleeping Bag
  • Barbie Dress

Leave a Comment | Uncategorized

Exclusive Free PatternRuffled Apron

Sign up for my email newsletter and receive my ruffled apron pattern totally FREE!

We take your privacy seriously. See our privacy policy here. Unsubscribe at any time.

You may also like these posts...

10 Jelly Roll Projects Every Quilter Should Make (Using Precut Fabric)Charm Square Projects for Simple, Satisfying Patchwork2023 Black Friday Sewing and Craft Deals30-Minute Mother’s Day Gifts You Can Sew (Part 1)

Reader Interactions

Leave a Comment Cancel reply

Your email address will not be published. Required fields are marked *

Primary Sidebar

  • Facebook
  • Twitter
  • Instagram
  • Pinterest
  • Email

Exclusive Free PatternRuffled Apron

Sign up for my email newsletter and receive my ruffled apron pattern totally FREE!

We take your privacy seriously. See our privacy policy here. You can unsubscribe at any time.

Don’t miss these popular posts!

easy baby dress pattern for the summertime

easy baby dress pattern for the summertime

modern ombre + b/w triangle quilt tutorial + pattern

modern ombre + b/w triangle quilt tutorial + pattern

Fabric

Quilted Cosmetic Case Kiss Me KateKiss Me, Kate FabricOne Hour Granny Square Quilt Tutorial | See Kate SewModern Granny Square Quilt Whole Cloth

Pattern Hacks

Easy Baby Summer Dressthe EMMA pattern | See Kate SewThe EMMA Dress

Footer

Hello friends!

My name is Kate, a twenty something fashion lover and mother of two. When I’m not chasing kids you can find me at my sewing table or daydreaming up new designs. You can read more about me here. Thank you for visiting!

8a918f8da8e0e69102dc0f33a718de85a99c31a57283e0e3e2

FOLLOW ME HERE

  • Facebook
  • Twitter
  • Instagram
  • Pinterest
  • Email
  • Blog
  • About
  • Contact
  • FAQ
  • Sponsor

Copyright © 2026 See Kate Sew  •  All Rights Reserved  •  Privacy Policy  •  Site Design by Emily White Designs