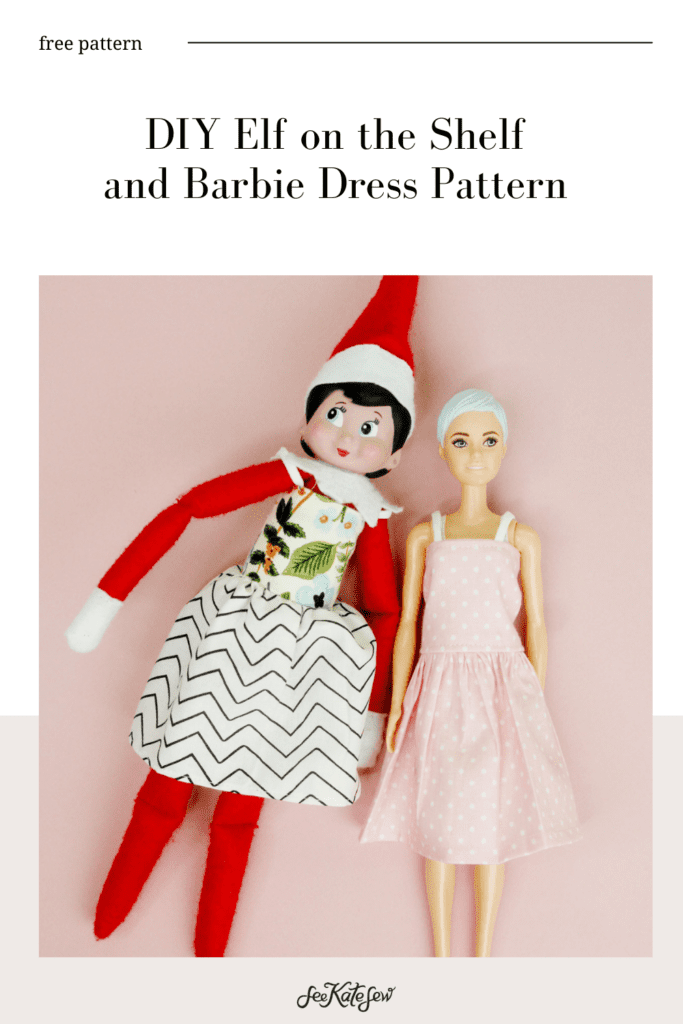
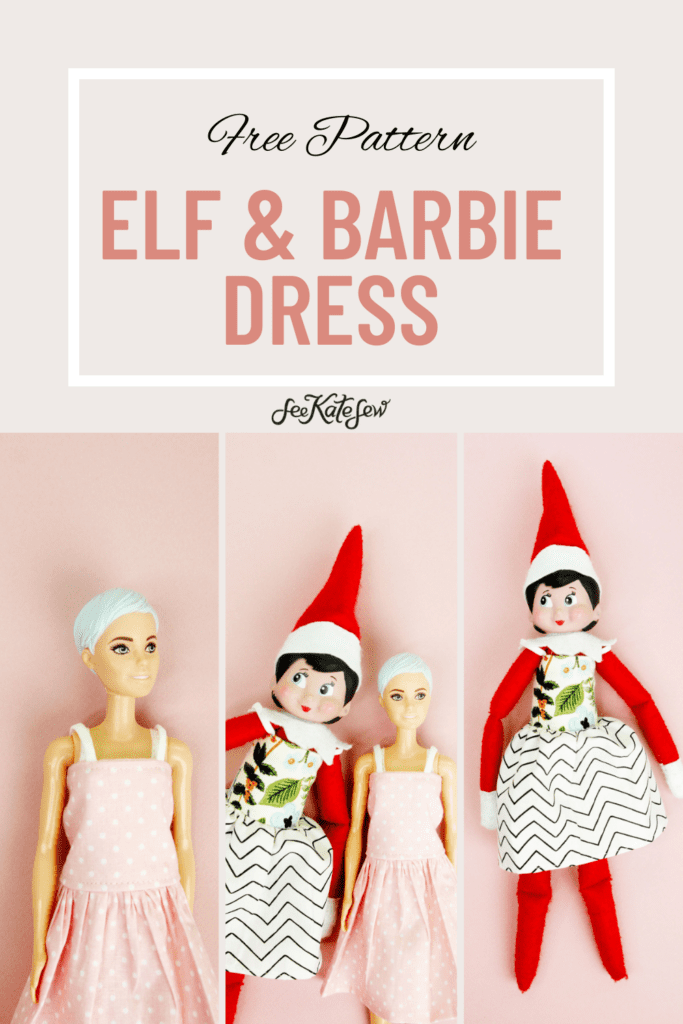
Sew an Elf on the Shelf Dress with this simple pattern! It’s so easy you can whip up a whole bunch for different Elf on the Shelf ideas! This dress also fits a standard Barbie Doll!
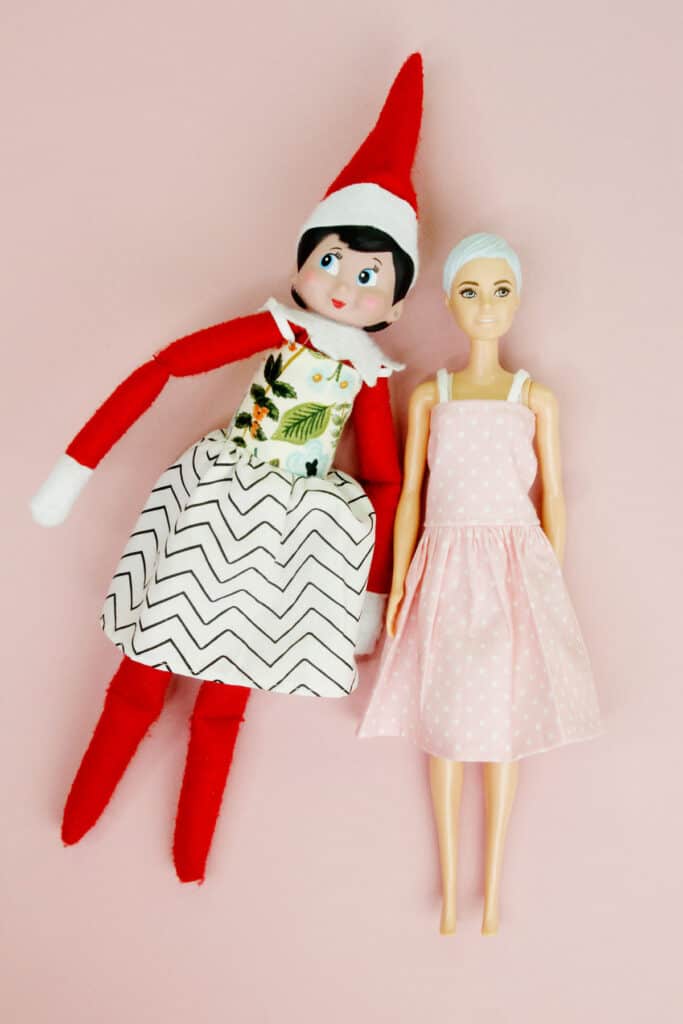
Making clothing for a doll or toy is such a great way to renew interest in an old toy! I use this trick all the time! See more doll tutorials by clicking here!
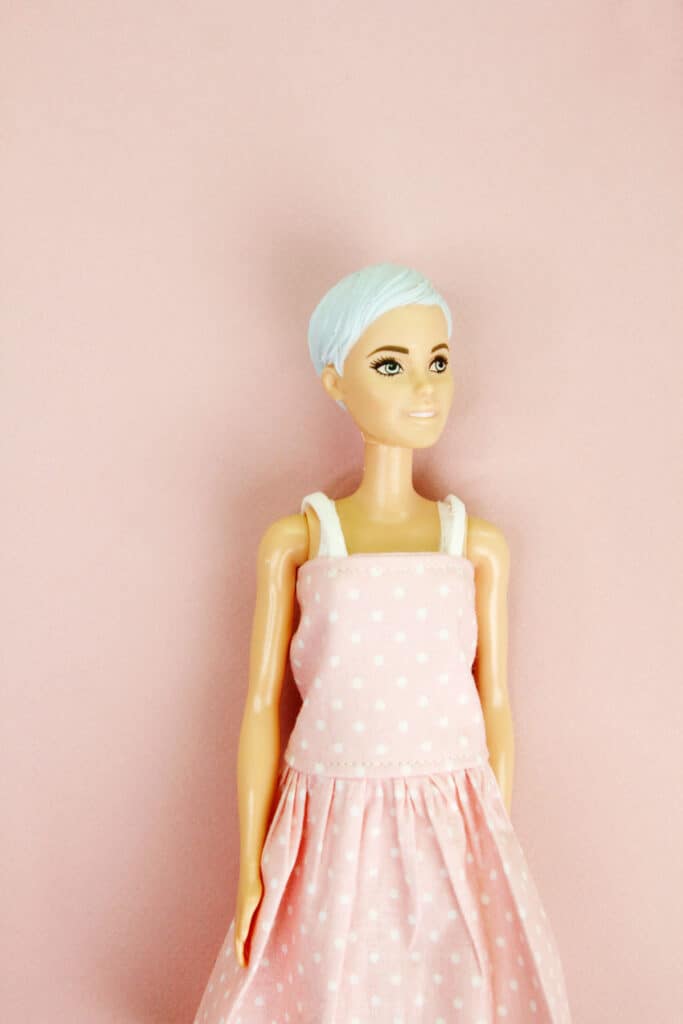
The Elf doll dress pattern can be used to make all sorts of Elf on the Shelf ideas! My kids love seeing something new on the Elf and this dress pattern makes that easy.
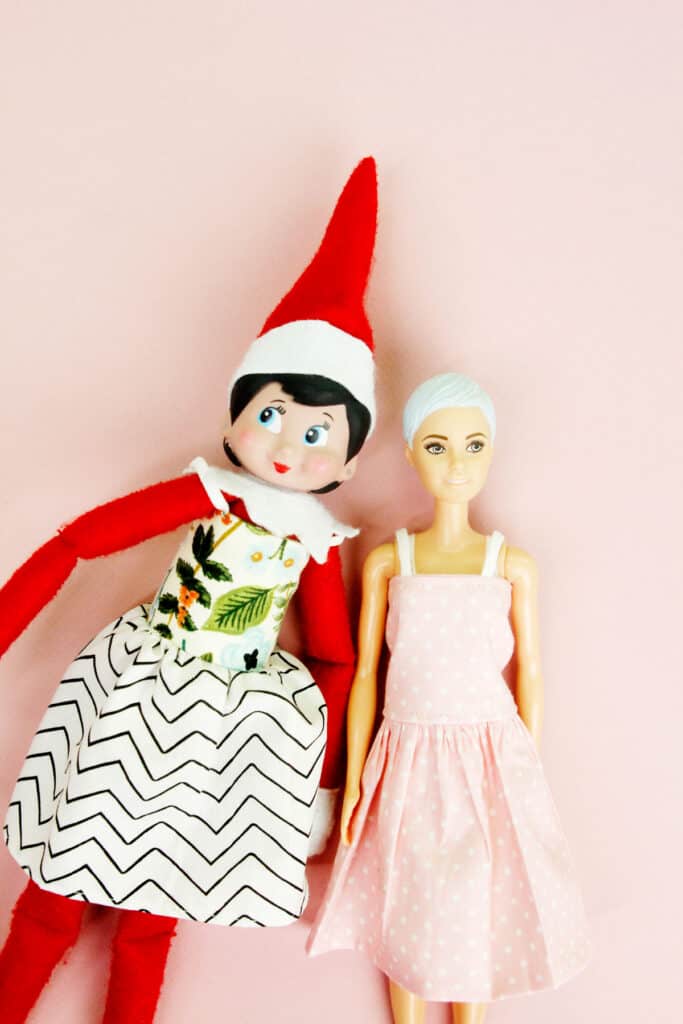
There are no side seams or darts on this simple dress so it’s easy to make an outfit. Use fancy fabrics and your imagination to make this into a fairy costume or a North Pole dress. This dress is so versatile.
Elf on the Shelf clothes can be tricky to make, but this dress is a great beginner project. Soon your elf will have a full wardrobe of apparel options!
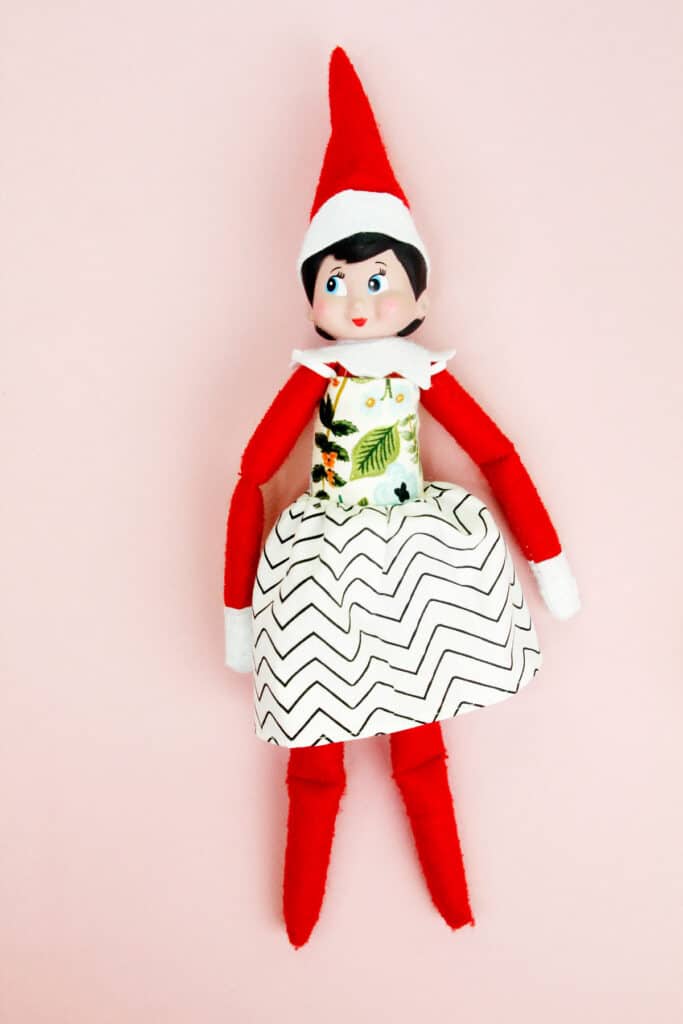
Elf Dress Sewing Pattern Materials
- Cotton fabric, use fabric scraps or fat quarters
- 3/8″ wide strips of velcro(affiliate links) (or use 1/2″ trimmed down)
- 1/4″ elastic for straps
- Printable template
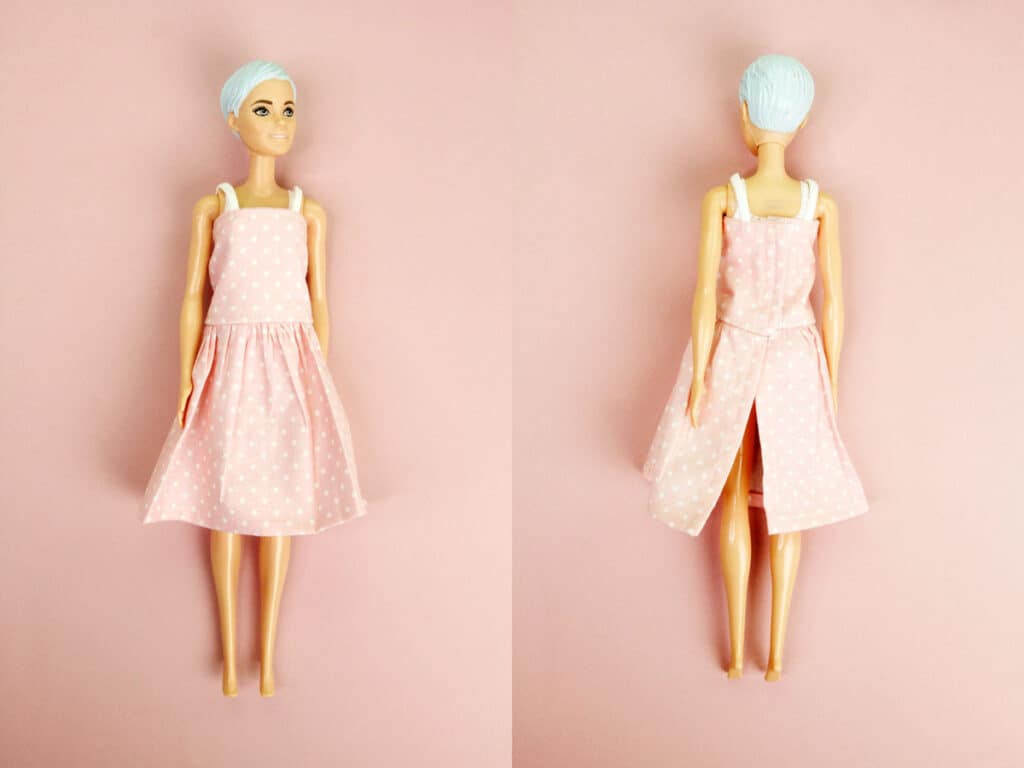
Elf Dress or Barbie Dress Template
Click below to sign up for my newsletters and download the Elf on the Shelf dress template. The template will print out on standard 8.5″ by 11″ or A4 format paper. Be sure the printer settings are set to 100% or DO NOT SCALE.
How to Make an Elf on a Shelf Dress
Follow these step by step instructions and diagrams to complete the dress. 1/4″ seam allowance unless otherwise noted.
Cut 2 pieces of elastic 2.5″ long.
Cut two bodice pieces from fabric and 1 skirt piece (on the fold) from fabric.
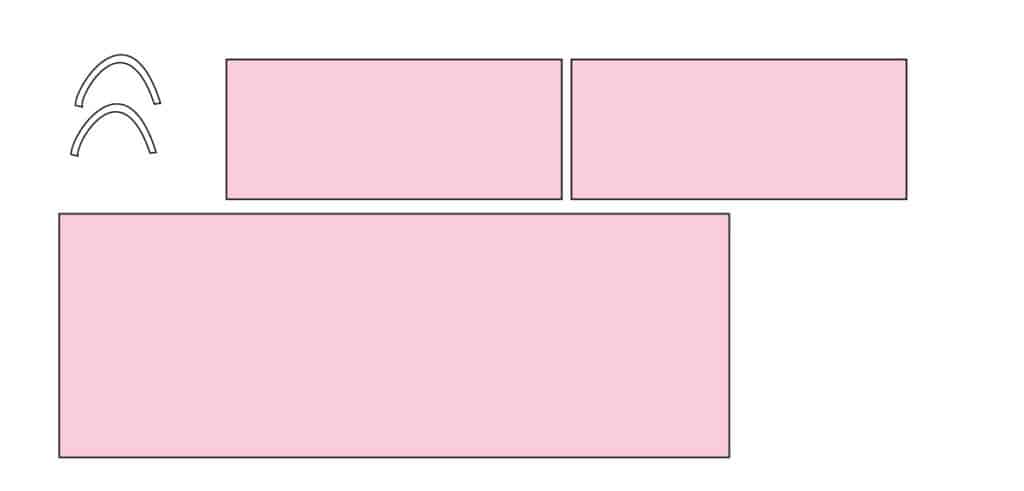
Pin elastic where indicated on pattern piece. They will be little loops.
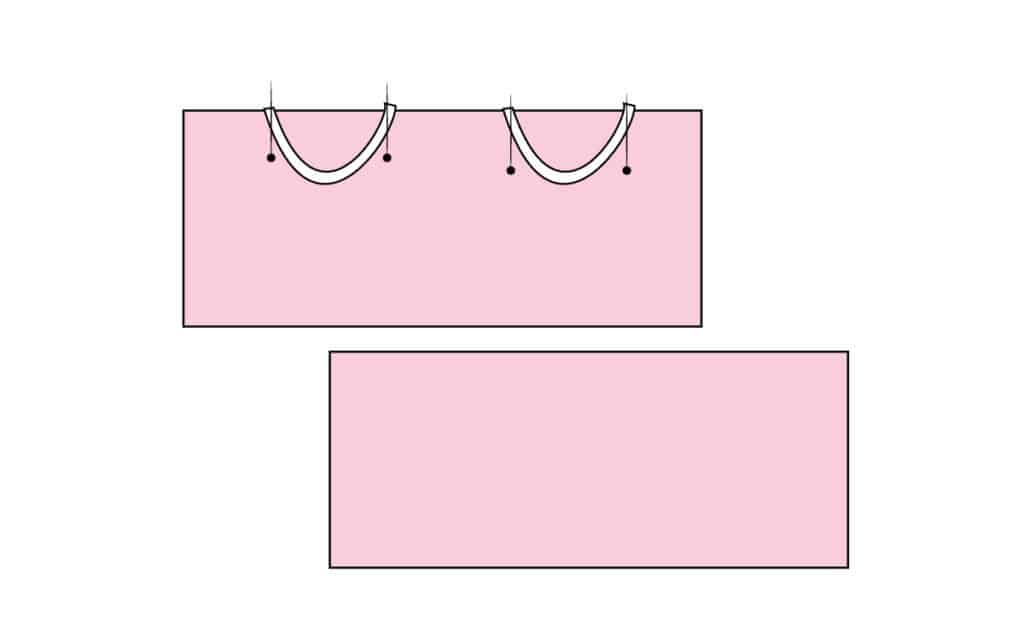
Place second bodice piece on top face down and sew along the top edge 1/4″ from the raw edges.

Fold dress right side out and press well. Topstitch along the top of the bodice 1/8″ from seam.

Press under 1/4″ (or a tiny bit less) on either side of the bodice but press one to the front and one to the back.

Sew velcro over the folded edges, covering the raw edge. Sew around the velcro close to the edges in a rectangle shape. Repeat on the other side with the other half of the velcro. This will create a closure for the Barbie dress that can be wrapped around the doll and secured.

Back stitch where you start and finish sewing.
Barbie Tank Top Pattern
*If you want to make a shirt or tank, hem the bottom edge of the bodice before adding velcro.
Skirt Instructions
Fold under 1/8″ at the bottom hem of the dress twice to create a super narrow hem. Sew in place.

Sew two rows of baste stitching (wide stitching about 5mm wide) along the top of the skirt.

Pull threads to gather the fabric along the top until the width matches the width of the bodice plus 1/2″ on each side.
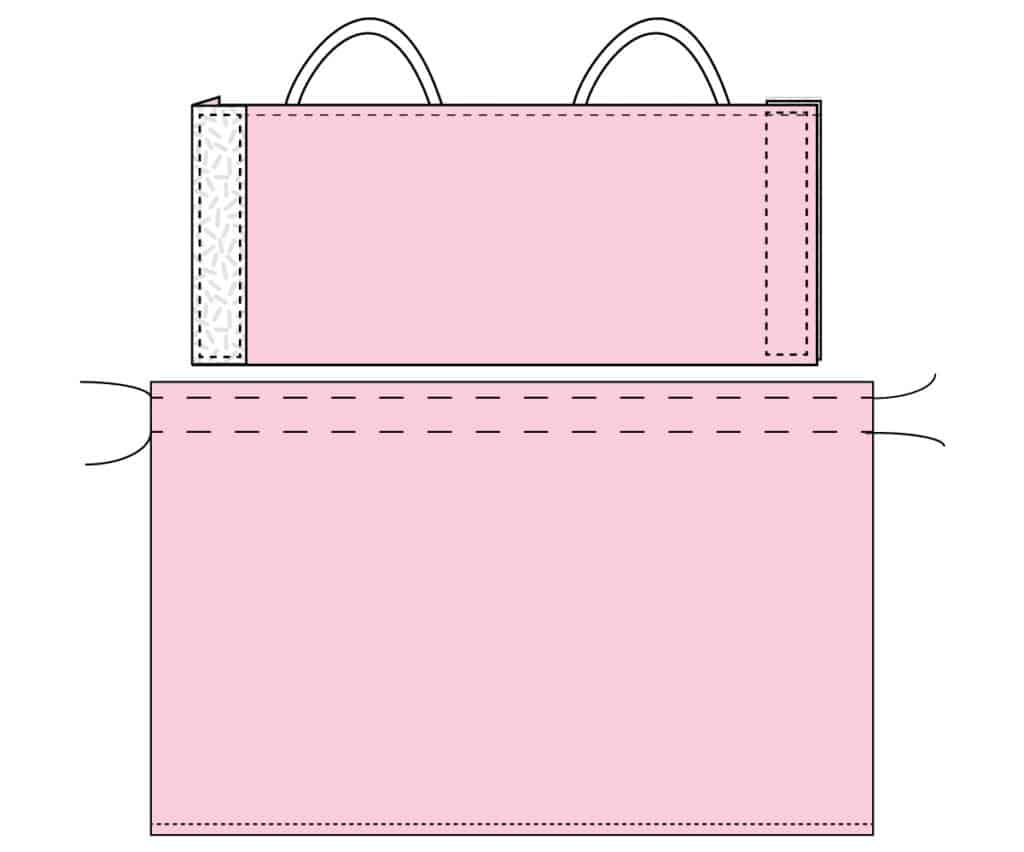
Fold the side edges under 1/4″ twice and sew. As you do this adjust the gathers to make sure your skirt still matches the bodice width.
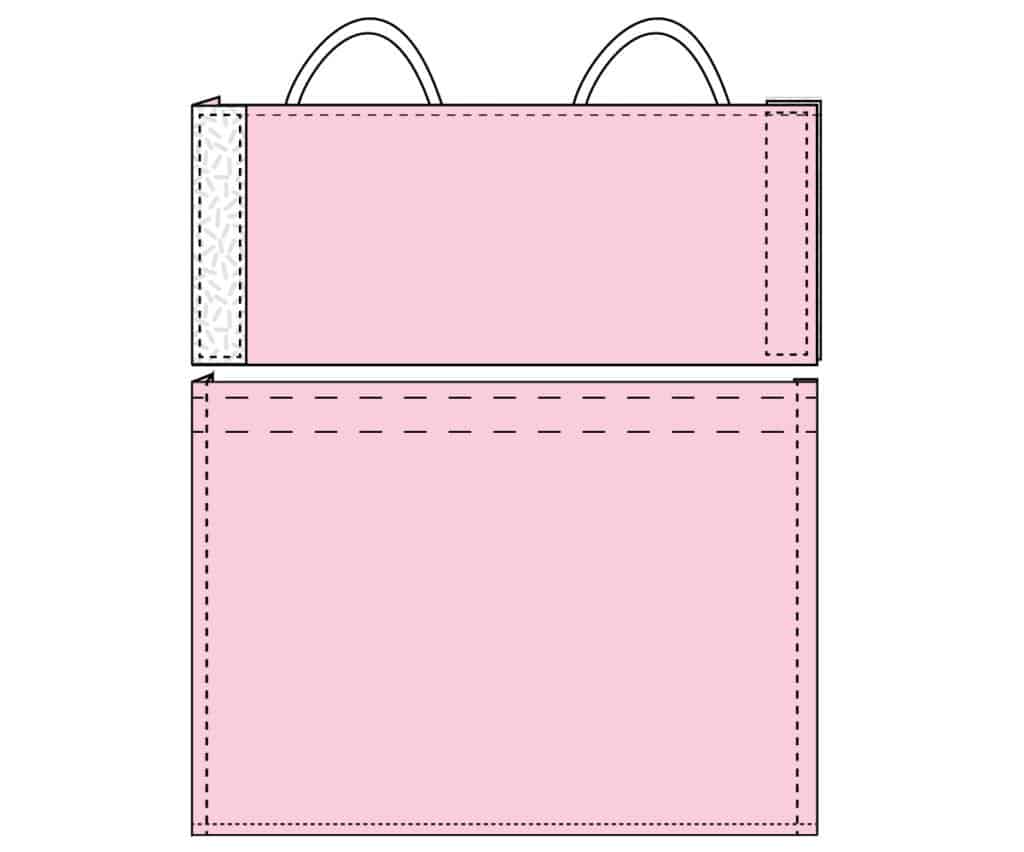
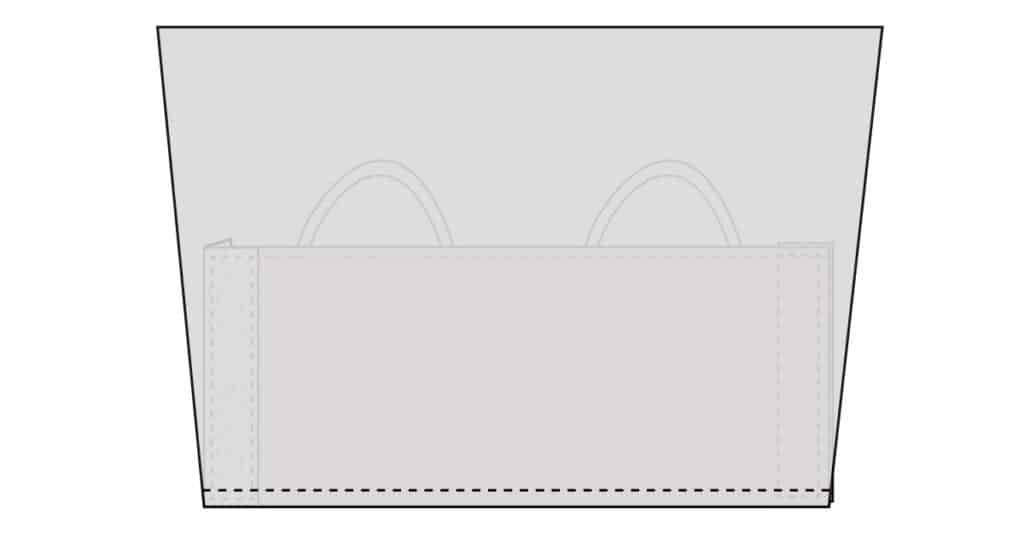
Sew skirt to bodice with right sides together.
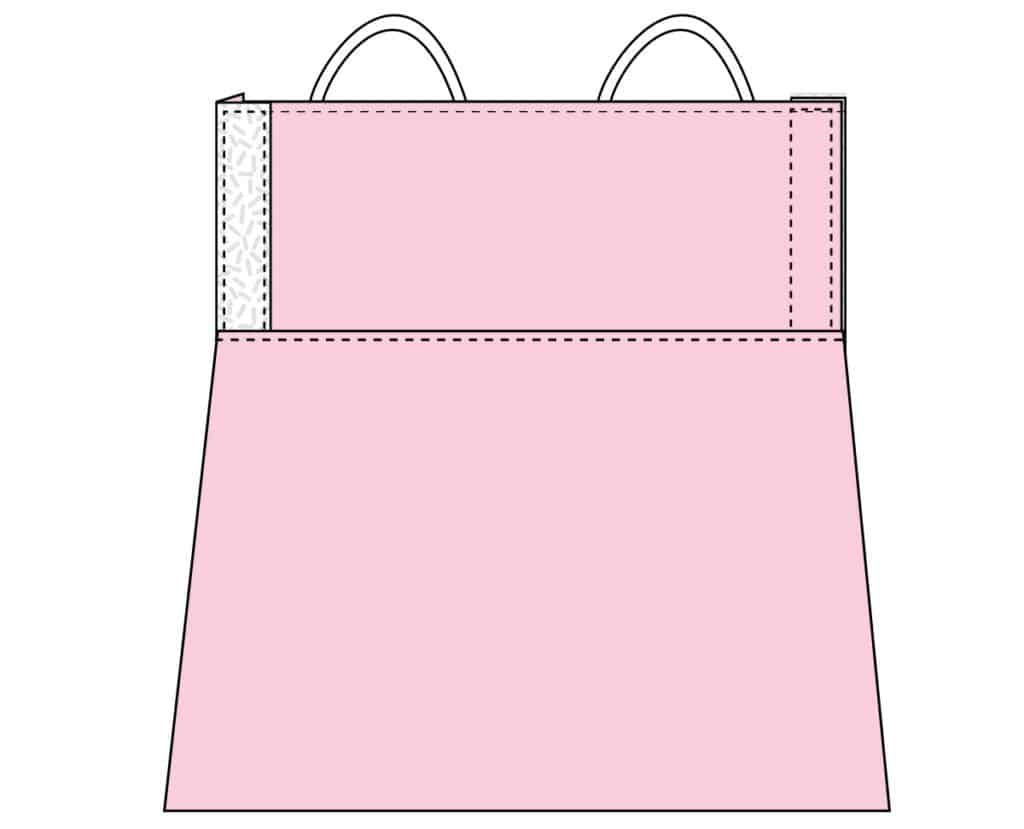
Press well and topstitch along the bodice edge. Now try it on your Barbie or Elf!
If you want to, you can sew the skirt layers together at the back where they overlap. Sew from the bottom until the velcro so the dress stays closed in the back. This step is optional.
For fun variations, add decorative buttons, lace, or ribbon. You can even add a collar or create an Elf Halloween costume with this pattern.
No Sew Elf Dress
To make this dress without a sewing machine use fabric that does not fray such as felt or knit fabric. Use a glue gun to glue the bodice to the skirt. “Gather” the skirt by creating tiny pleats. Glue the velcro to the back. Glue the elastic straps on.
Similar Projects and Elf Accessories
This similar content includes more free patterns and Santa approved projects for the holiday season.
- Baby Doll Carrier Backpack Pattern
- Scallop Christmas Tree Skirt
- Elf Sleeping Bag Pattern
- Elf Mermaid Tail
- More Elf Clothing: Make a skirt
- DIY Elf Costume Tutorial (for a person!)
- Elf Apron Free Pattern
