This post was created in partnership with Bing. With a type or a swipe you can search the web, the cloud, apps, and your PC or tablet, all in one place using
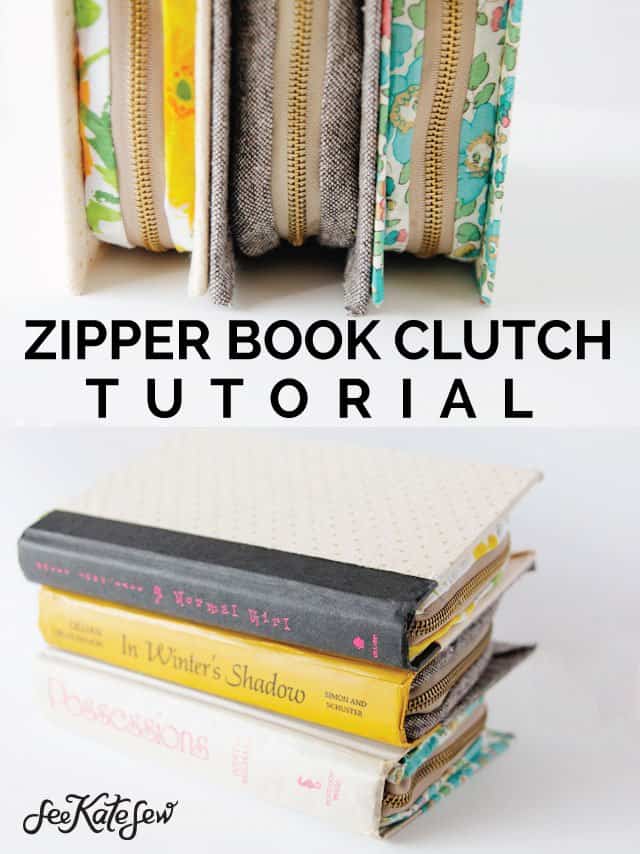
Bing recently encouraged me to try out their new Smart Search to inspire a DIY project! I’ve been wanting to make more book clutches for a while now, so I used the app to gather inspiration and source supplies. I made one a long time ago by upcycling a purse, but I wanted to try another way…using a zipper and fabric!
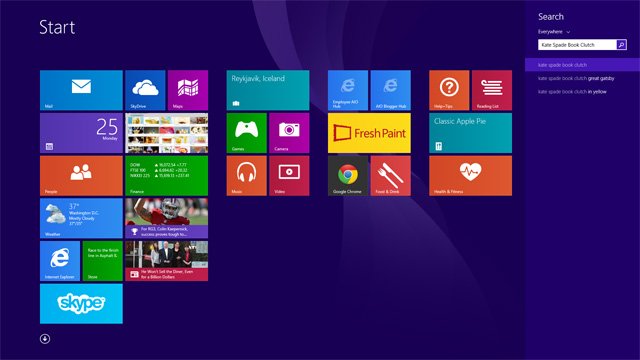
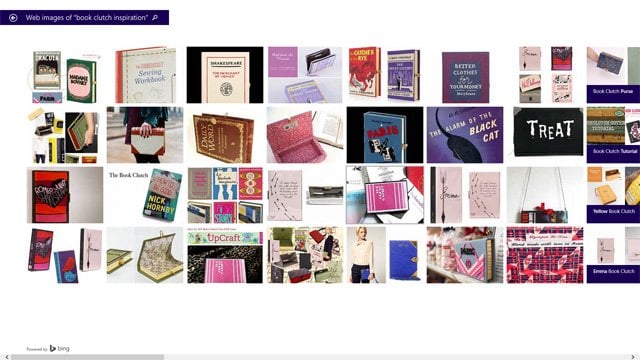
I love Kate Spade’s book clutches, they are SO cute. I was definitely inspired by those books. A quick search on the Bing Smart Search App showed me some amazing pictures to help me decide how to recreate them. I love how you can make the images really big or index size so you can see them all.
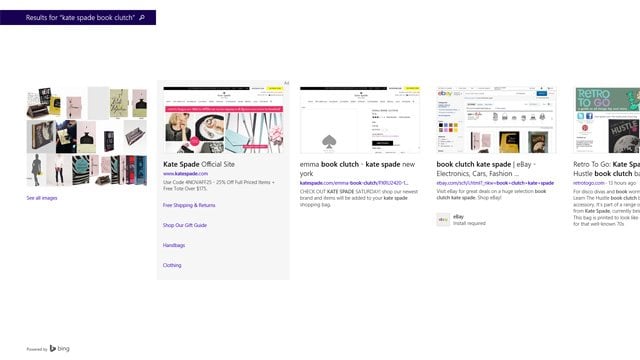
I love that the search can be photo based, because that’s all I really want sometimes. Aren’t these books the cutest? 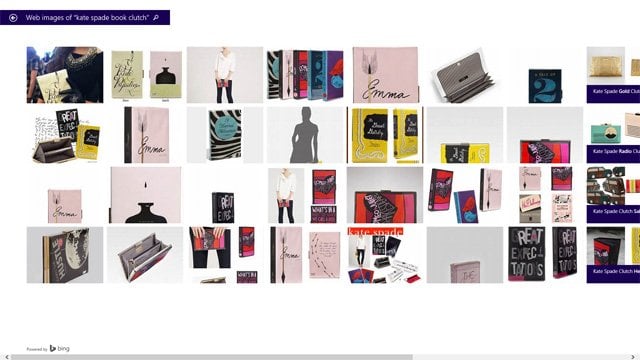
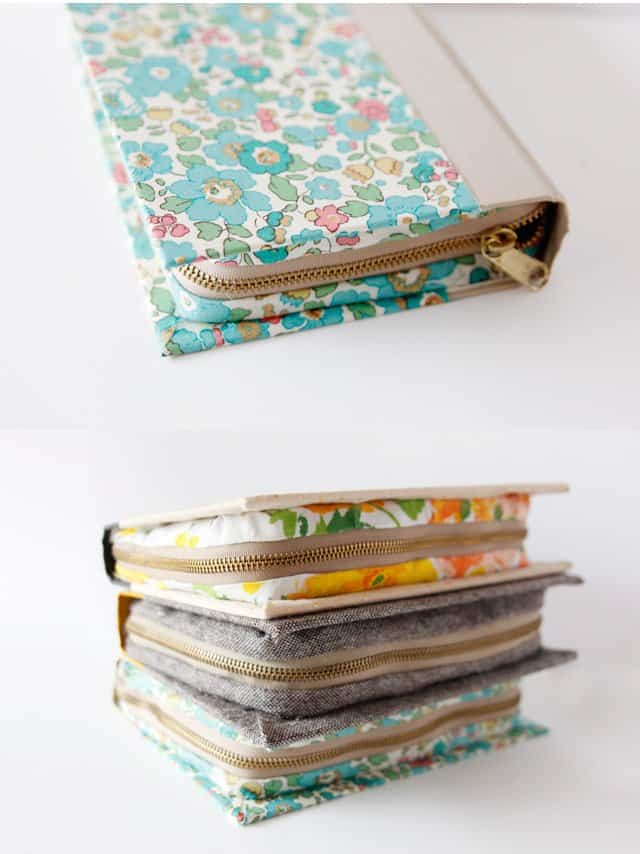
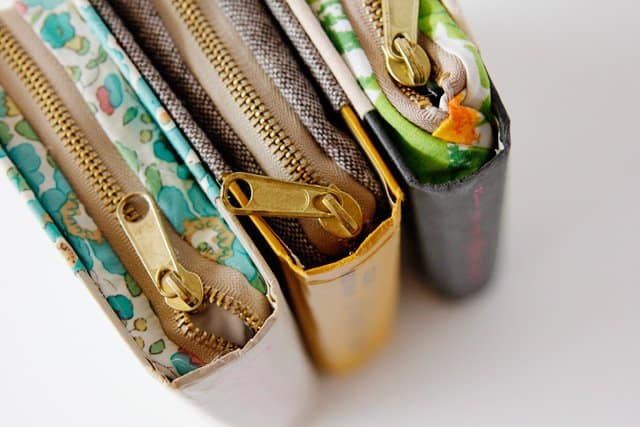
I really wanted a gold zipper to mimic the gold clasp on the Kate Spade book. I have a lot of zippers in my stash but I needed a thicker one. I did another search to find one. I was hoping to find it at a store locally so I added Joann to the search. And sure enough it came up! So I went and grabbed a few. I got the reversible zippers because they were the right size, about 22″ and also have a pretty thick metal portion that is very visible, like a clasp.
I felt like this was a good splurge project, so I ordered myself some Liberty of London fabric online. I have never sewn with Liberty and I wanted the perfect floral. Liberty of London basically invented floral and I love all of them! Check out this search screen….drooling.
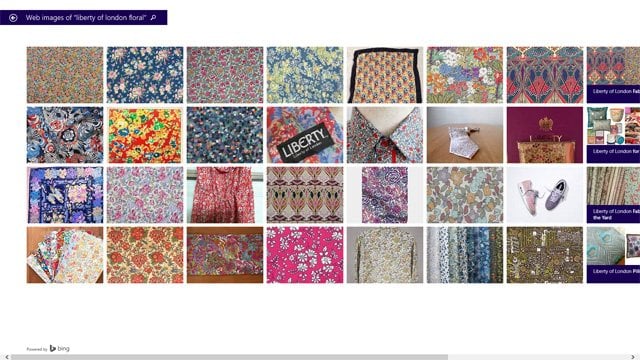
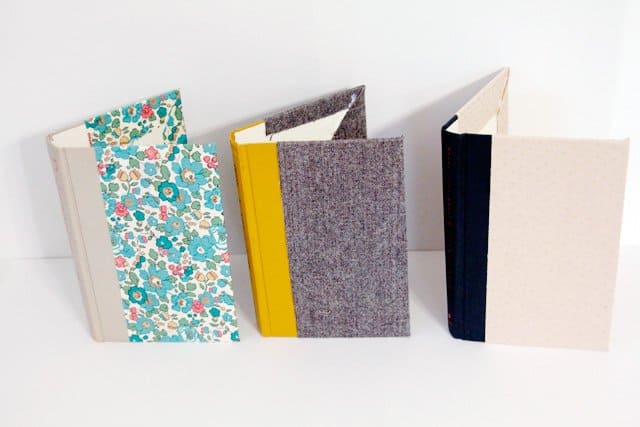
I found this great print at fabric.com. Ordered that and when it got here, I made some clutches! I also used a few other fabrics from my stash because I felt like making more than one clutch.
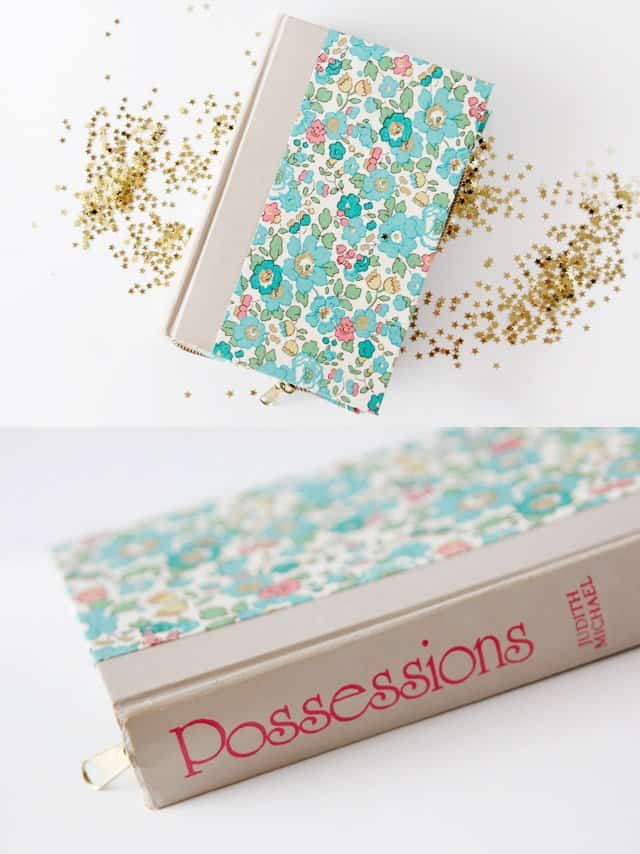
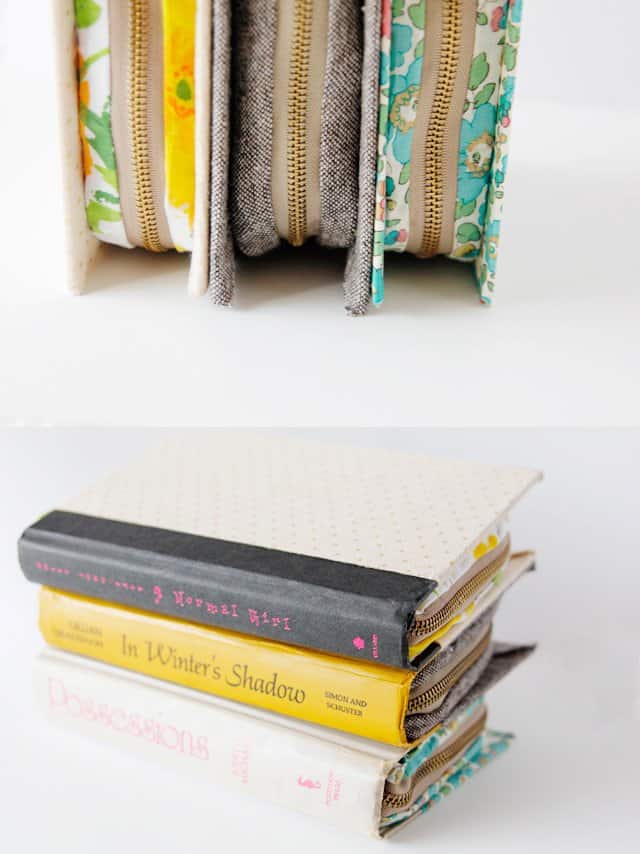
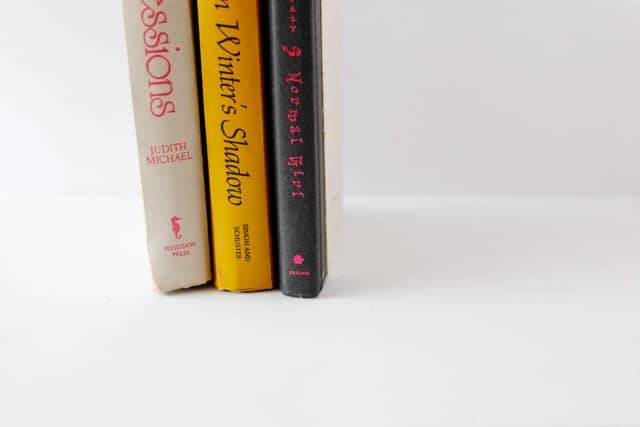
The books are from the thrift store. I love how clever the one titled “Possessions” is! Cute, right?
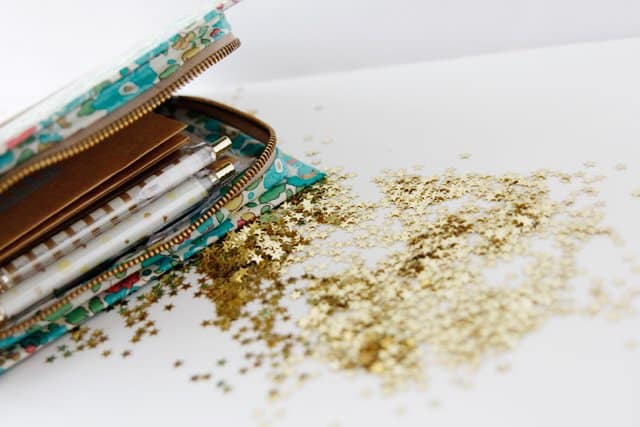
A book clutch makes a super cute gift, and you can fill it with different items to create a gift within a gift! I turned the book clutch into a stationary set and a baking kit. I think there are endless things you could use these books for though. You can pretty much stuff any gift inside!
Materials:
-one old hardcover book, about 8.5″ by 5″ with a 1″ to 1.25″ spine is the size I am using
–heat n bond (red package)
-fabric, scraps or 1/4 yard
–archival glue, (pva is great!)
–brush for glue
–thick metal zipper, 20-24″
–x-acto knife
–ruler
–e6000 glue (open your windows or buy the fume-free kind)
Instructions:
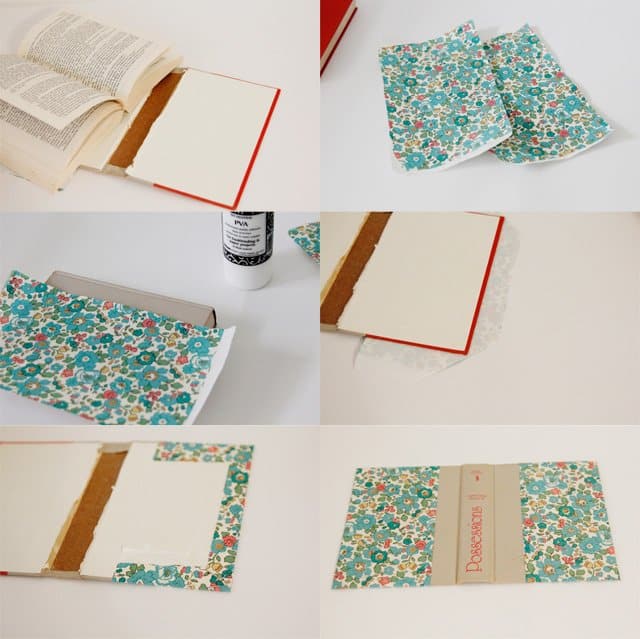
1. Gut your book. This is usually done by simply slicing down the inside cover where the cover meets the pages. Simply cut out the page block with an X-acto knife. Of course, you can save this for more projects, read it or recycle it!
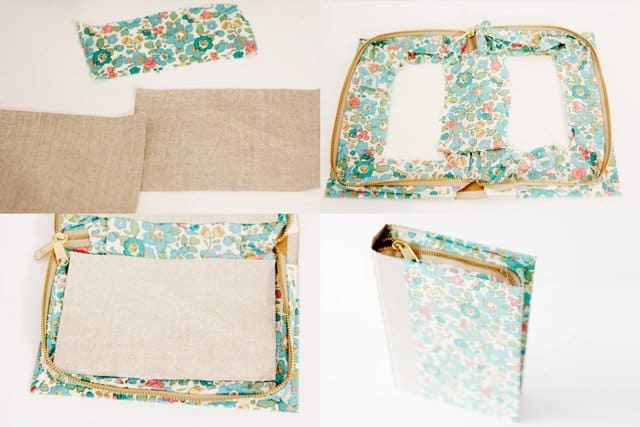
2. Cut out rectangles of fabric and heat and bond. They will need to be about 1-1.5″ wide and long than the front of your book that you will be covering with fabric.
3. Iron heat-n-bond to fabric. Then square one of the long edges.
4. Glue fabric to front of book, then flip it over and trim the corners. You will leave a little bit more than 1/8″ on the corner.
5. Flip over top and side flaps to finish your book cover. Repeat on the other side.
6. Let dry.
While the book is drying, create the zipper insert.
7. Cut four squares of fabric that are about 2″ by 2″.
8. Sandwich the zipper between these two layers of fabric with the end of the zipper peeking out. Then sew along the line indicated.
9. Fold over the two flaps and press. Repeat with other side. And trim to width of zipper.
10. Cut four strips as long as your zipper piece (including the fabric ends) and 2″ wide. Sew these onto the zipper like so:
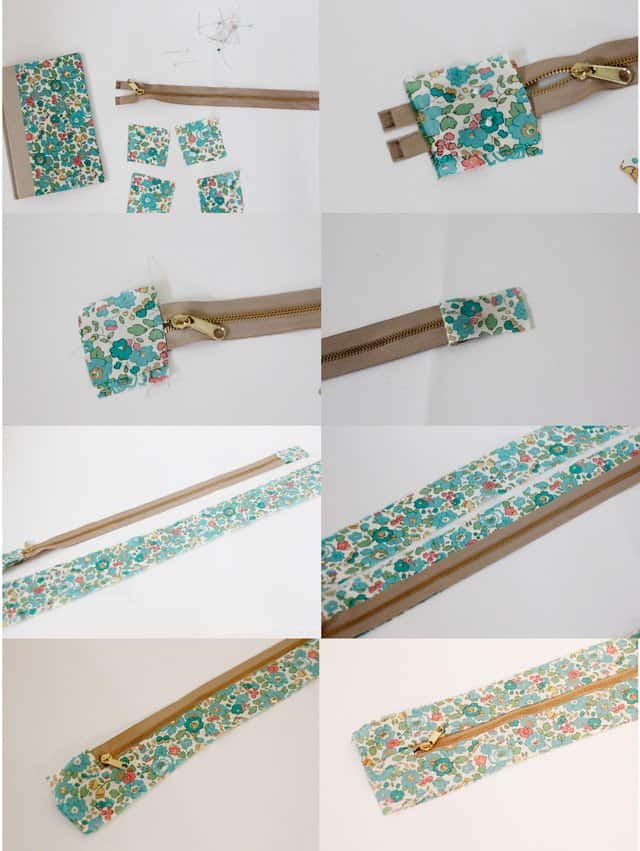
11. Repeat with the other side and you’ll have a fully encased zipper with fabric all around. Now you’re ready to glue it in.
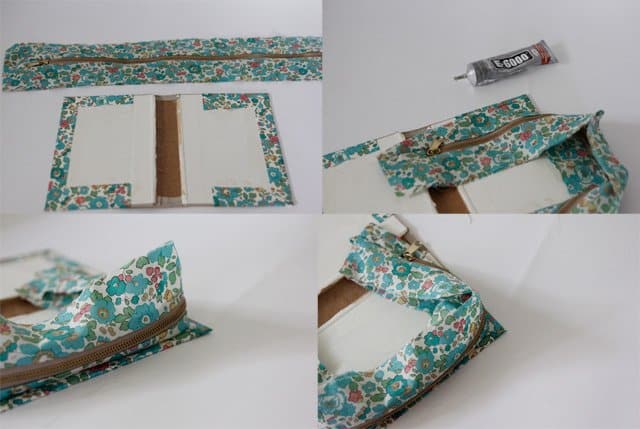
12. Start by gluing the end of the zipper. Fold over 1/2″ and glue underneath the fold. Then curve the fabric and start glueing one side of the fabric to the book. When you reach the corners, pivot and fold your fabric to fit.
13. When you get to the end let it dry. Then open the zipper and repeat with the other side.
14. Cover the inside spine with fabric. Turn under the raw edges at the top and bottom and glue it down.
15. Now cut two pastedowns from fabric backed with heat n bond. They should be about 1/2″ smaller than the inside of the cover. Glue and press firmly.
16. Let dry and you are done!

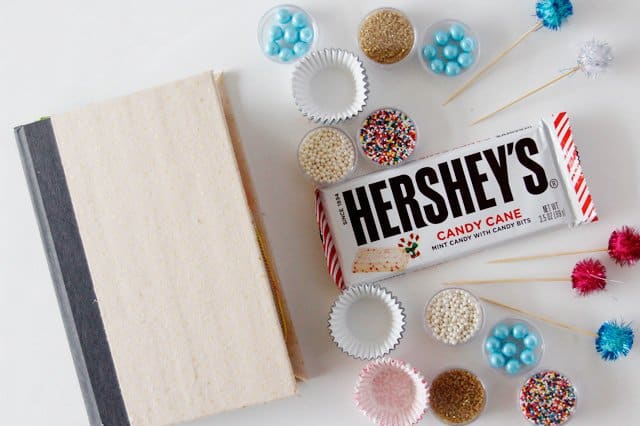
Make it into a kit to give as a gift:
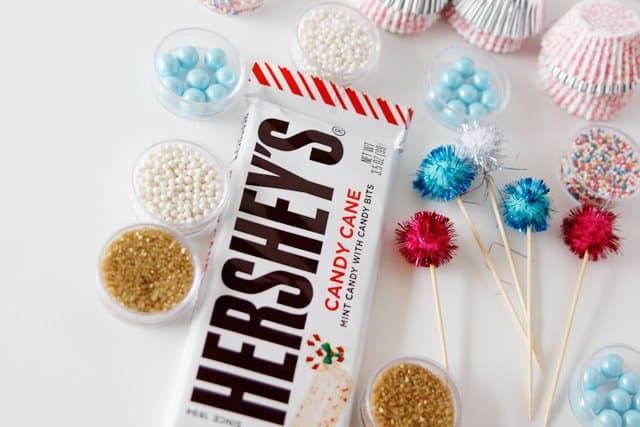
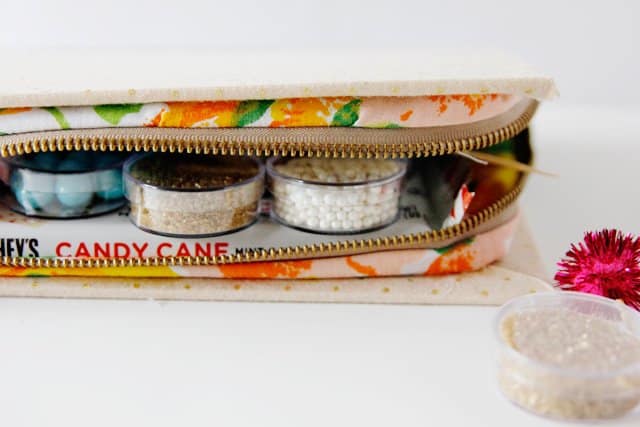
Add sprinkles, chocolate, baking cups and cupcake toppers to make a cute little baking kit! I got the little clear cases in the bead storage section of Michaels.
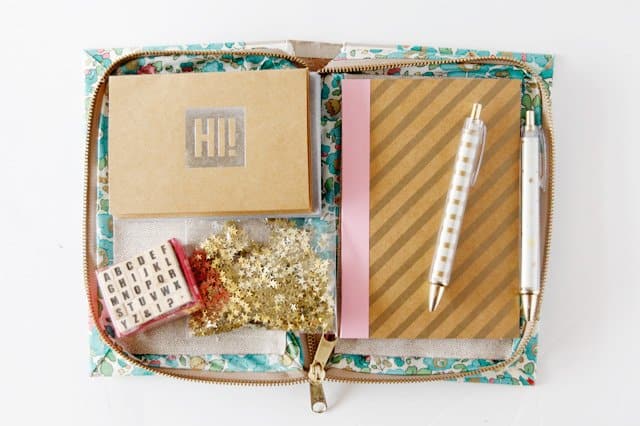
Or add stationary supplies, like paper, notepads, pens, confetti, envelopes and card and stamps for a perfect little stationary set (supplies from Target and Michaels):

Some other ideas are:
-make a detective kit for kids (magnifying glass, disguise, notepad and pen)
-add makeup for a makeup storage solution for women
-fill it with aftershave/cologne samples for men
-stuff it with jewlery for women
Check out the Bing Smart Search on your Windows 8.1 device today!

I’m required to disclose a sponsored partnership between our site and Bing. I have been compensated in exchange for this post in the form of payment, product or experiences.

Thank you for supporting the brands that make this blog possible!
If you make your own version of the book clutch, add it to my flickr group! I would love to see it!
fabric and supply sources:
-Liberty, fabric.com
-brown fabric, Fashion Fabrics Club
-gold polka dot, Girl Charlee


That is seriously cool! They look great :)
Cindy
Thanks Cindy! :)
I love your blog just followed you
MyStyleDiaryBLOG
Thanks!! Glad you are here!
I have been thinking about making a little bag for my nursing stuff that just ends up in my scrub pockets….maybe this should be it
That’s a good idea!
Wow, is that ever amazing!!! What a great idea…….these are so adorable!
Thank you Lindsay!
Super cool Kate!
Thanks Jess!! :)
I think this is one of my favorite tutorials you’ve ever done. I love it so so much!
Thanks Vivian! It was really fun to make!
Oh. My. Gosh. This is my absolute favorite thing you’ve ever posted! And that’s saying something because I love pretty much everything that you put up! This is an UH-MAY-ZING gift idea!
Nicest comment ever!! :) Thanks Cari, so glad you like it!
I love love love this. All my book lovers will be getting one soon :)
Thanks Marissa!!
LOOOOOOOVE these!!! I wonder if I can find a book a good size for holding my Nook? How cool would that be? An eReader in a book? Super cool, that’s how!
That would be amazing Sabra! Great idea!! I think you’d just need a longer zipper.
I LOVE this idea. so cool.
Thanks Stephanie!! :)
LOVE LOVE LOVE! I loved the first version you make of these, but this is even better!
this is great and so surreptitious as i just took apart a book for us in some kusudama flowers
thanks so much. one question tho, step ten doesnt seem to be there?? how do you sew the long strips onto the zipper?
I love this idea! I would also glue together pages of a book and cut out a square in the middle for storing stuff, but the book would come open and everything would spill out often. I still loved my storage book though! It would have been much better with a zipper, I may have to try this out!
Wow – this is so very cool – I have been looking for something like this to add to my ultimate purse redesign collection! I will def link back to you for credit! This is so amazing!!!!!
wow! Merry Christmas from Oklahoma, USA. crystalbluern at onlineok dot com
Fabulous!!!
This is fantastic. Great job. I was thinking of doing something similar with plastic containers .
x cinti
Super cute. Such a unique idea.
Um. SO Cool. I love these! what a fun gift idea. My sister would die. Hello January birthday present. Love your fabric choices and those gold zippers are always the best idea. Love it.
I love your tutorial! Seriously going to try this DIY. I’ve got a couple yards of oil cloth that will work out nicely, I hope.
keep sewing Kate!
Lauren
Does anyone know where I could get the heat n bond or the metal zipper? I was thinking of just buying the book at Goodwill then taking fabric scraps out of old covers but I have no idea where I’d get a heat n bond, what that is. Could I just take a zipper from an old coat?
I found my heat n bond at Hobby Lobby. It was in the shirt bedazzling section. There are other kinds in the fabric section, but not the red package. I also found the metal zippers at Hobby Lobby in the fabric section. You could find either of these at any craft or fabric store.
I am excited to start mine today! I am an English teacher and am making them for members of my department for Christmas! I got my books at Goodwill!
This is AMAZING. I’ve been wanting to make one of these but have been at a loss as to how – now I know and am SO excited to try it!!
Love this idea! I have a question: It is hard for me to tell from the pictures how you sew the 2 x 2 tabs on the end of the zipper. Do you sew the right side toward the zipper & then fold it back? Do you sew it across the zipper to connect the two sides or along the length of the zipper? Why use heat & bond on the fabric & then glue it?
Hi. I so love this! I’m going to make one from a Winnie the Pooh book or Alice in Wonderland for my daughter. SHe’s 33. Says to read them reminds her of having a childs mind & sense of wonder.
géniale l’idée!!!bravo il faut une colle forte pour tissu ? c’est trés bien !!merçi pour l’idée je vais essayer,c’est sur!!!!
I just did the same thing!! Only two minor differences, I added a bit of cardboard covered with fabric on the spine to add stability and I used clothespins as glue clamps. Your tutorial is amazing. Took me a bit of trial and error to figure it all out. Btw “Readers Digest Condensed” book covers make a chunkier book, adds a few possibilities. :)
Hi, I’m having trouble with gluing the zipper in, I keep ending up with a really long tail, even after I measure it!
I think I’m gluing it in the wrong spot but you don’t really have a picture to show exactly where you glue it. Any hints, tips?
Please email me at ayyeecee@gmail.com Thank you!
Btw, This is sooo amazing. Great tutorial, although I wasn’t sure at first what a paste down was until I realized it was the heat and bond you were taking about.
Take care!
Wow..lovely pics , story of your inspiration and a great tutorial for a wonderful item. I think I WILL make this for my gift to give at my stitching group Christmas party next year! I have some time to make more than one!
This is an awesome idea. I’ve been wanting to make a book purse for a long time, but in reality a clutch makes so much more sense. Thanks for the tutorial!
I LOVE this idea, concept and thought……and until about half way through the project and tutorial. That is where it all falls apart for me. “like so” has to be among the worst words ever given in a tutorial. Here are the steps that are missing about how to sew the zipper:
1. Place the two two inch squares at the very ends of the zippers (as you see in the pictures, the ‘tabs’ will still hang out beyond this) with the good sides facing each other. You should see the wrong side of the fabrics on the outside.
2. Sew a straight line at the very top or end of these and the fold up so you can now see the good sides of the fabric. Do not iron, fold or sew anything else with JUST these pieces.
3. Now add your first long strip. Sew it wrong side of fabric to wrong side of zipper, then unfold and sew the zipper to the fabric looking at the right side.
4. Repeat on the other side of the zipper.
5. Then repeat to add the two more strips, one on each side.
6. I ironed and then sewed these strips together to make a nice looking “pocket for the zipper”
VERY STRONG
This is where it fell apart. Gluing the zipper to the book. I got the right side, it looks great. I unzipped the zipper, not so easy to glue the other side……but after many tries and fails I THOUGHT I had it. Let it dry over night. Now when I try to zip it up the book is lopsided and looks AWFUL. Any advice on how to best accomplish this last step successfully?