
Trash to treasure! Make your own candy wrapper zipper pouch with this simple tutorial! You’ll be surprised how easy these are to make.
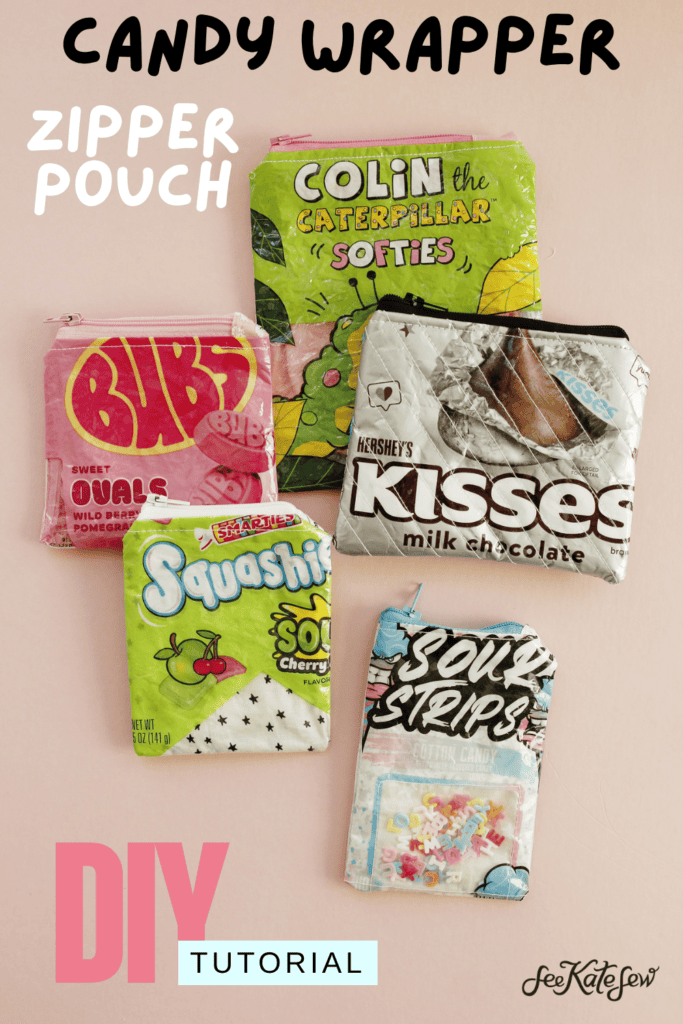
The best part is they make awesome, unique gifts for anyone on your list! Find out their favorite candy and use that wrapper!
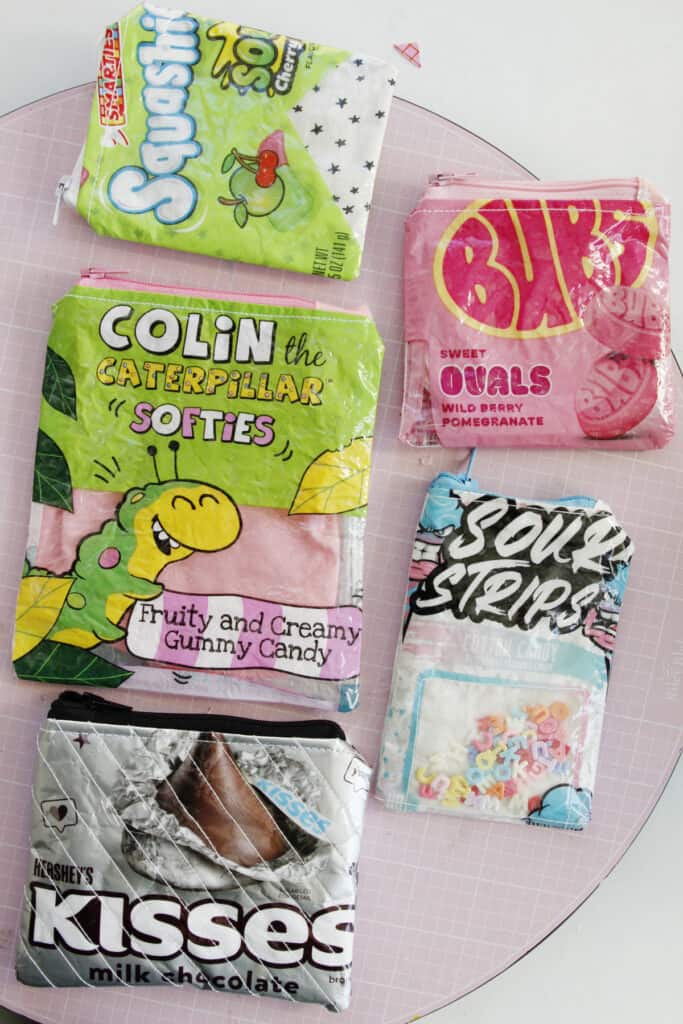
Candy Wrapper Zipper Pouch Materials
- Assorted candy wrappers
- Heat n Bond iron-on vinyl (affiliate link)
- Zipper
- Fabric for lining
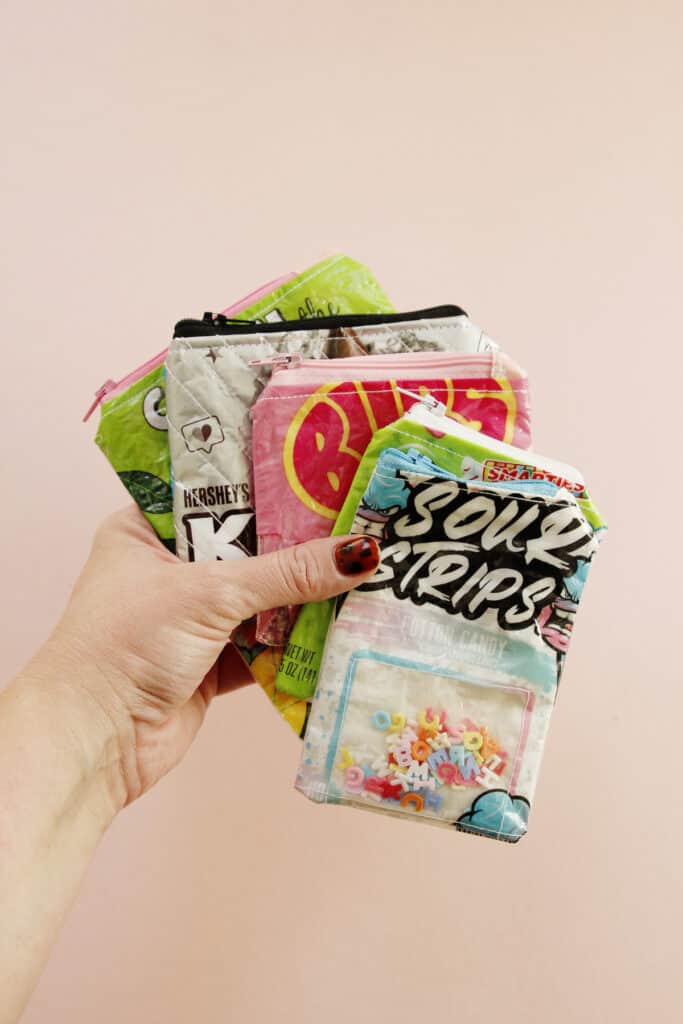
How to sew a candy wrapper zipper pouch
Start by cutting the top of the bag off. Dump out your candy. Then wash the wrapper with a little soap to get off all the candy residue.
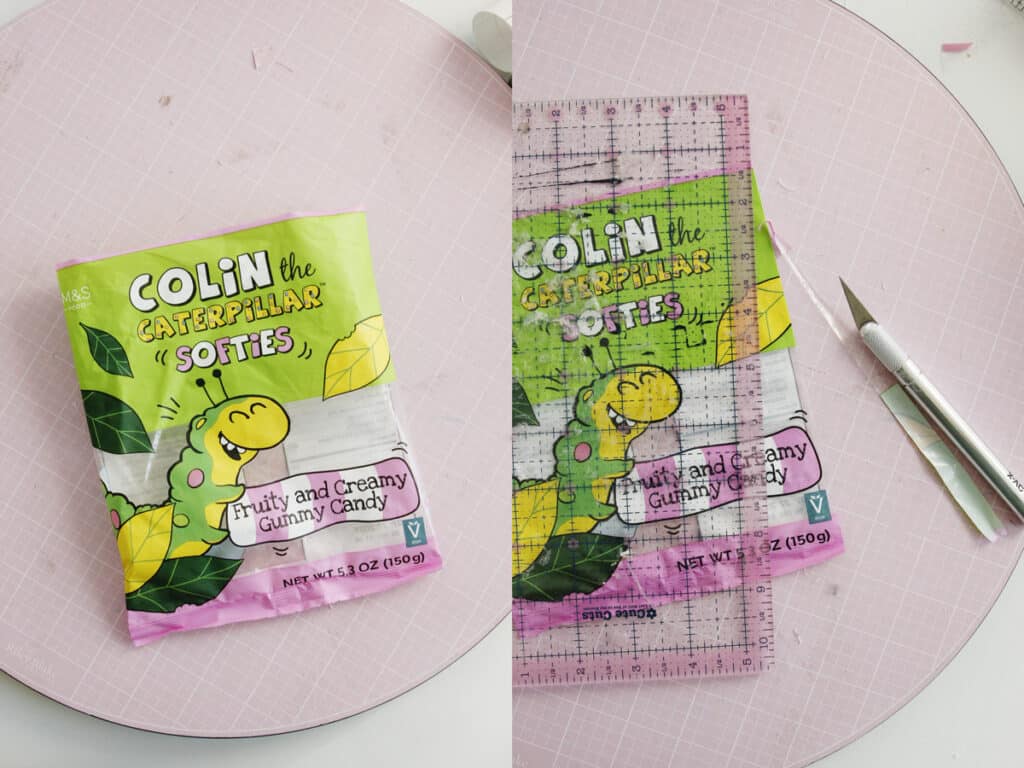
Cut the bag into 2 rectangles. You can cut these any size to make any type of pouch.
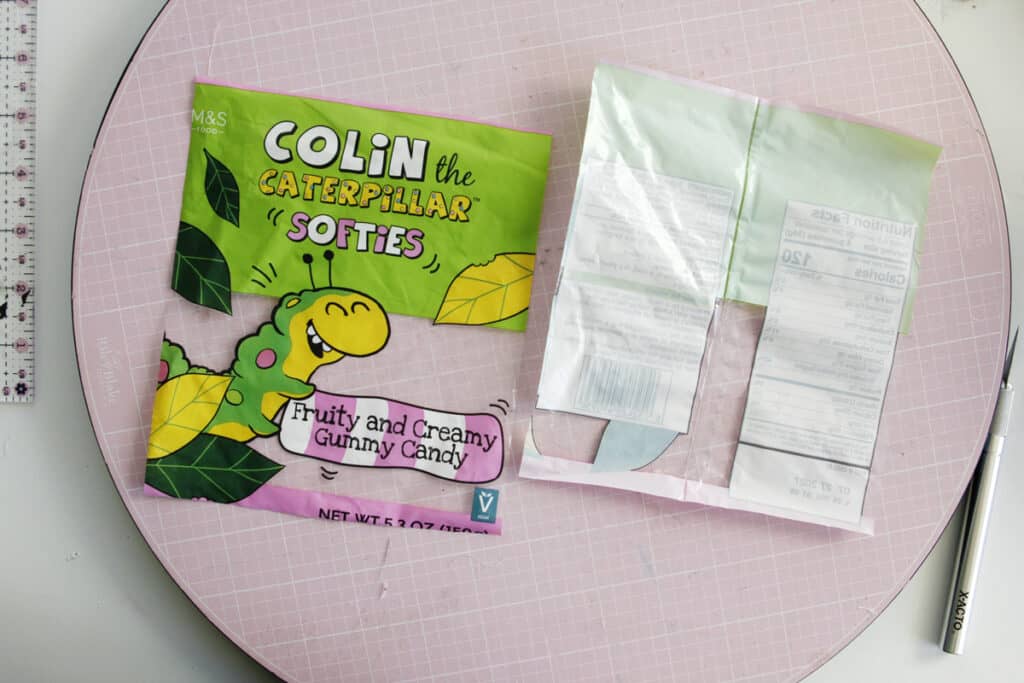
Cut a piece of the iron-on vinyl coating the same size as the wrapper. Peel off the paper backing to reveal a sticky side. Stick your wrapper face down on the sticky side and smooth it out.
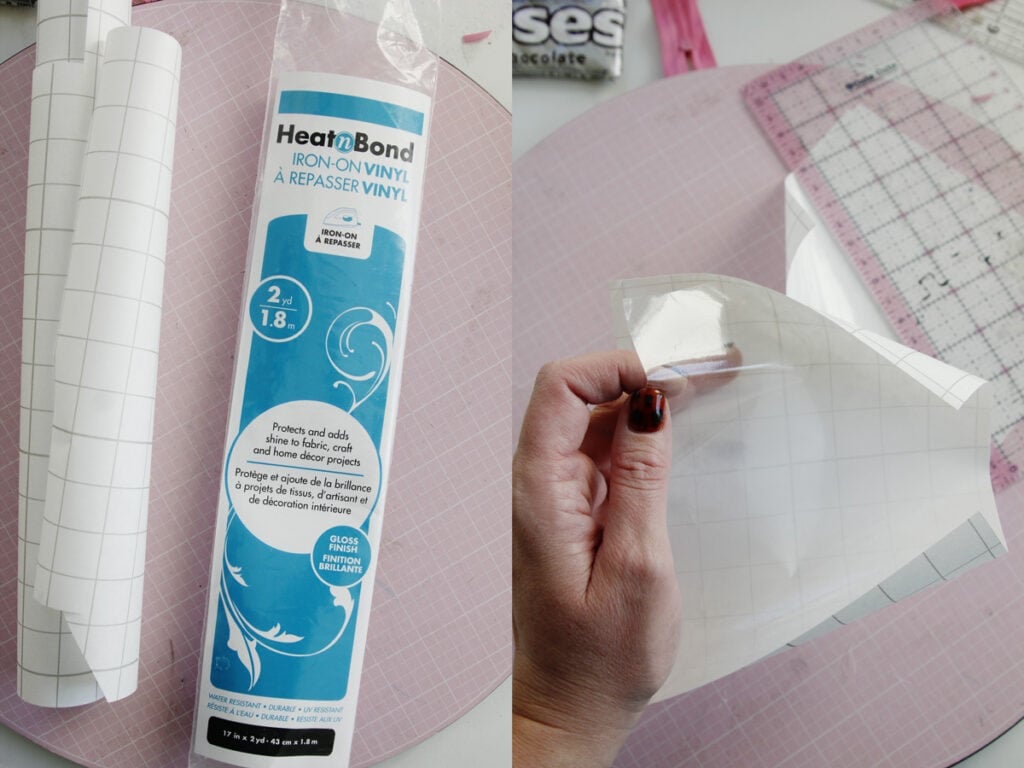
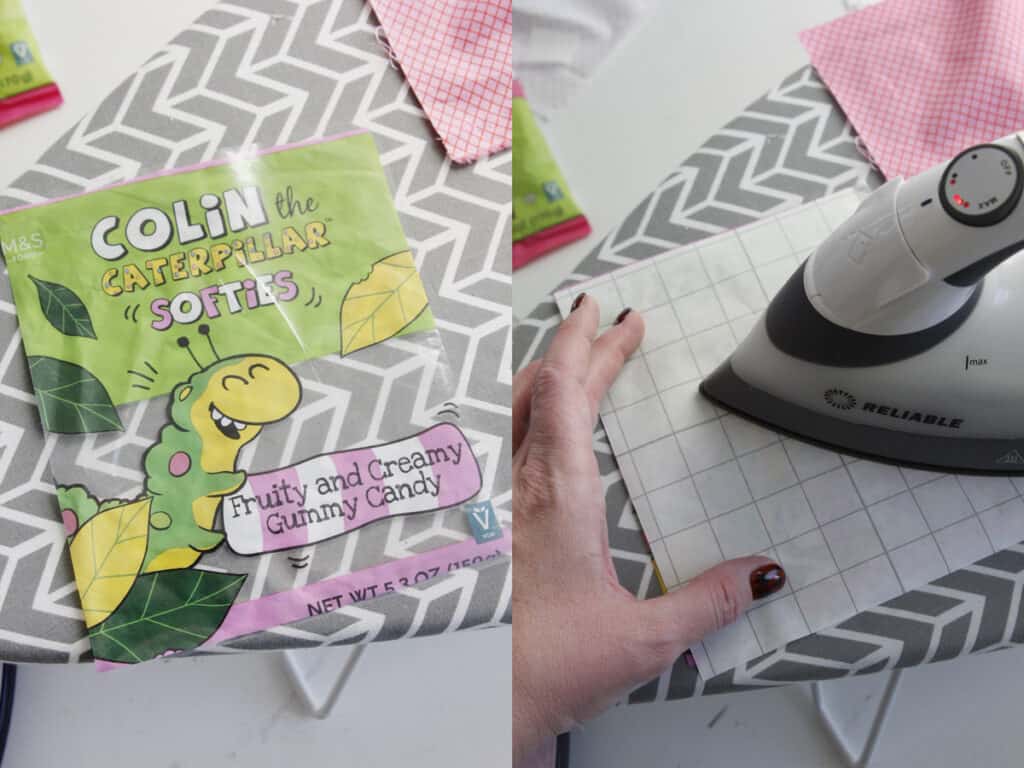
Put the backing paper on top of the wrapper (or use a cotton press cloth) and press for 8 seconds. Flip and repeat for an additional 4 seconds.
Now cut 2 lining pieces the same size. Also cut 2 tab pieces 1.25″ by 3.5″. Press under 1/4″ on the short sides then press in half.
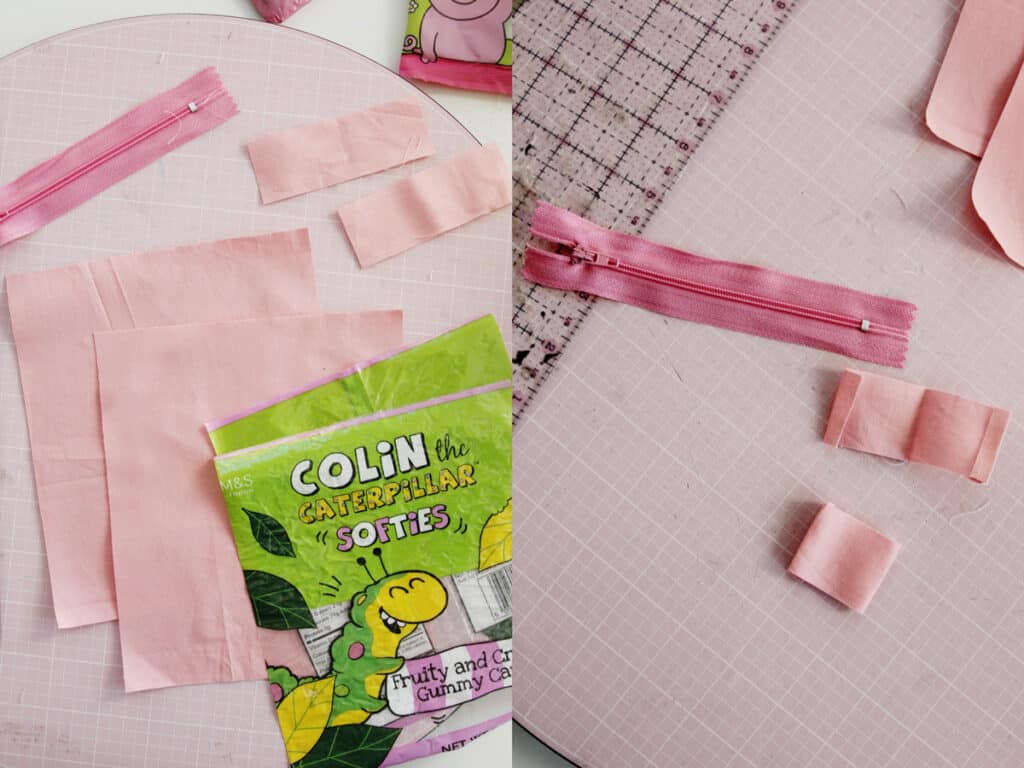
Clip off the end of your zipper tape with the metal tab. Sandwich the tab over the end of the zipper and sew.
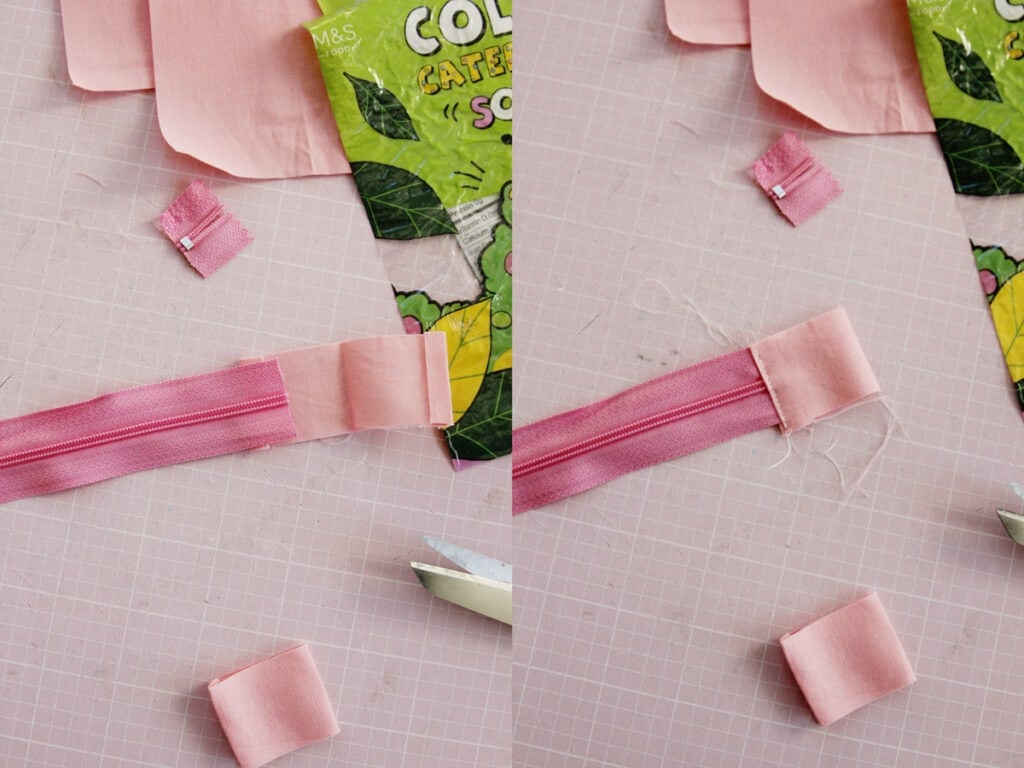
Repeat on the other side. We want the zipper to fit the width of the wrapper with about 1″ of tab piece on either side.
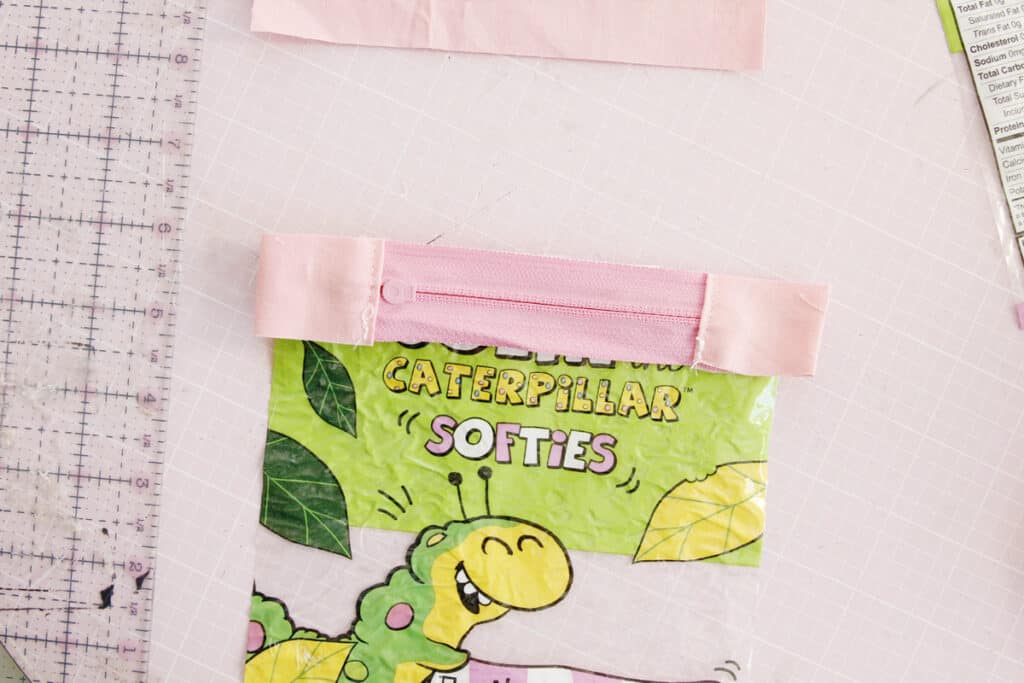
Assemble the pouch. Lay the zipper face down on the front wrapper. Then place a lining piece on top. Sew.
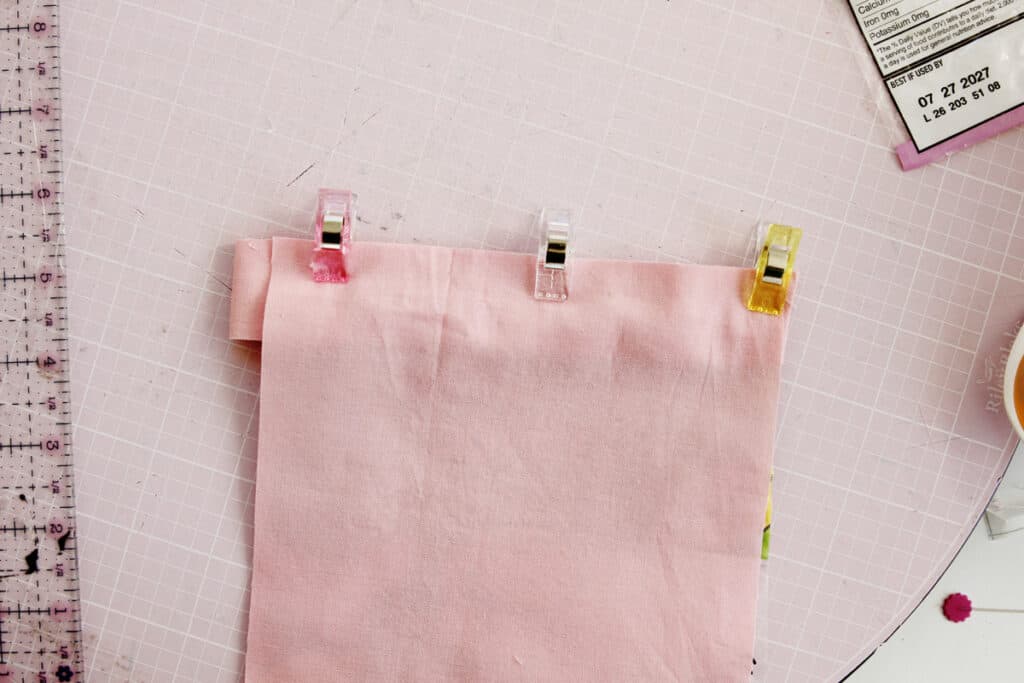
Press with a press cloth. Press the seam allowance down toward the wrapper.
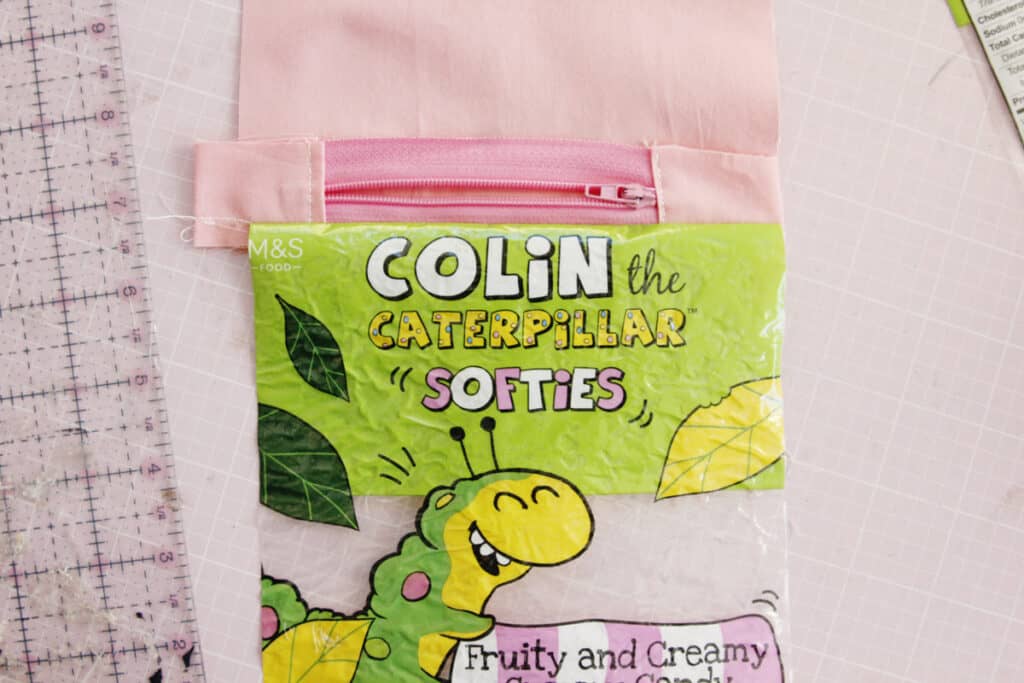
Topstitch and repeat on the other side of the zipper tape.
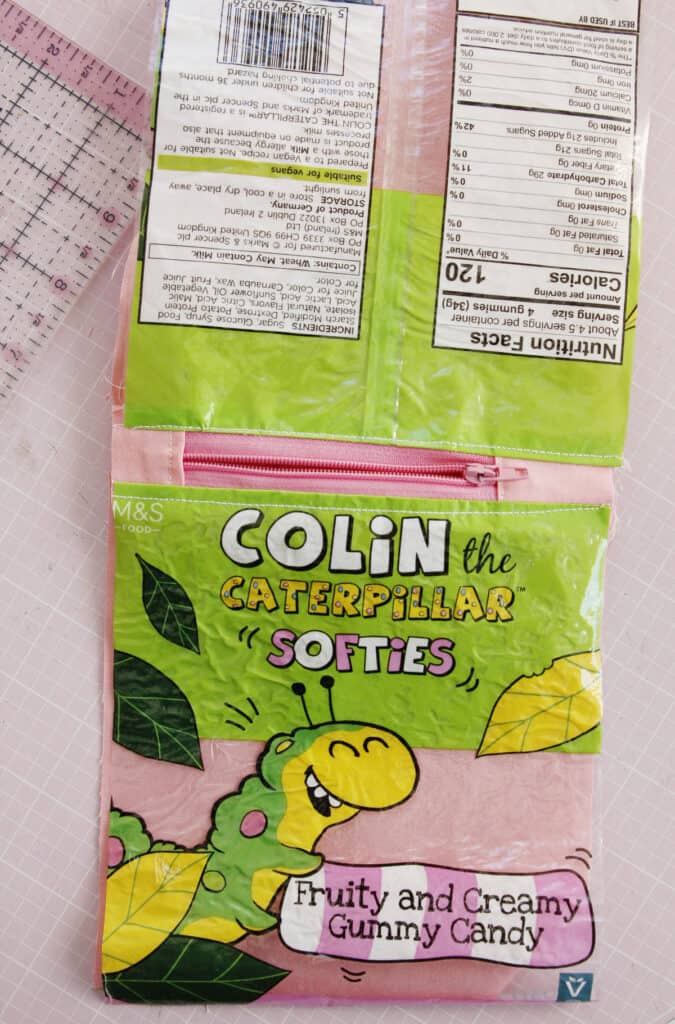
Open the zipper. Match the outside pieces and the lining pieces with right sides together. Sew all the way around with a 1/4″ seam allowance, leaving a small opening in the lining. Clip corners and press lining. Sew the bottom edge to close the opening.
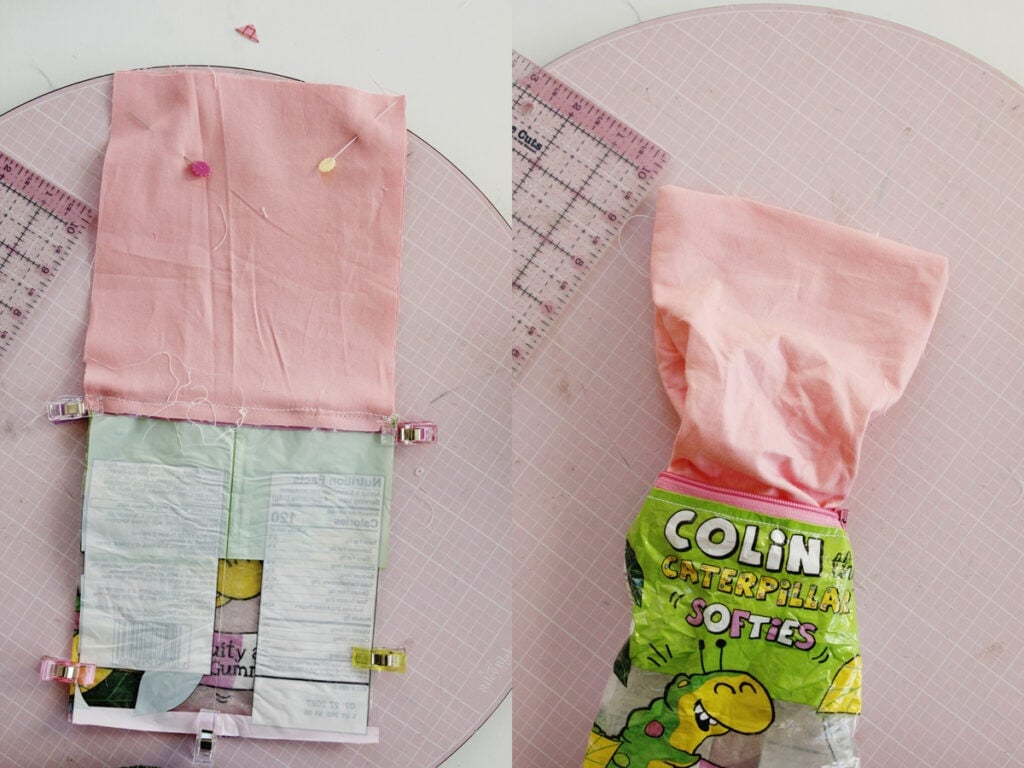
Push the lining inside your pouch to finish!
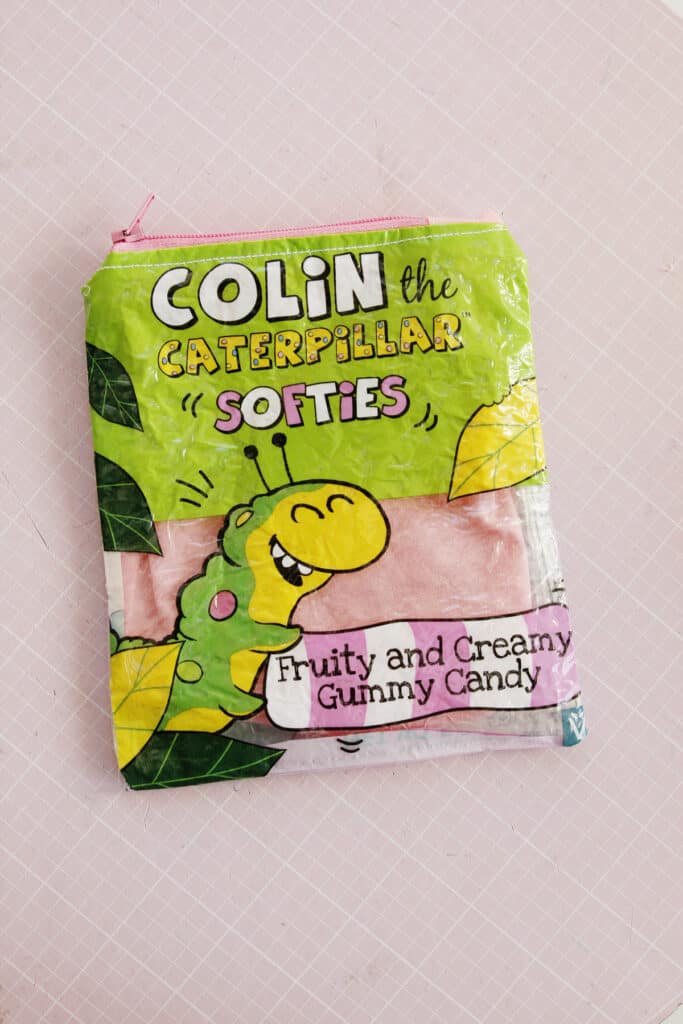
Good luck stopping because these are just too fun to make!
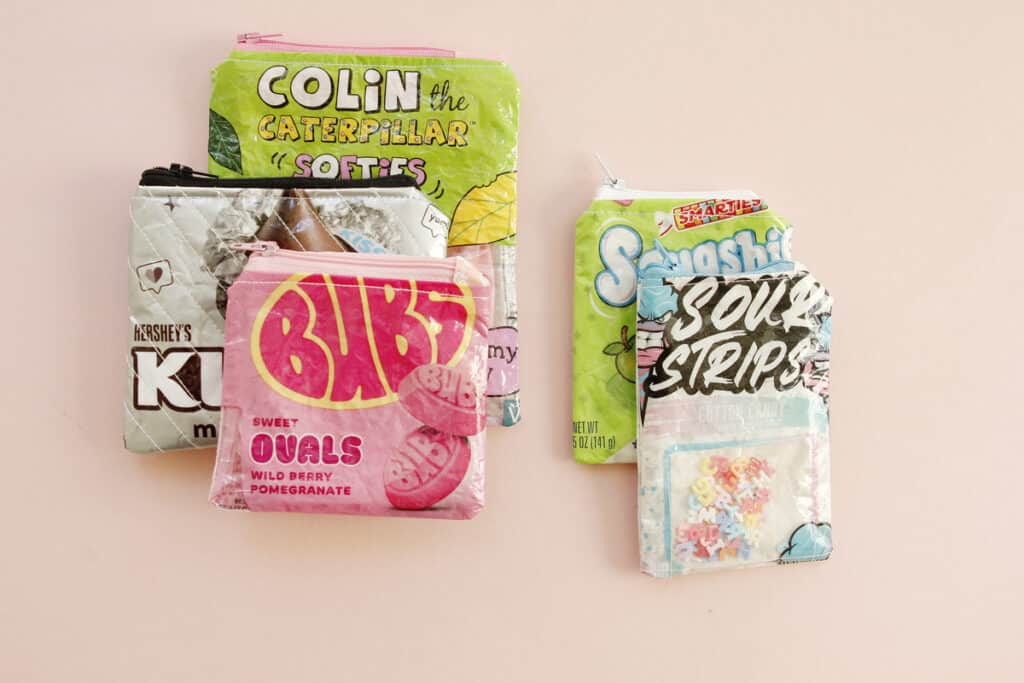
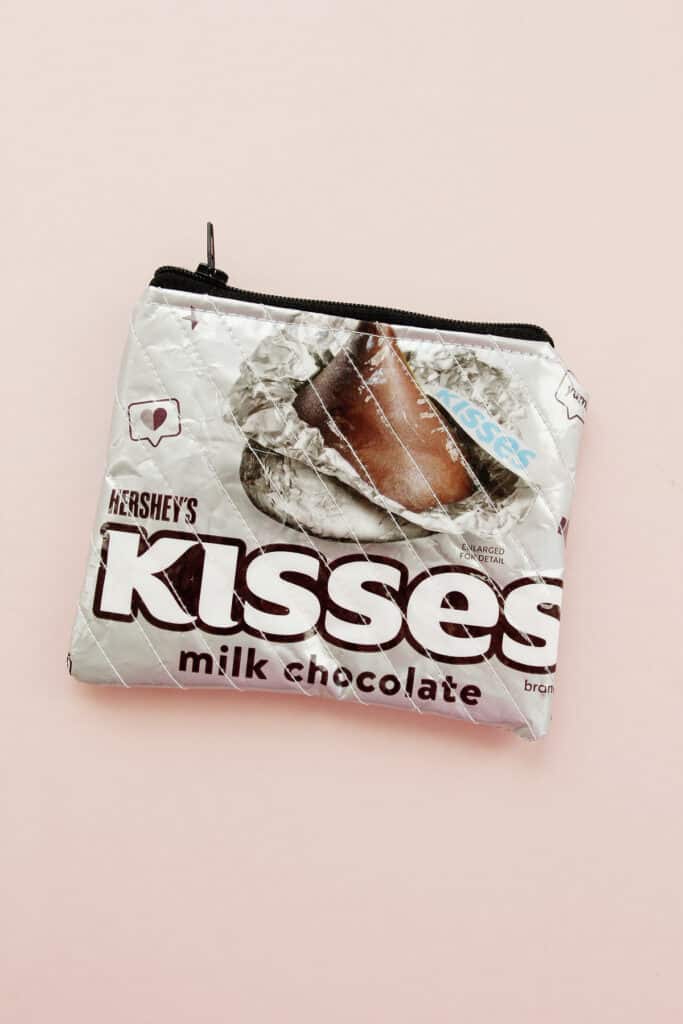
Quilted Candy Wrapper Zipper Pouch
To make a quilted pouch, add a layer of batting behind the wrapper after fusing the vinyl. Stitch the layers together with a wide stitch length, about 3mm. Use any stitching pattern you want. Then complete the pouch as shown above. See the tutorial for this in the video!
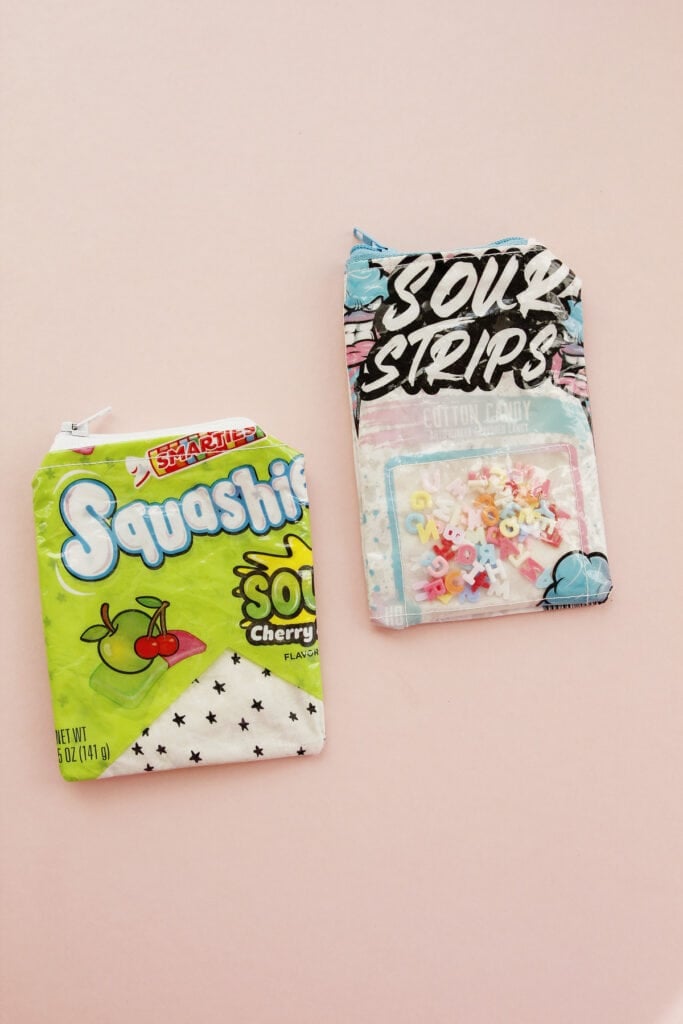
Add little charms to a Clear Candy Wrapper
If your candy wrapper has a clear see-through front, you can use that to make a mini I Spy bag. Another option is to use a pretty fabric and sew it behind the wrapper before sewing it to the zipper. That way you’ll have a peek-a-boo pouch with fun fabric!
See the video for instructions on this variation!





Leave a Comment