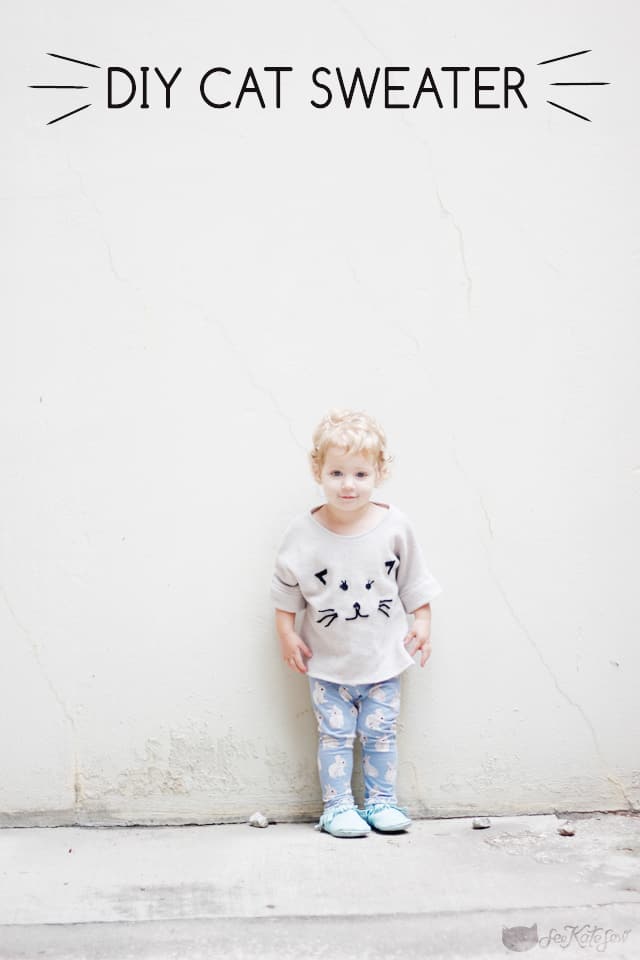
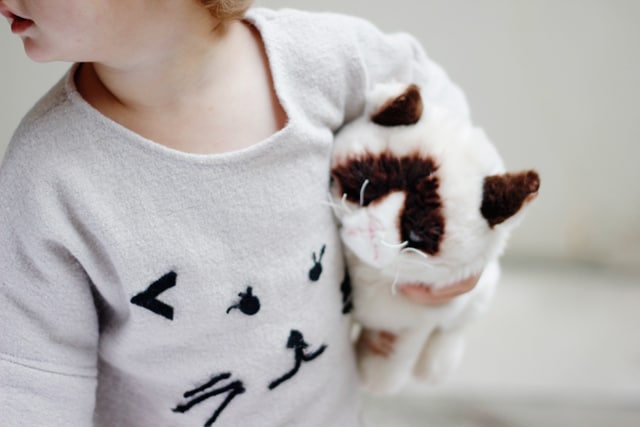
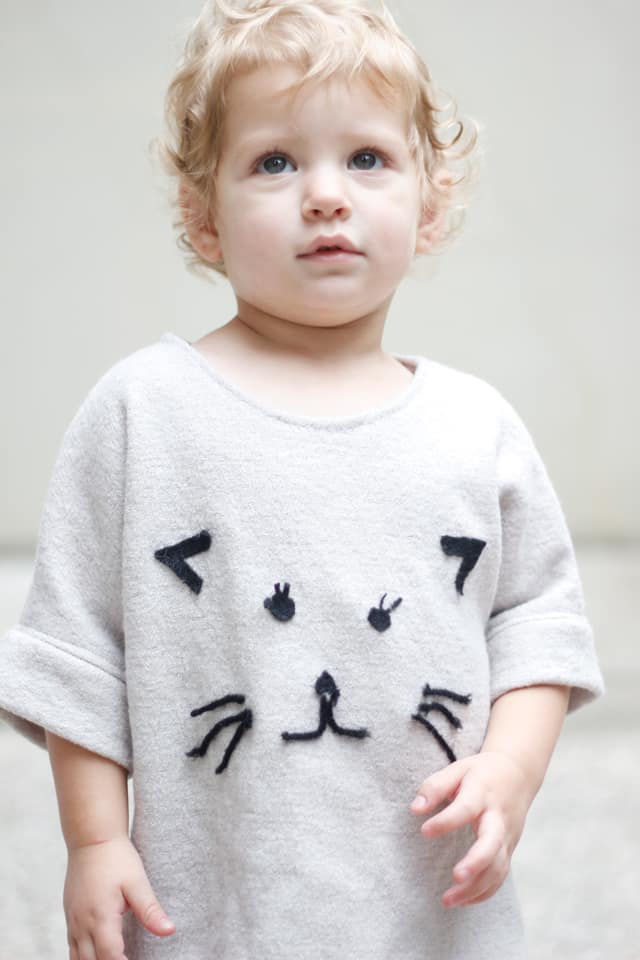
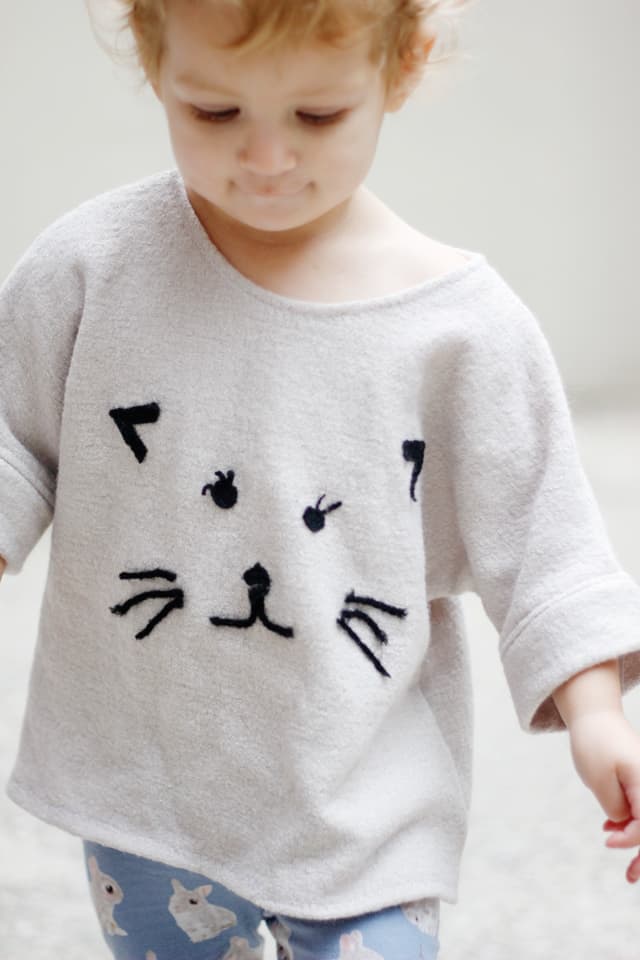
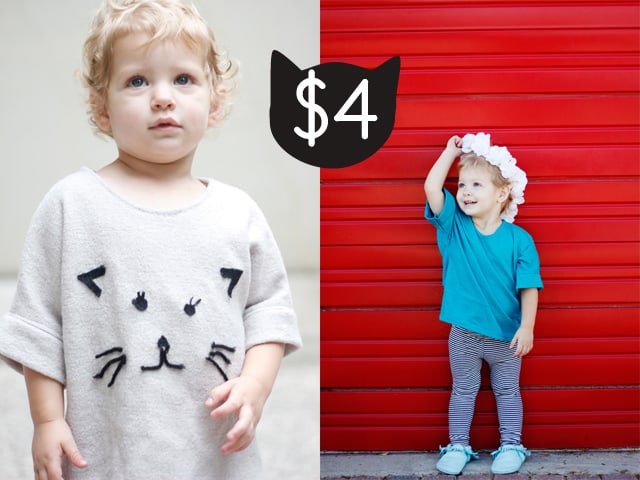
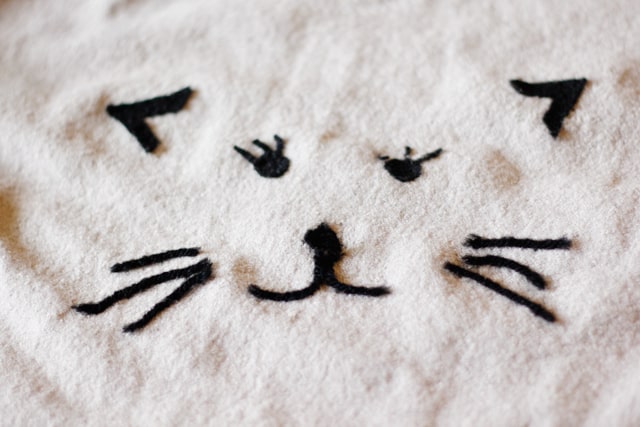
This is one of my favorite projects for Catober. I think it’s so simple and cute! I used a Kaliedoscope Top made with this wool blend from Michael Levine. It actually matches The Dreamer Top I made for the IT GIRL lookbook, same fabric and all! (Which consequently, is probably about the size of this one now, after my model’s husband washed and dried it, oops!)
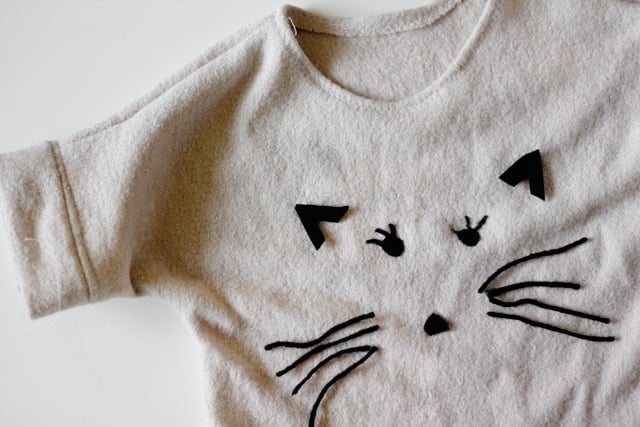
To make the cat face on this sweater, I used yarn and basic felt and needle felted it to the sweater. Needle felting is a technique that uses needles to break up and mash the fibers together. It’s a neat technique that makes the design pliable and permanent. Tutorial below.
The KALEIDOSCOPE TOP is just $4 TODAY ONLY! No code necessary, purchase HERE!

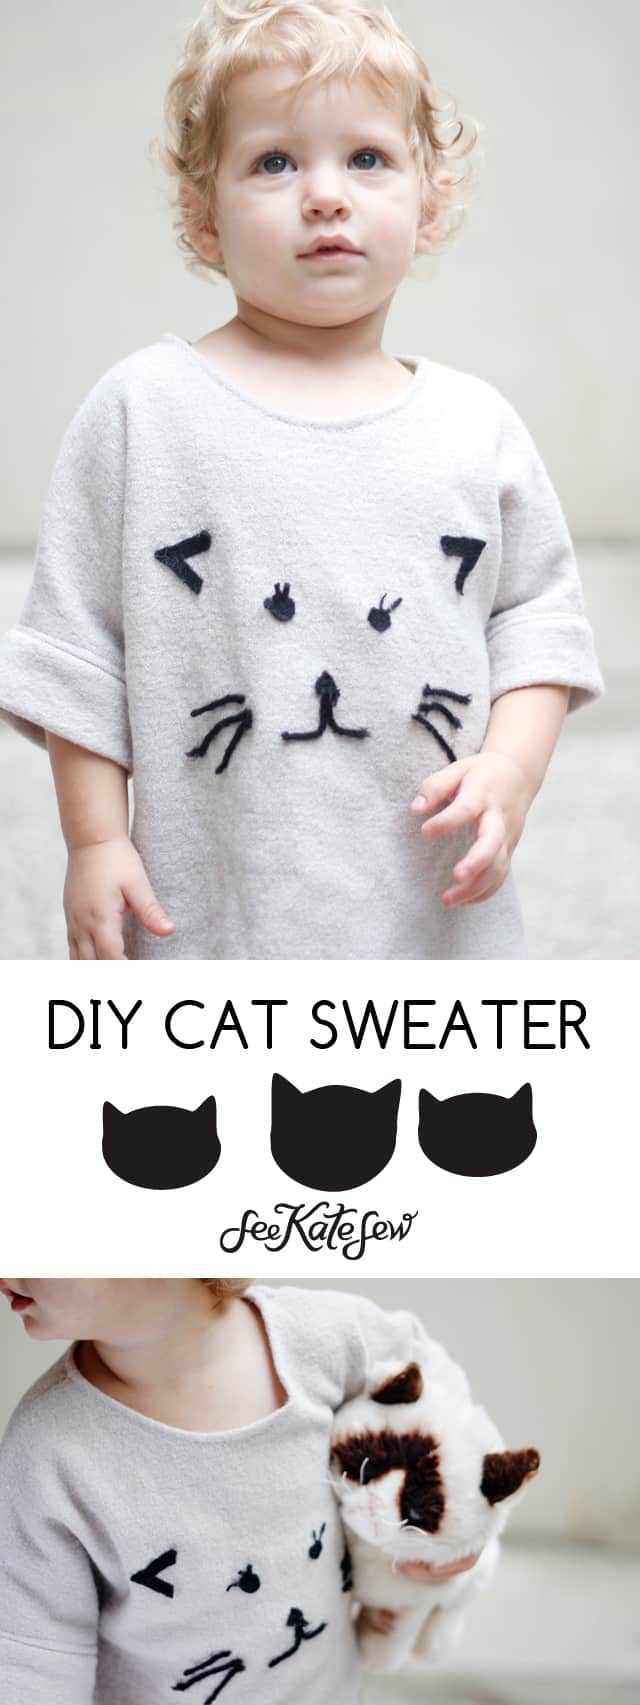
Click Through for Instructions to make the cat sweater!
Needle Felted Cat Sweater Tutorial
Needle felting instructions:
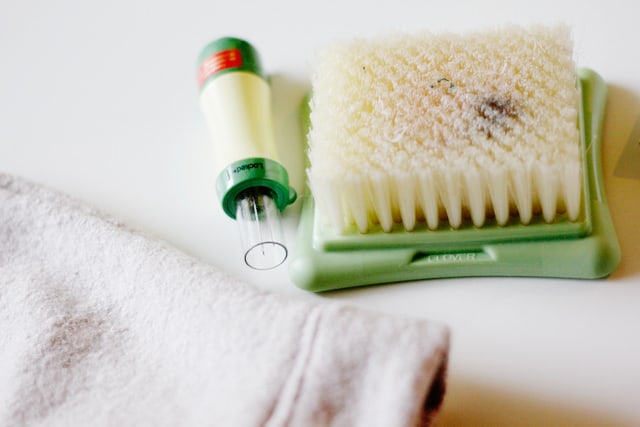
–Clover Felting Needle Mat![]() , any size
, any size
-Soft felt, yarn and/or wool roving
-Knit Sweater
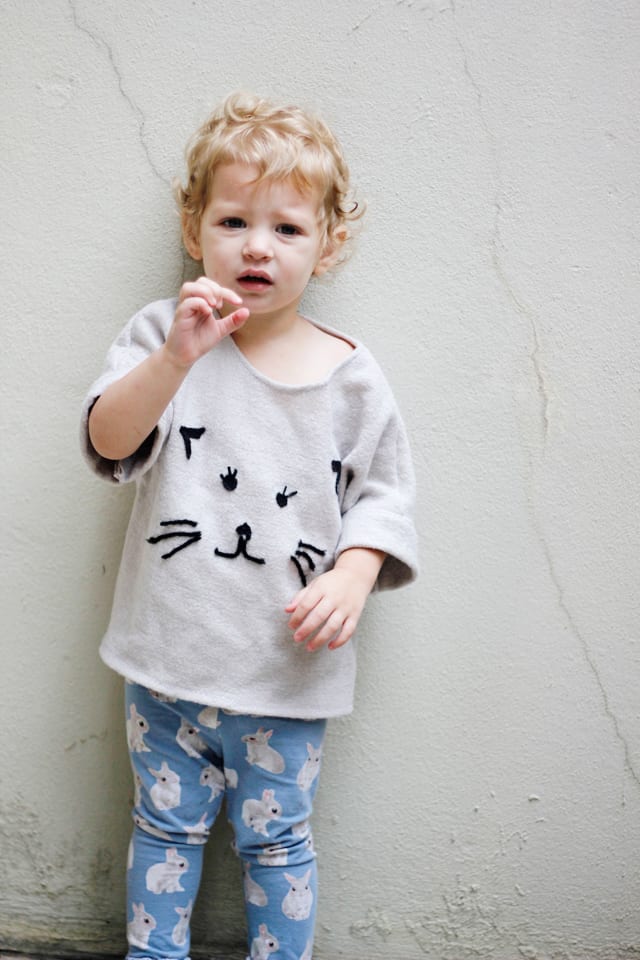
Step 1: Cut out ears, eyes, a nose, eyelashes and whiskers from your felt and yarn and decide where to put them. I changed my whiskers a little after this photo and added a mouth, you may change things around as you go as well.
Needlefelting is very simple, partly because it requires very few tools. All you need is the felter tool and a mat. The felter tool has a series of needles that will be used to smash the fabric fibers together until they are felted. The mat protects the needles so they dont’ break during this process.
Place the mat underneath the top layer of the sweater and start felting!

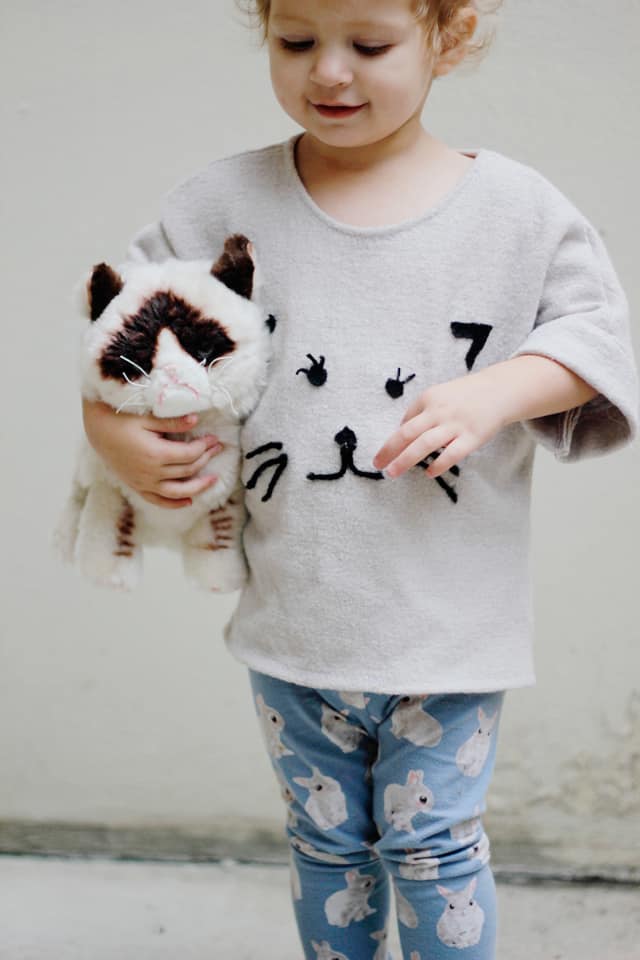
The cool thing about this technique is that your design will become a part of the sweater. This is the inside of the sweater after it has been felted, shown below.
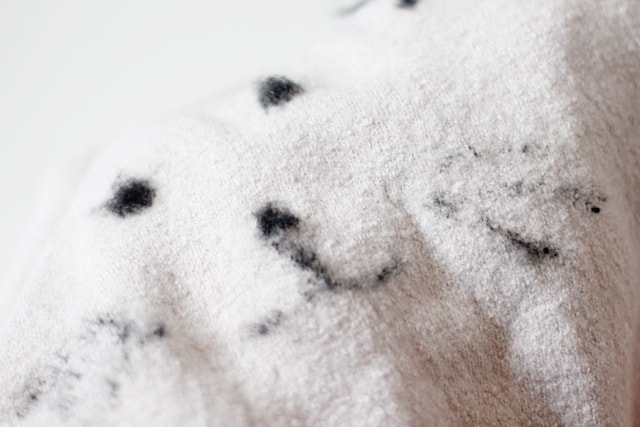
You’ll know when you are done when the cat face pieces stick on there.
Can you think of any other ways to use this technique?


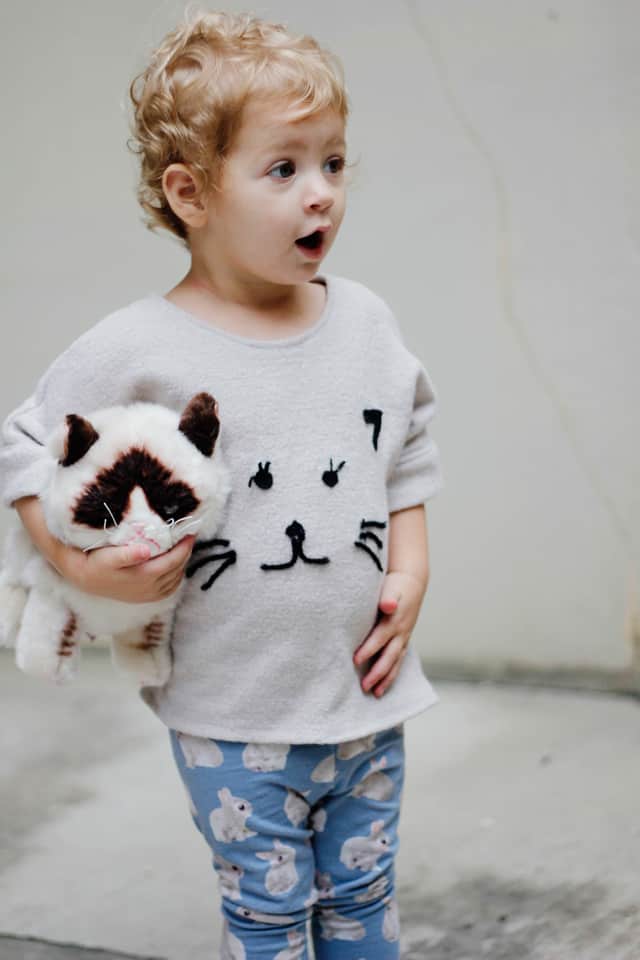
Unbelievably cute! The kid, the Sweater, the photos. Well done!
oh that is too cute!! Love the details!