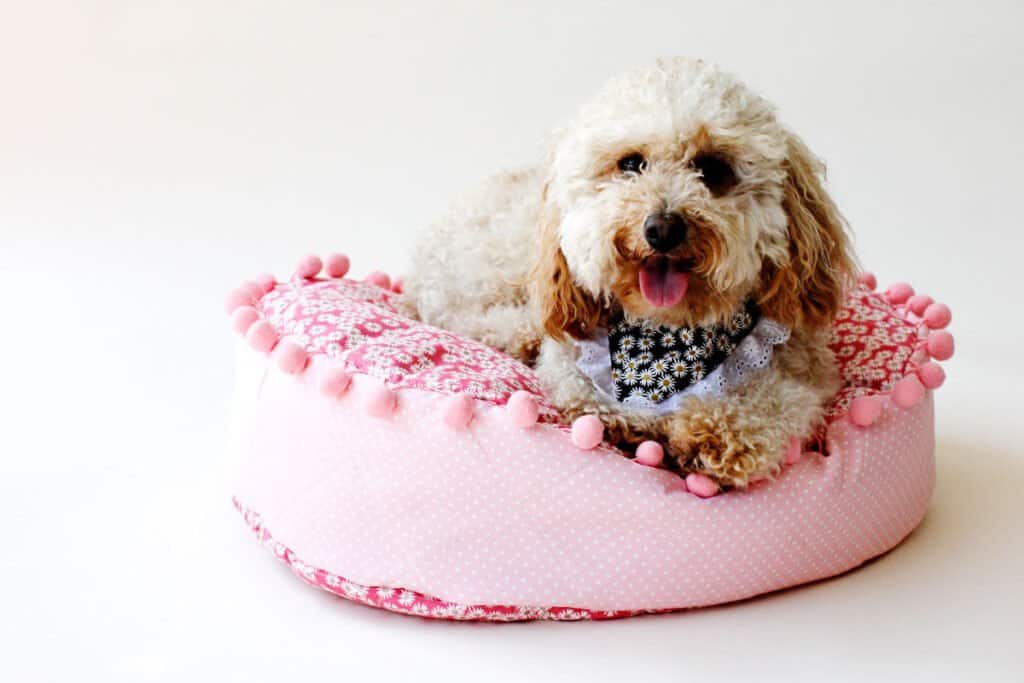
Make your own DIY dog bed with this free sewing pattern. This dog bed is a cushion style dog bed that is easy to sew!
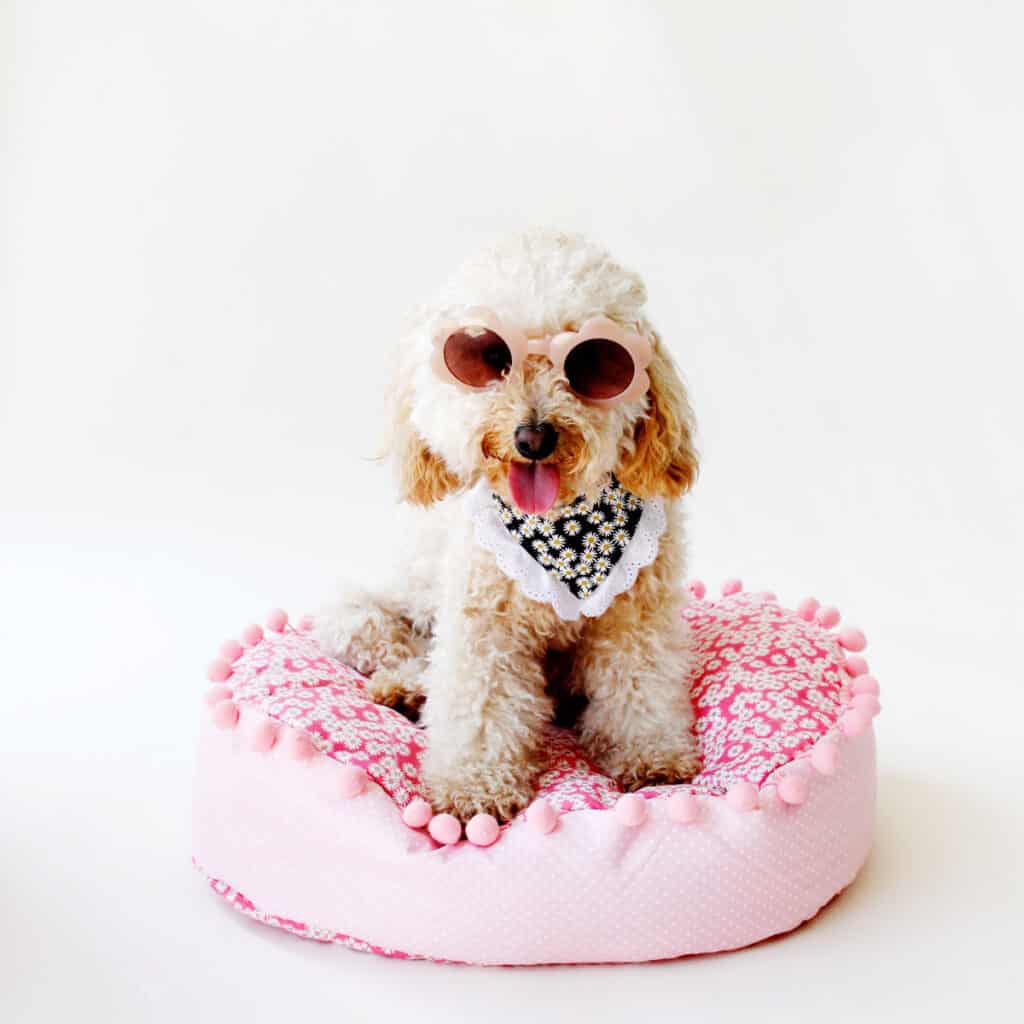
Follow the dog bed tutorial and you’ll end up with a sturdy, washable and adorable puppy bed! It is PAW-fect for your best friend! And make a coordinating collar bandana in this post!
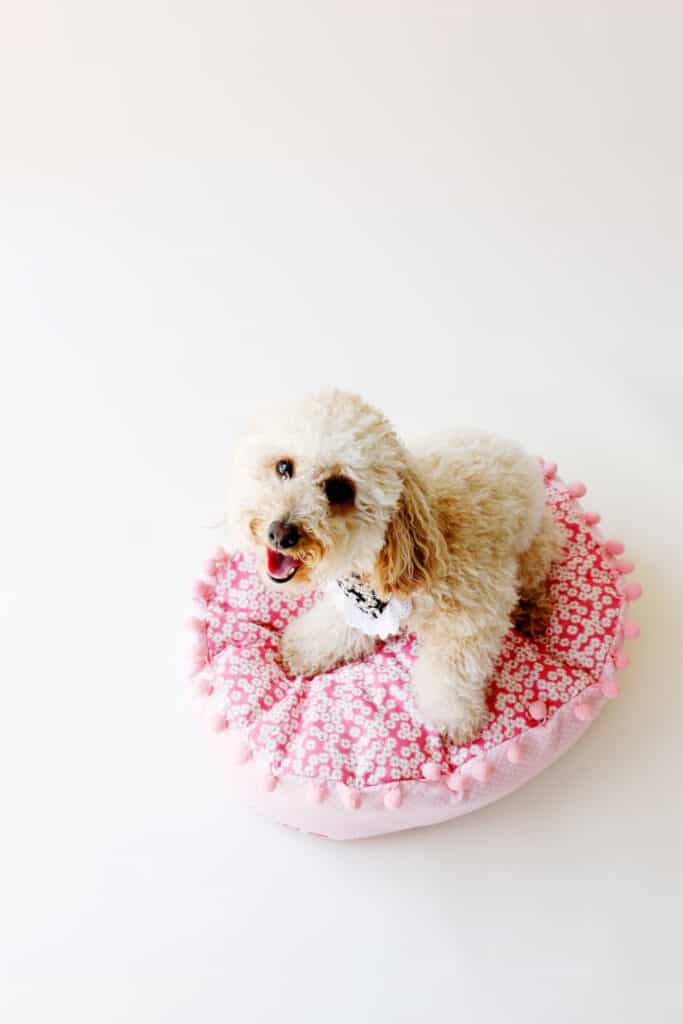
To make your bed extra fancy, grab some fringe or pom pom trim to create a comfy bed fit for a princess. This big pillow will keep your pup cozy all day long!
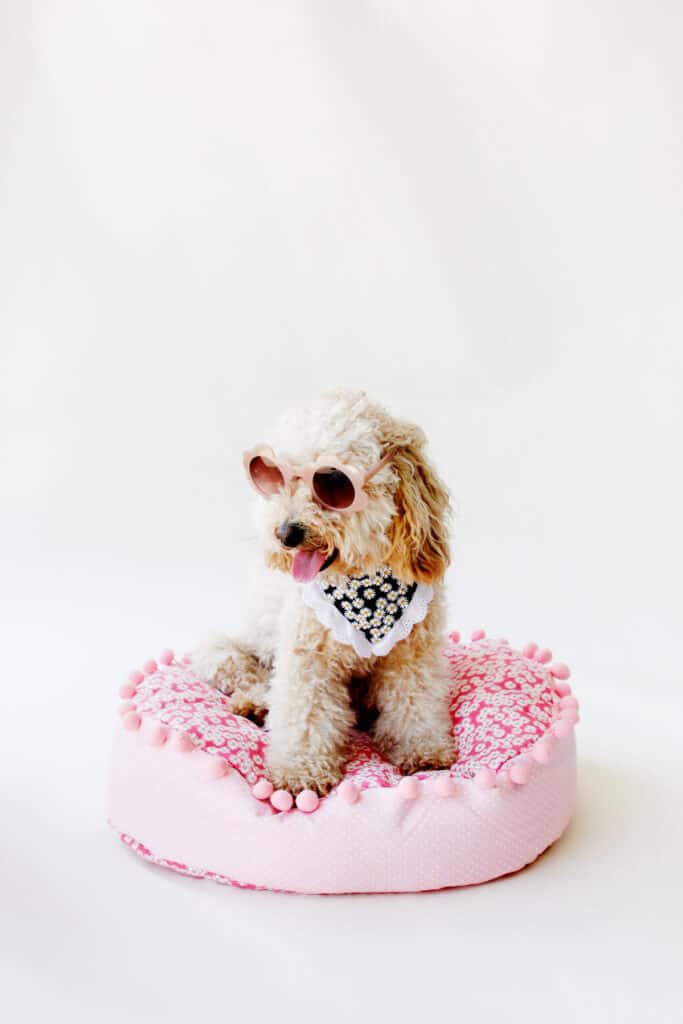
The pattern includes five sizes for even the tiniest micro pooch all the way up to large breeds. I’m always amazed at how expensive dog beds are at pet stores. This is a great way for pet lovers to create a custom DIY pet bed in the perfect size for a lower cost.

Involve your kids in the process by letting them help choose fabric. Choose a fabric that goes with your home decor and try making a matching blanket to go with it!
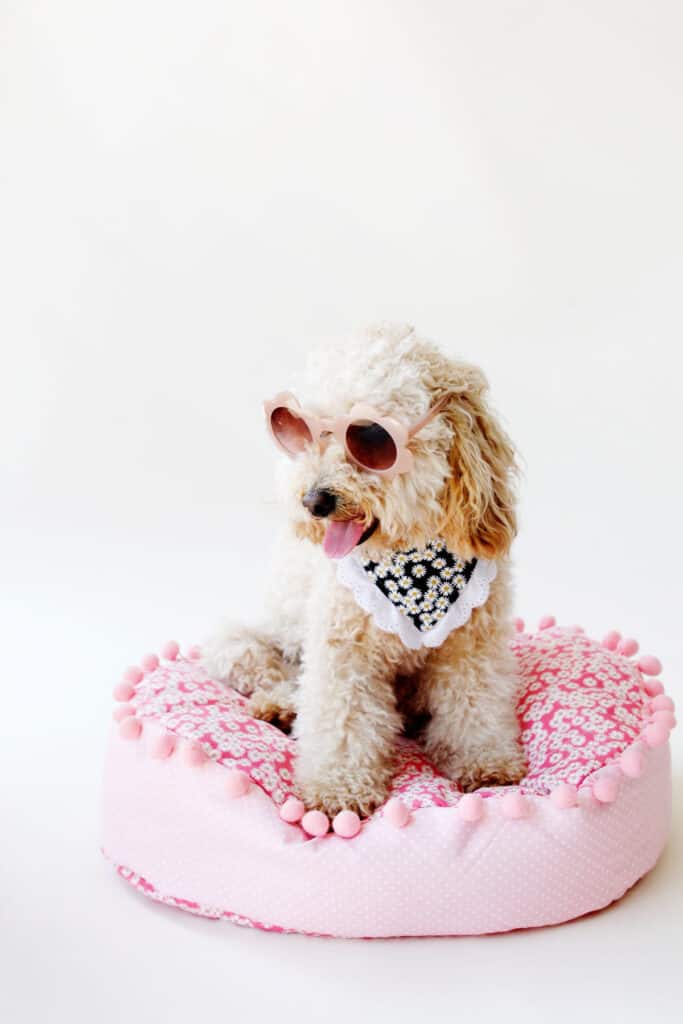
The doggie bed is made of multiple layers to make it look and feel like high quality construction. You can machine wash and dry this dog bed, too! Note: The optional trims may make the bed hand wash only so choose your decorations carefully!

Easy DIY Dog Bed Materials and Supplies
- Fabric, use canvas or quilting cotton backed with interfacing
- I’m using Spotted Daisy Fields in Pink Metallic
- For a high quality bed that won’t stretch I recommend woven fabric
- Avoid fabrics such as fleece
- Felted quilt batting (affiliate links)
- Fiberfill stuffing, alternatively you can use old pillows or an old fleece blanket to fill the dog bed
- Spray baste
- Optional: pom pom or fringe trim
- Sewing machine and thread
- Fabric scissors
- Hand sewing needle and thread
- Rotary cutter, acrylic ruler and cutting mat
- DIY Dog Bed Pattern, see below
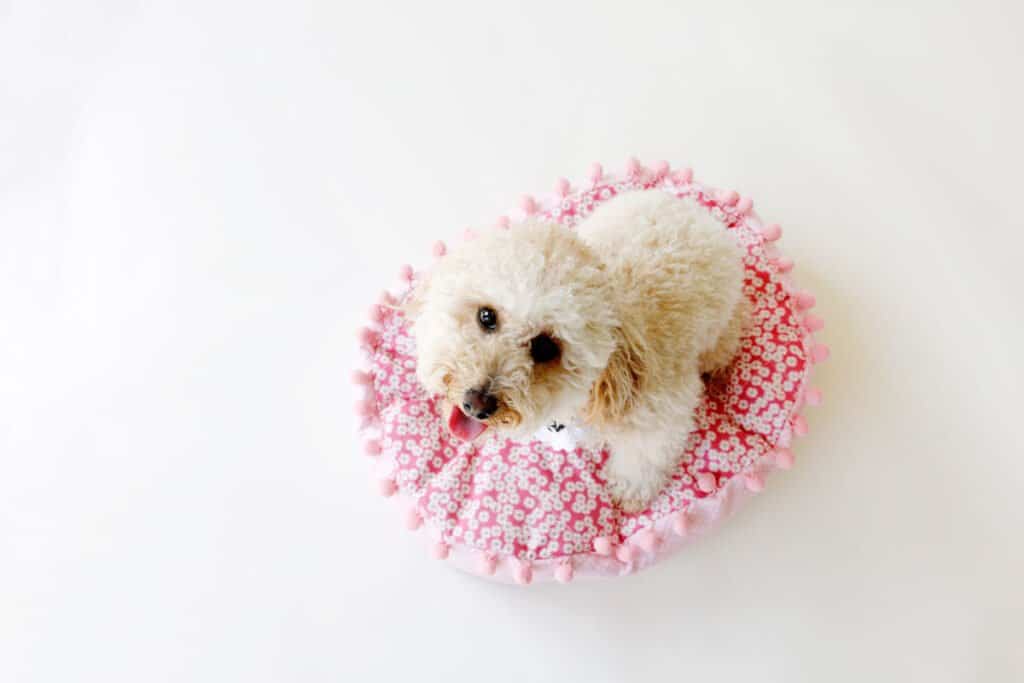
Pet bed sizes and yardage required
The fabric yardage required will vary depending on the size you are making.
- Extra Small/Mini
- Yardage Required: 1 yard
- Approximate Finished Size: 16″ by 20″
- Small
- Yardage Required: 1.5 yard
- Approximate Finished Size: 18″ by 23″
- Medium – Medium-size dogs
- Yardage Required: 2 yards
- Approximate Finished Size: 23″ by 30″
- Large Dog Bed
- Yardage Required: 2.5 yards
- Approximate Finished Size: 28″ by 35″
- Extra Large
- Yardage Required: 3 yards
- Approximate Finished Size: 34″ by 43″
Homemade Dog Bed Pattern Download
Download the pattern below and print out the pattern pieces from your computer. Print them at 100% or DO NOT SCALE to insure accurate sizing. Use the 1″ square on page 1 to make sure you have printed at the correct size. This pattern is FREE for newsletter subscribers. If you’re already subscribed, just put your email address in and you’ll be taken to the download page!
Tape the pages together as shown:
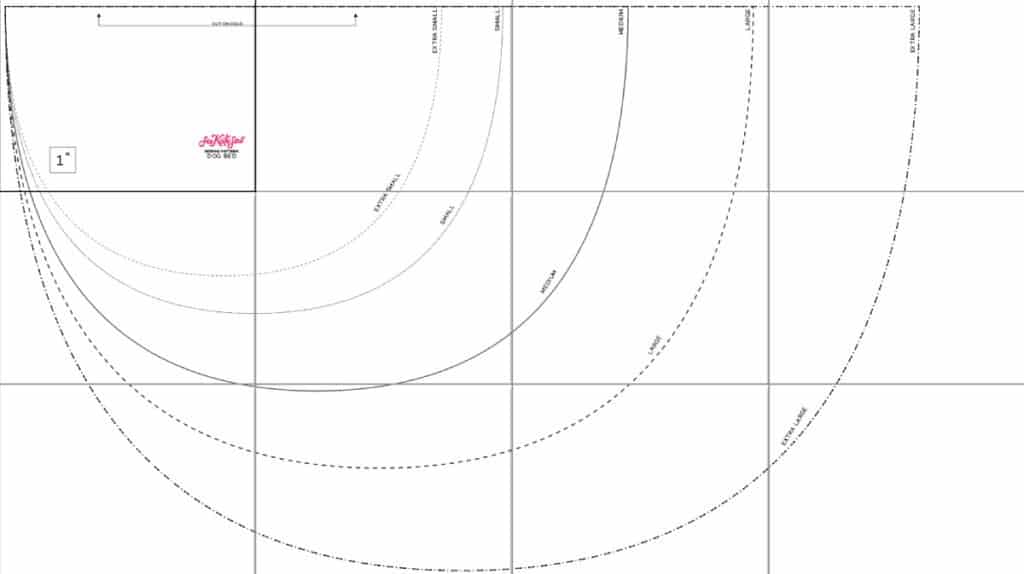
The middle piece is a rectangle, measurements are shown below:
- Extra Small – 5″ by 30.5″
- Small – 5.5″ by 34.5″
- Medium – 6″ by 43.5″
- Large – 6.5″ by 52.25″
- Extra Large – 7″ by 64.25″
How to make a Dog Bed Instructions
Use a 1/2″ seam allowance.
Cut 2 main bed pieces and 2 middle pieces. Also cut 2 interfacing and 2 batting of each piece.
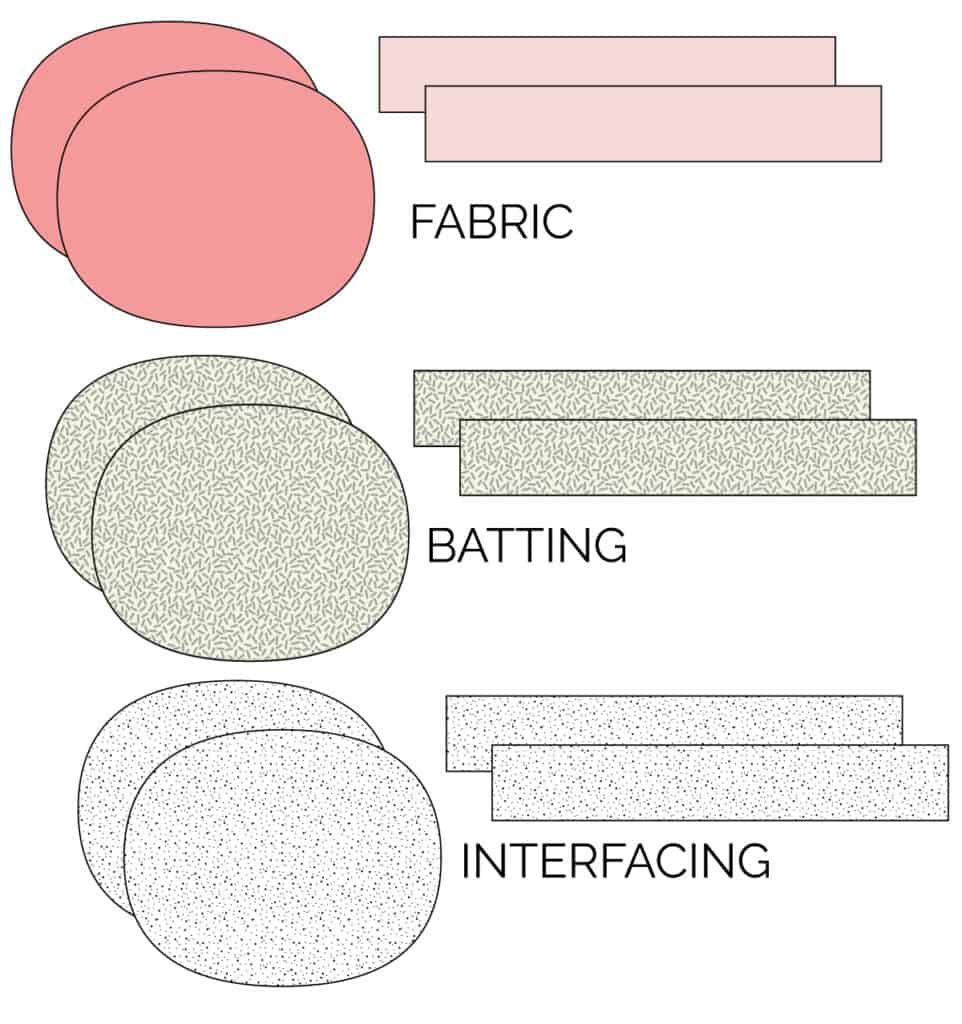
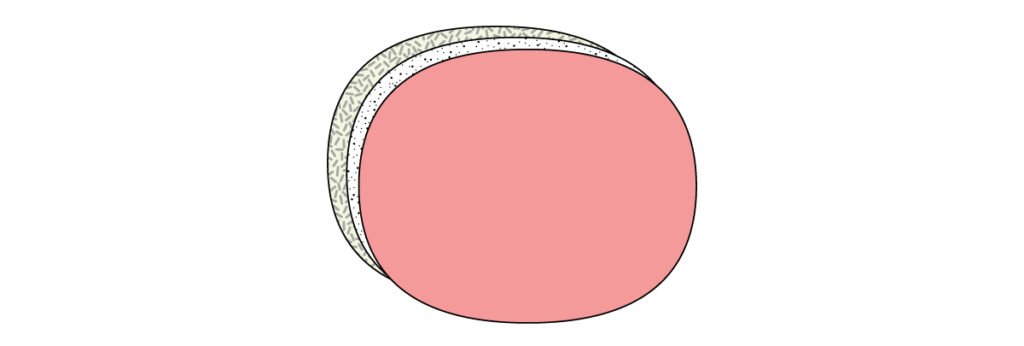
Fuse the interfacing to the back of the fabric pieces. Spray baste the batting to the back.
Add a quilted finish
To give the pet bed an extra touch, sew the batting to the fabric with a topstitched pattern before sewing the dog bed together. Use your ruler and a fabric marker to draw lines on the fabric and follow them with your sewing machine. This quilted look gives the fabric a nice dimensional feel and it will step up your sewing confidence, too!

In the project shown, the quilted lines form a 3″ square grid across the fabric.
Add Pom Pom Trim
If you want to add trim, sew it to the top of your dog bed. Line up the edge of the trim with the edge of the dog bed and pin. Use a zig zag stitch to sew the trim to the bed. Overlap and trim where the trim meets.

Sew the Dog Bed
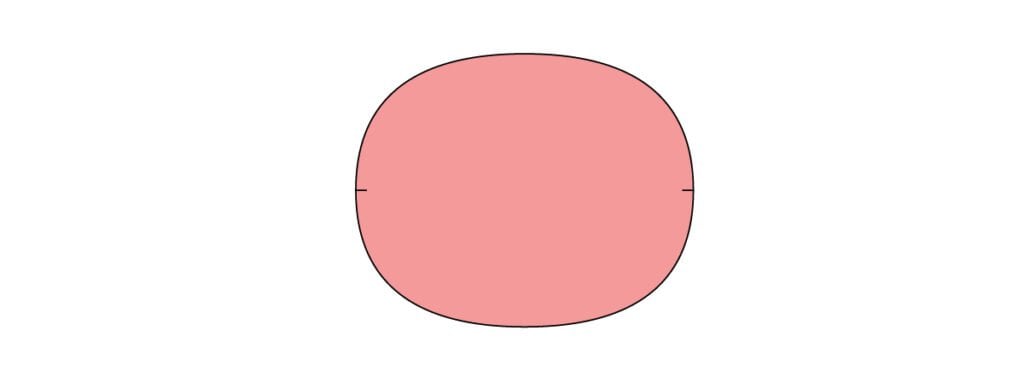
Mark the middle points at the sides of each dog bed piece.
Sew the side pieces together at one of the short edges. Press seam allowance open.

Line up the center seam of the side pieces face down on the marked mid point of the dog bed piece. Pin.
Continue pinning the side piece to the dog bed piece, contouring as you go. Pin almost all the way until the edges meet. Sew, leaving about 2″ unsewn. Measure and match the short edges, adjusting the length if needed. Sew the short edges together, then finish sewing to the dog bed.
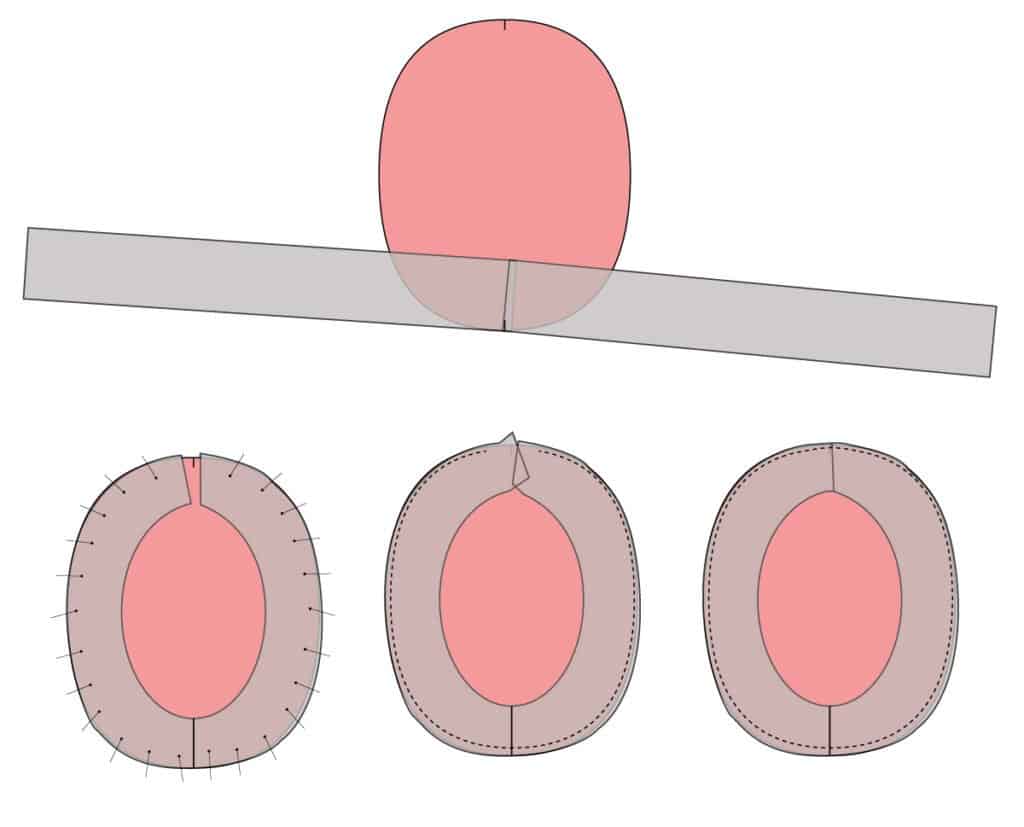
Pin the second bed piece on the other edge of the side piece. Pin and sew leaving 5″ open. Turn the bed right side out and stuff with fiberfill. Sew the opening closed with a hand sewing needle and thread.


More Pet Tutorials


