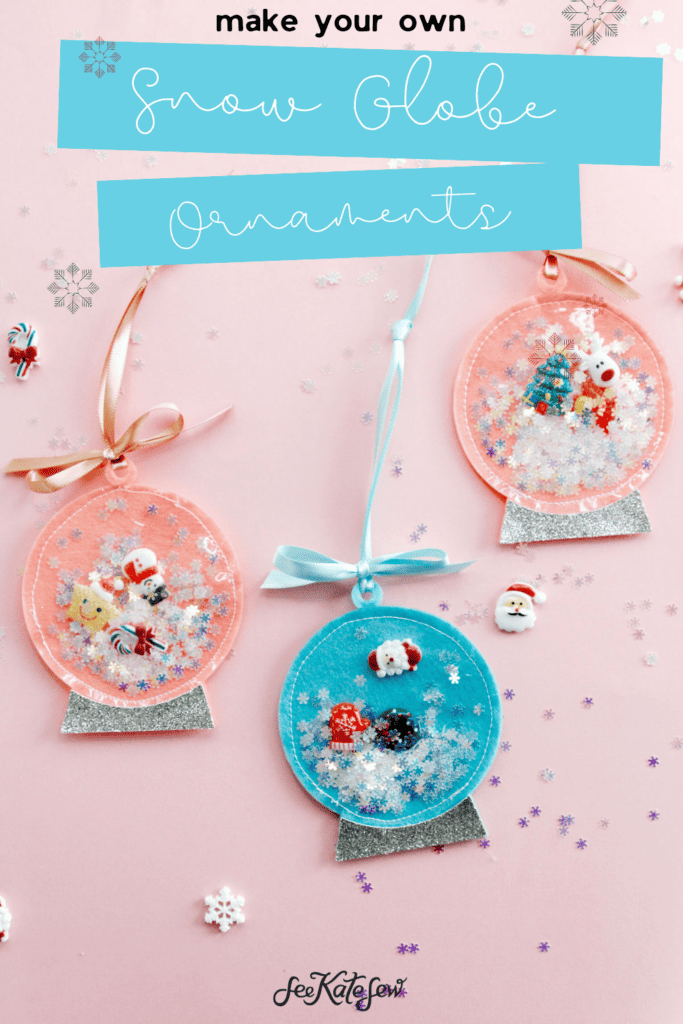
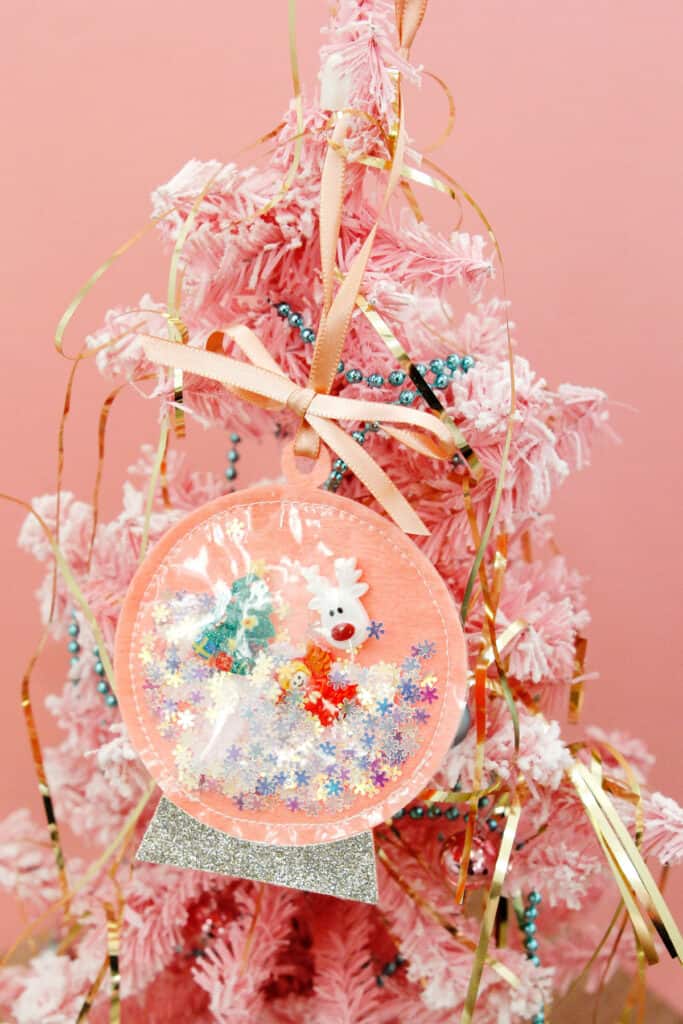
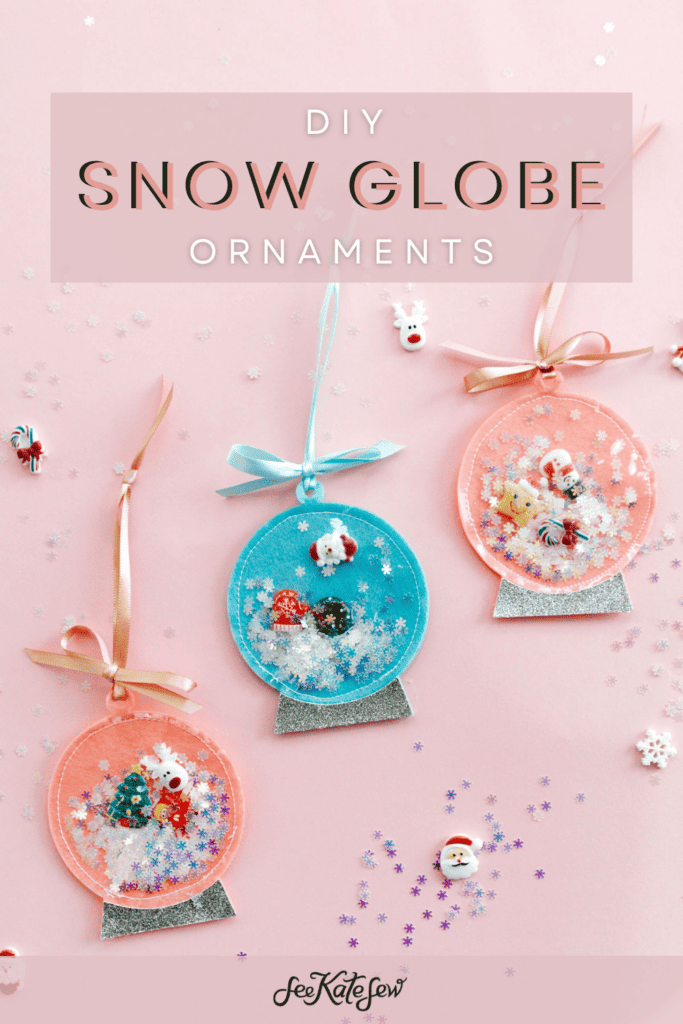
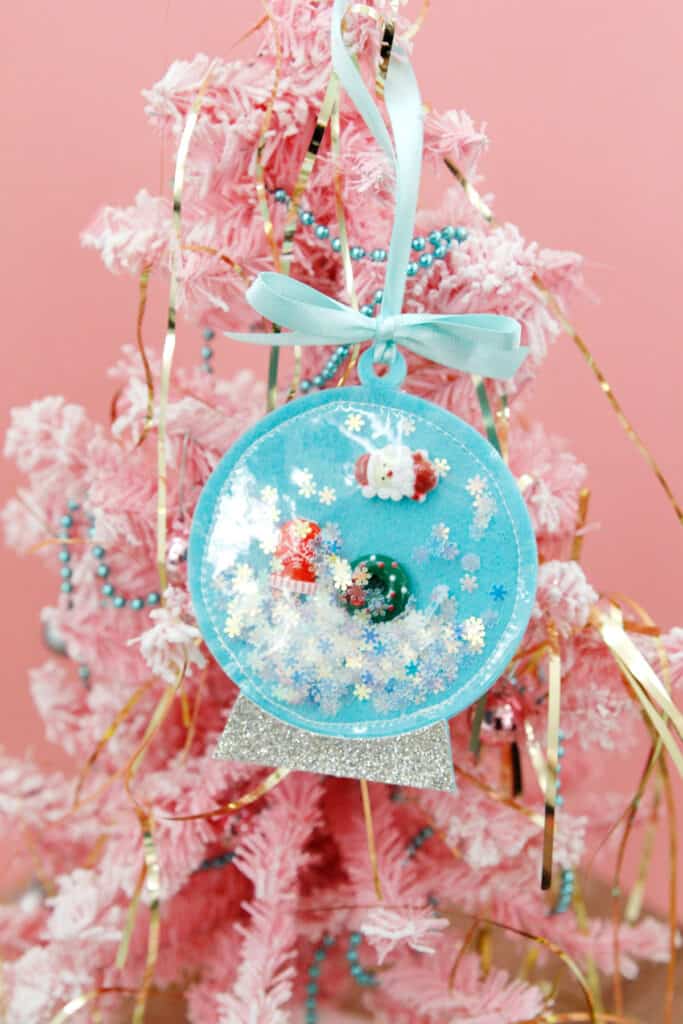
Make your own DIY snow globe ornament with shakable snow! This interactive shaker ornament will look super cute on your Christmas tree this year and is such a fun idea for gifting!
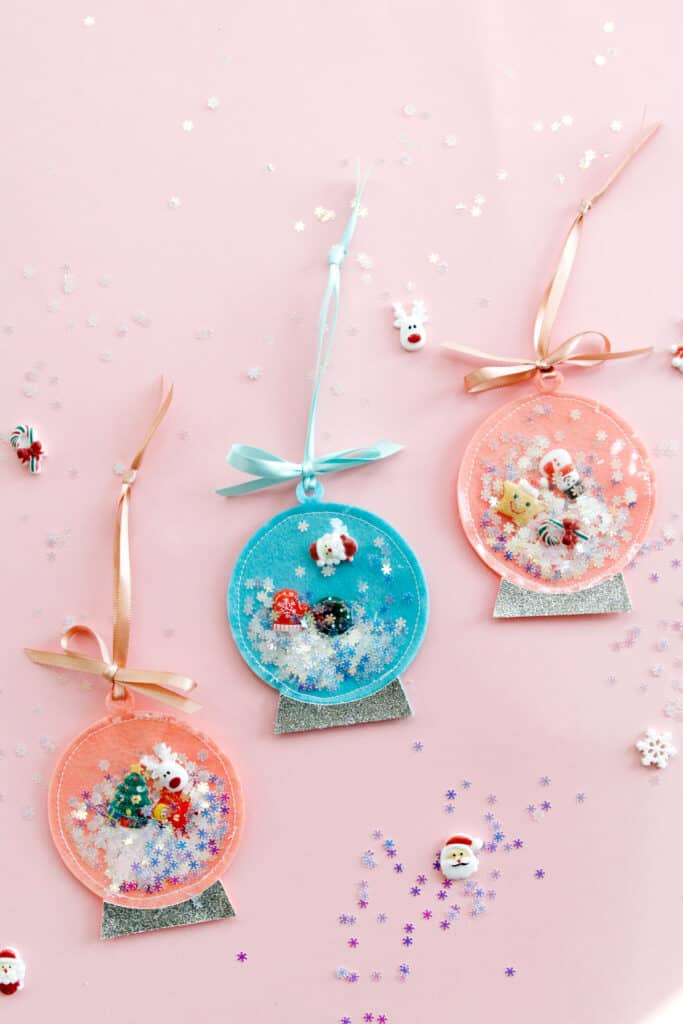
The DIY snow globe ornament project requires just a few simple supplies – you may already have some of them.
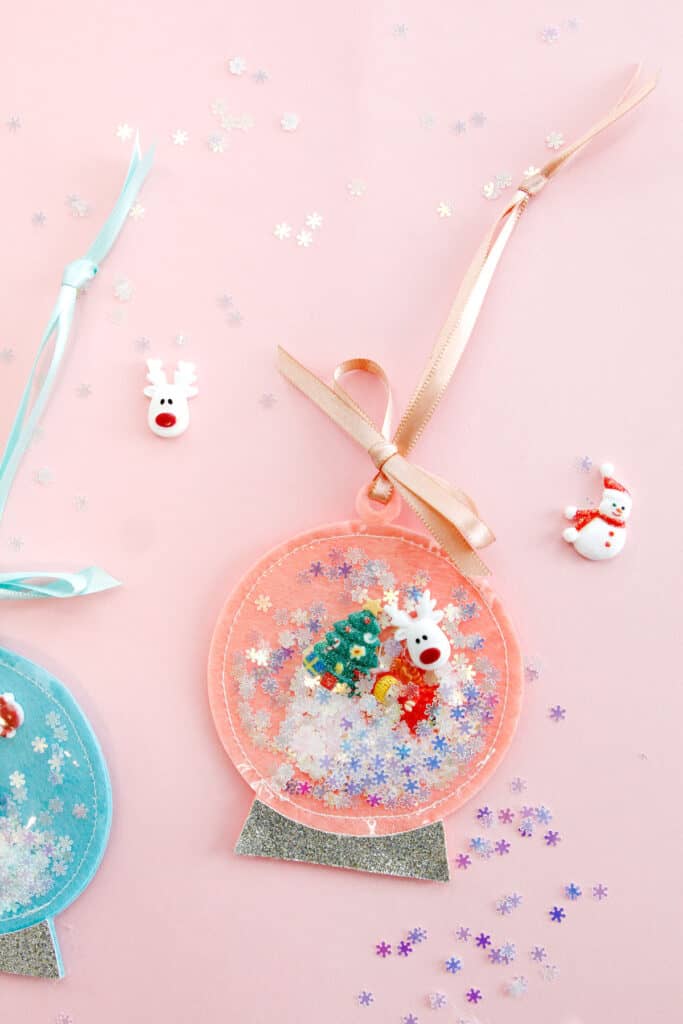
Then find some little things to put inside your ornament along with glitter or confetti! Kids will love shaking these under the tree!
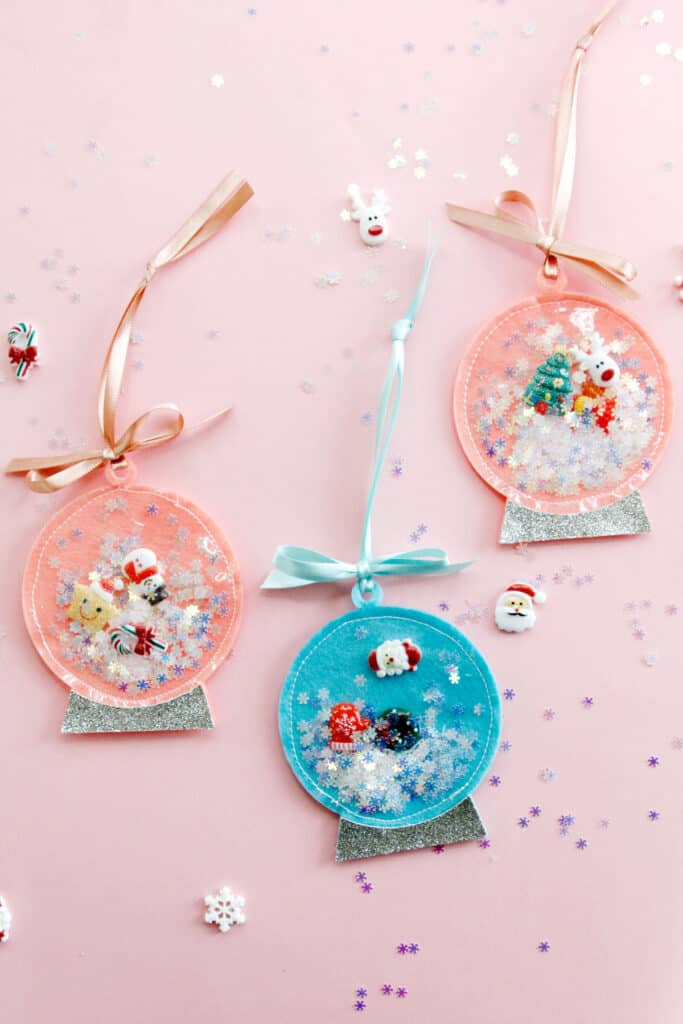
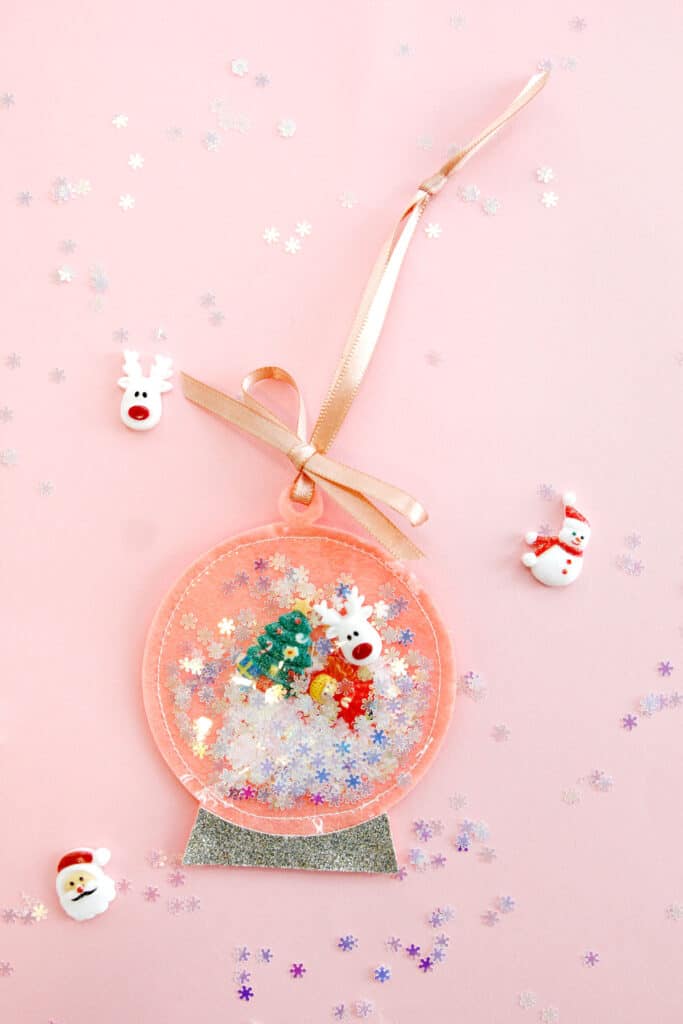
I used Christmas themed resin charms for the snow globes – these are flat backed charms that are sometimes used for slime or jewelry. Browse craft stores for any miniatures to put inside.
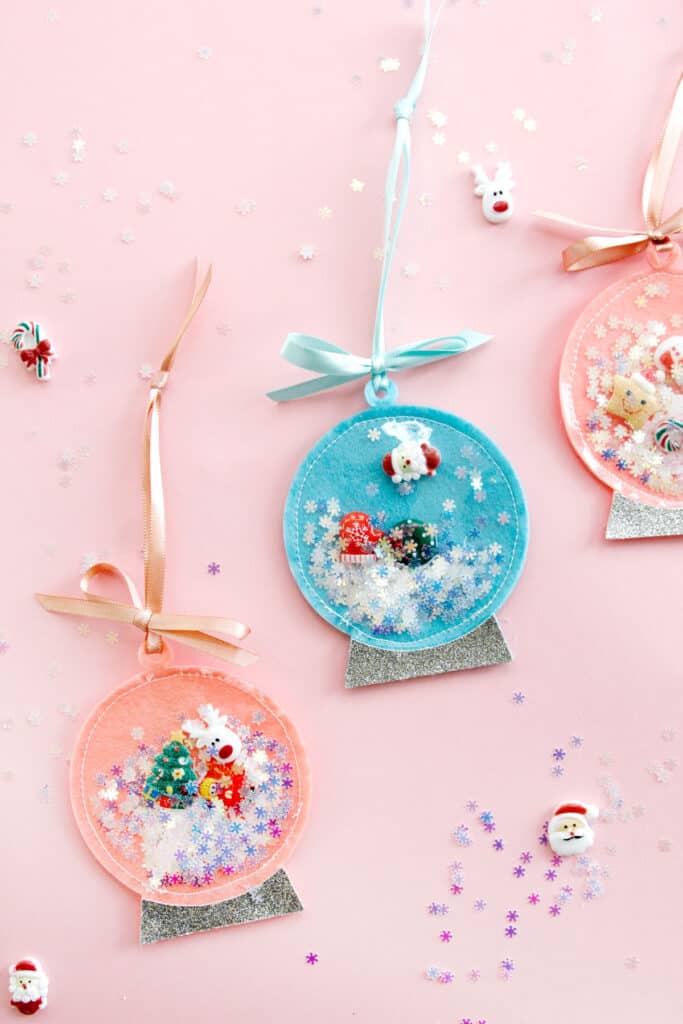
See the end of this post for more ideas to customize this DIY mini snow globe ornament!
DIY Snow Globe Ornament Materials
- Sturdy felt(Amazon affiliate links)
- Glitter canvas, optional
- Clear vinyl
- Christmas resin charms
- Snowflake confetti sequins or white glitter
- Ribbon or twine for hanger
- Hot glue gun, optional for no sew option
- Teflon sewing machine foot, or scotch tape to put on the bottom of your metal foot
- This will help your machine not stick to the vinyl as you sew
- Sewing clips
Sewing with vinyl can be tricky, for tips see this post!
Templates for shaker snow globe Christmas ornament
To download the templates for this snow globe Christmas ornament, click on one of the buttons below. The PDF is best if you are cutting the pieces by hand. The JPG is best if you plan to upload the files to your cutting machine. JPGs can be used in place of SVGs for most cutting machines like the Cricut.
Cutting the piece with a cutting machine
For instructions on cutting fabric with the Cricut, see this post. I like to set my settings to “Acrylic felt” even if I am using Cricut felt, that way the machine uses the rotary blade and I think that works best with all types of felt.
The clear vinyl and glitter canvas can also be cut with the Cricut. Choose vinyl, not adhesive, 16 gauge for the vinyl circles. Choose “canvas” for the glitter canvas and apply “more pressure”.
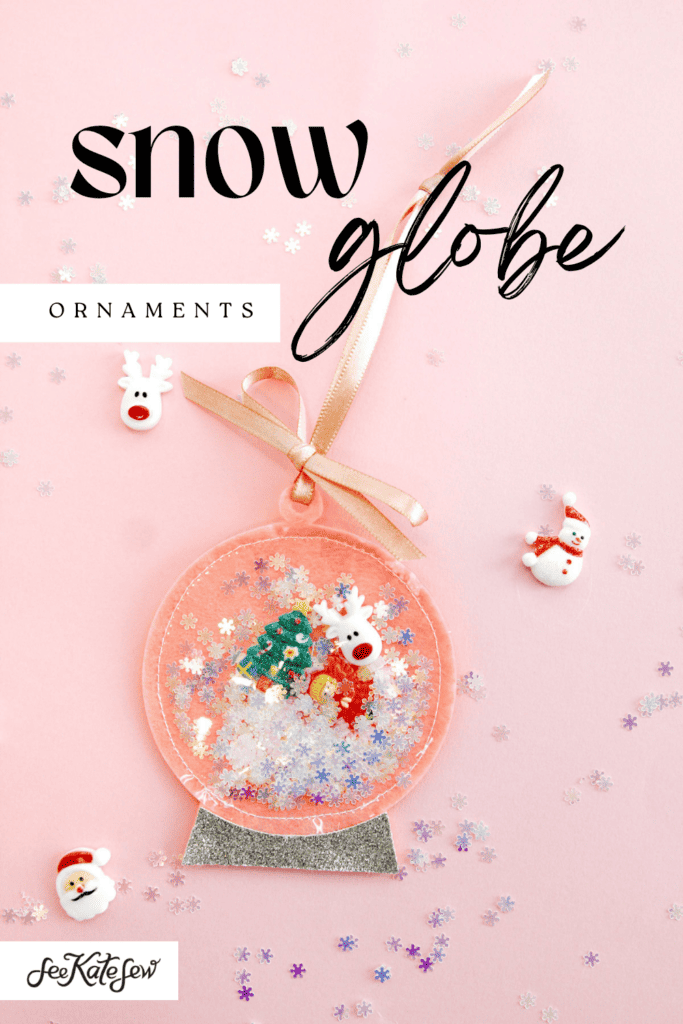
How to make a shaker snow globe ornament
Cut out 2 layers of felt with the main snow globe pattern piece.
Cut 1 base with a contrasting color of felt or glitter canvas. Finally, cut 1 vinyl piece with clear vinyl.
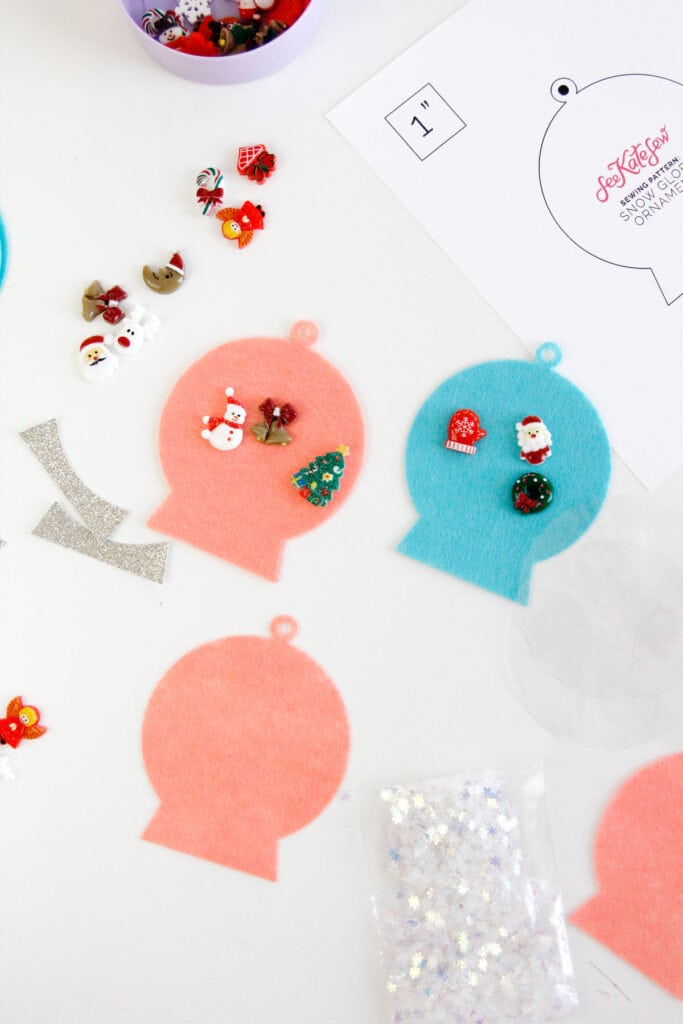
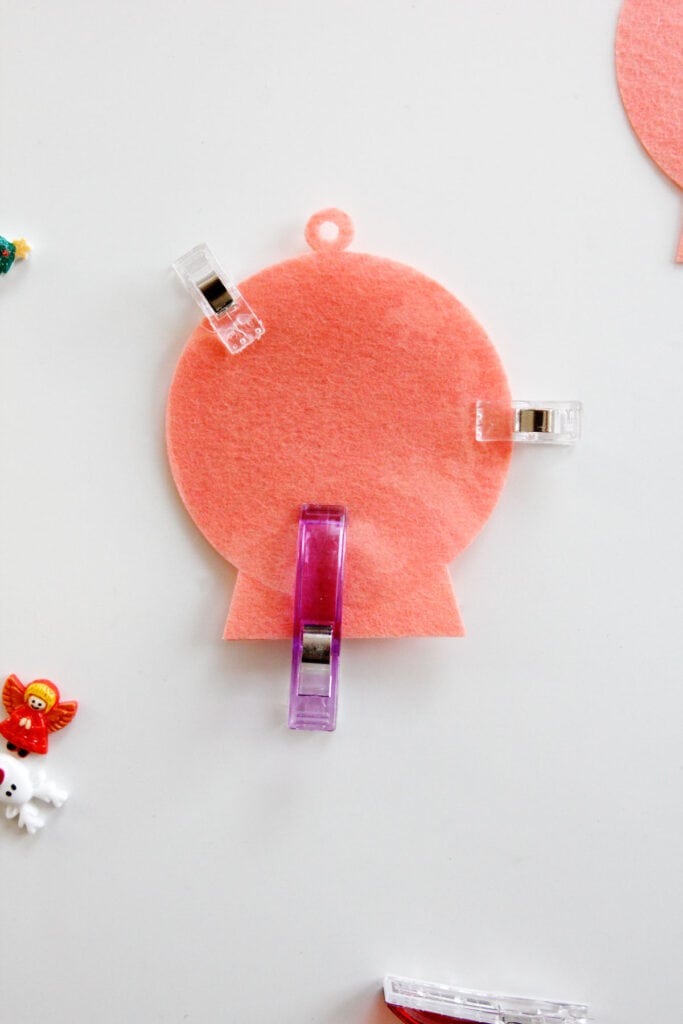
Stack the 2 main pieces on top of each other then put the vinyl on top. Use sewing clips to hold the layers together.
Sew around the vinyl with a sewing machine (or use a very thin line of glue for the no-sew version) but leave a space to fill the ornament. I like to bump up my stitch length to 3mm or 3.5mm for this step, it seems to help the machine get over the vinyl with a bit of a longer stitch length. Be sure to backstitch on the ends of your stitching.
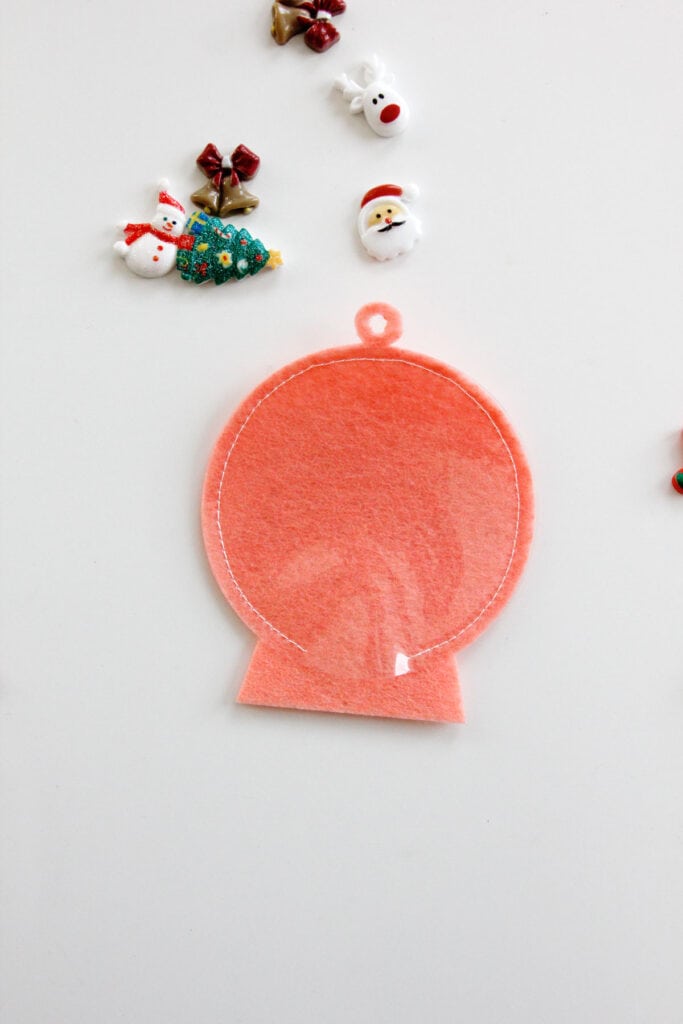
Fill the ornament with resin charms. I like to put about 3 of these in, but you can put more if you want!
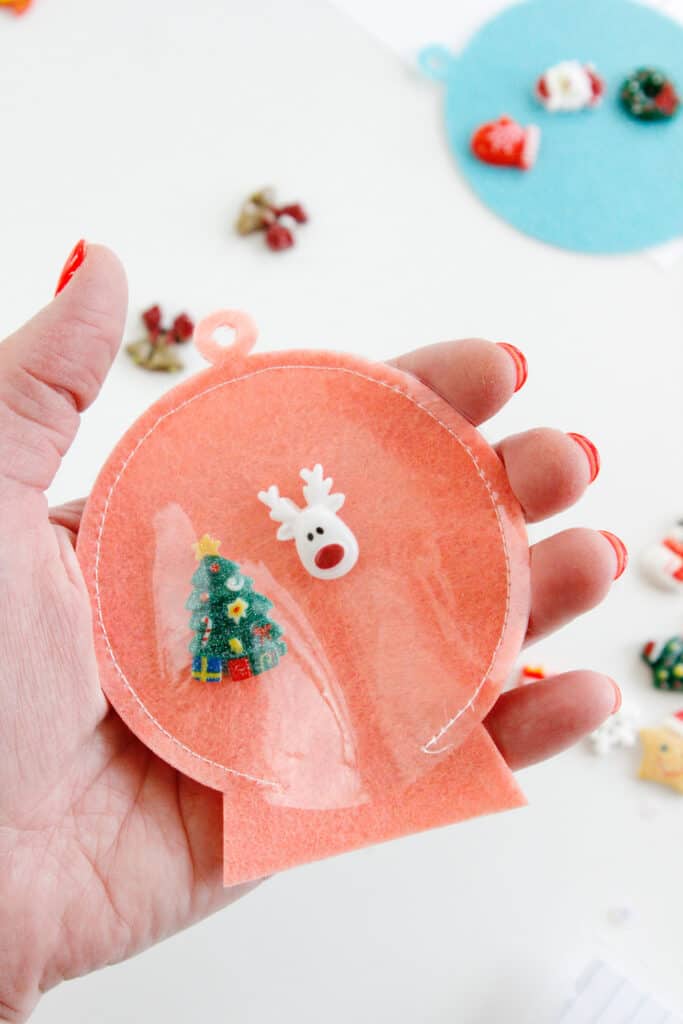
Add a little bit of glitter or snowflake confetti to create your snowy scene. I found that about 1 teaspoon was the right amount but it may vary based on your glitter.
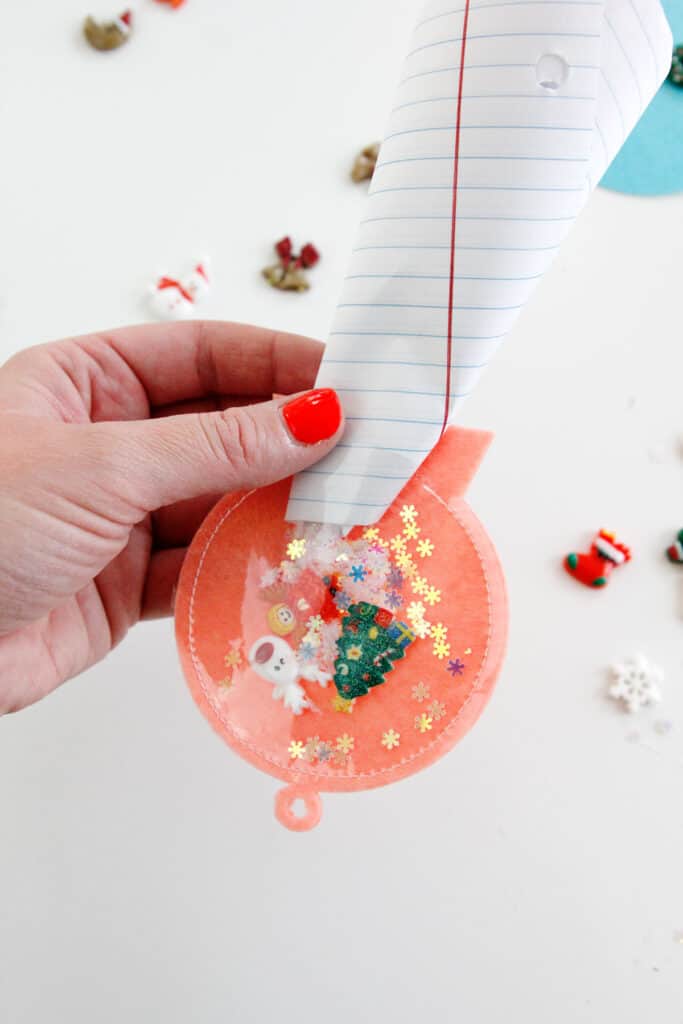
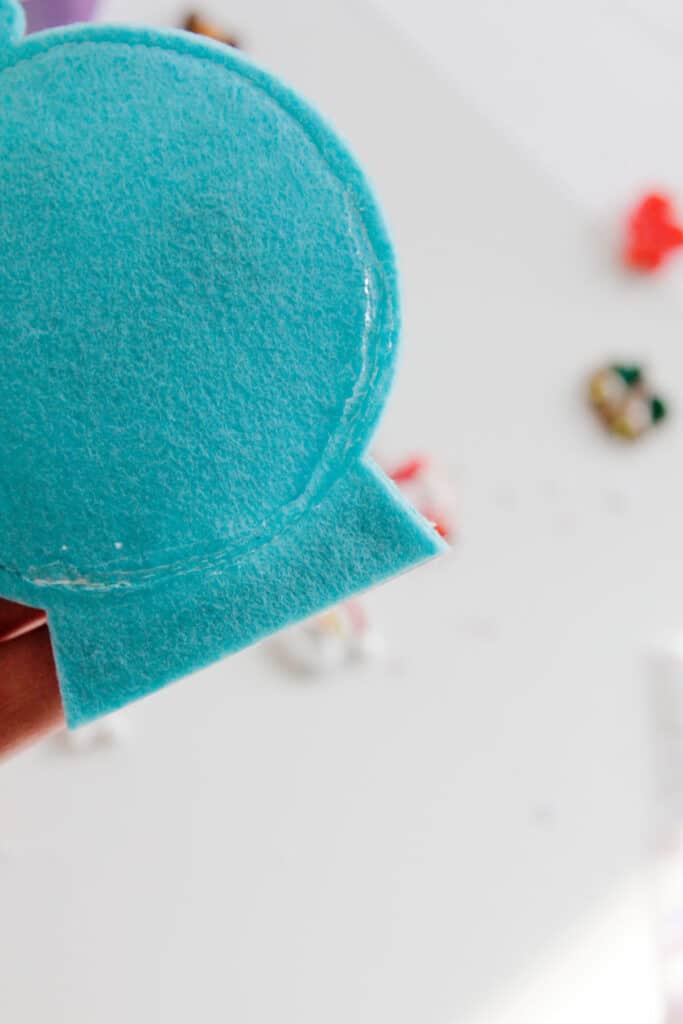
Then finish closing the vinyl. Glue (or sew) the base to the bottom of the ornament and glue the two felt layers together at the base.

Then tie a ribbon at the top and your hanging snow globe ornament is done!
Tip: add a little bit of glue on the back of the ornament over the stitching to prevent the stitches from coming undone.
Personalized Snow Globe Ornaments
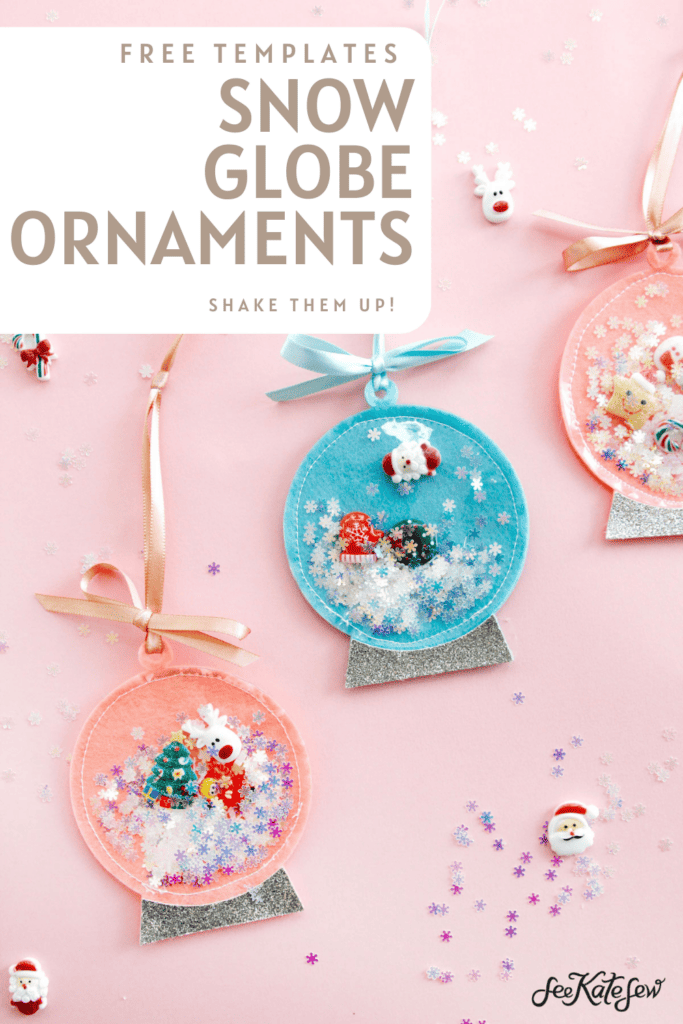
Customize these DIY snow globe ornaments with an iron-on vinyl name on the base of the snow globe. These could also serve as adorable place settings with all your family names and are great Christmas gifts during the holiday season. Add a gift card for an easy teacher gift!
Or get extra crafty and put iron-on vinyl behind the clear vinyl. Use words, a custom phrase or create fun winter scenes with little trees.
