This post is sponsored by Fabric.com.
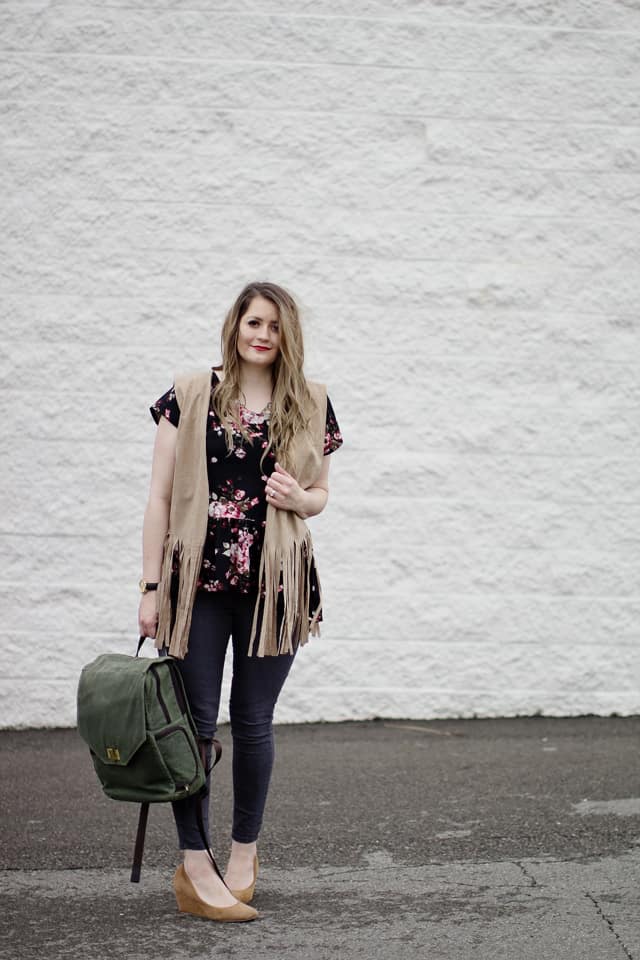
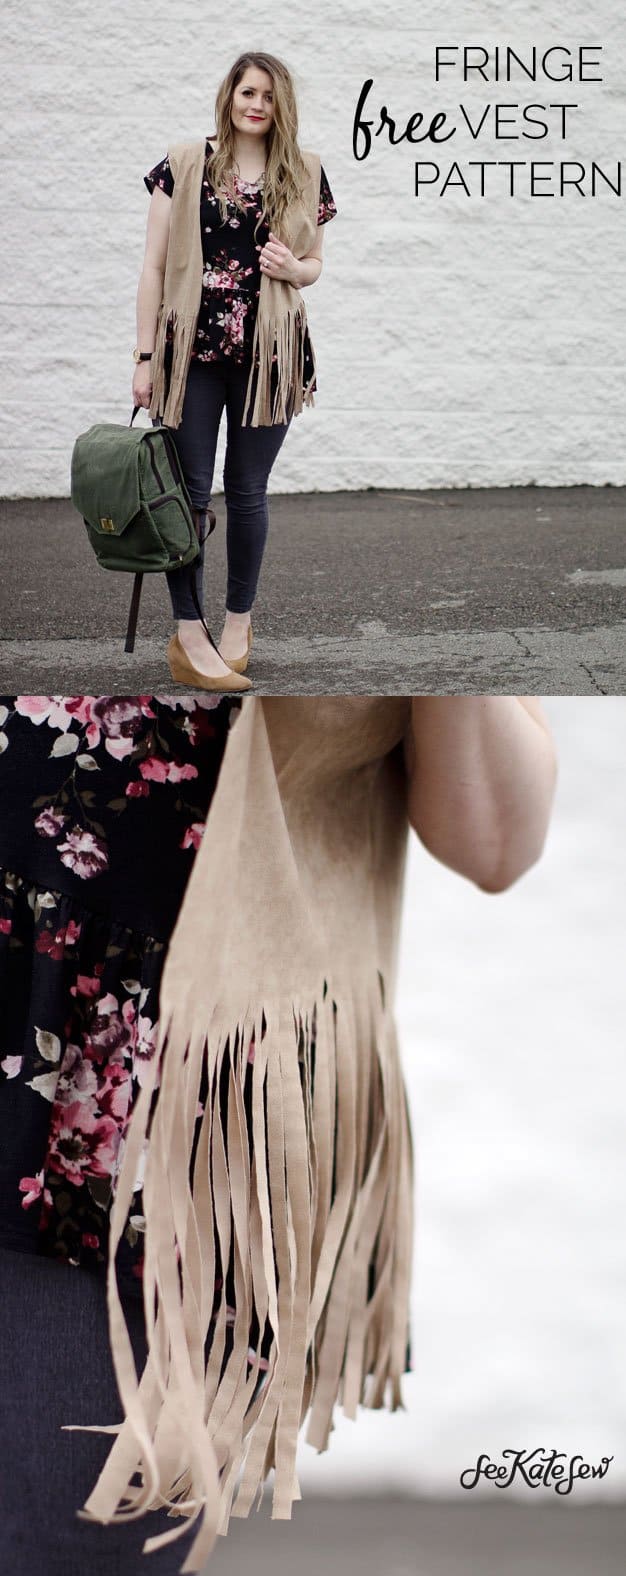
I am all in for fringe these days! This super quick project can add a little texture to any outfit! It’s super quick to make and also really fun! Today’s project for the Crafty Girl Look Book is a FREE pattern sponsored by Fabric.com!


I used a suede fabric that has a knit weave to make it a fast project- no need to finish the edges! Cutting the fringe is my favorite part of this project! I used a rotary cutter to create all the fringe at the bottom of the vest. This is a really fun project because you can make the fringe as long or short as you want! You could even add a few braids, knots or beads to the fringe edges if you wanted to customize it even more!
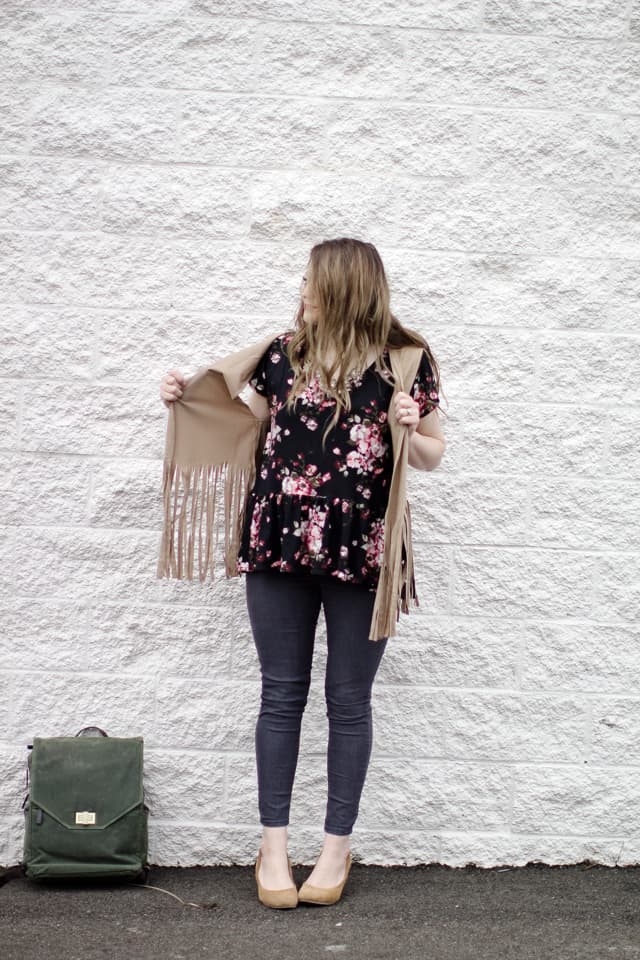
A quick little vest like this is a nice piece to transition from winter to spring!


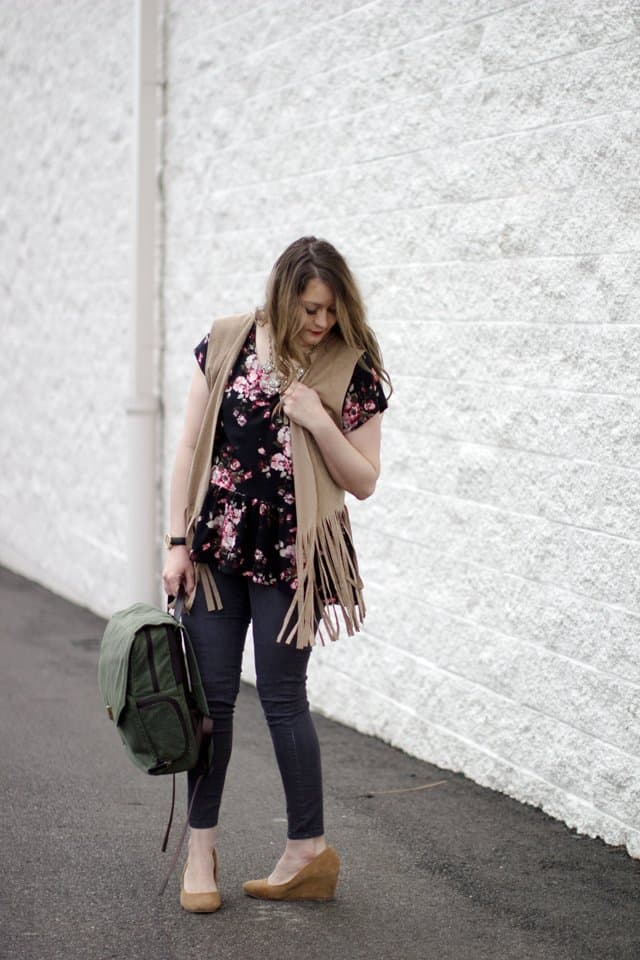
I really recommend this particular fabric because it has the tricot knit base, it’s called Soft Suede . There are 10 colors to choose from buy I’m wearing Mocha.
If you want to use other fabrics, you’ll also need a bottle of fray check.
Ready to sew?
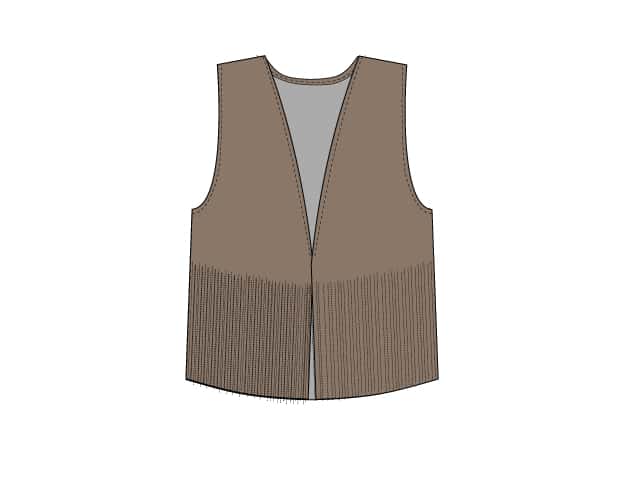
FREE Fringe Vest Pattern
Materials//
-2 yards Soft Suede or other apparel fabric
-fray check for other fabric types (optional)
-pattern download, see below (will fit up to women’s XL or so)
How to sew a fringe vest
Print your pattern! It will print on 10 pages (A4 or 8.5″ by 11″). Each page will have about 1/2″ extra paper on each edge. Trim one long edge and one short edge of each paper and piece them together with tape.
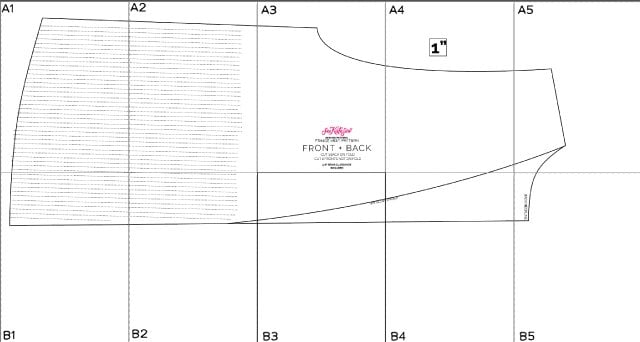
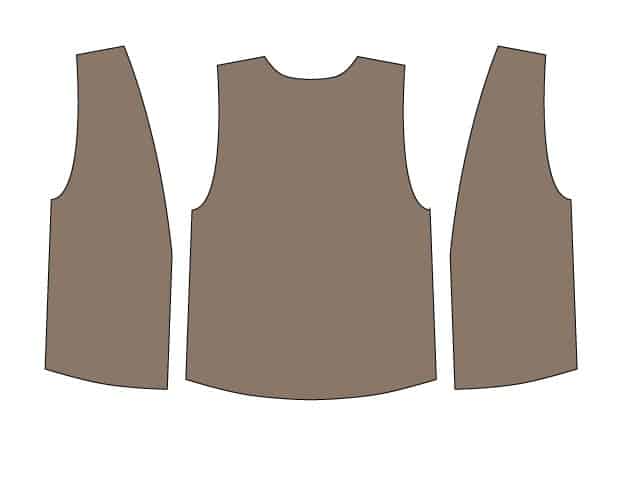
Cut out 1 back piece ON THE FOLD. Cut out 2 front pieces not on the fold, using the front neckline.
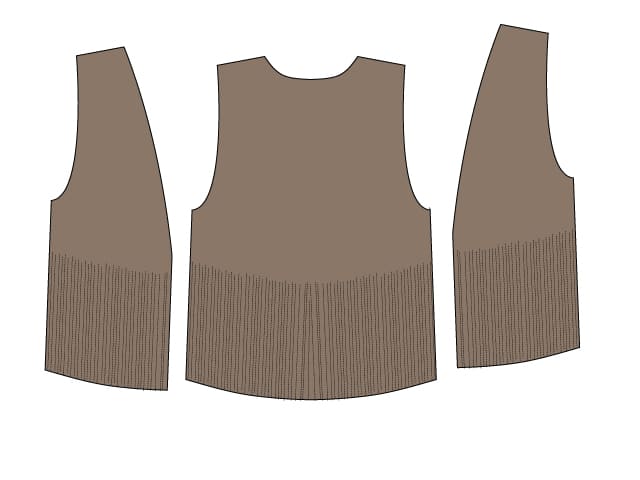
Use a rotary cutter and cutting mat to create fringe, about 11-12″ from the bottom edge on each piece.
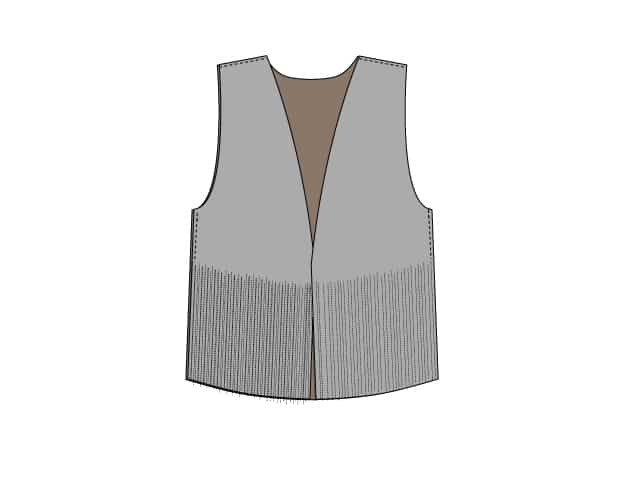
Sew your fringed pieces together at the shoulder seams. Press open. Sew the side seams 5″ down from the armhole opening. Back stitch at each end to hold the stitch.
Press the neckline under 1/4″ and taper out the front neckline. You don’t have to finish the edges of the suede fabric and if you’re using fray check that will be good enough. But a finished neckline will look a little nicer and more finished!
Do the same thing with the armholes.
And you’re done!
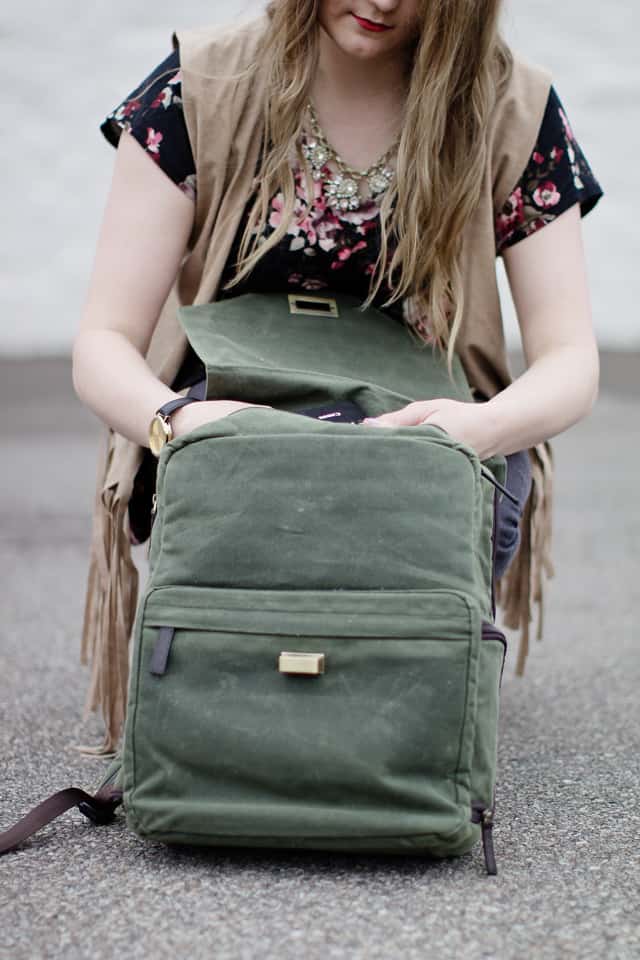
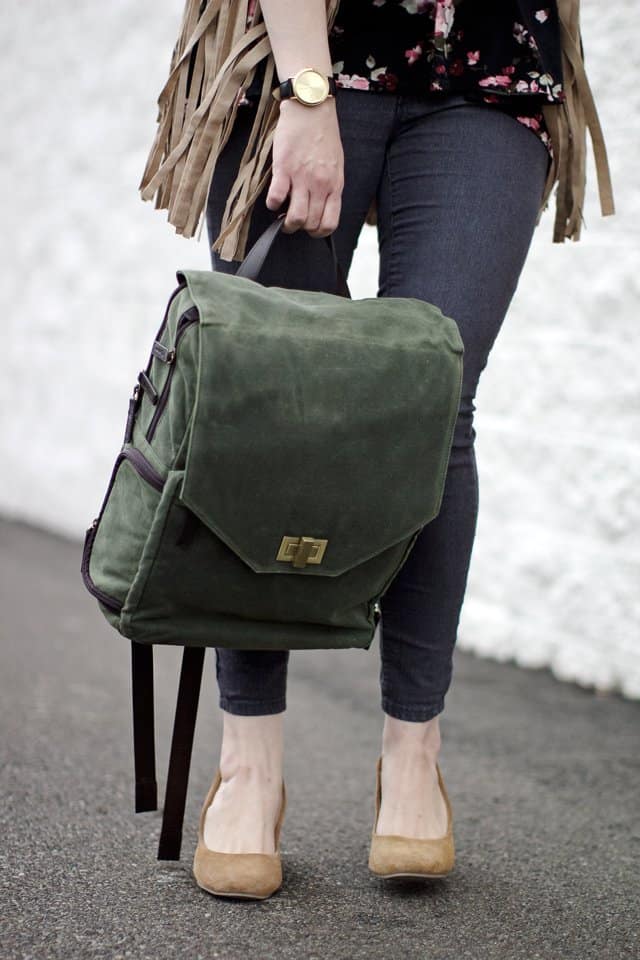
Bag c/o Jo Totes


Thanks for sharing! I absolutely love this! If you have any more easy sewing projects for beginners like me please don’t hesitate to share the love! I have a 5 year old daughter and she’s super sassy! I would love to make some totally adorable spring/ summer get ups for her this year and I know she would love it too! Thanks in advance!
Thank You Thank You!!!
I always look forward to seeing e-mails from See Kate Sew
It always inspires me to be creative!!
Thanks Kate for posting this tutorial – it really looks easy and next time I have to sew a curved hem line I will definitely give it a go ! Warm regards