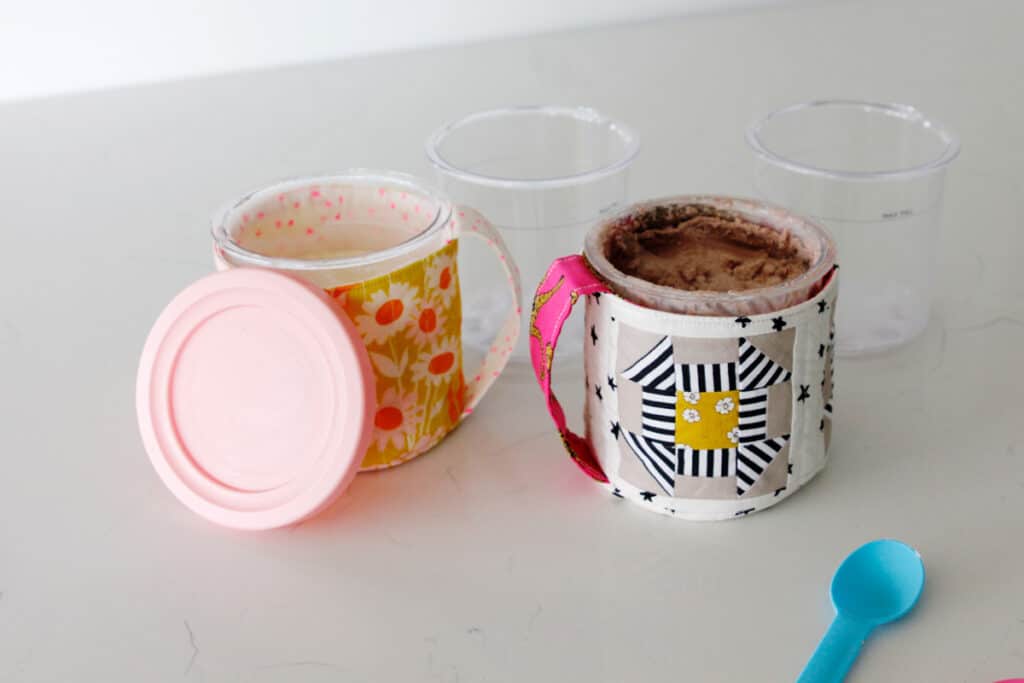
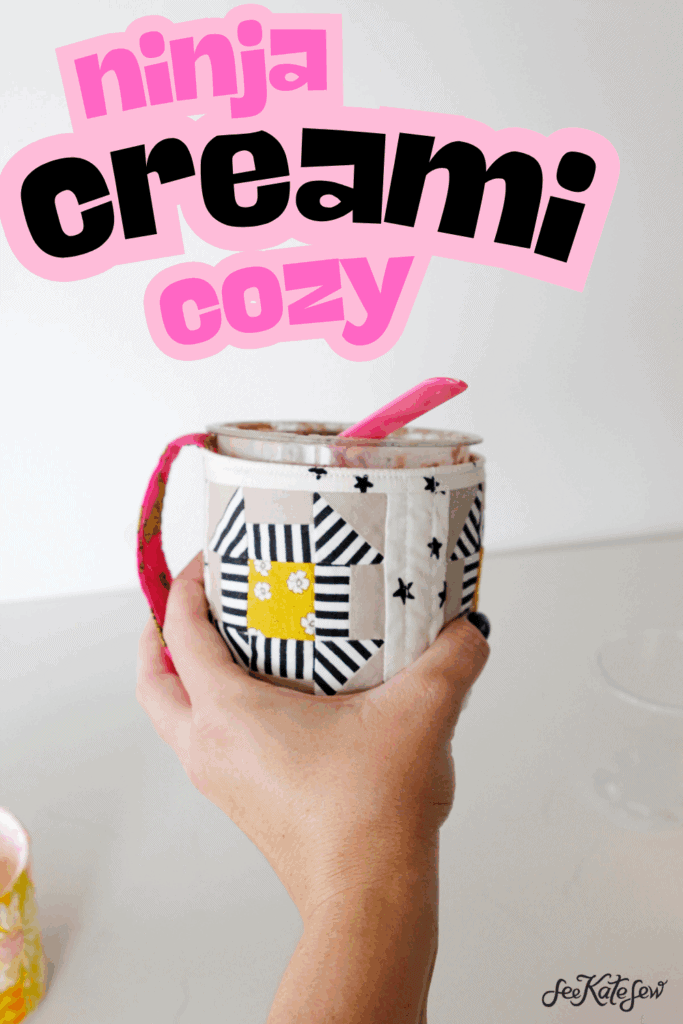
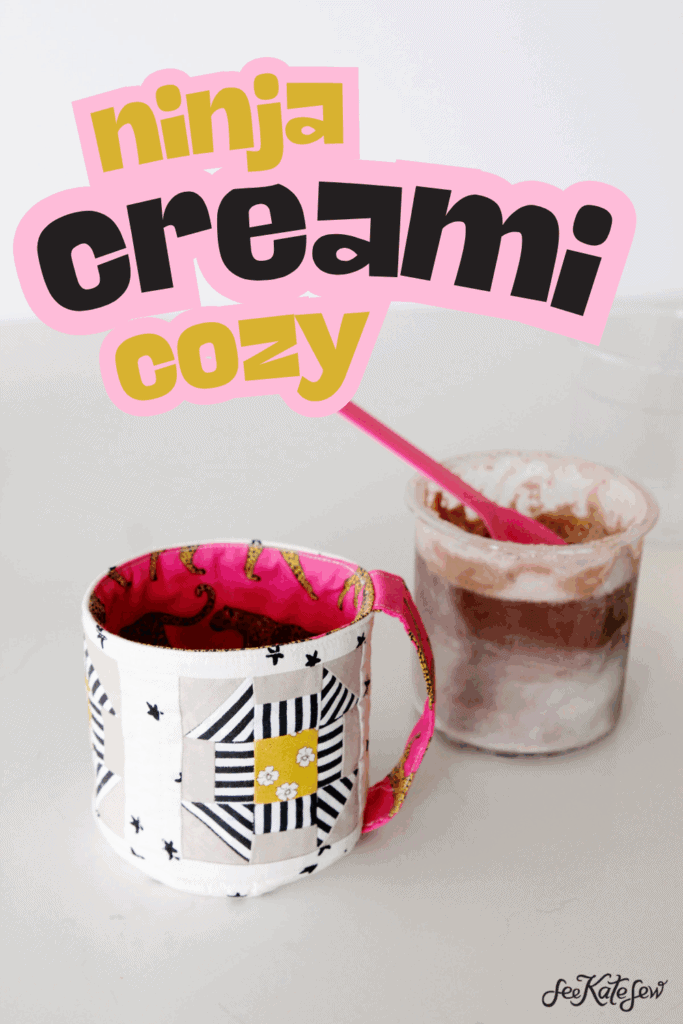
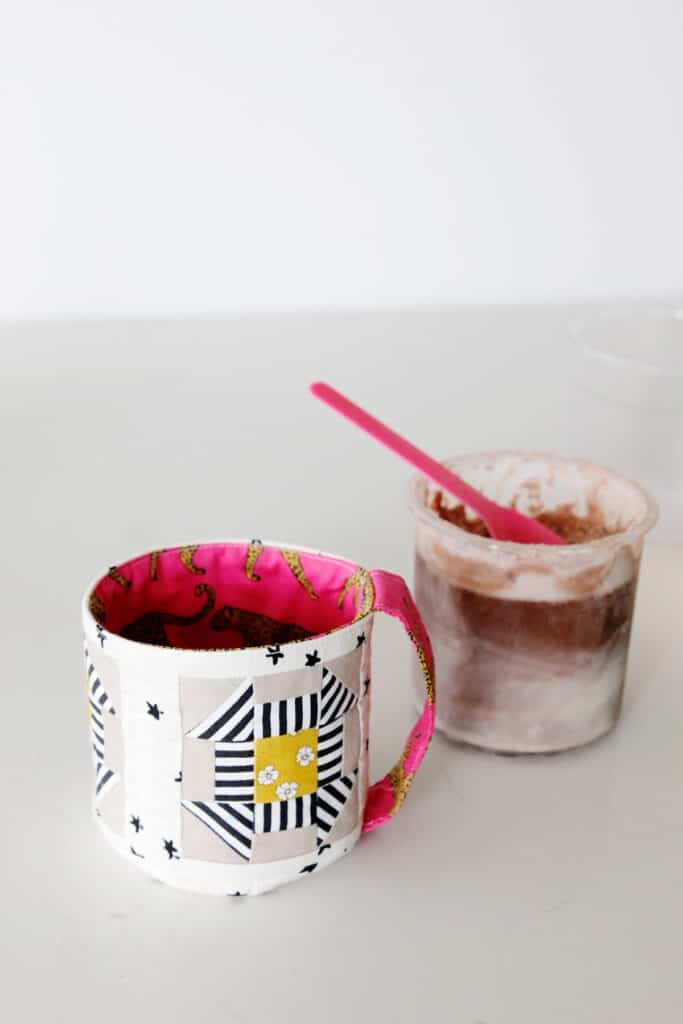
Never suffer from cold hands again with this quilted ice cream pint cozy! This pattern includes both a simple version with no quilt blocks and a quilted version with churn dash (get it, churn!? haha) quilt blocks.
This pattern is designed to fit a pint size container, like these(affiliate links), or the ones that come with the Ninja Creami.
You can also use these for store bought pints!
Ice Cream Pint Cozy Materials
This is an awesome way to use your fabric scraps!
- Quilting cotton
- Fusible interfacing (affiliate links)
- Spray baste
- Quilt batting
- Fabric marker

Ice Cream Cozy Pattern Download
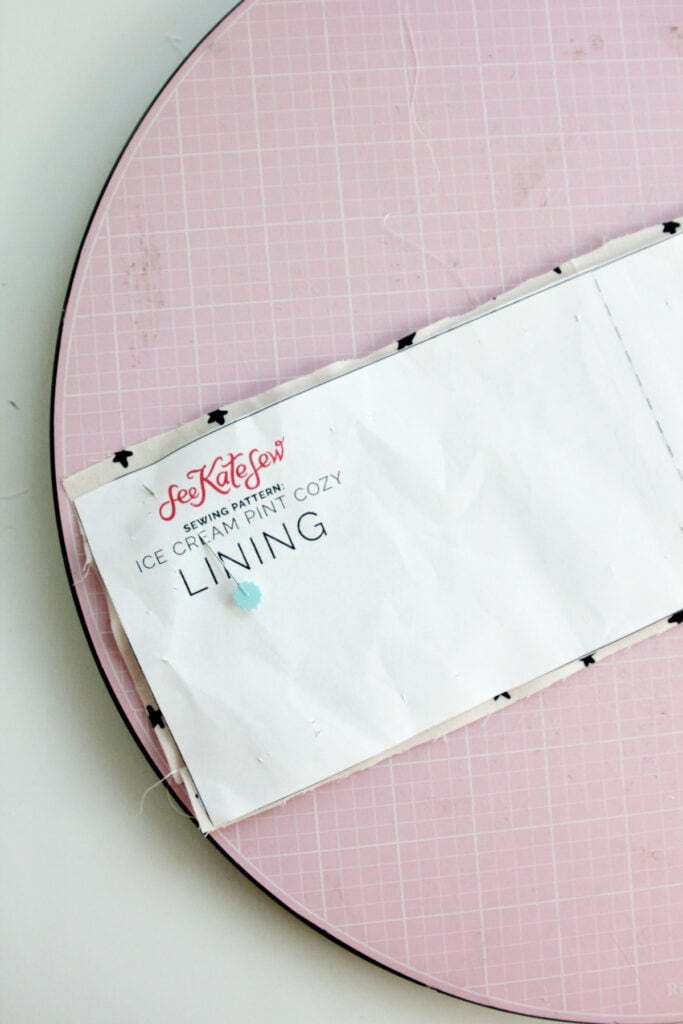
Download the pattern pieces for this ice cream pint cozy by clicking on the pink button below. Enter your email to join my newsletter and then you’ll be taken to the download page. Print the pattern at 100% or DO NOT SCALE. To print the pattern AND instructions easily, grab the EASY-TO-PRINT version HERE.
Trim off the edges and tape pages together as shown:
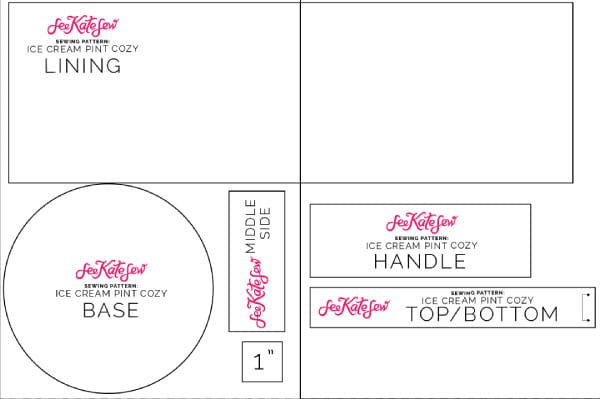
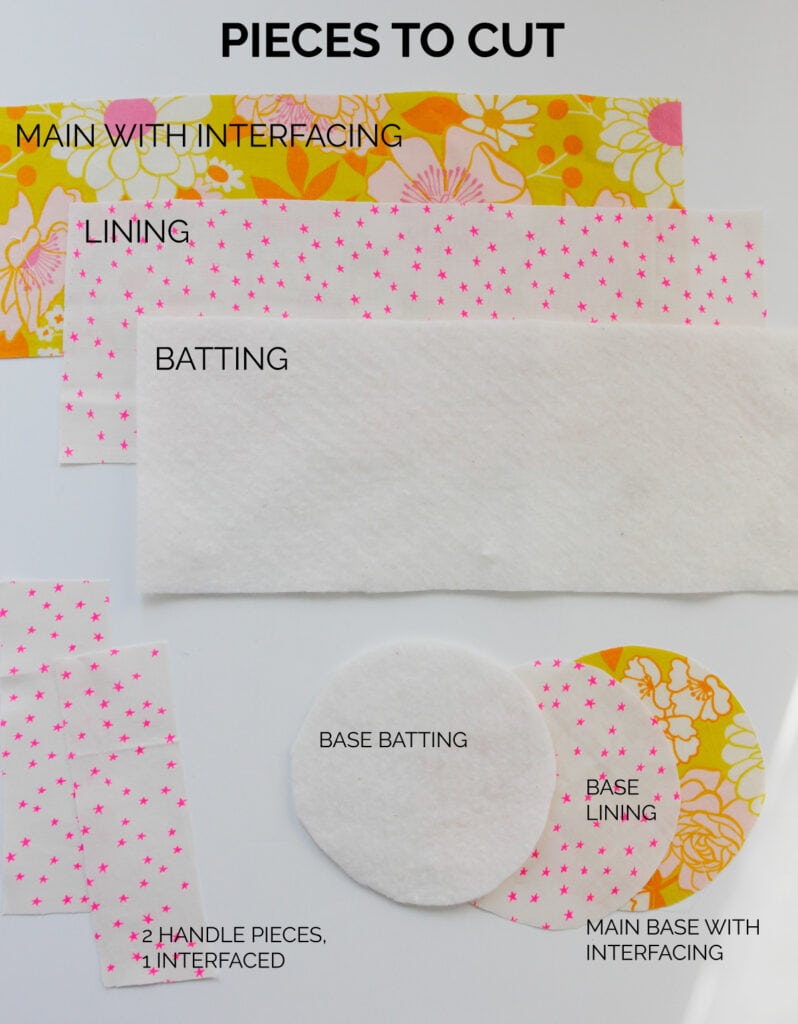
Cut the following pieces:
- 1 lining
- 1 base main/outer fabric
- 1 base lining
- 2 top/bottom
- 2 middle
- 2 sides
- 2 optional handle
For the plain version(no quilt blocks), omit the top/bottom, middle and side pieces and add an additional “lining” piece with outer fabric for the main exterior.
Churn Dash Pieced Panel for Pint Cozy Instructions
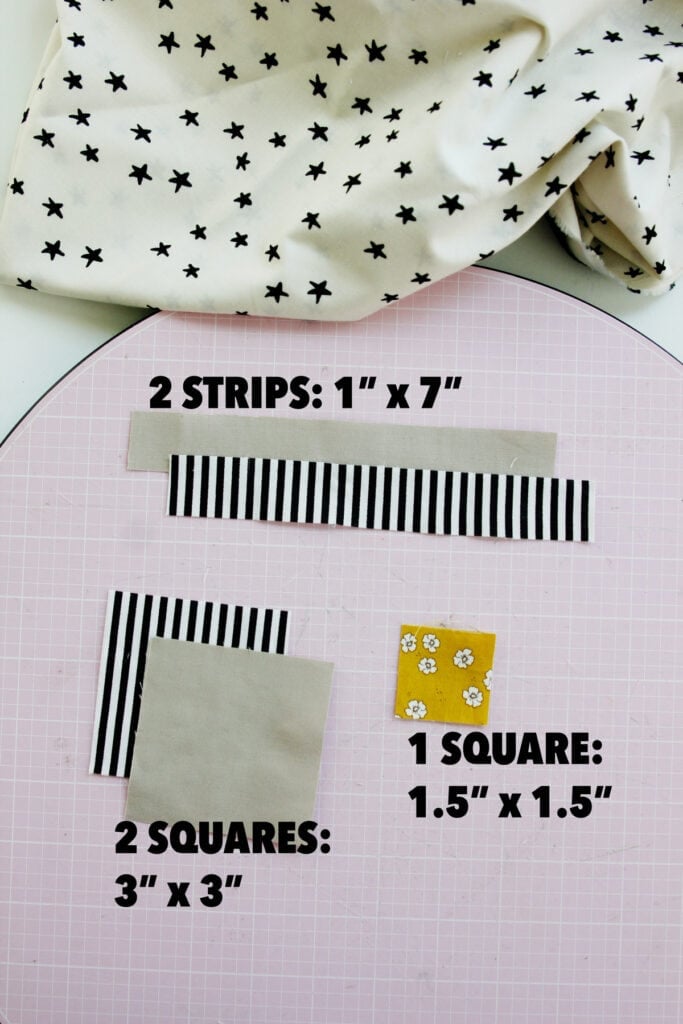
For the churn dash block panel you’ll need 4 different fabrics. 3 colors will be used for the blocks and the other color will be the background of the panel.
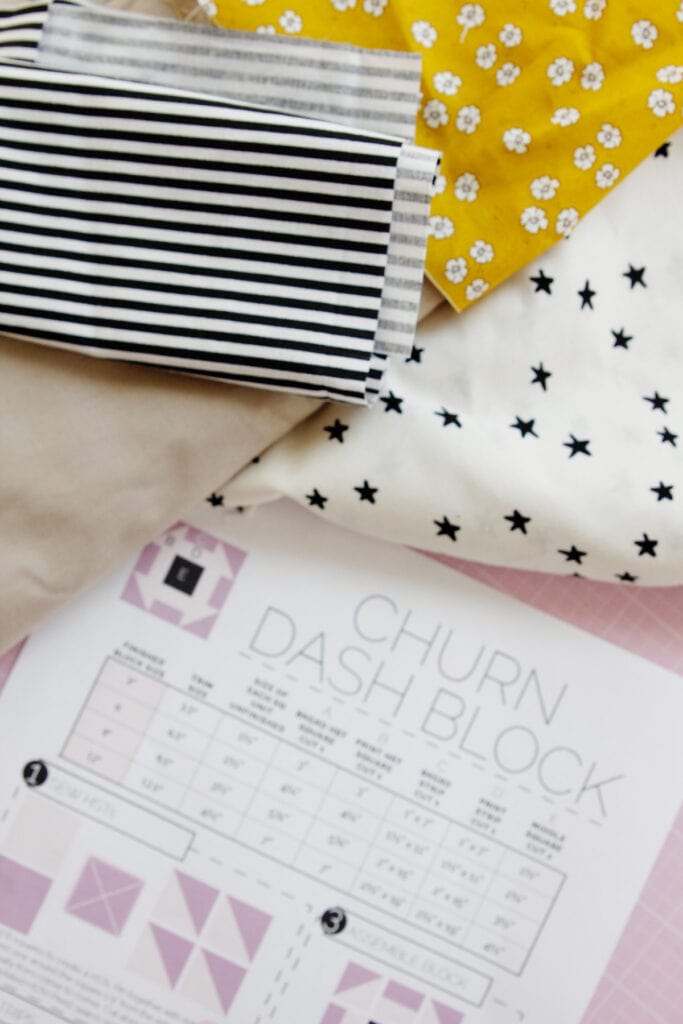
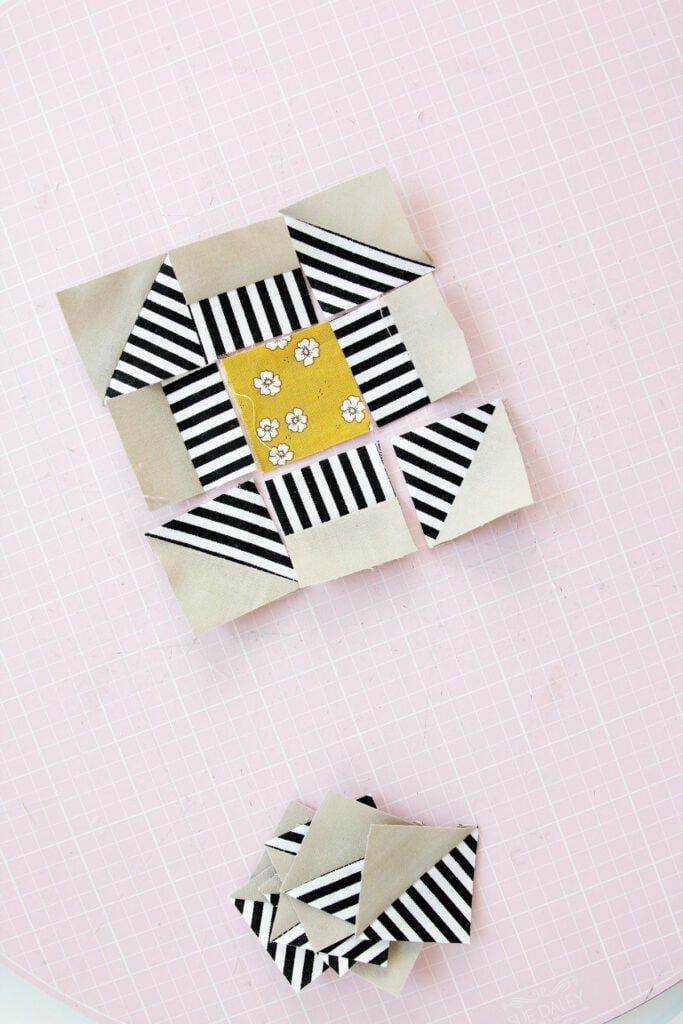
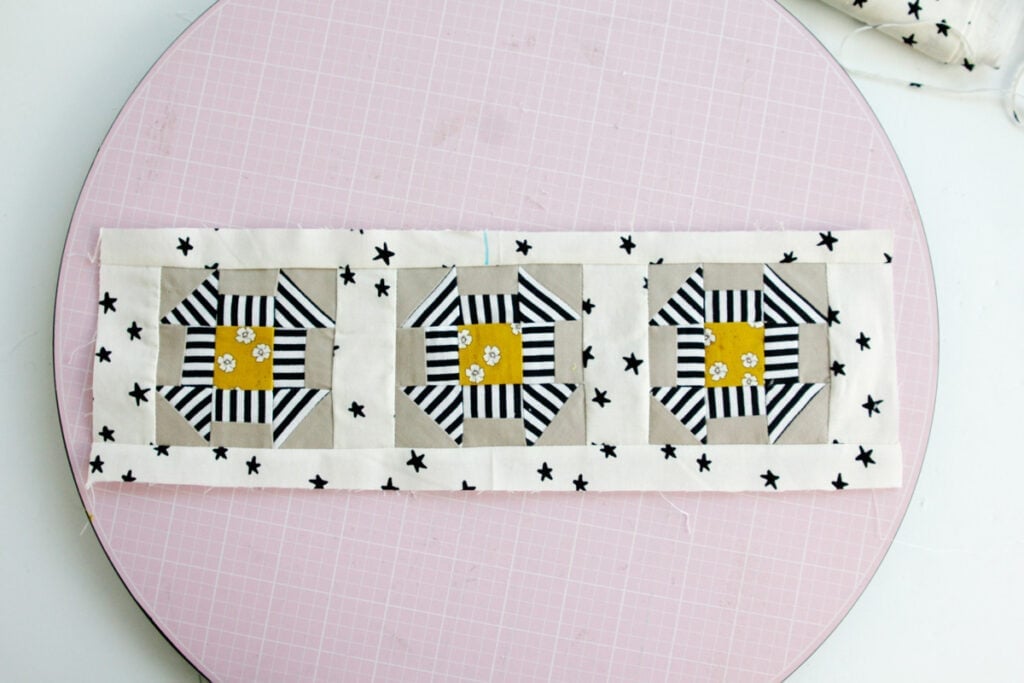
Start by making three 3″ churn dash blocks. They should be about 3.5″ before we sew them into the cozy.
Follow the instructions in my churn dash tutorial with the 3″ measurements right here!
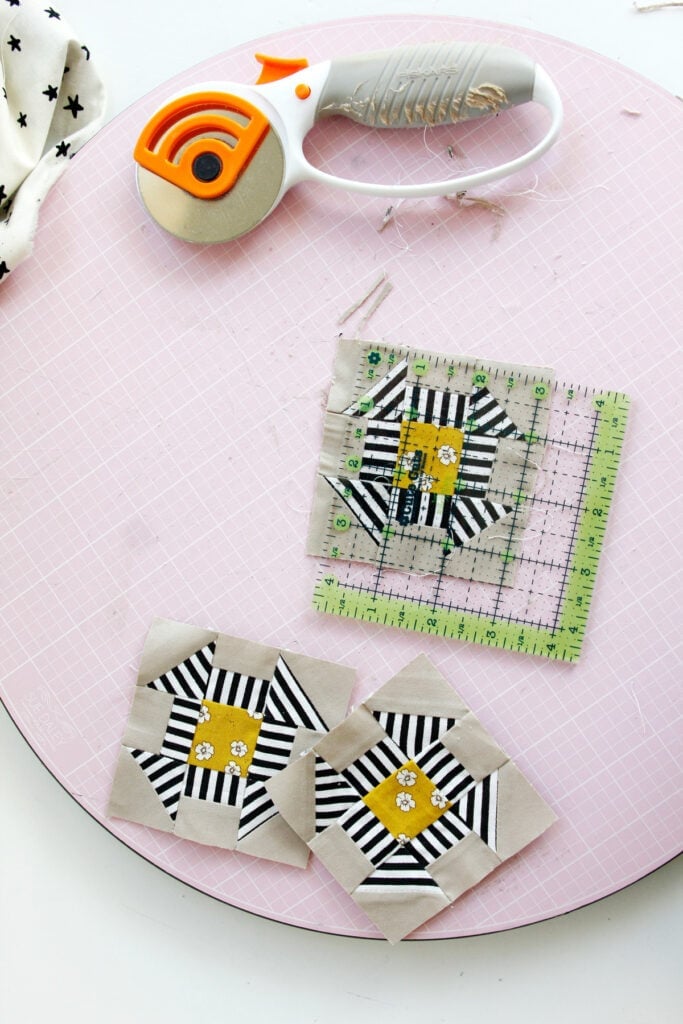
Assemble the patchwork panel. Square up the churn dash blocks so they are 3.5″ square.
Cut 4 side/middle pieces. Sew the quilt blocks together with a middle pieces in between. Then sew the side pieces to the sides. Press seam allowances away from the quilt blocks. Sew the top and bottom pieces on and press seam allowances out.
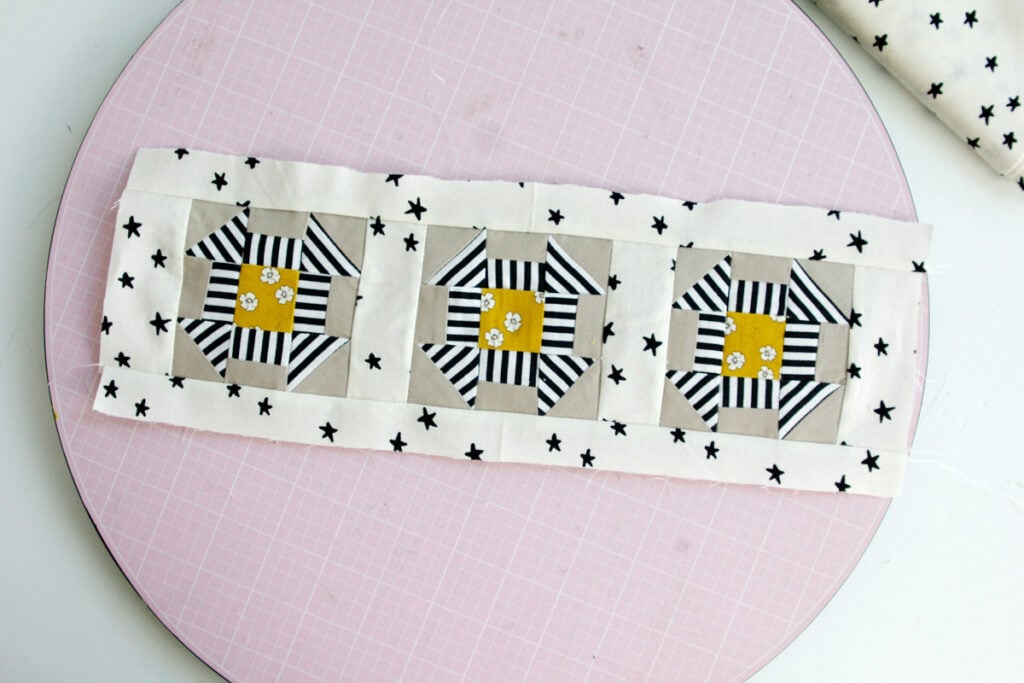
At this point the panel will be too big – when piecing little pieces I find it’s better to go big and trim down than not have enough fabric. Use the lining pattern piece to trim the edges of your main panel.
Now head to the next instructions and use your quilted panel as the main piece(floral) in the tutorial.
Ice Cream Pint & Ninja Creami Sleeve Tutorial
To make a plain cozy, just skip the quilt blocks and cut out 2 linings instead – one will be the outer fabric.
The tutorial below is shown without a patchwork panel but the assembly is the same. The patchwork panel will take the place of the MAIN piece.
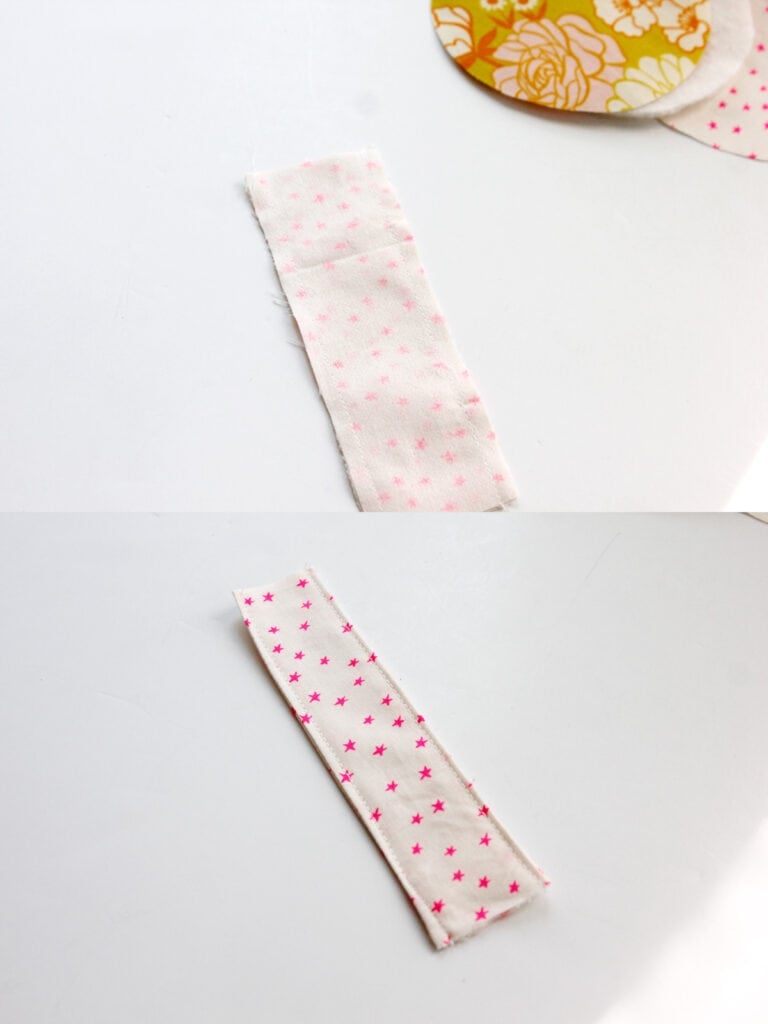
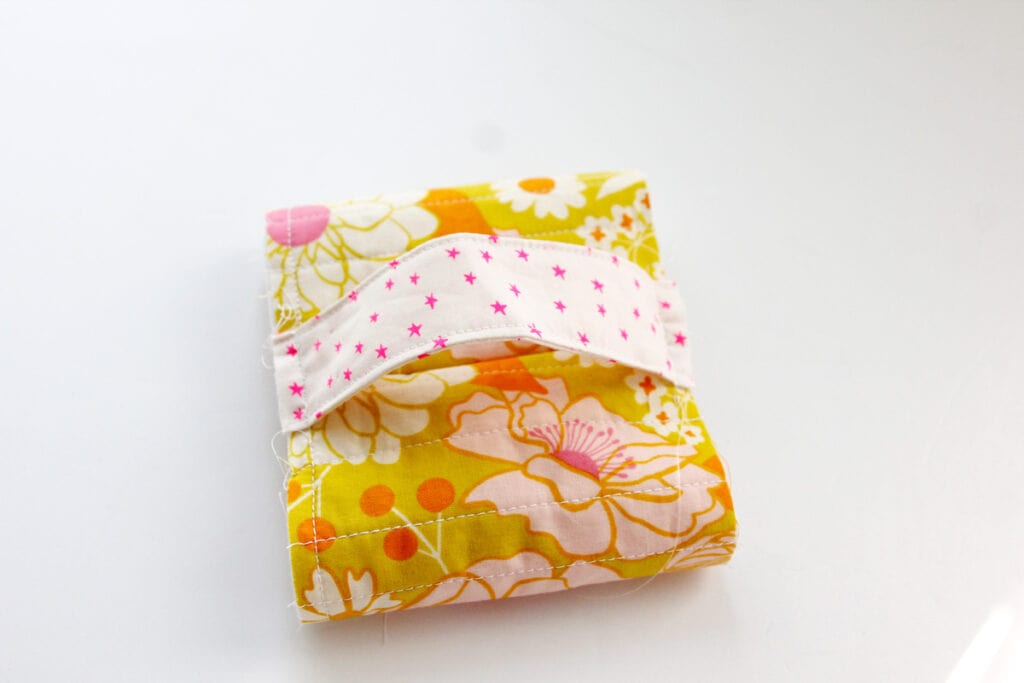
Optional: Make the handle by sewing the two handle pieces together into a tube, along the sides 1/4″ from the edges. Turn rightside out and press. Then topstitch close the both sides.
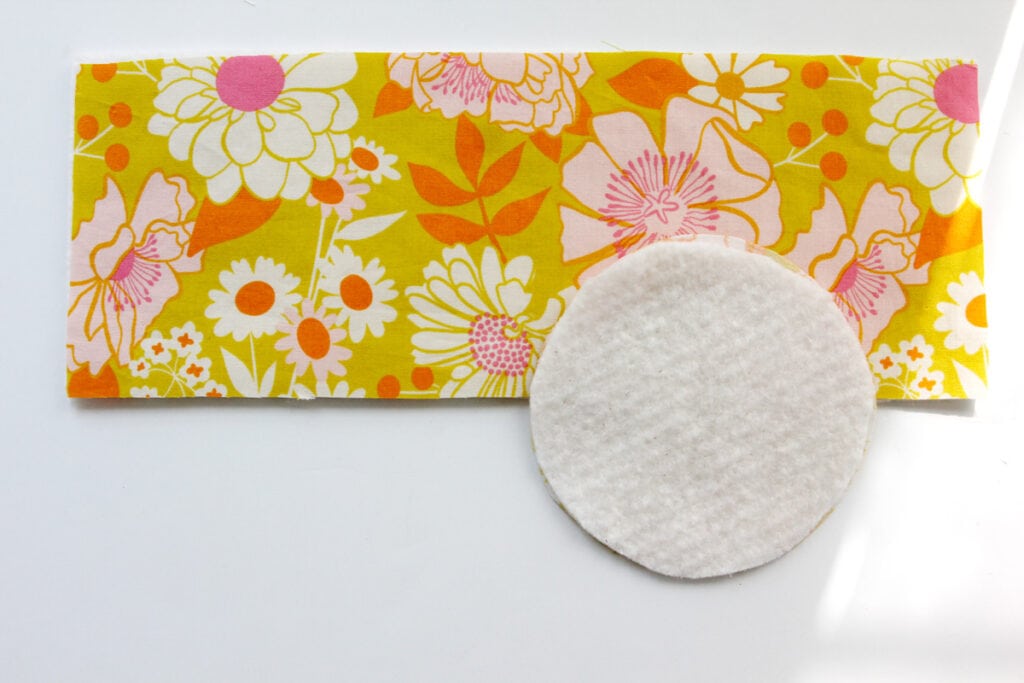
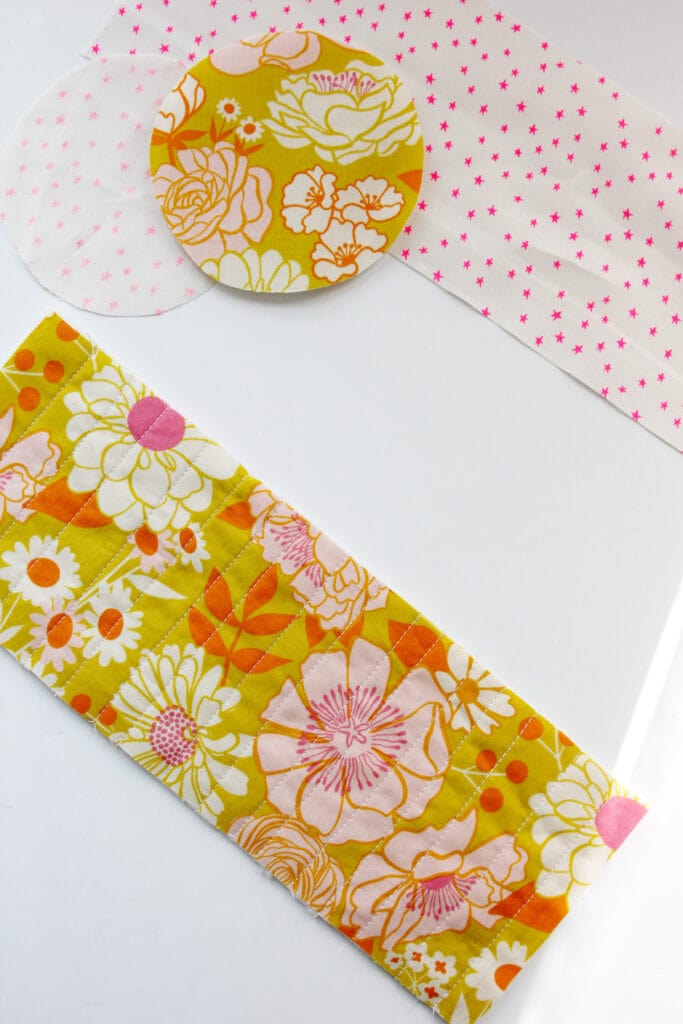
Back the panel with fusible interfacing and then spray baste quilt batting to the back. Also interface and add batting to the main base piece.
If you want to add topstitching, you can do that now. I like to stitch over some of the lines in the patchwork to give it an extra quilty look.
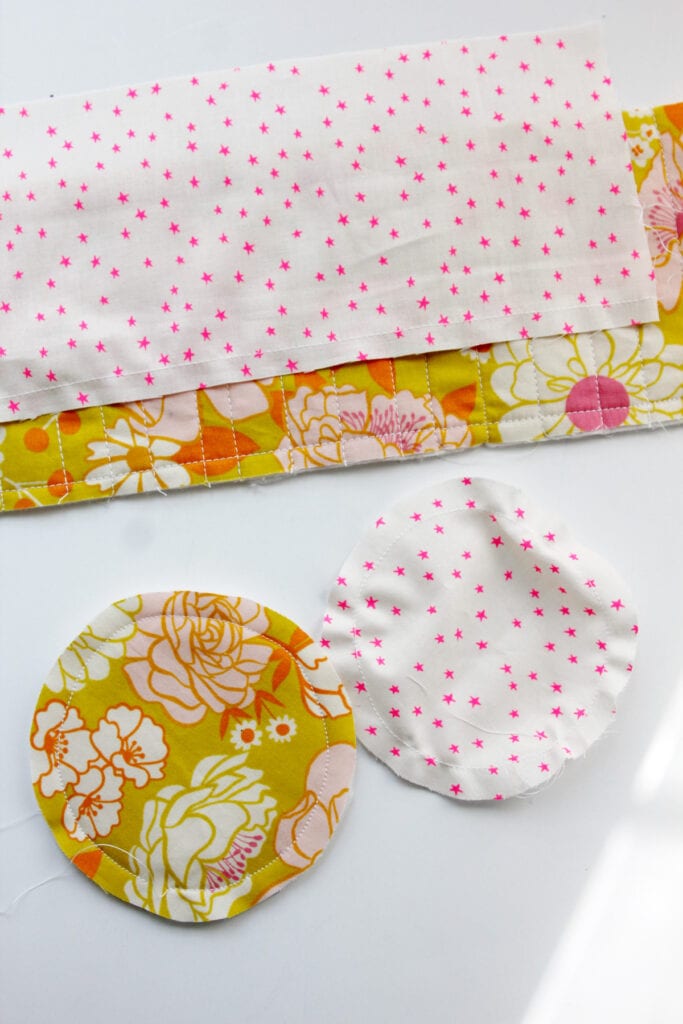
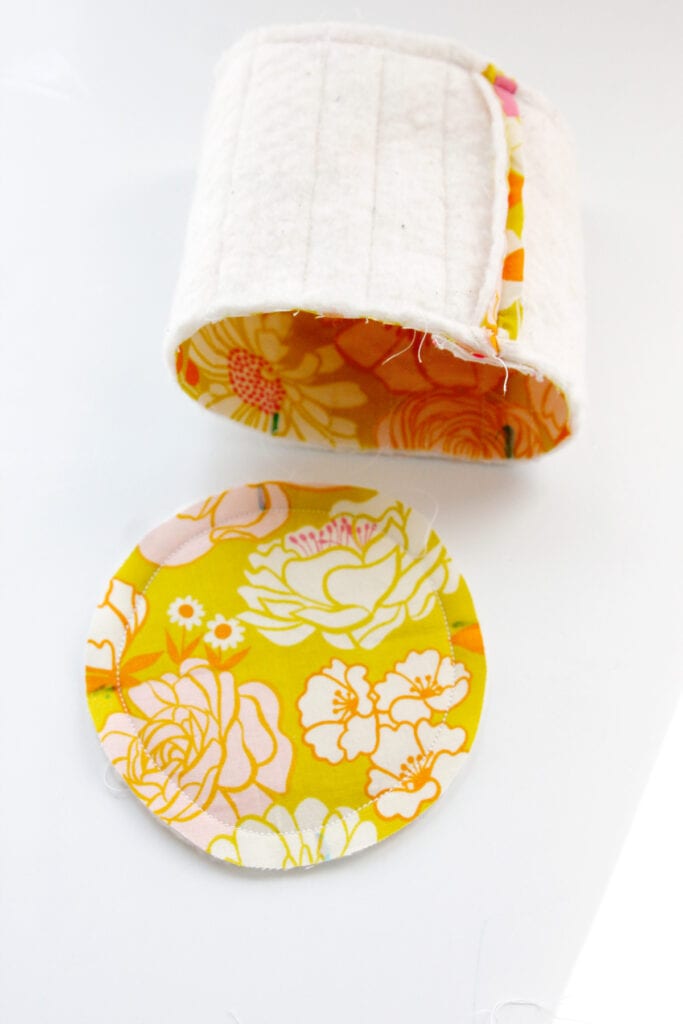
Stay stitch around the base pieces, both outer and lining. Staystitching is regular length stitching (2.5mm) right on the seam allowance, or 3/8″ from the edges. This will help us ease the round base into the main piece of the cozy. Do the same staystitching technique on the bottom of the main and lining pieces. Don’t skip this step – it will really help later!
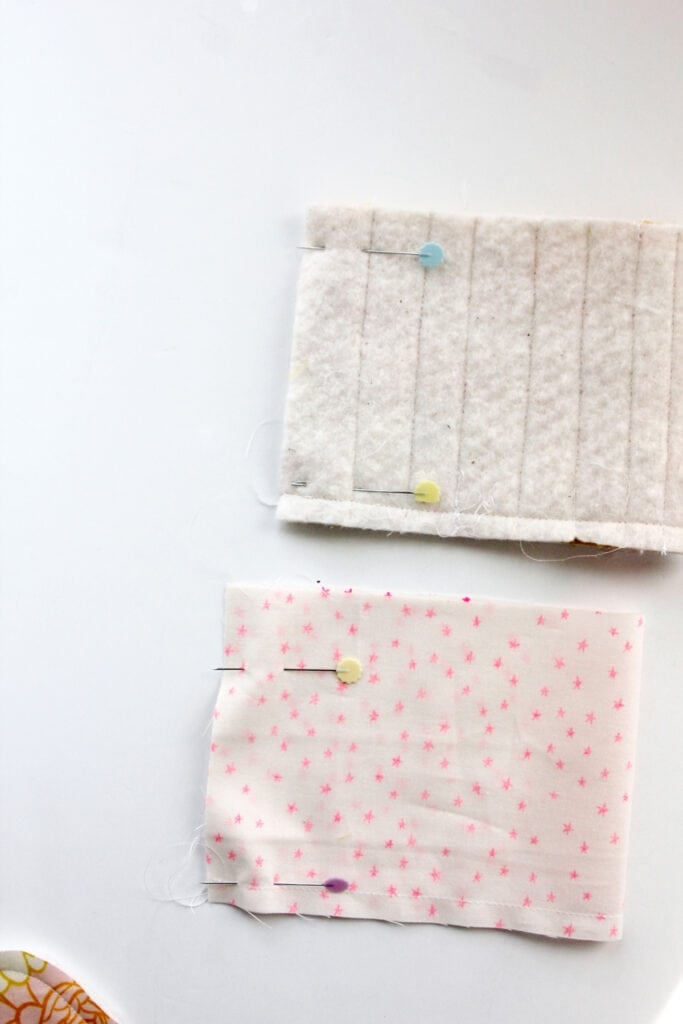
Sew the side seam together. Repeat with the lining piece but leave a small opening about 2″ long in the side seam of the lining – we’ll use this hole to turn the cozy later.
Add the handle
Press the side seam open. Pin the handle centered over the side seam at the top and bottom.
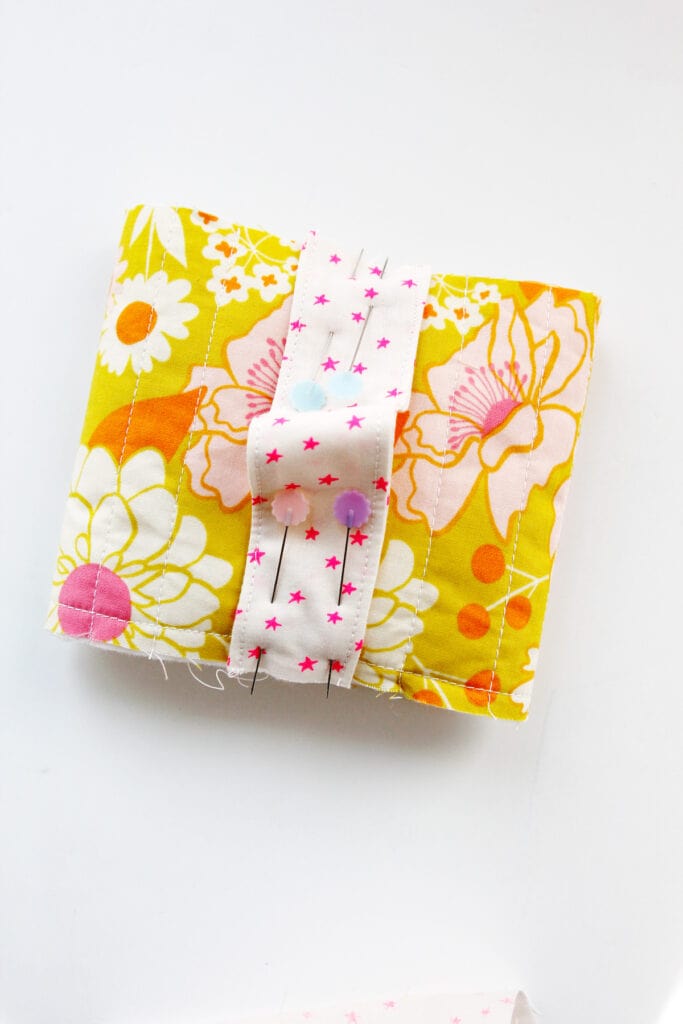
Stitch on to hold.
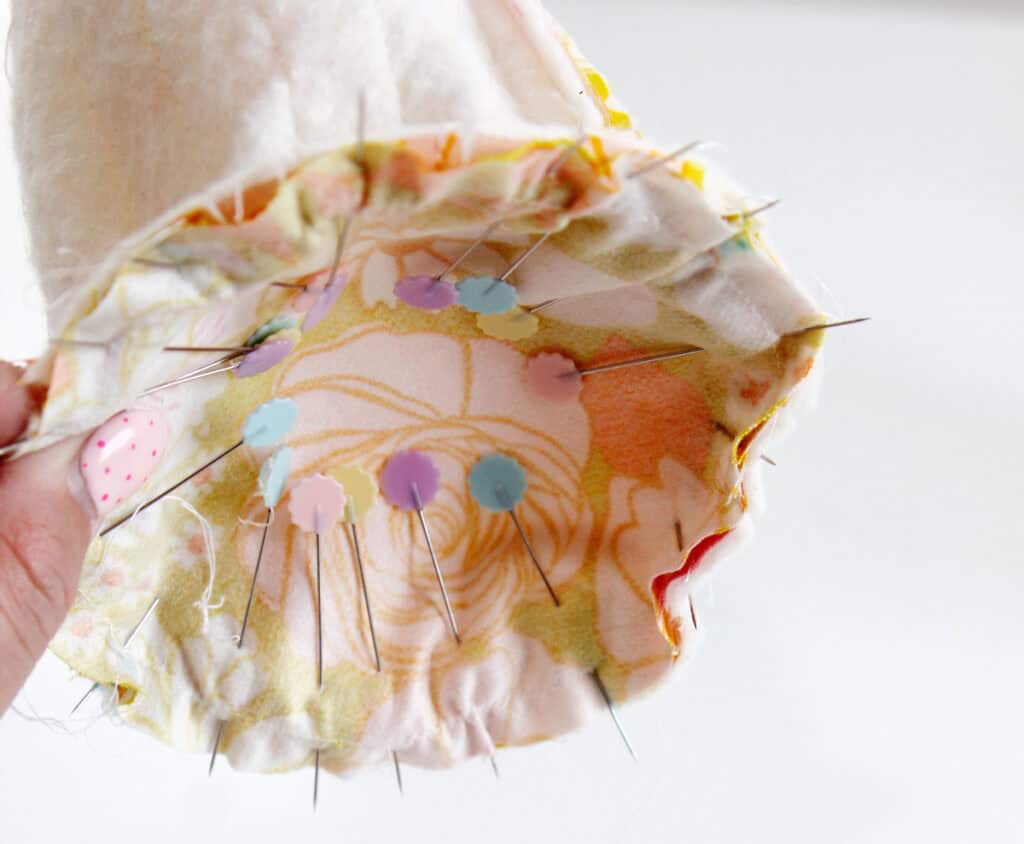
Use your fabric marker to mark the base and the cylinder’s quarter points. Then match them and pin the two pieces together with right sides together.
Pin the main base into the main fabric cylinder with right sides together. Use lots of pins and pull the stay stitching if you need to. You may want to clip the seam allowance before sewing, just keep your clips to about 1/4″ or less, making sure not to pass 3/8″ from the edge because that is where the seam allowance will go.
Repeat with the lining pieces
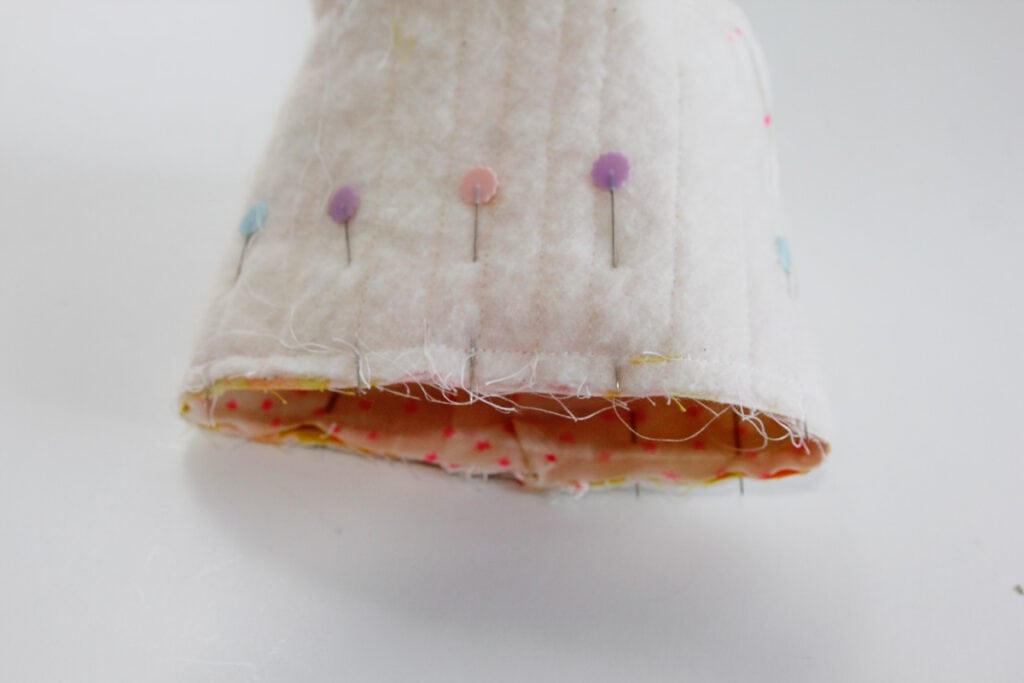
Slip the lining inside the main cozy with right sides together. Match along the top edge and stitch all the way around the cylinder with a 3/8″ seam allowance.
Use the hole you left in the lining to turn right side out. Then sew the lining opening closed with your machine or by hand.
Push the lining into the main and press around the edges. Topstitch along the top edge at 1/8″ and you’re done!