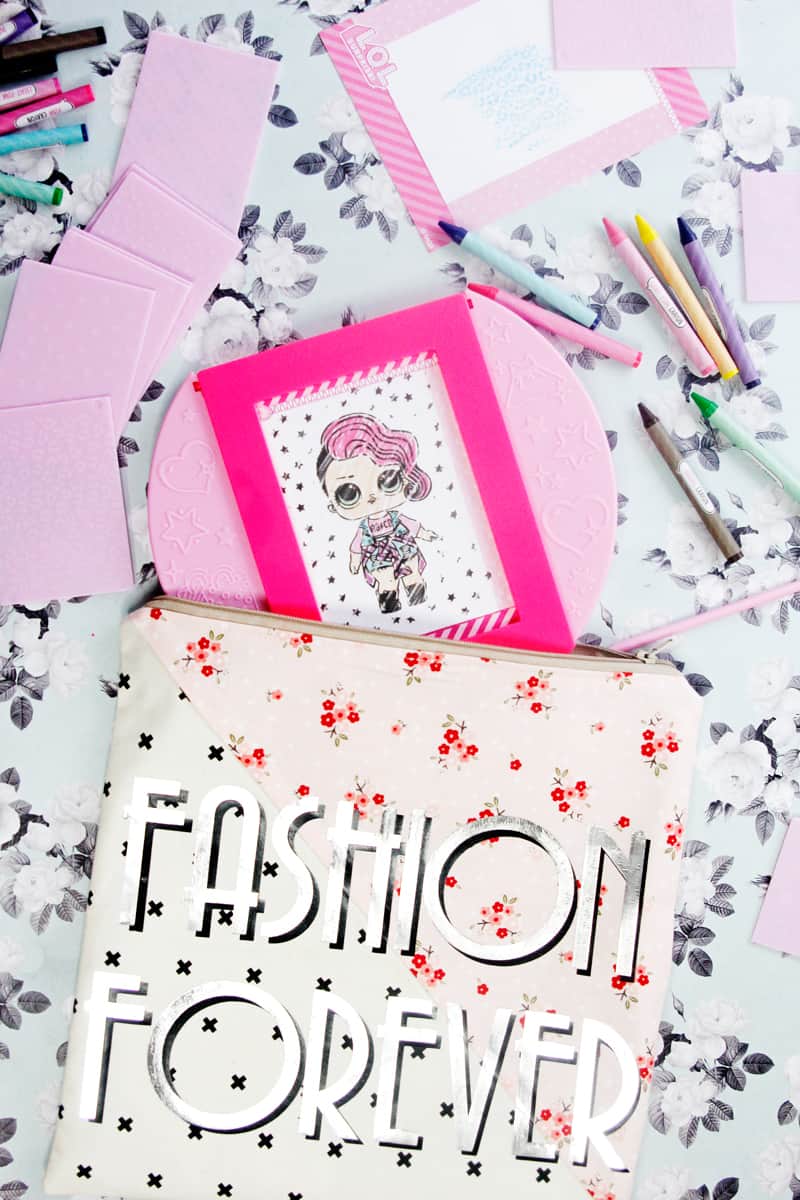
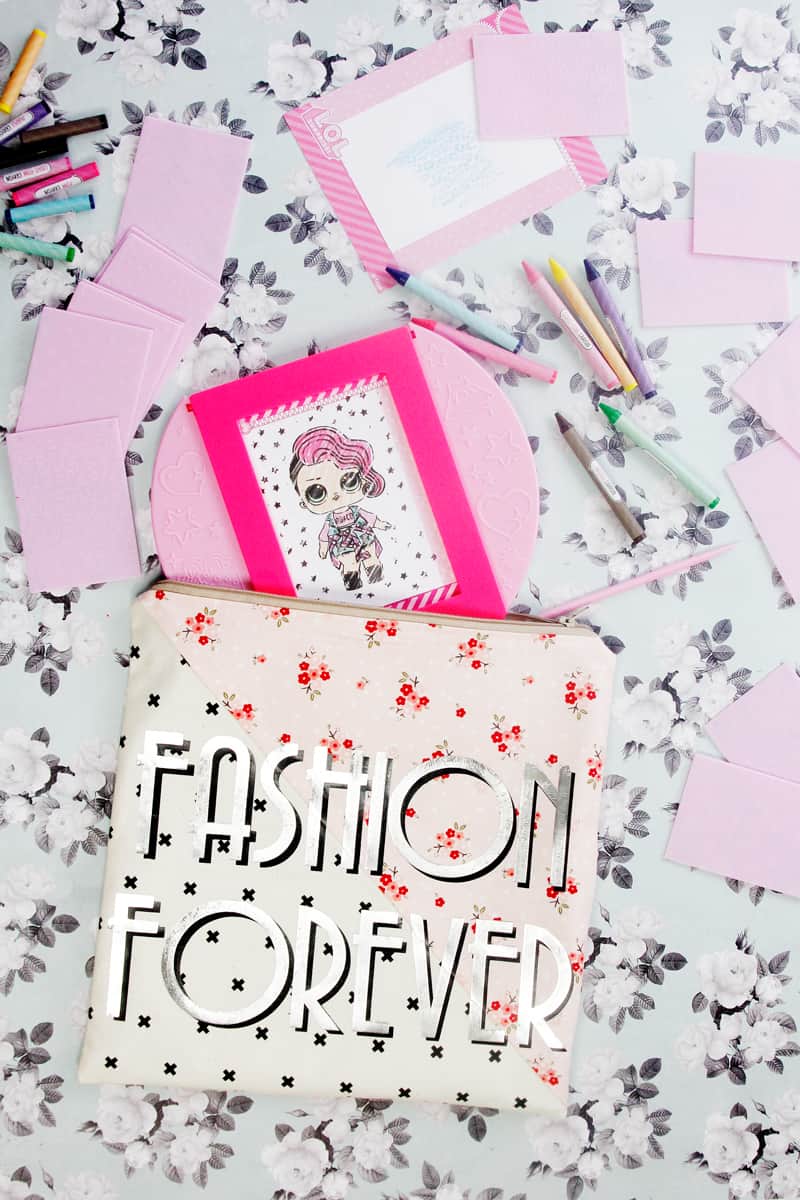
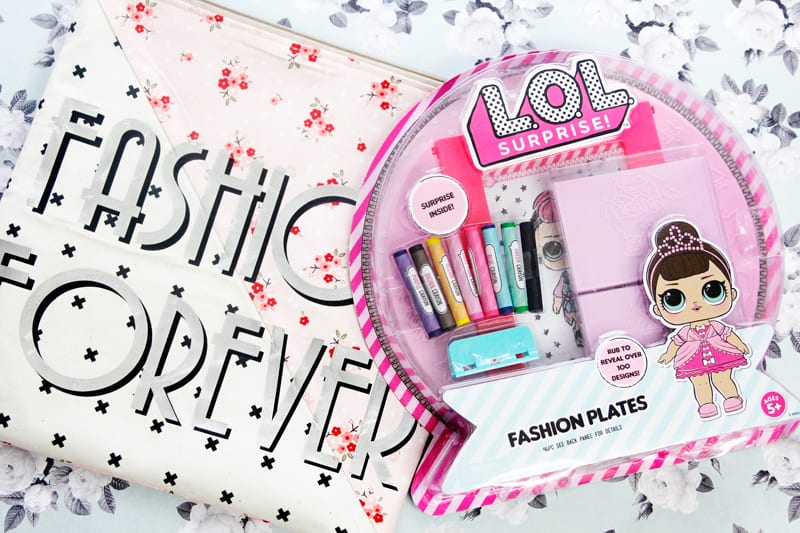
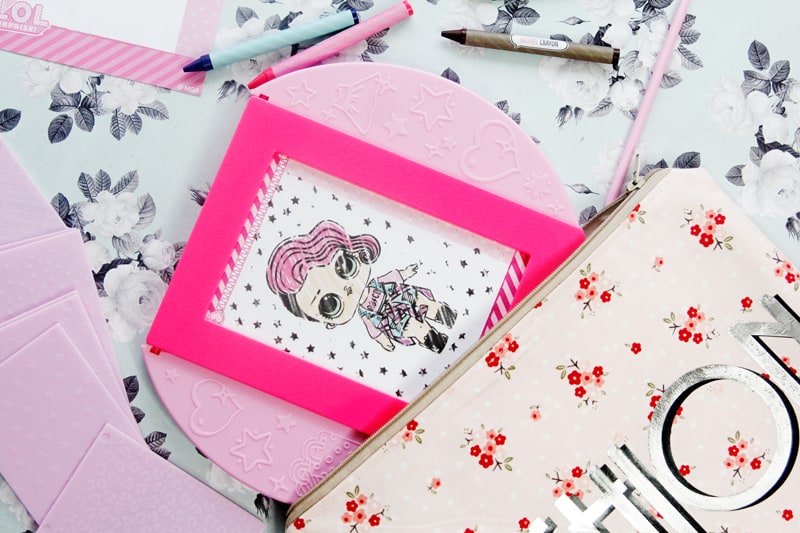
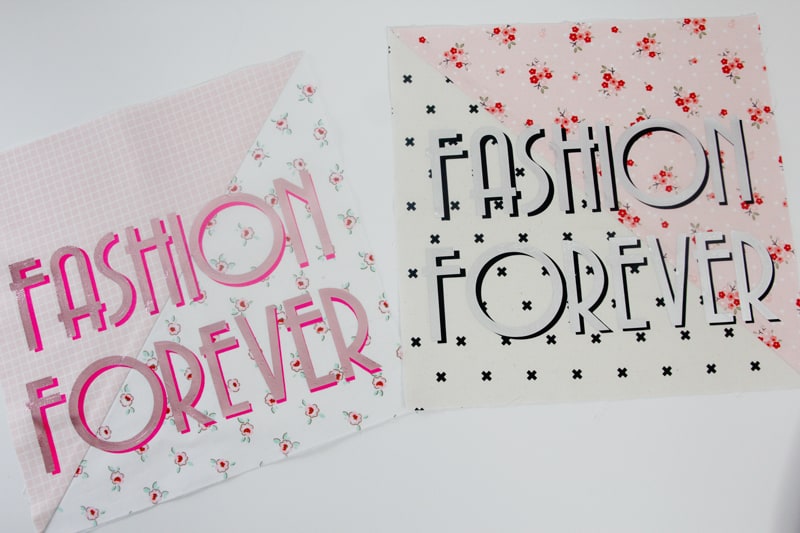
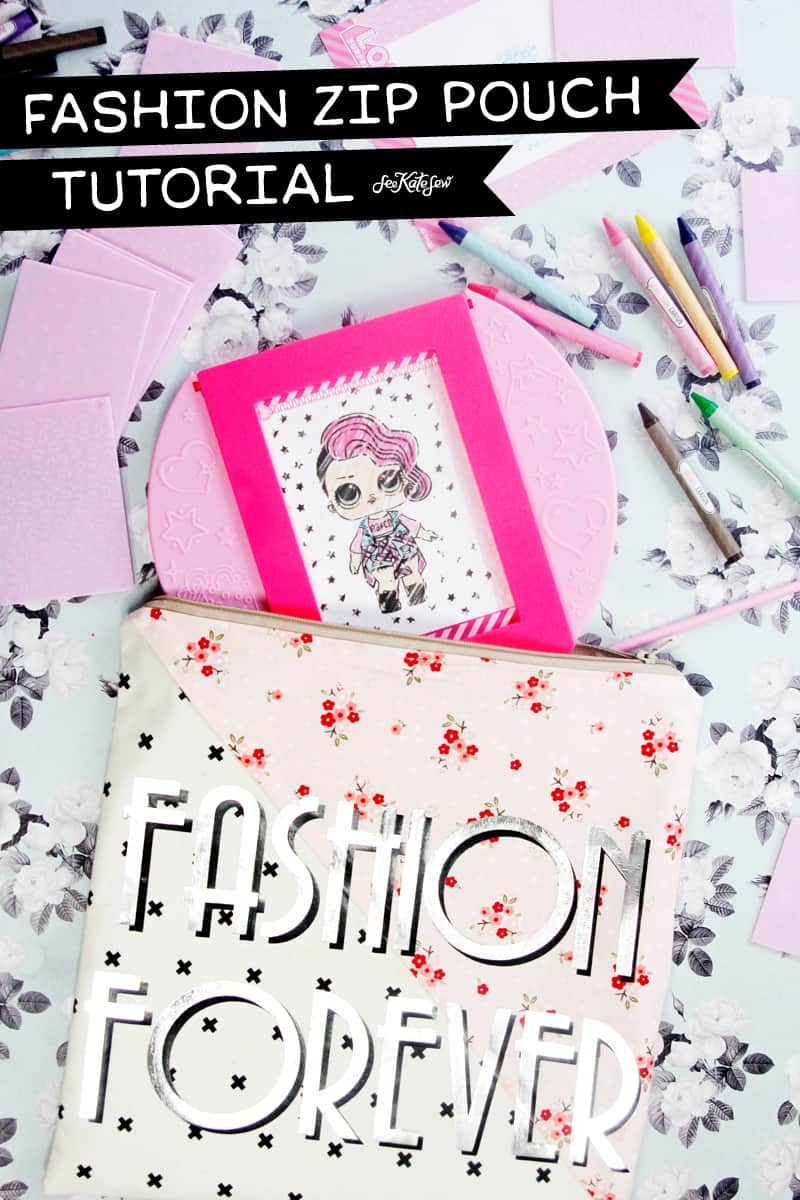
I always try to include at least one creative gift in each kid’s gift pile and this year one of those is a set of fashion plates! These are so fun to use in coloring and so nostalgic too! Sets like these usually get lost all over the house so as part of the gift, I made a zipper pouch big enough to hold everything (and maybe a few extras)! This zipper pouch is made from a few half square triangles. And then I did a 2-layer iron-on spelling out “FASHION FOREVER” with art deco vibes. I love it and think my daughter will too! I love giving a part store-bought and part handmade gift, I called it BUY + DIY! I’ve done a few others in previous years like the Polka Dot Leather Clutch, Zipper Book Clutch and this Nail Polish Kit!
Of course, we got the LOL Surprise fashion plates but I also included a few other good ones in this post! Any of these would be perfect to stick in this half square triangle pouch and gift this year! But I also think the pouch makes a perfect makeup bag, so I might be keeping the second one for myself!
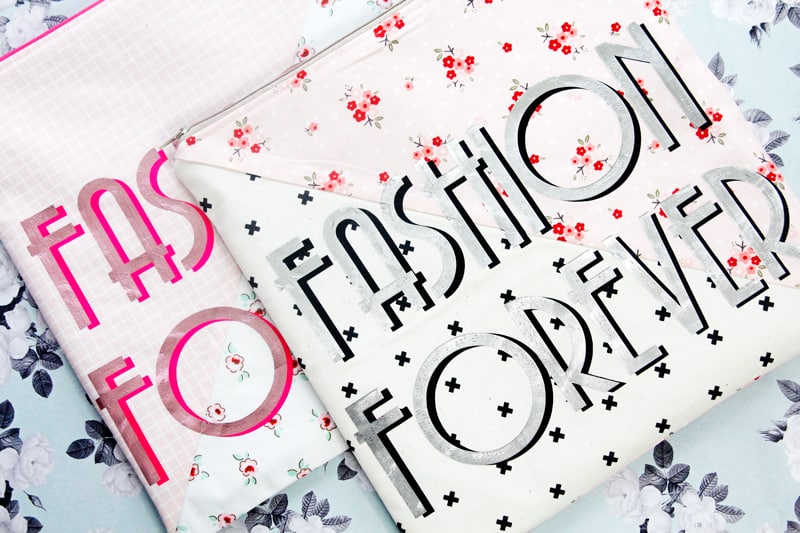
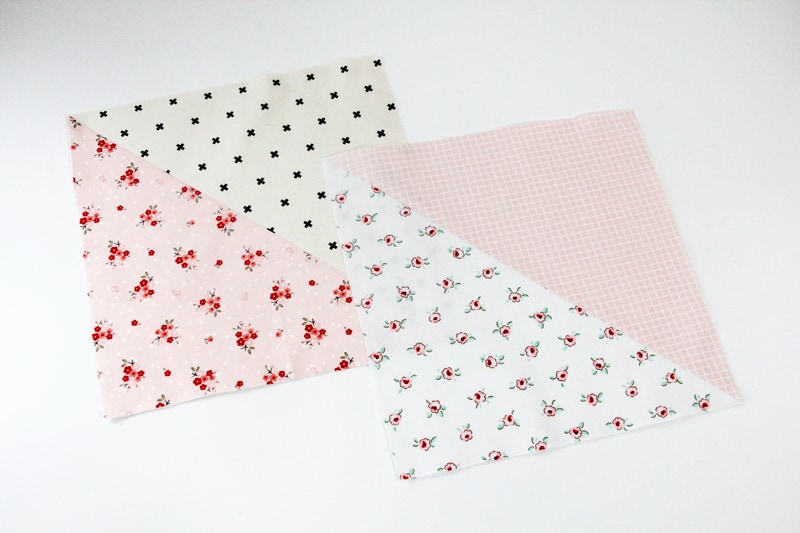
One of my favorite parts about sewing is deciding which fabrics to pair together! I love going for unexpected combinations sometimes and HSTs are the easiest way to pair 2 fabrics together!
Materials//
-1/3 yard each of different fabrics (2 for the outside and 1 for lining pieces)
–lightweight fusible interfacing
–Iron-on Vinyl
–Cricut EasyPress
–Fashion Forever design in DS
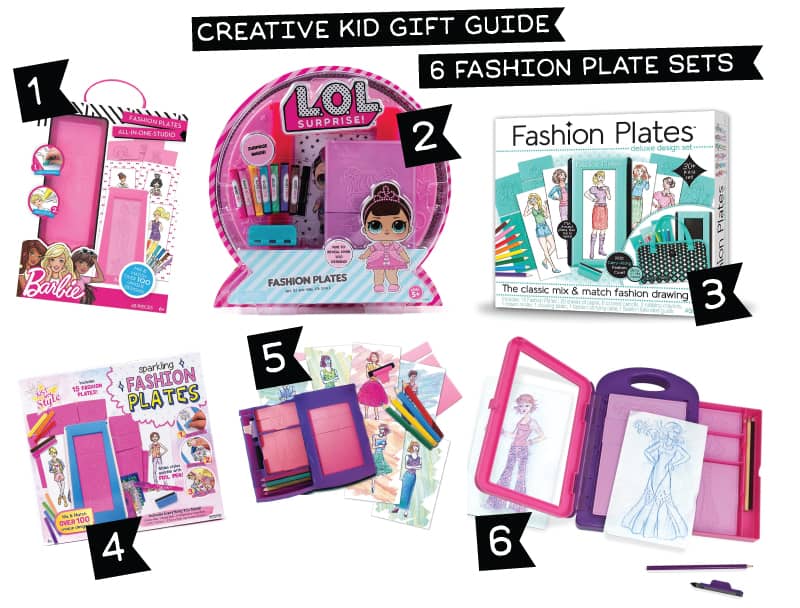
There are lots of fashion plate options to stuff inside this cute pouch! Here are my favorites!
- Barbie Fashion Plates
- LOL Surprise Fashion Plates
- Kahootz Fashion Plates
- Just My Style Fashion Plates
- Cra-Z-Art Fashion Designer
- Melissa and Doug Fashion Design Art Kit
Pouch instructions//
Follow the HST tutorial in this post and to make them-starting with 12″ squares of fabric.You’ll end up with 2 HSTs to use in this tutorial! Fuse interfacing to the back of both layers.
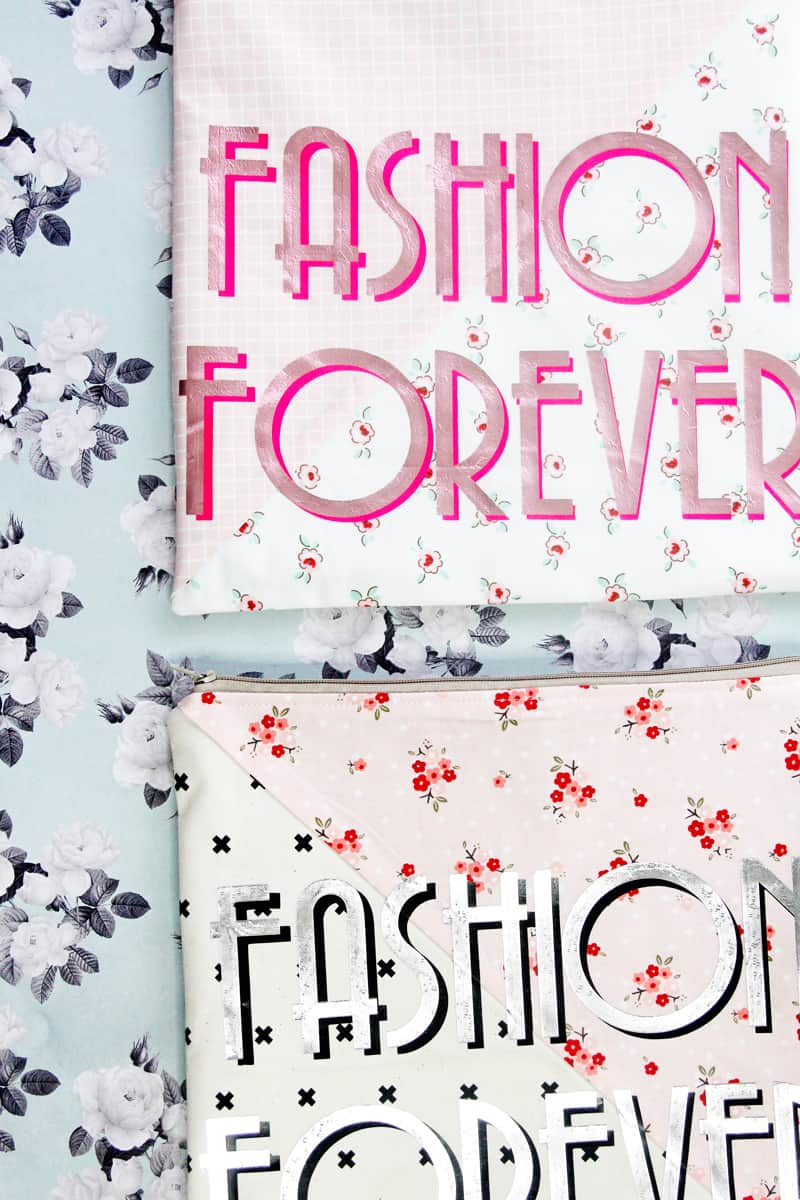
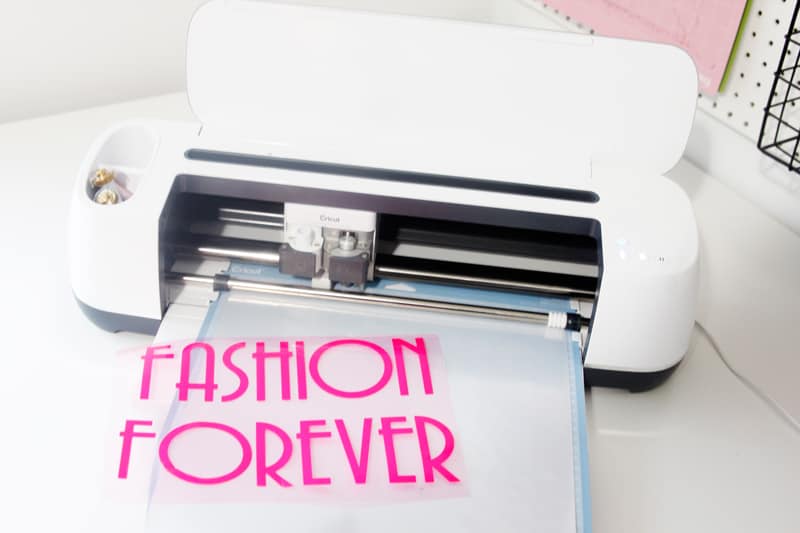
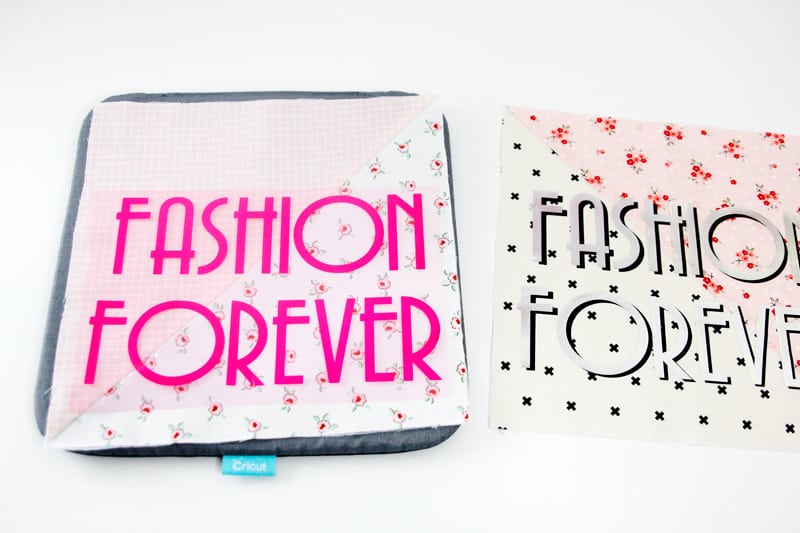
Cut the FASHION FOREVER design out with 2 different iron-on vinyls. I love a bold one for the background and a foil for the foreground, but really any combo will do!
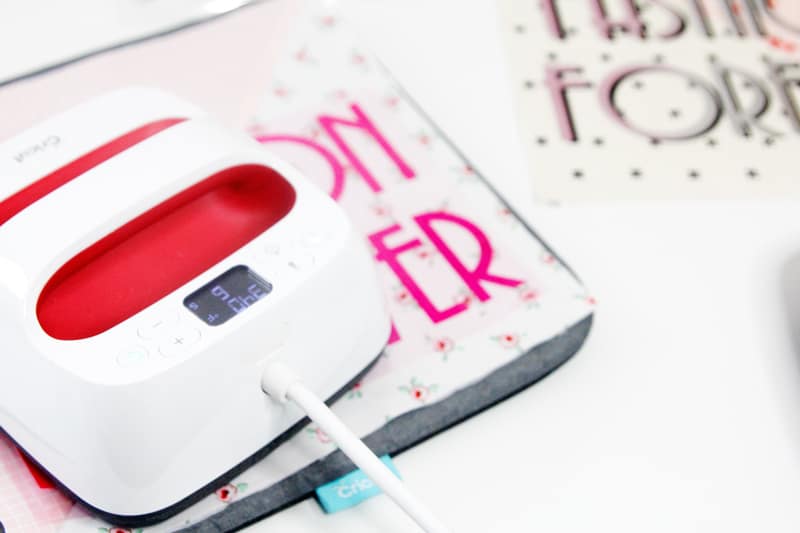
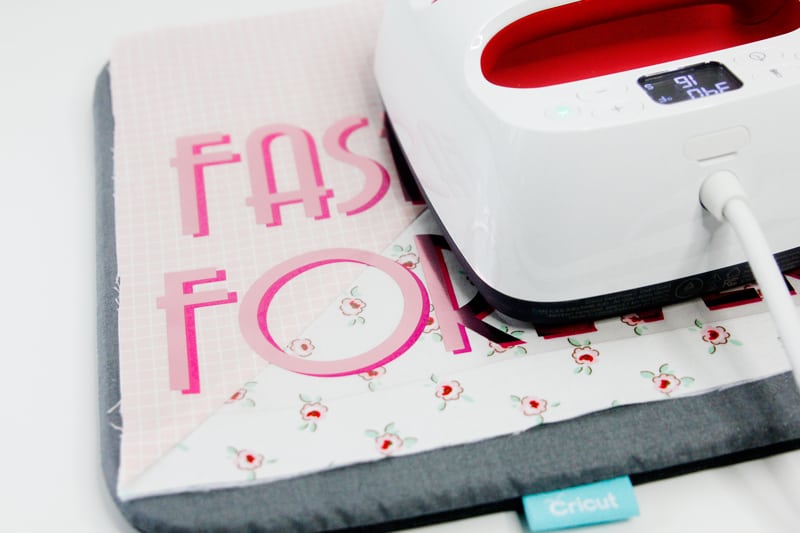
Layering iron-on is super easy! Just iron-on one layer and let it cool.
Then iron-on the second layer! I offset the top layer about 1/8-1/4″ to give it a shaded look.

