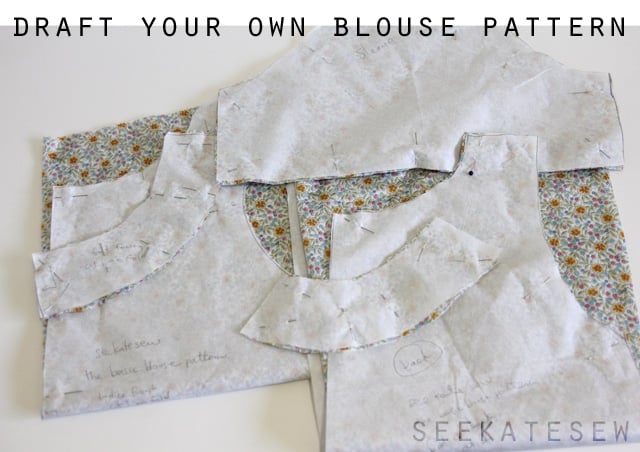
I love making blouses for myself and I often share them here with only a partial tutorial. I tend to say “start with a basic blouse pattern” vaguely which doesn’t really help you! So I thought I’d share how I draft my basic blouse patterns. This basic blouse is the basis for all of my loose fitting blouses. I love the silhouette and love that these look really cute belted, too!
Here are some of the blouses I’ve made with this basic pattern drafting method:
The Posey Blouse
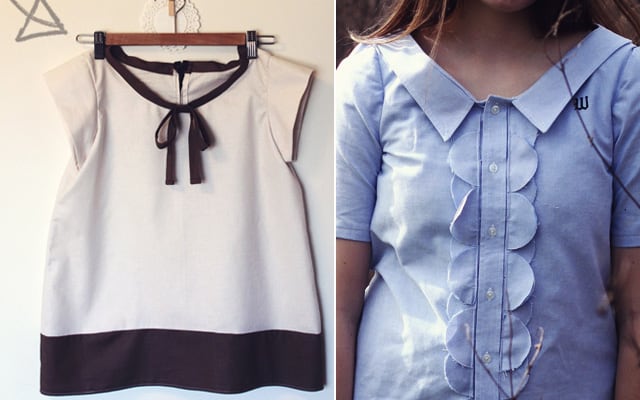
Bias Tape Bow Neckline Blouse
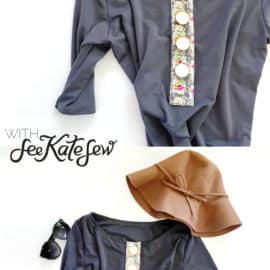
Scallop Front Men’s shirt refashion
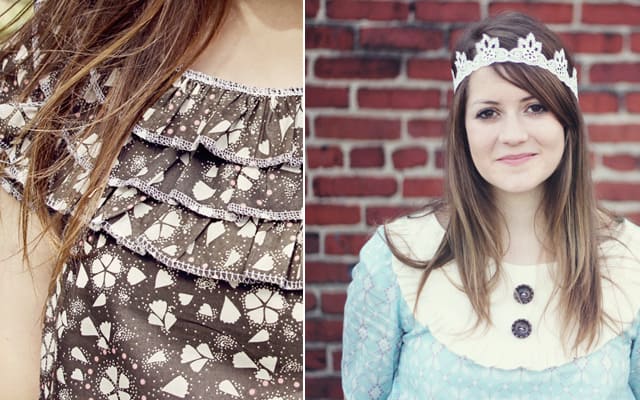
Ruffle Yoke Blouse

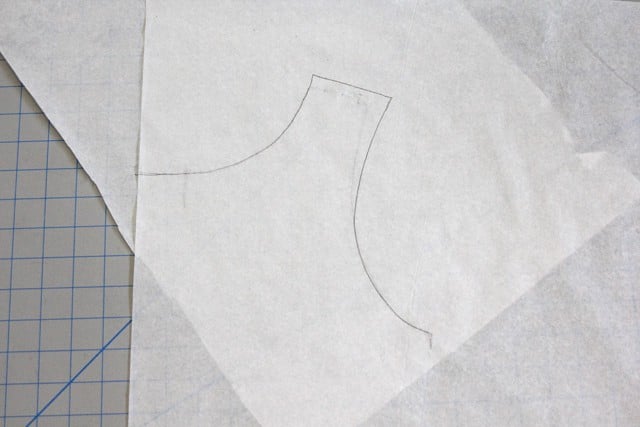
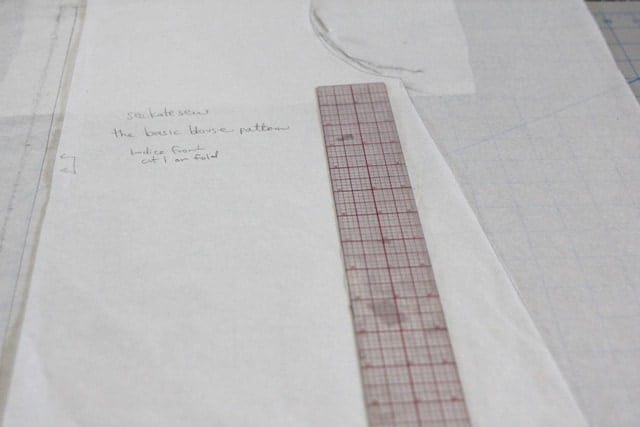
Then use a ruler to draw out the side seam.

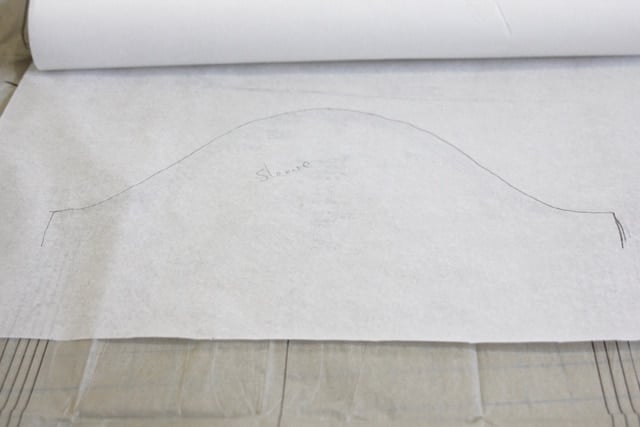
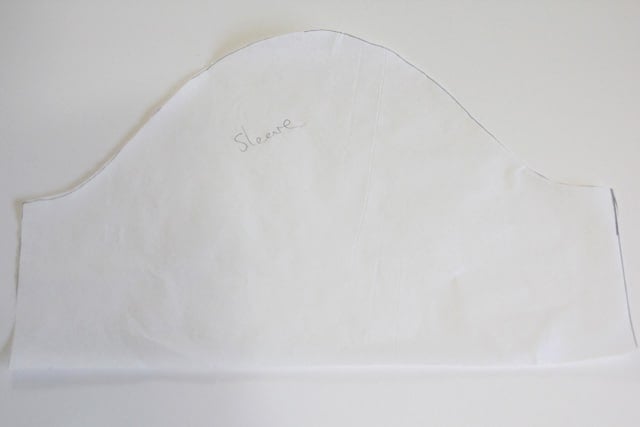
You really only need to trace the top curve, which is the tricky part. You can make the sleeve as long or as short as you want. I labeled this piece “sleeve”. Isn’t that cute! You can probably tell that it’s a sleeve, haha. :)
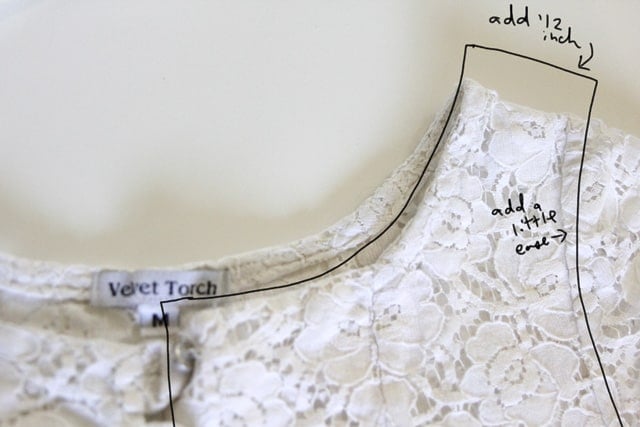
The only thing left is facings. Here’s my tutorial on drafting and sewing facings.
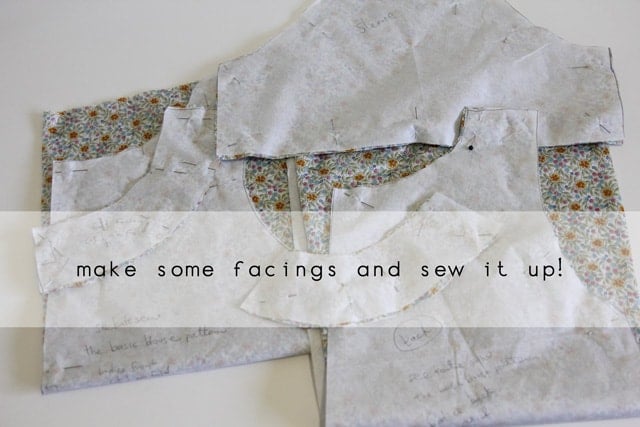
And then you’re done! BAM! Your very own blouse pattern made for you! Now you can make any sort of blouse you want! I’ll be building on this pattern in the next few months. I’ll show you how to make different blouses all from the same exact pattern. It will be so fun! You can also transfer this basic pattern to a thicker manilla paper or kraft paper to keep it nice and neat for you. Then you can trace another one each time you need to use it.
Now go make yourself a ruffled posey blouse, or maybe a ruffle yoke blouse…
Or switch it up with a bias tape bow neckline or scallops down the front!
go make a blouse!


Such a useful tutorial. Thanks Kate!
Thanks for this post. This is very helpful.
I really like the blouse you made with the scallops. Very pretty :)
http://mysticmandy.blogspot.com
cute…maybe i will (go make a blouse)
so helpful–I would have never known how to do this on my own!
-Alyssa
http://glossymusings.com/
For smaller pattern making I recycle paper grocery bags. they are alot bigger when taken apart, and they are sturdy pattern pieces when all said and done.
awesome idea!
This is great, thanks. Very handy to know.
Thanks for the tutorial. :) I was wondering when you are going to announce the winner for the eShakti dress giveaway that ended May 31st? I went back to the post and didn’t see any winners announced or anything. Thanks, Megan from Penguin Says Hi blog or equest2005@woh.rr.com
does the sleeve end up fitting? for some reason i always thought that the combined measurement of bodice and back sleeve curved needed to equal the sleeve curve.
i’ve never taken the time to really draft though.
does the sleeve fit? for some reason i thought that the combined measurement of bodice and back sleeve curve needed to equal the actual sleeve curve? if that makes sense. i have yet to draft a pattern so just wondering.
Hey Tara! Yeah i know what you mean! I always ease-stitch the curve of my sleeves since it’s cut on all sorts of angles and tends to stretch out. I’m pretty sure the combined measurements are ABOUT equal but I also think there is a little ease worked into the curve of the sleeve so it fits better. This method usually works for me, but you might have to play with it a little!
Thanks so much for this tutorial!! I’ve been wanting to make a shirt lately but don’t use patterns and had a fear of sewing sleeves. This was a huge help! I didn’t follow it exactly (I’m not a really precise sewer) but it looked so easy and gave me the confidence to sew my first shirt ever. It worked. THANKS! See the finished blouse here: http://yayimadeit.blogspot.com/2012/06/handmade-shirt-how-to-sew-sleeves.html
Hi! I’m a pretty much novice seamstress, so I’m wondering whether the back piece should be in two parts or one (basically, should the back-pattern be cut on a fold)?
I love this tutorial! But since the fabric isn’t stretchy, do you have to add a zipper on one side of the blouse in order to get into it? Thank you!