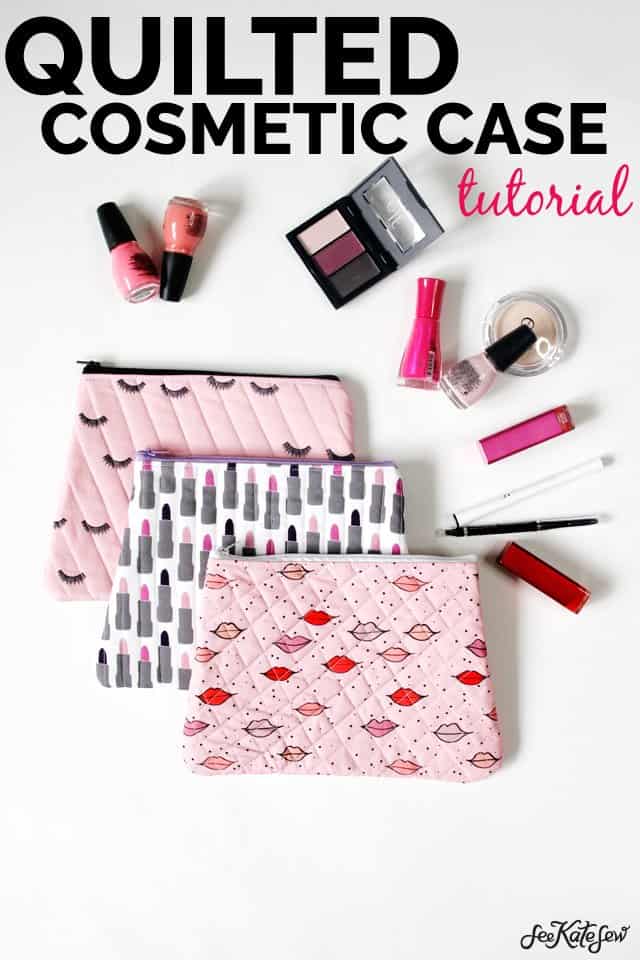
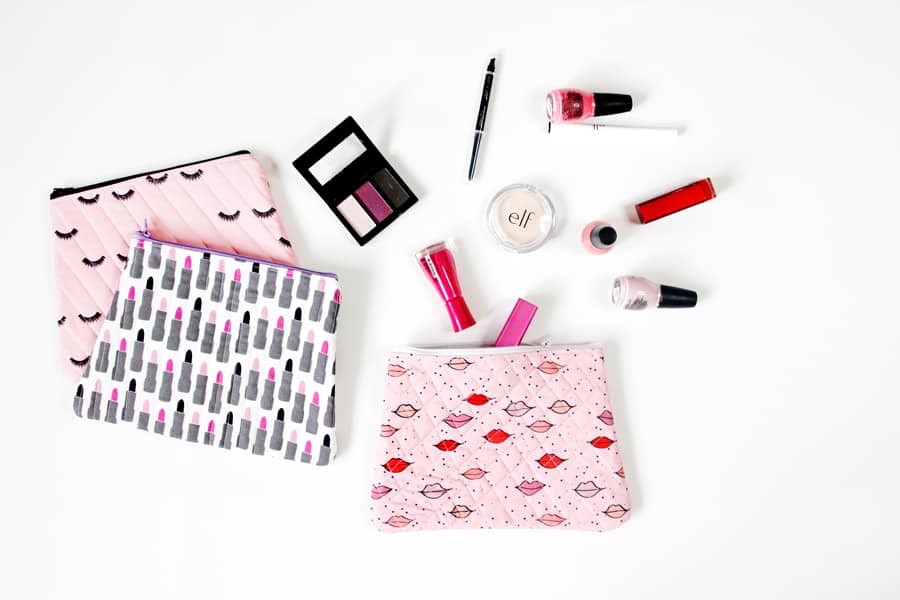
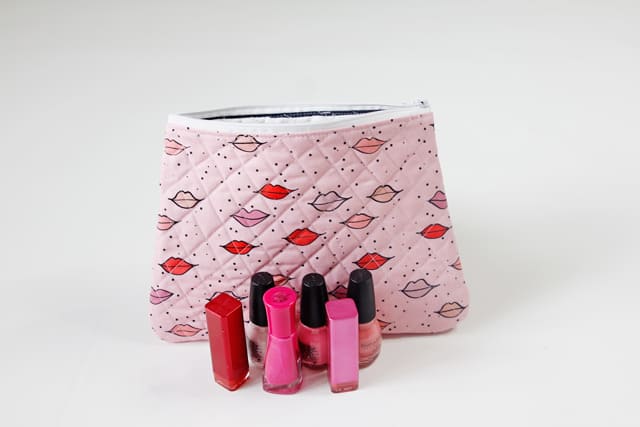
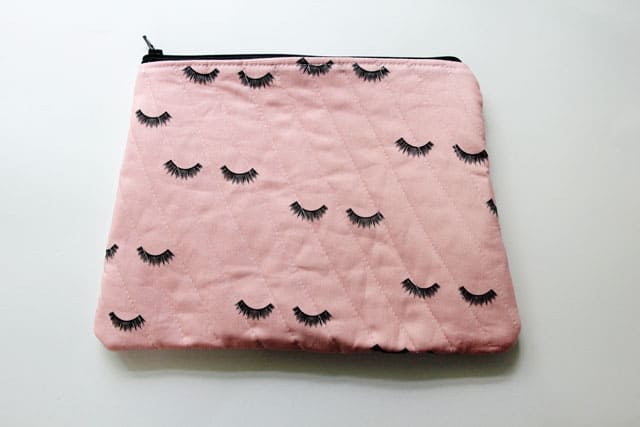
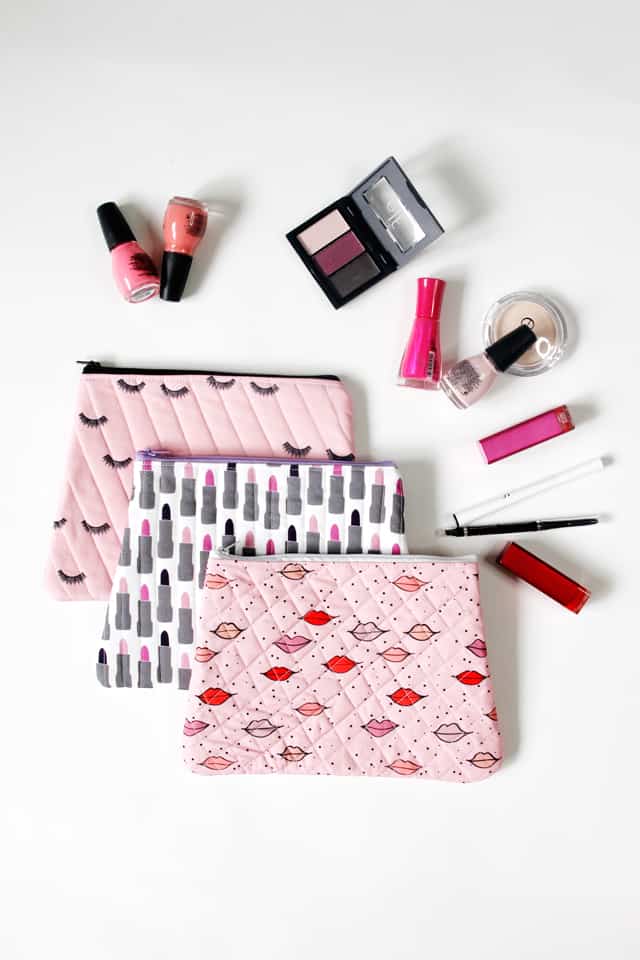
Kiss Me Kate Fabric is shipping NOW! I almost named this fabric line Makeup Bag because I thought it would be a fun way to describe it and also it’s perfect for making makeup bags! So here’s a makeup bag tutorial – a quilted cosmetic bag! The quilting on this cosmetic bag is great for storing more delicate bottles – like glass nail polish bottles – and also great for travel. The quilting is done with topstitching and is really fun to create. This post includes the quilted cosmetic bag tutorial and a printable pattern so you can get the size just right. You can use any fabric for this, but the lashes, lipstick tubes and lips are my favorite for this project!
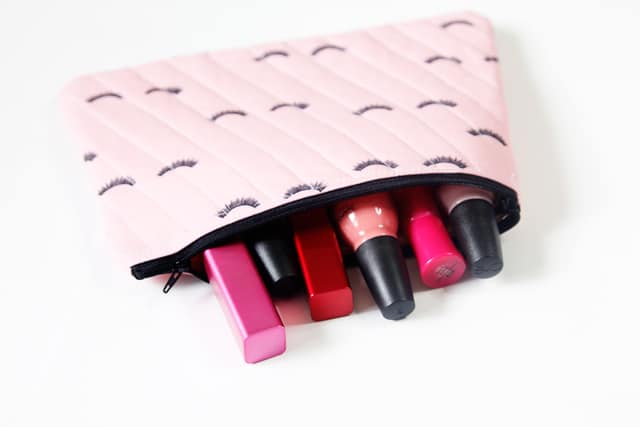
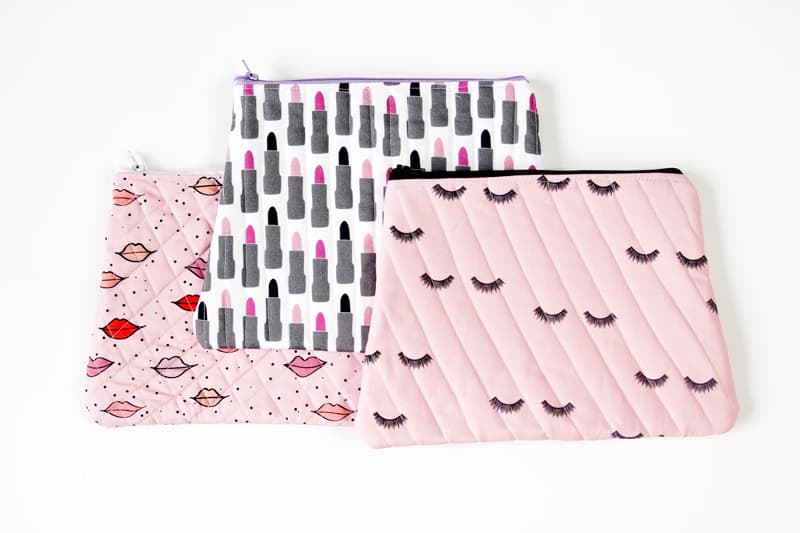
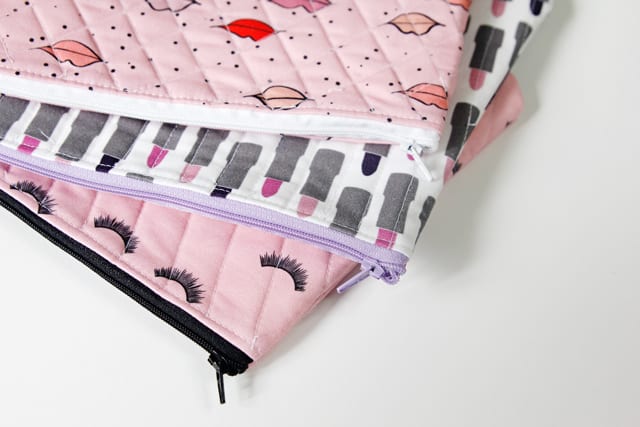
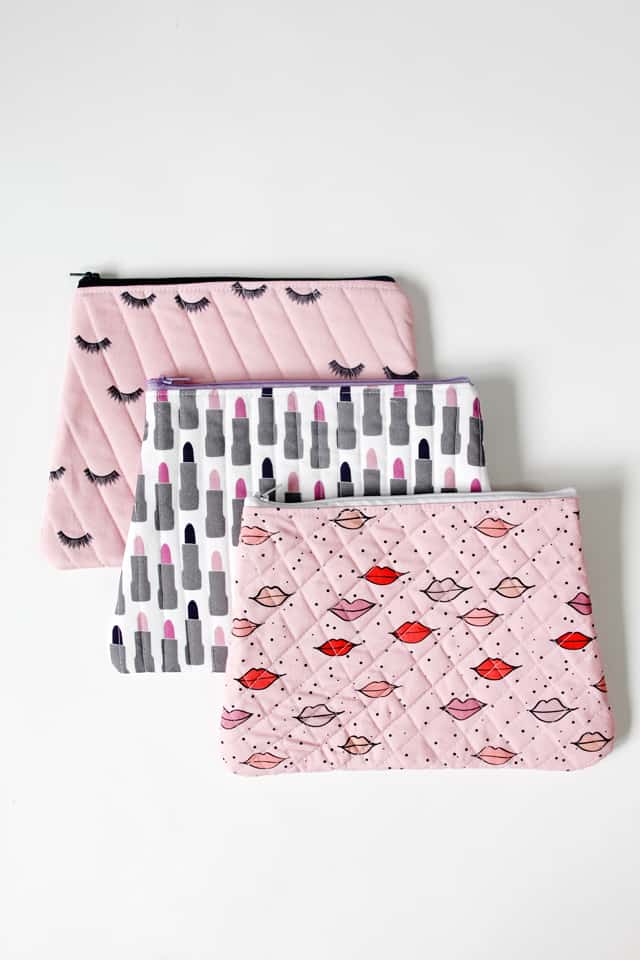
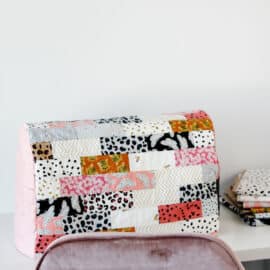
I lined all of the bags with different colors of nail polish stripe, which I think is a fun pop of pattern when you open the bag! I also used 3 different quilting patterns for the topstitching, all done with a basic sewing machine. The lipstick tube fabric one has straight vertical lines, the lashes have diagonal lines and the lips have criss-crossed diagonal lines that create a diamond pattern.

Topstitching the quilting lines is really fun! You may get addicted to it like me and start wondering what else you can quilt!
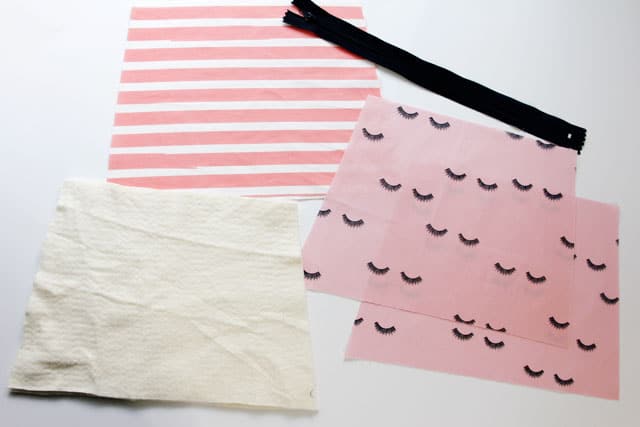
Materials//
–Fat Quarters of Kiss Me, Kate
–12″ zipper
–needle felted batting
–fusible interfacing
-pattern piece (download it below!)
Instructions//
Cut 2 layers of main fabric, 2 layers of lining fabric, 2 layers of batting and 2 layers of fusible interfacing.
Fuse the interfacing to the back of the MAIN pieces. Lay the batting on the backside of the lining pieces. 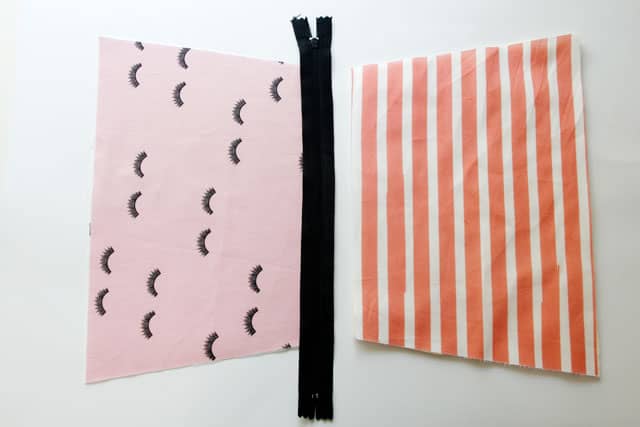
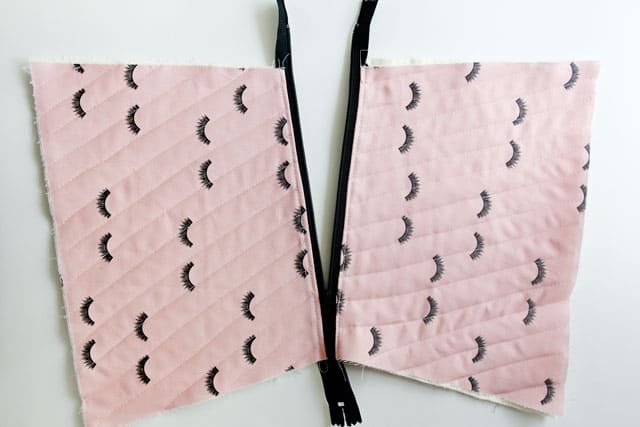
If you’ve sewn a basic zipper pouch, this assembly will be basically the same! Lay the zipper face down on the main fabric and then put the lining face down on the zipper. Pin in place and sew.
Turn and press.
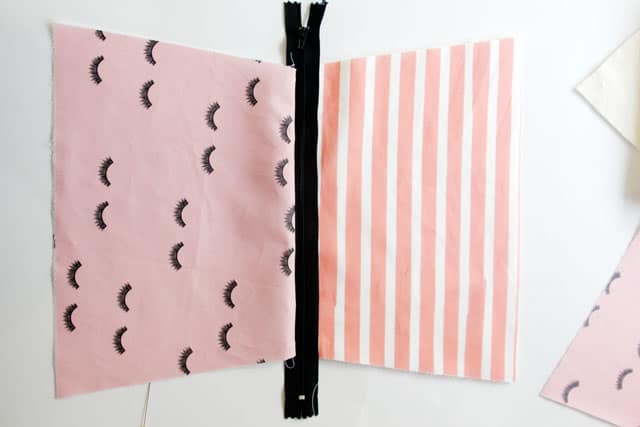
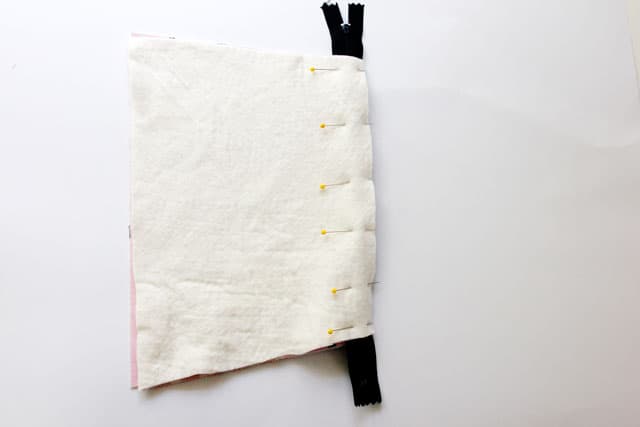
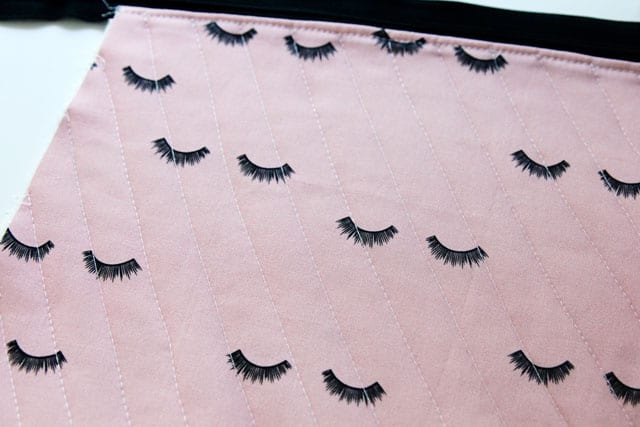
Pin the main and lining together to keep them together. Topstitch along the top of the main fabric.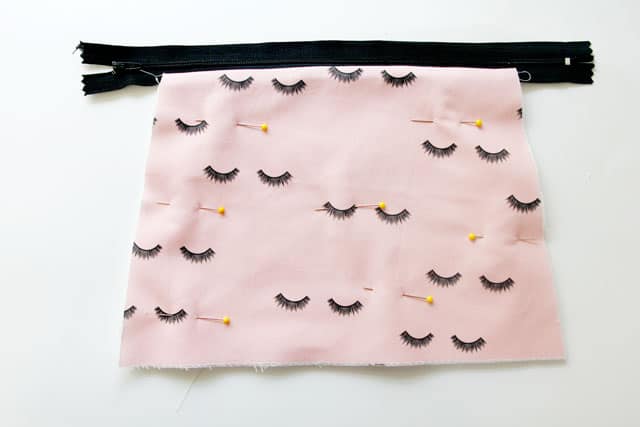
And then use a quilting pattern of your choice to quilt the layers together. For this pouch, I used diagonal lines about 3/4″ apart. 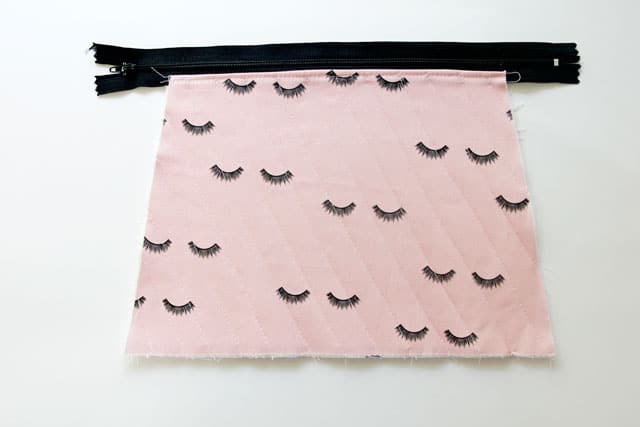
Repeat the first few steps with the other main and other lining pieces.
Then quilt the back!
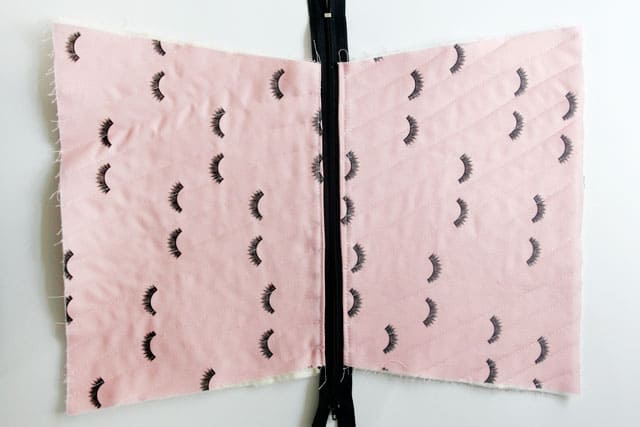
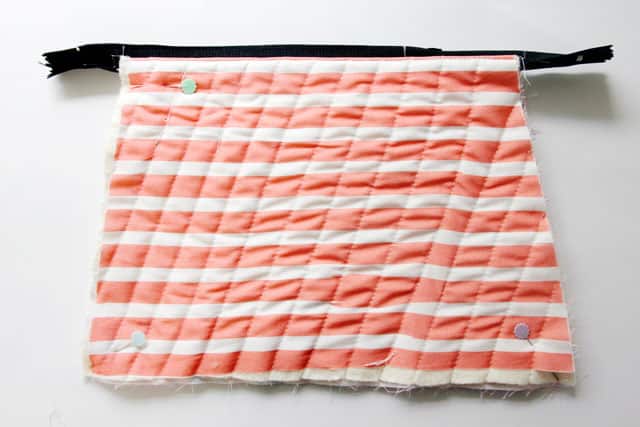
Open the zipper.
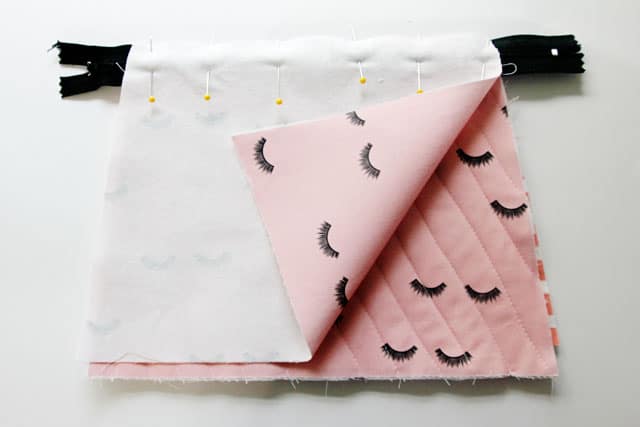
Pin right sides of the pouches together, matching up the corners and zipper. Sew around the pouch, pivoting at the corners.
Finish the seam allowances with a serger or a zig zag stitch. 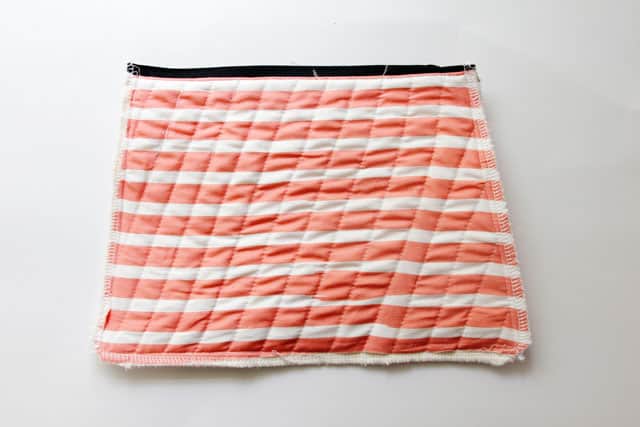
Turn right side out and you’re done!
If you liked this post, you may like 3 ways to make a zipper pouch and 15 zipper pouches to sew!


Hello!
This is adorable, and thank you for sharing.
What do you do with the zipper ends that are hanging out? Are they just tucked inside?
I am a subscriber but am getting the error ReferenceError: ‘Promise’ is undefined
Please help. Thanks