Today’s guest is Christie from A Lemon Squeezy Home! If her blog’s title isn’t enticing enough, it’s also packed full of pretty sewing projects, fun kid projects + activities and series like Purse Week and Belt Week! I really love this belt and this recent easy peasy shirt tutorial.
………..
I’m kind of in love with bike baskets. I love how they are so convenient and practical, but can be totally cute at the same time. I’ve made a couple bike baskets in the past, but this time I wanted to keep it really simple—a project that can easily be done in an hour or less. And since ruffles are such a beautiful compliment to so many items, I thought a ruffle would be perfect to liven up this bike basket.

First you’ll want to choose the right basket. One that has a somewhat flat side to lay against the bike’s front, one that is wide enough and deep enough. I found this basket at the thrift store for $1.50.
What you’ll need:

-basket
-fabric (I used 1/4 a yard, but how much fabric you need depends on how far around your basket is)
-about one package extra wide double folded bias tape
-glue gun
First measure around the top of the basket where your ruffle will be added.

Take that number and add half of it to itself, so mine was about 40”, I added half of that, so 20” and came up with 60”. So I cut a strip 4” x 60”. If you want a wider or thinner ruffle, adjust the 4” number I gave you. You’ll have to cut two strips of fabric most likely and sew them together.


Fold the strip of fabric in half length-wise, wrong sides together. Sew two basting stitches close to the edge, making sure to stay close enough to the edge that the bias tape will cover your stitching.


Pull the two basting threads to gather the strip, measuring it against your basket to make sure you gather it enough or not too much.

Next sandwich the raw, gathered edge between the bias tape and sew (narrow edge of bias tape on the top). I decided I’d use cream instead of the navy blue in the first pictures ;).

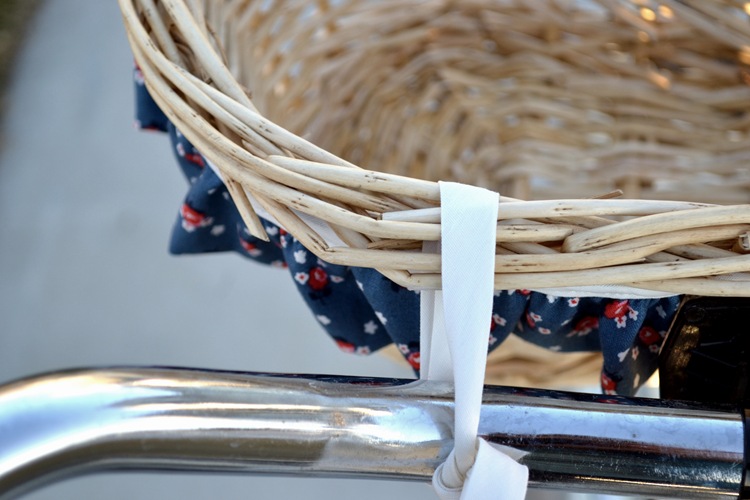
Heat your glue gun and starting in the middle back, start gluing on the bias tape and sticking it onto the basket. Keep in mind that you’ll be using ties and will need a small gap in two places to stick the ties through.

When you get to the end, cut off any excess if there is any, fold the raw edge under, and glue the rest of the way.


I just used some leftover bias tape for the ties.

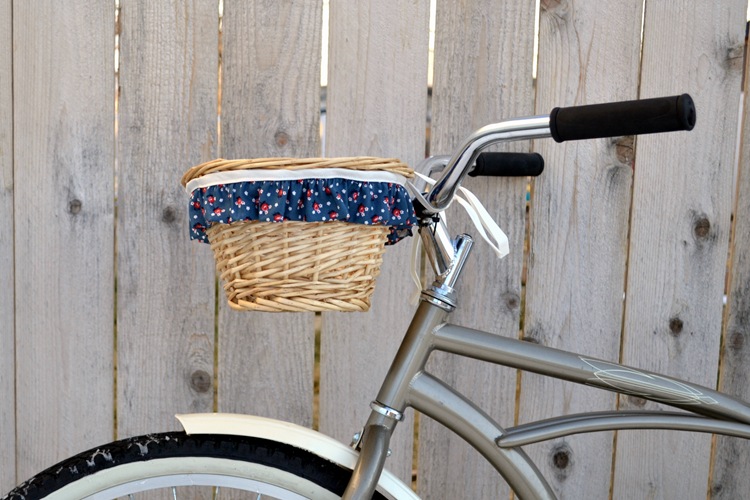
Tie it onto your bike, and you are done!


A cute, quick, and inexpensive bike basket! I’ve always wanted to ride my bike to a field and gather some wild flowers to put in my bike basket, with some fresh bread or something…but alas. There is still snow on the ground and no flowers to be found quite yet! Happy ruffling!
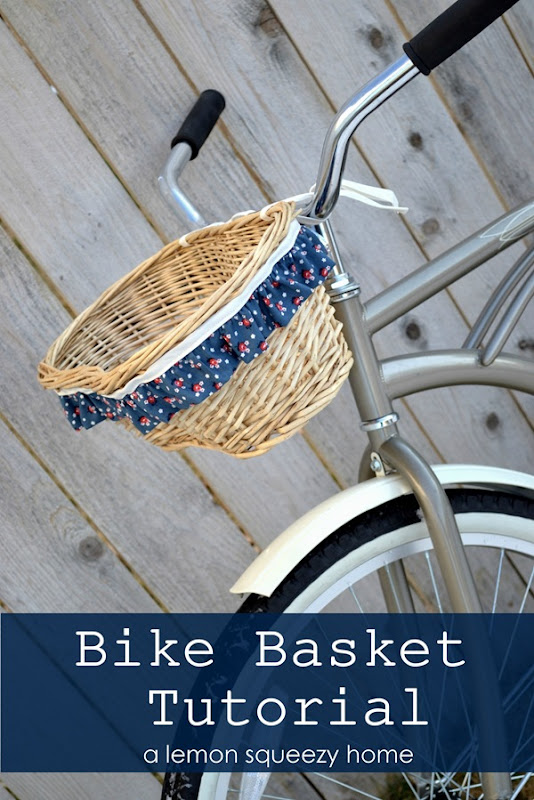
First you’ll want to choose the right basket. One that has a somewhat flat side to lay against the bike’s front, one that is wide enough and deep enough. I found this basket at the thrift store for $1.50.
What you’ll need:

-basket
-fabric (I used 1/4 a yard, but how much fabric you need depends on how far around your basket is)
-about one package extra wide double folded bias tape
-glue gun
First measure around the top of the basket where your ruffle will be added.
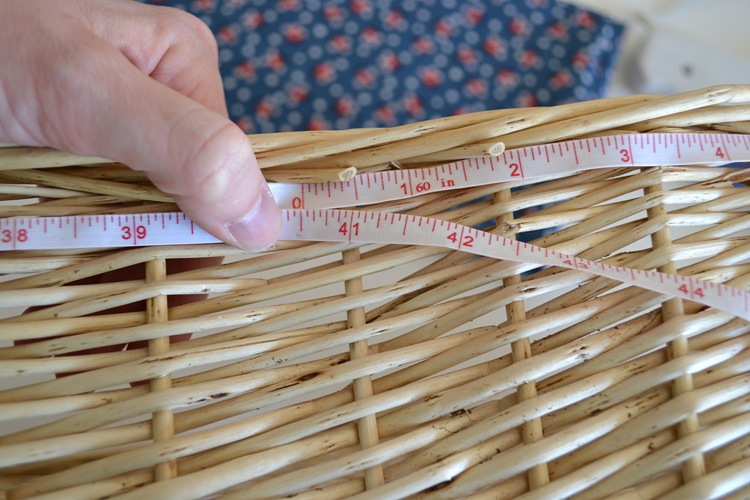
Take that number and add half of it to itself, so mine was about 40”, I added half of that, so 20” and came up with 60”. So I cut a strip 4” x 60”. If you want a wider or thinner ruffle, adjust the 4” number I gave you. You’ll have to cut two strips of fabric most likely and sew them together.
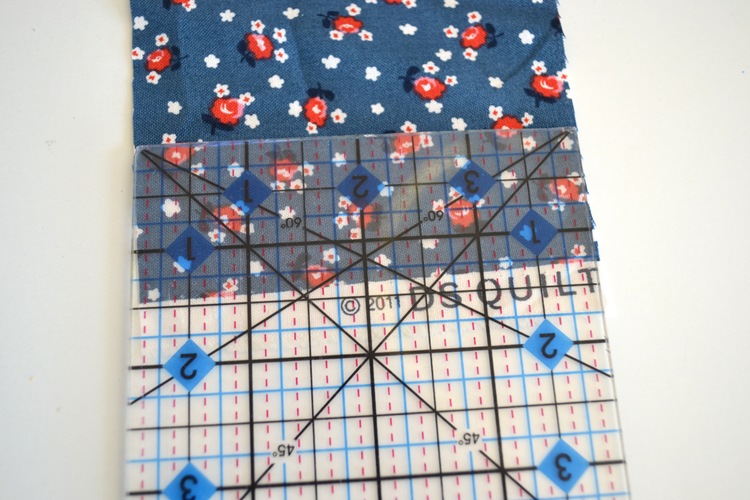
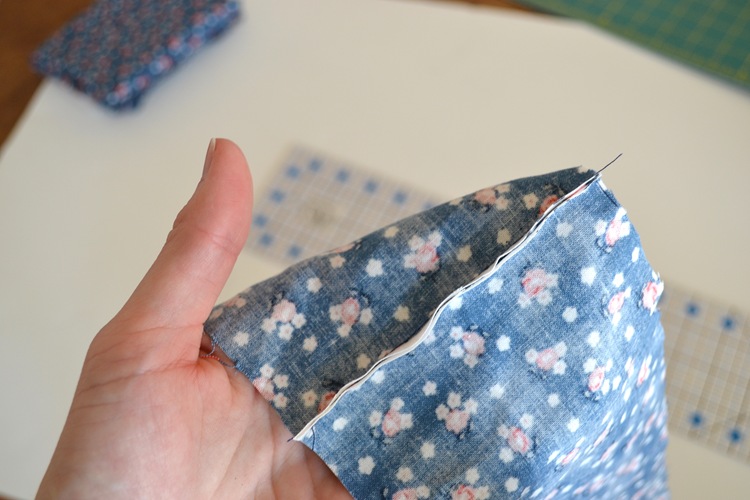
Fold the strip of fabric in half length-wise, wrong sides together. Sew two basting stitches close to the edge, making sure to stay close enough to the edge that the bias tape will cover your stitching.
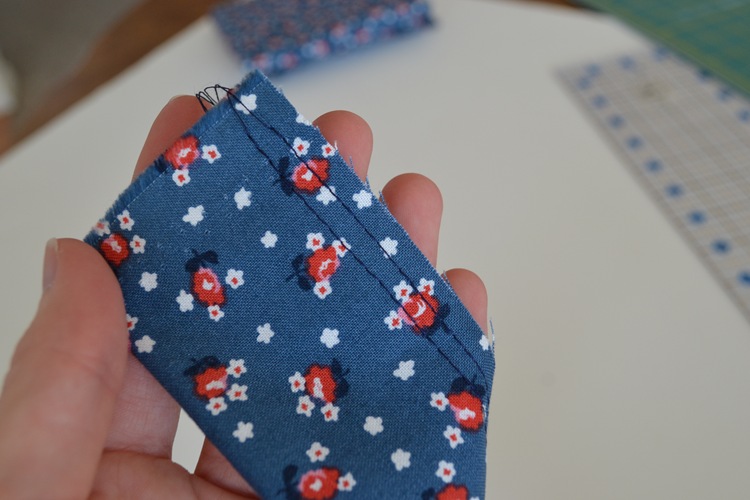
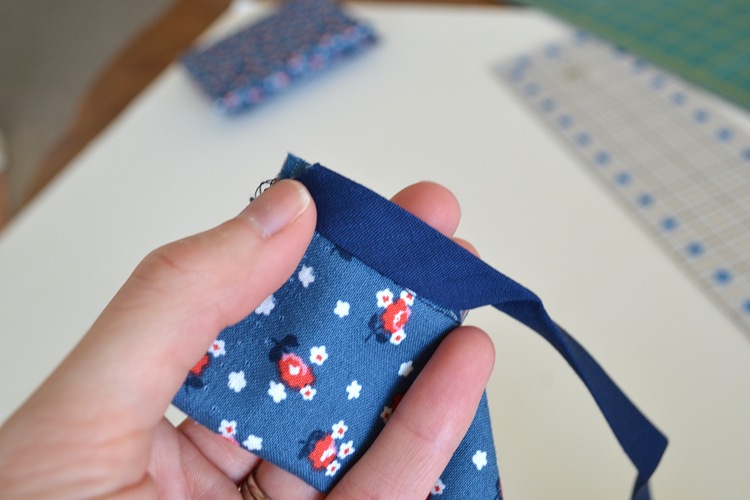
Pull the two basting threads to gather the strip, measuring it against your basket to make sure you gather it enough or not too much.
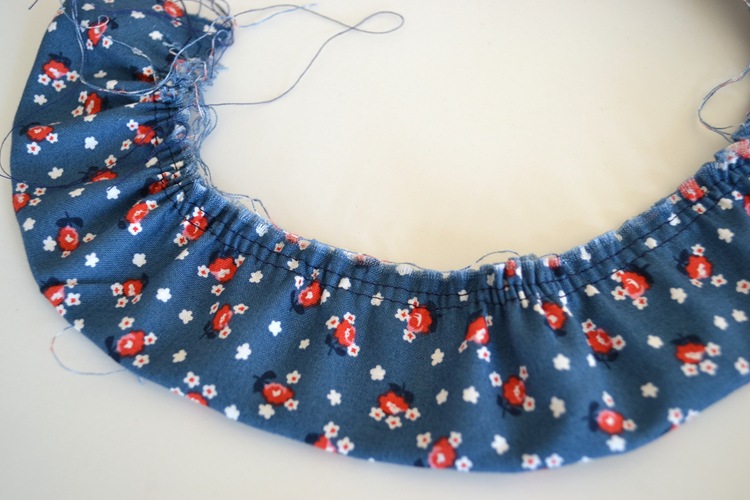
Next sandwich the raw, gathered edge between the bias tape and sew (narrow edge of bias tape on the top). I decided I’d use cream instead of the navy blue in the first pictures ;).
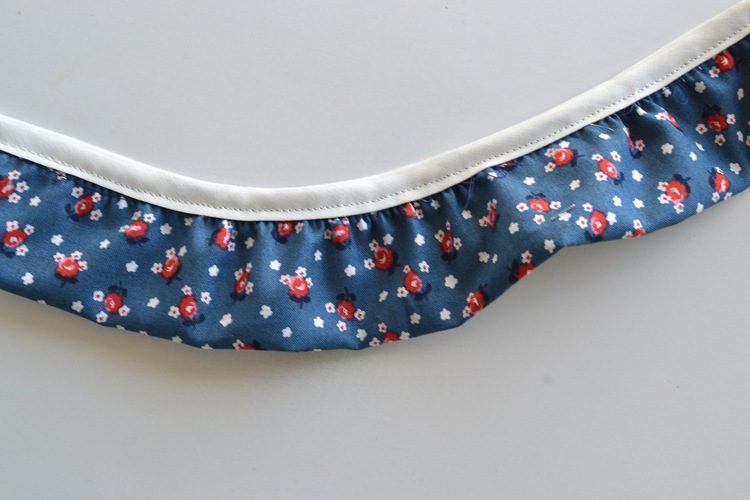
Heat your glue gun and starting in the middle back, start gluing on the bias tape and sticking it onto the basket. Keep in mind that you’ll be using ties and will need a small gap in two places to stick the ties through.
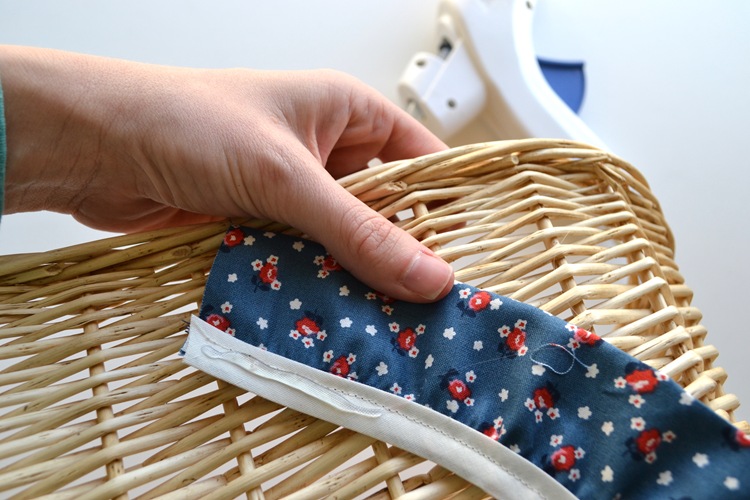
When you get to the end, cut off any excess if there is any, fold the raw edge under, and glue the rest of the way.
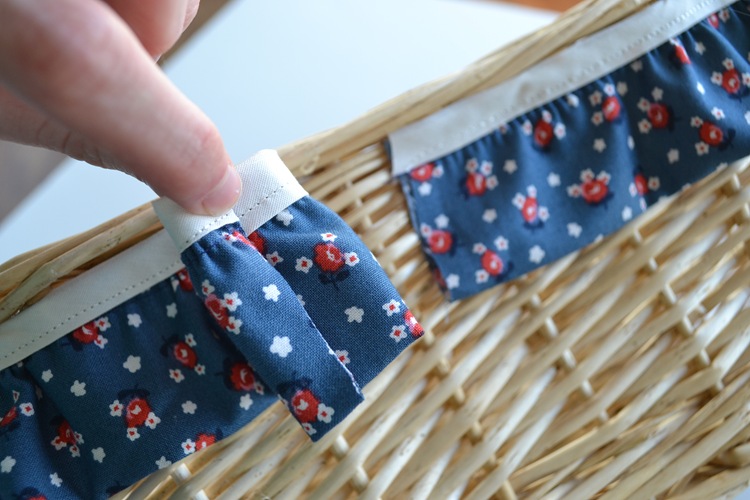
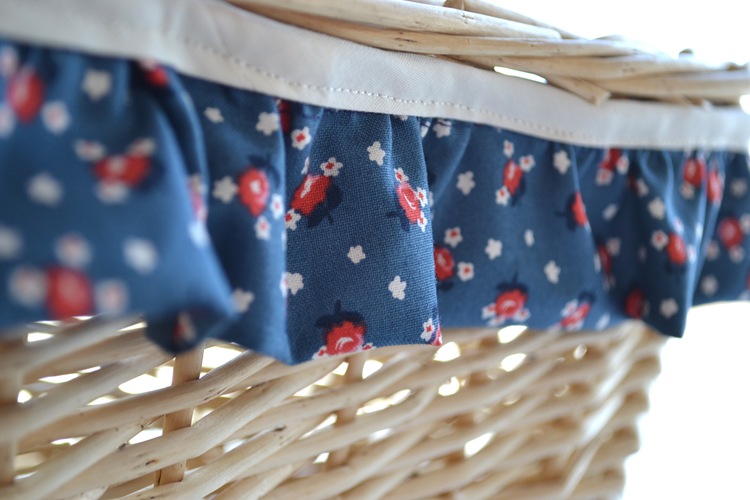
I just used some leftover bias tape for the ties.
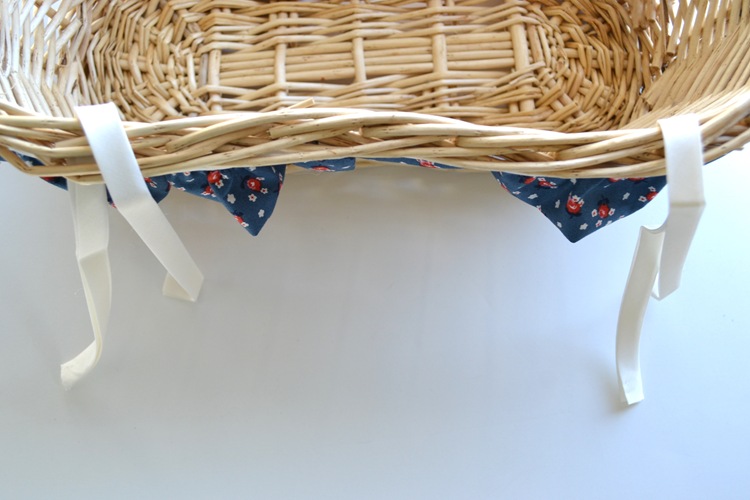
Tie it onto your bike, and you are done!
A cute, quick, and inexpensive bike basket! I’ve always wanted to ride my bike to a field and gather some wild flowers to put in my bike basket, with some fresh bread or something…but alas. There is still snow on the ground and no flowers to be found quite yet! Happy ruffling!
………..
Thanks Christie! This is so perfect for the summertime! Also check out Christie’s Sunshine Dress tutorial, ruffly heart pillow cover and removable shoe ruffles. You can find A Lemon Squeezy Home on facebook, too!



This is adorable! I wish I had a bike that was rideable!
What a cute idea! When I was little, I had a bike with a basket, and I pretended my bike was a horse (the kids next door had horses). Anyway, I used to put carrots in my basket to feed my “horse” as I was riding along. When I got back from my trip around the block, my mom always thought I ate the carrots. She never knew that my horse “ate” them by running over them with wheels!. P.S. Mom, if you’re reading this, I’m sorry for lying!
This is soo cute! I have been looking for a vintage looking bike for ages !
Leah x
Awesomesauce! I’d love to make one for my college daughter’s bike! TFS~
Thanks again for having me, Kate!