


Helpful Hint: I figured out a way to turn my fabric quickly…I attached a safety pin to one end of my turning tool and clipped it to one end of the fabric ‘tube’. Rather than starting at one end and pushing the turning tool all the way to the other side, then pulling the fabric through, I reversed my turning tool through the tube, pulling the fabric through as I went along.

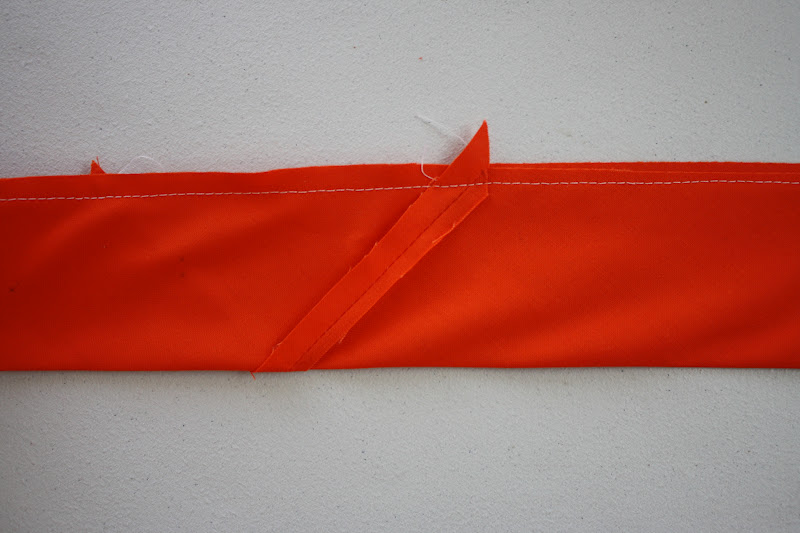
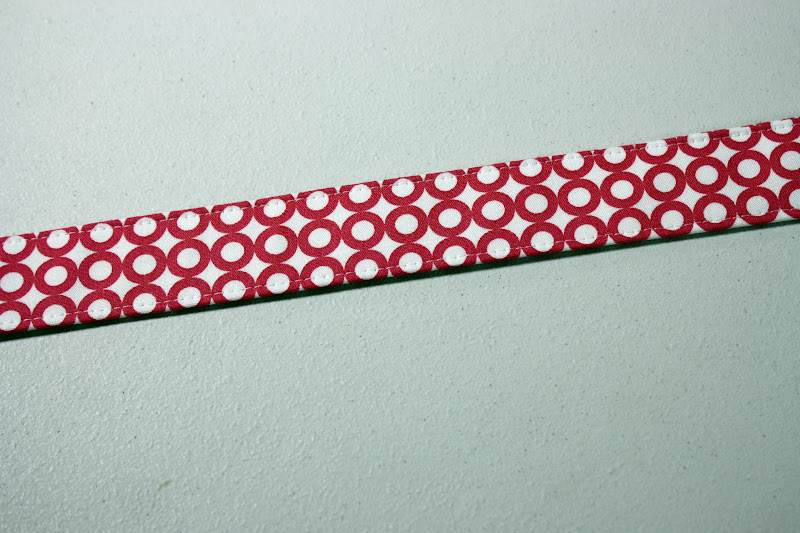
3g. Press your fabric strip so that the seam is in the center of one side.
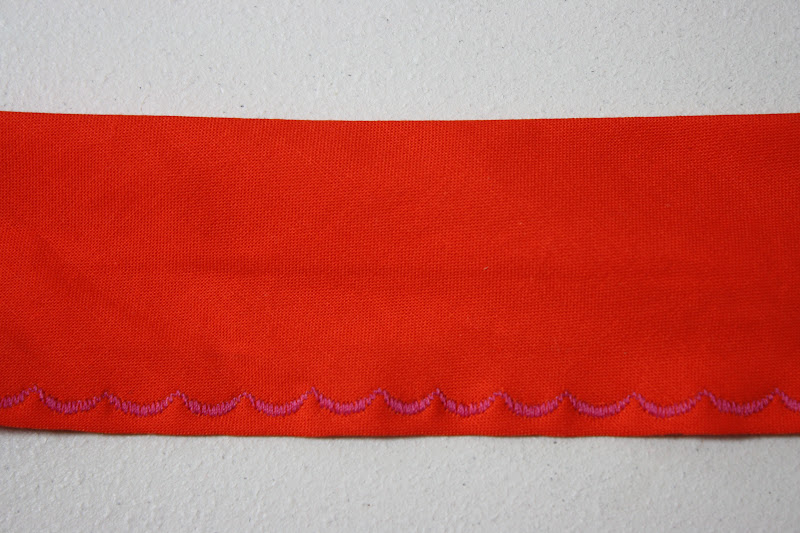
3h. Press both short ends in approximately 1/2″, then topstitch 1/4″ from the edge.


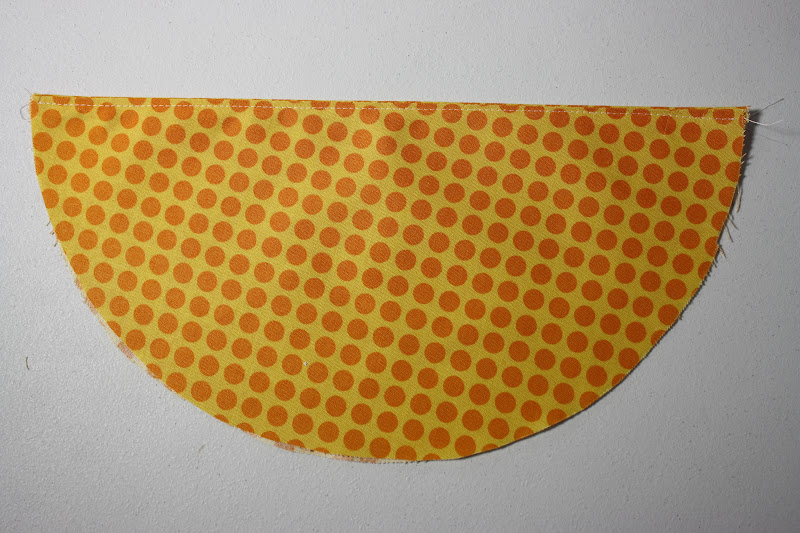
4f. Remove the basting stitches on your ruffles.

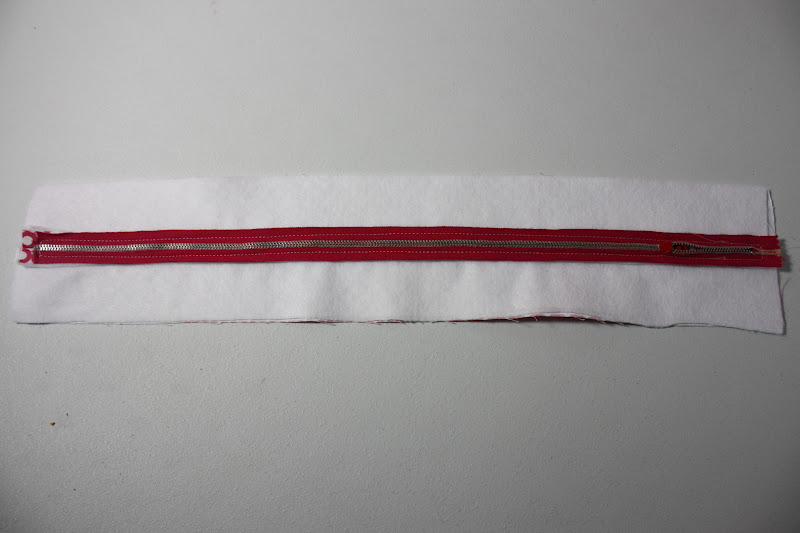


7a. Take the Exterior Zipper Panel and the Exterior Bottom Panel and place them, right sides together, along one short edge. Sew. Press seam open.


7e. Notch small v’s into the seam allowance of both Exterior Main Panels, being careful not to cut into the seam allowance.

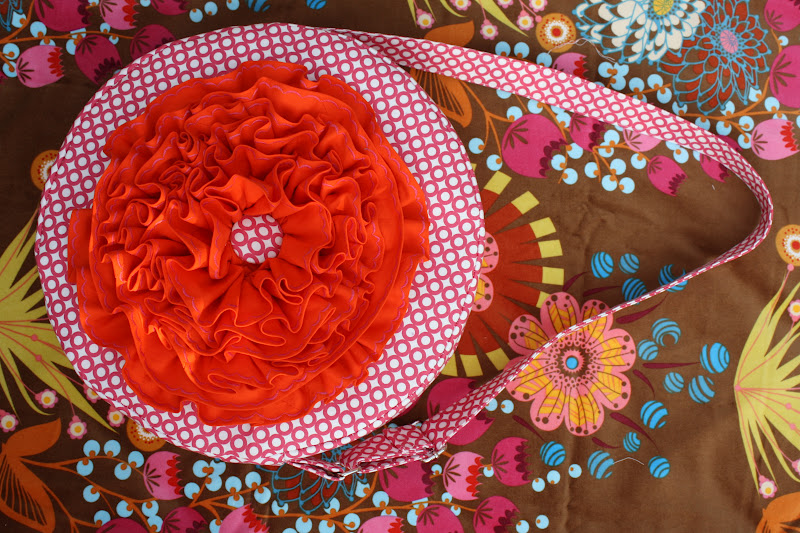
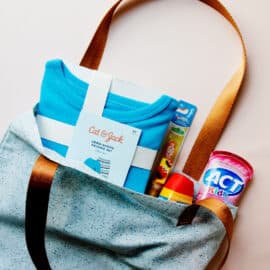
Please give your bag a careful pressing for a nice, professional look.
If you have any questions about this pattern, feel free to e-mail me directly at sara@sewsweetness.com, or check out my Flickr Group! I would love to see your completed project posted there!


I DIE. SO CUTE!
So stinking cute! Thank you! Pinning it!
what an amazing bag!!!! thank you for showing this tutorial I will make a bag like this for sure :D
This is so cute. Thanks for the tute! My daughter would love it!
This comment has been removed by the author.
Very cute bag! But part of the tutorial is missing (it starts at 3A) and the link to the pattern goes to another bag called the “Frou Frou Bag”. Can you fix both problems please? I’d love to try this bag!
This comment has been removed by the author.
To anyone who’s interested…the full pattern is available as a .pdf file on the Pellon Projects website. Thanks! :-)
http://pellonprojects.com/products/1343-red-poppy-bag.aspx
I love it and yours instruccions fantastic.
A hug.
Anna