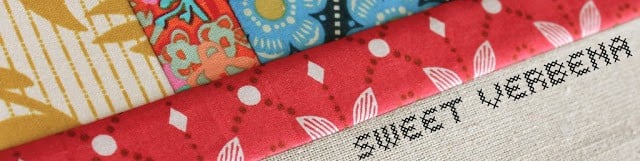
Today’s guest is Katy from Sweet Verbena! Katy is a college student and amazing crafter! You might know her from her super popular watermark tee tutorial. She also shares awesome sewing projects like this bag or these yoga pants. Katy’s style is so inventive, I just love seeing what she comes up with next!
………….


Hi there! I’m really excited to be posting here at See Kate Sew. I’m a long time follower of Kate. In fact, her blog is a big reason that I got into blogging myself! I love Kate’s fresh style with that little hint of vintage.
I didn’t really consider myself a huge ruffles fan before, but Kate has me, and I’m sure you too, convinced of their awesomeness. You know that LMFAO song that goes “everybody’s shuffling..”? Well I kept finding myself singing “everybody’s ruffling” when I was working on this project haha. And I was so pleased with how well this project turned out that I think I’ll be ruffle-izing some more clothes in the future.
One of my favorite things to do is to buy discount clothing and jazz it up with my own handmade touch. It makes sewing for yourself a little less daunting, more of a semi-homemade approach. I found this little top at Forever 21 for $15. It cost me maybe $2 and about an hour to personalize with a little ruffle.

Materials:
Store bought top, dress, skirt, etc.
1/3 yd (at least) of fabric
Tape Measure
Fabric Marker
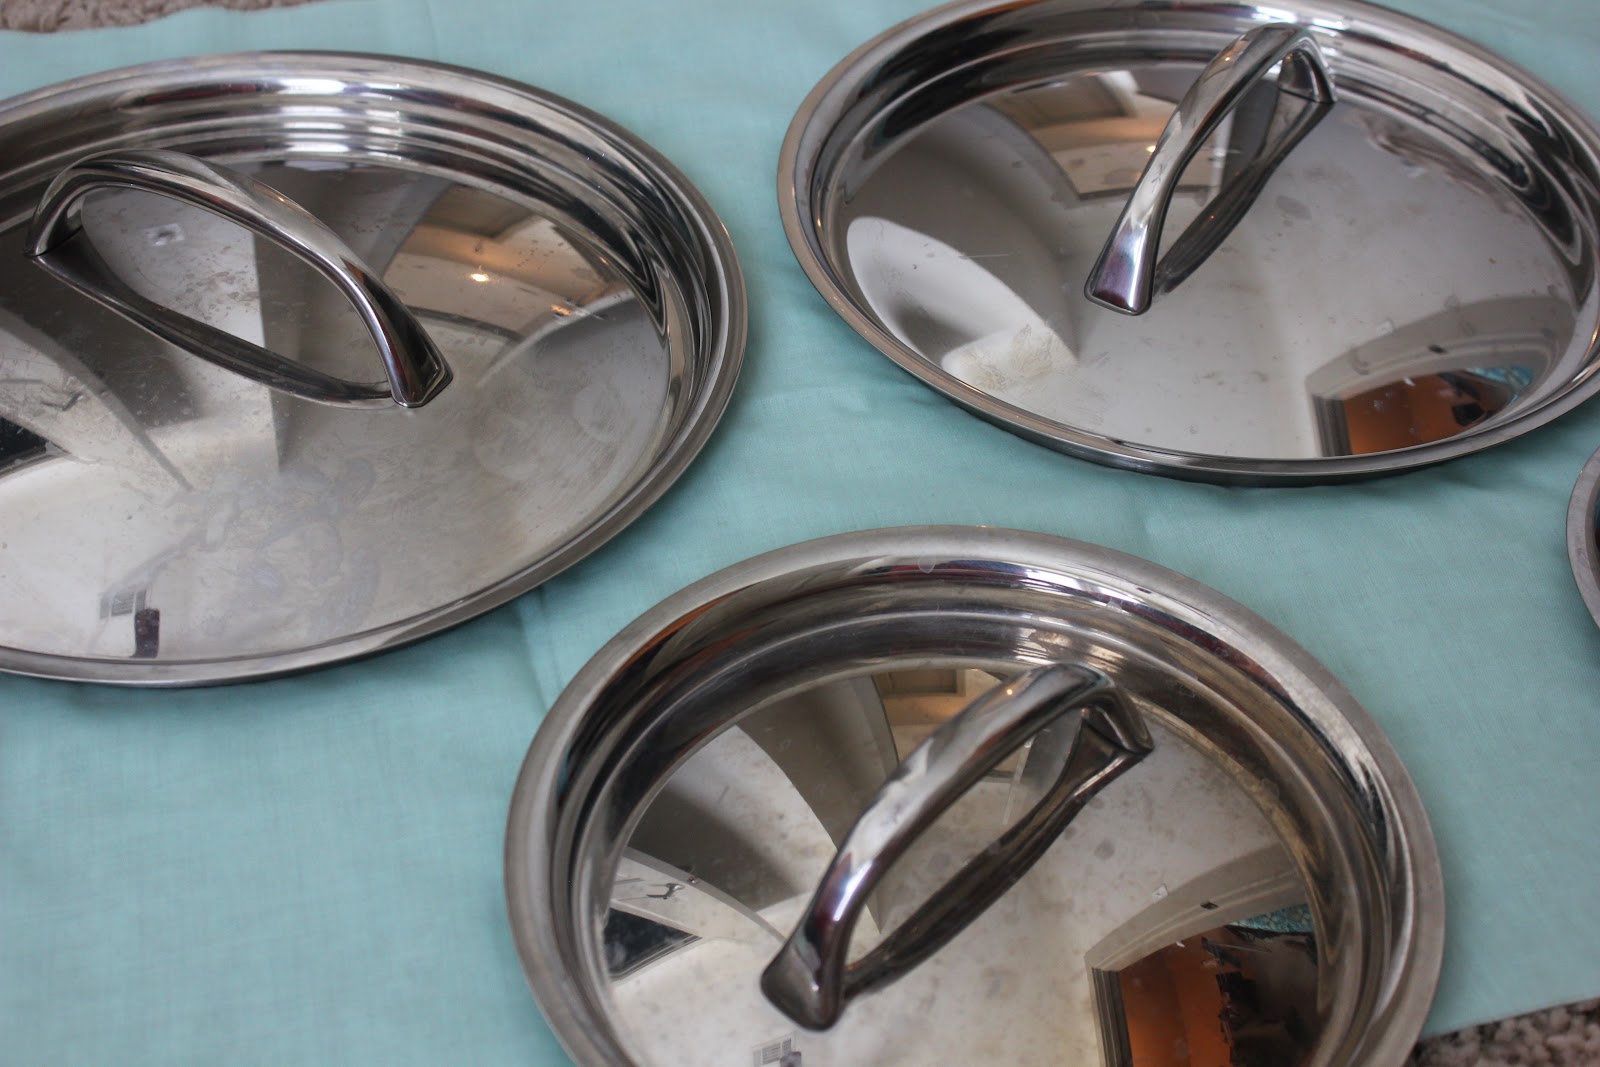
Pots and Pan Lids (or other circular objects)

Tutorial:
Measure the length of your top from the center of the collar to the center of the hem.

Now it’s time to pull out those geometry skills and a calculator to find the size of the circle you’ll need to cut out. Take the measurement that you just found and divide it by pi (3.14 works for our purposes)
i.e. My top measured 20 inches long so I calculated…
20″ / 3.14 = 6.4 inches
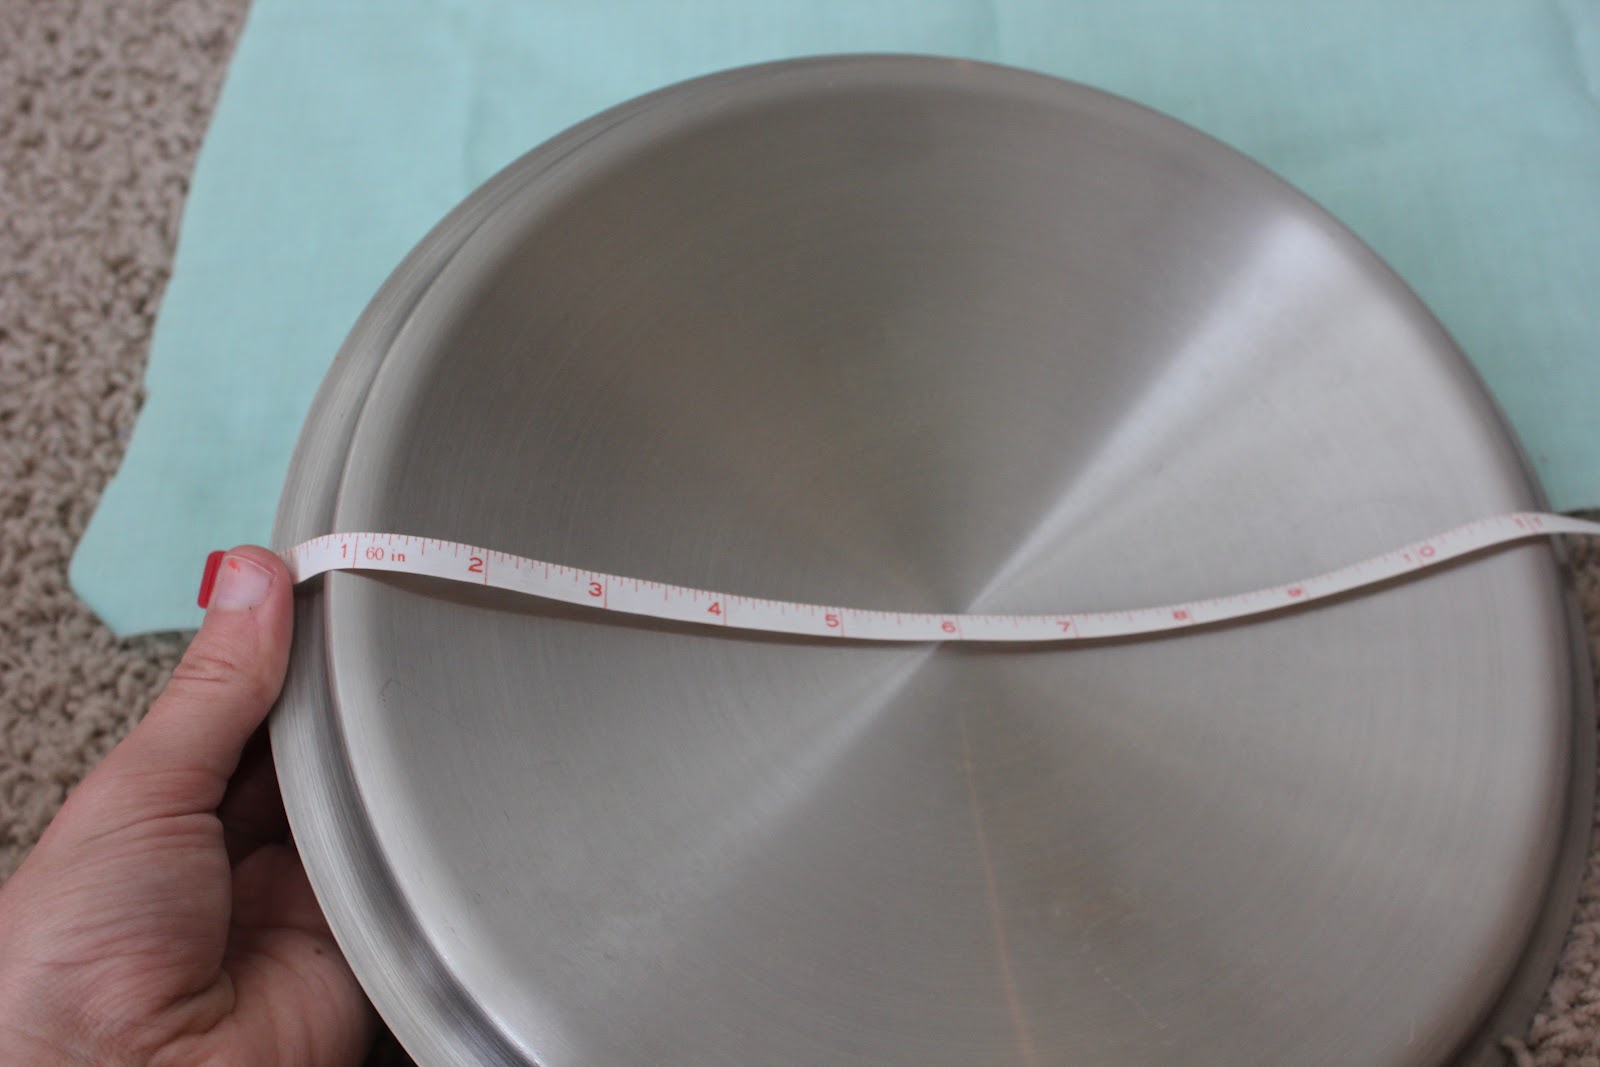
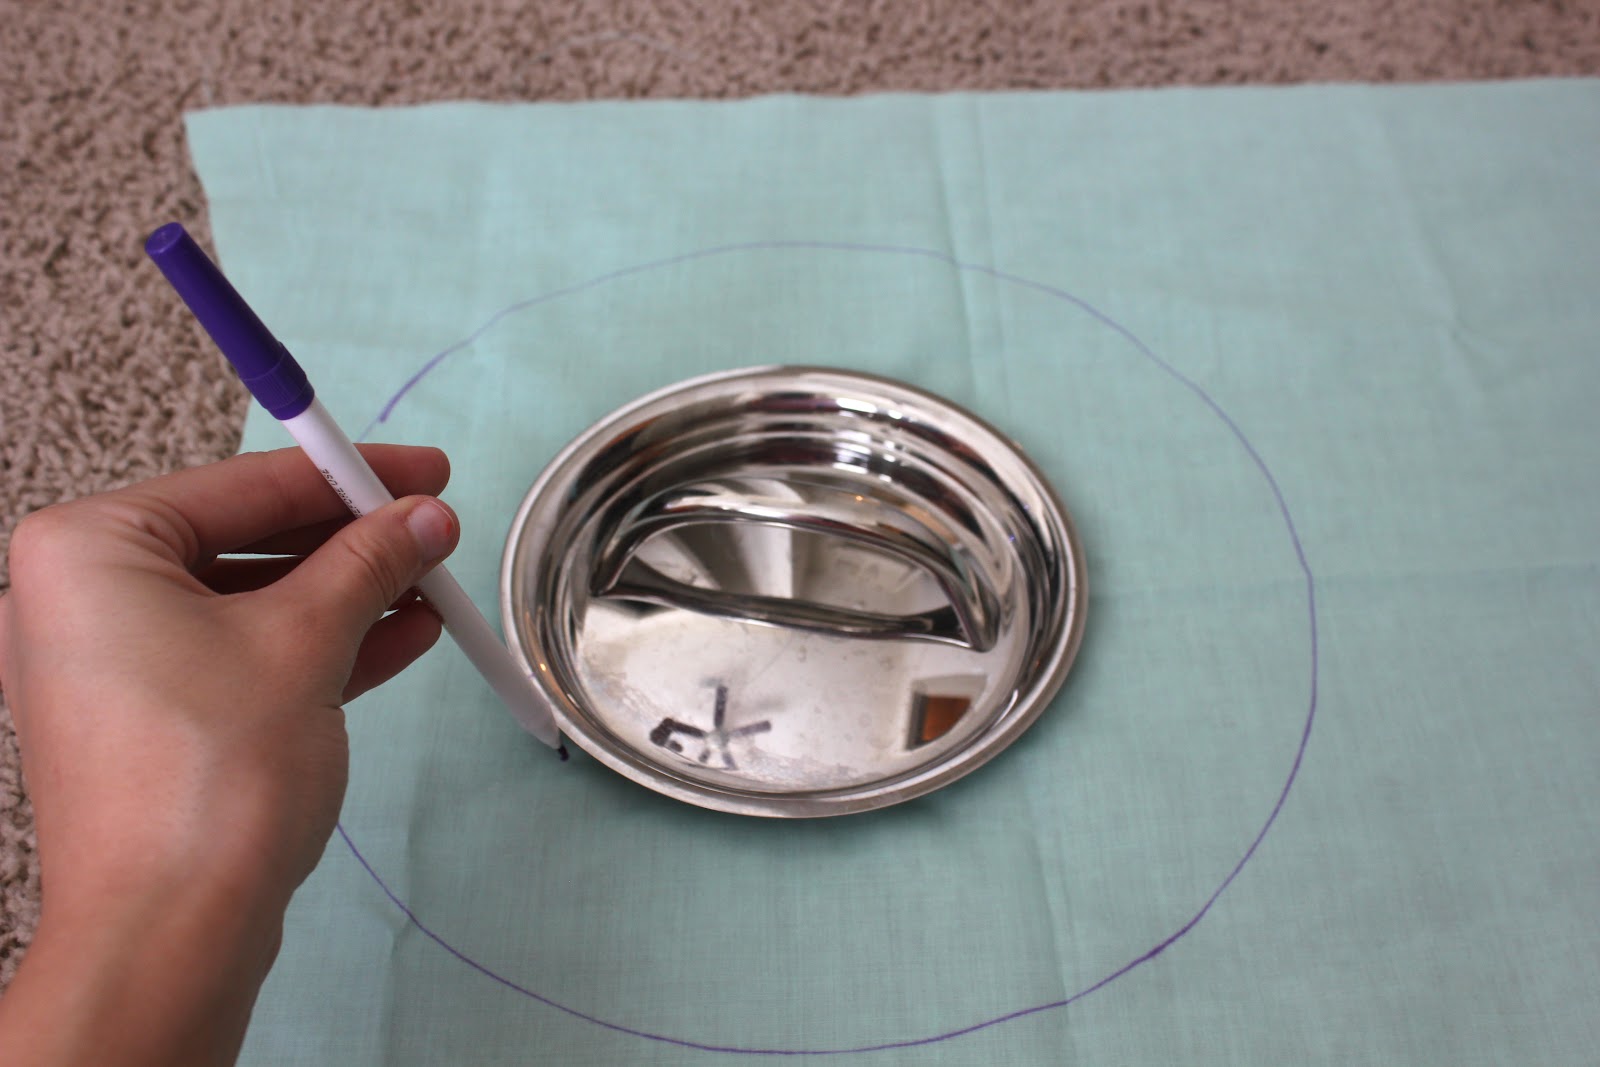
Now I know that the diameter of the circle I need is about 6.5 inches. Search the house for some circular objects that you can use as a tracing tool. Pots and pans lids worked really well for me.
Measure across the widest part of the circle to find a circle that has the diameter you need. This will circle will serve as the inner circle.
Now that you’ve found your inner circle, you’ll need to find a larger lid to serve as the outer circle. The outer circle should be about 4-5 inches wider than the inner circle.
i.e. My inner circle’s diameter was 6.5″ so I found a lid with a diameter of 11″ to serve as the outer circle.
Trace your outer circle onto your material.
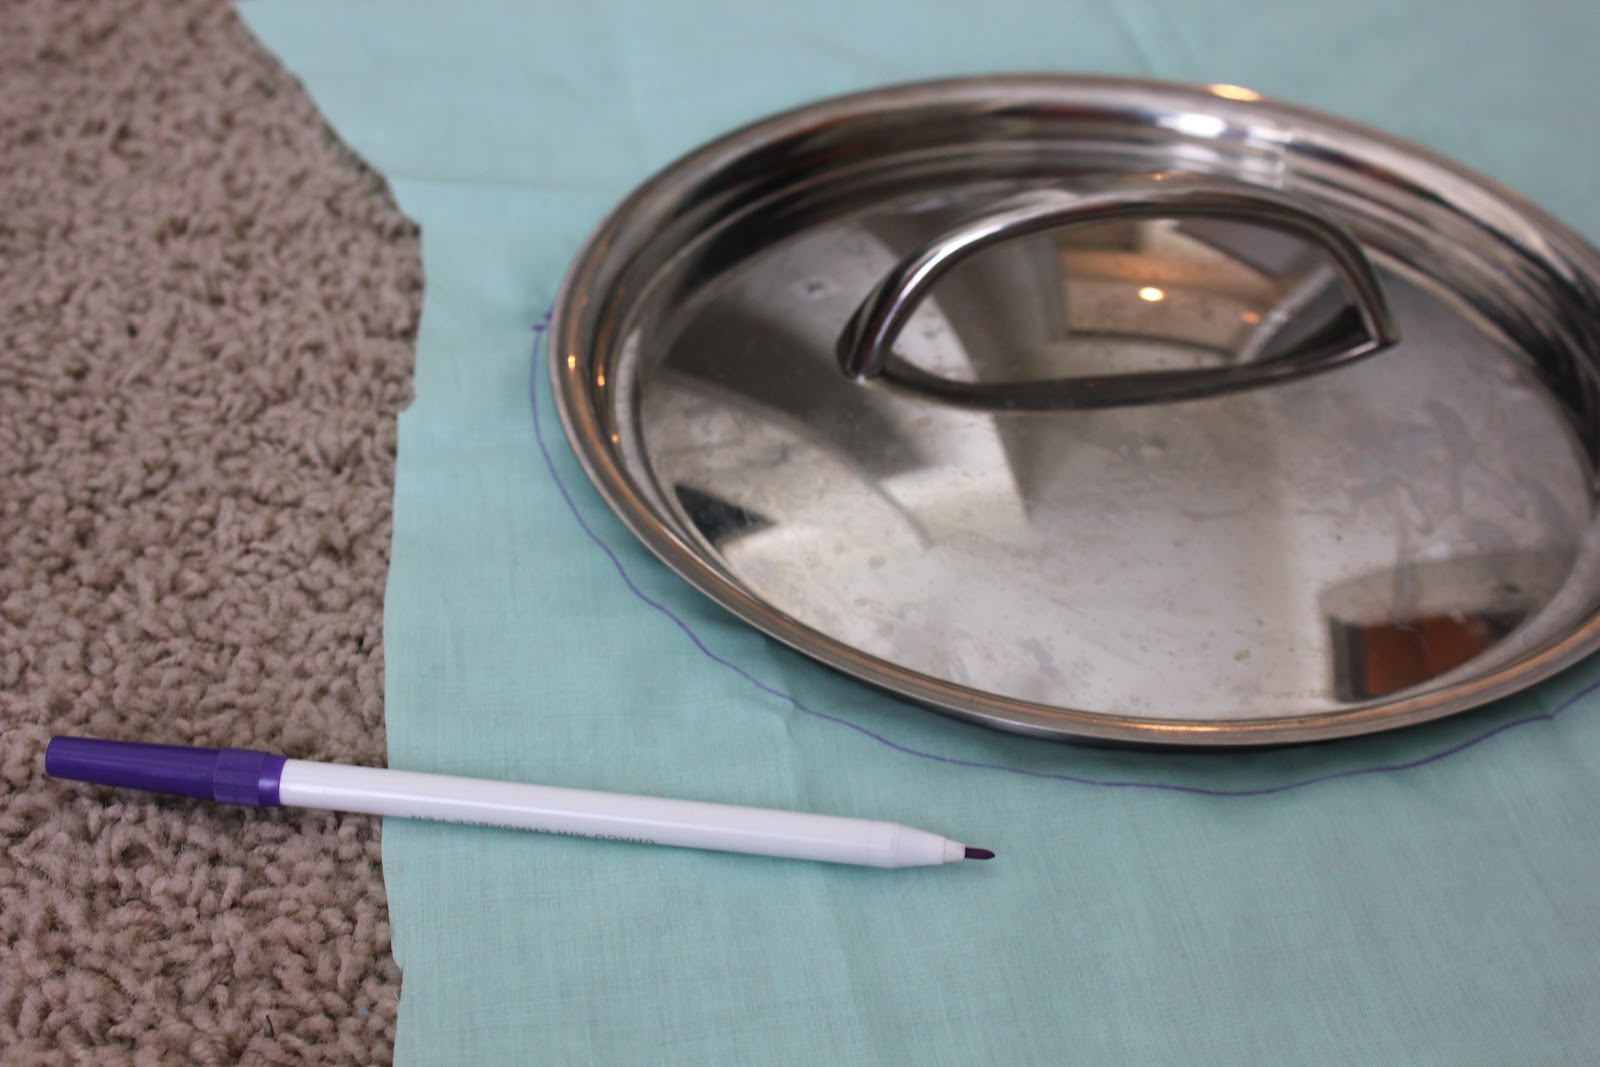
And now the inner circle.

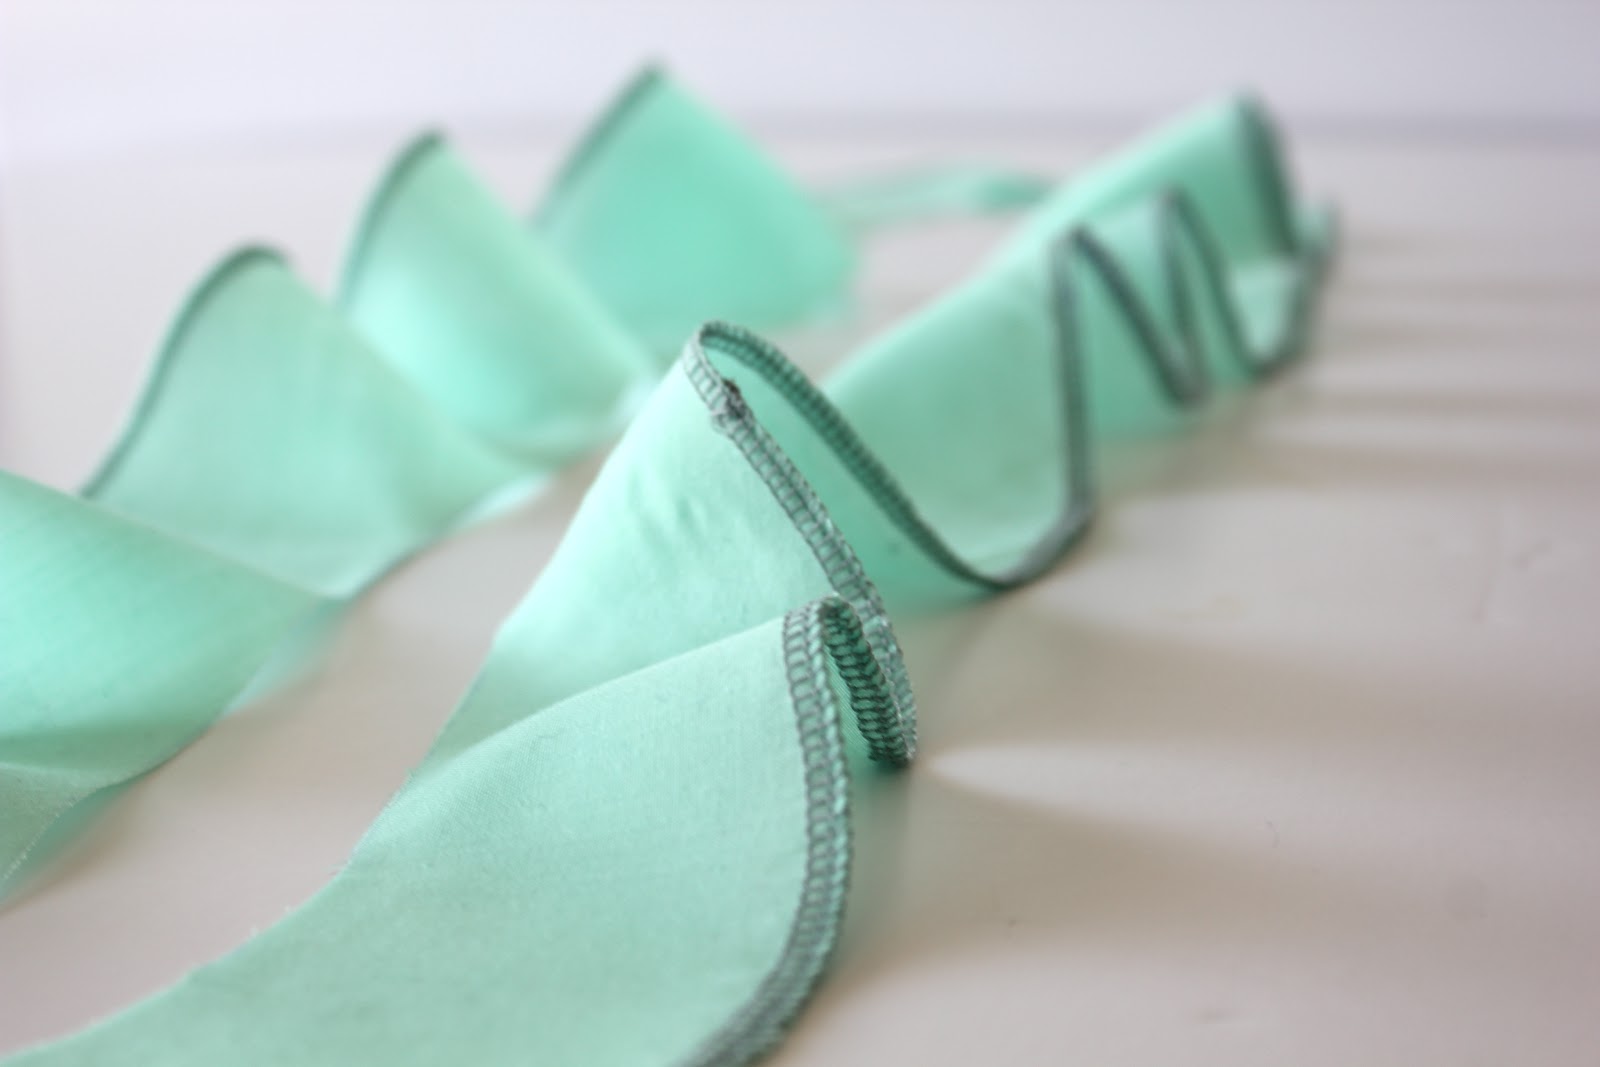
Cut carefully as shown below:


The outer edge of the circle is the edge that will be exposed in the final product of your top. You’ll want to finish the edge with a serger unless you’ve chosen a no-fray fabric to work with.


So where do the ruffles come in?
Pull your circular fabric pieces taut so that they lay straight. Do you see the ruffles now?

I didn’t realize until after the fact but, the colors I chose are very See Kate Sew-esque, no?
Okay that was just for fun, now back to work. Pin all your circles together so that the inner edges align. I used 3 circles, 2 with my blue cotton and one with a taupe lace. You can use as many as you like!

Sew or serge the circle together along the inner edge.


Open it up and you should have something like this:

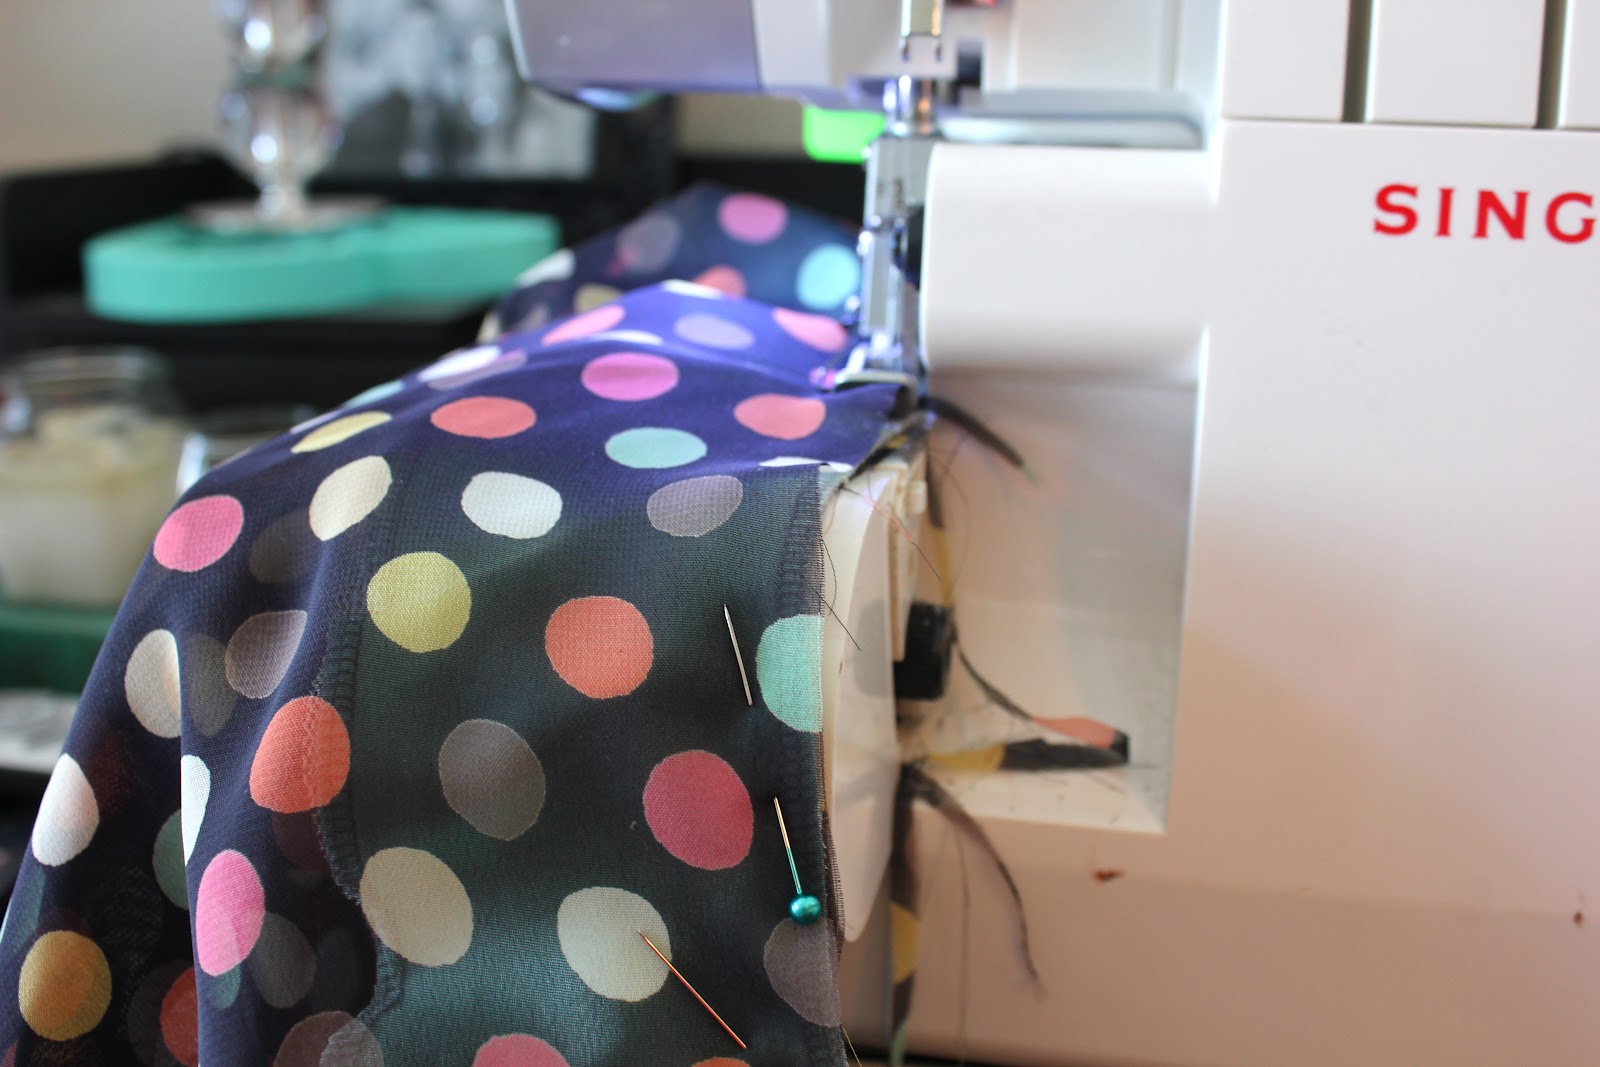
Now for the scary part. Cut straight down your top/dress from the center of the collar to the center of the hem. I used my cutting mat to help with this.

Turn your top inside out and sandwich your ruffle between the material of the top, pulling the ruffle taut as you go.

Serge or sew in place.
Cut off any extra material at the hem and collar.

Finis the edges of the ruffle with your serger.

And you’re done!

Polka dots and ruffles, what could be better?


I hope you enjoy! Thank you so much for having me Kate!
………..
Thanks Katy!! You’re right, I love that fabric! Also check out Katy’s Simple Bow Tie Blouse and 20 Minute Cinch Tee. And follow her on facebook and twitter.


Oh wow! This half circle trick is totally blowing my mind! Thanks for sharing!
So cute!! Polka Dots and ruffles – what a great combo :)
Lovely transition :)
Maybe you have time to check my posts- White in Night and Change is Inevitable :)
Love
Akanksha
wow cool that someone is doing this that is not a mom
Hi kate, great idea!!!have a good day Ilaria
Oooh so cute! Loving this top, thanx for the tutorial!
Natalie
http://www.projectdowhatyoulove.wordpress.com
great tutorial! Love it!
Reyna
http://www.glamglory.blogspot.com
http://www.facebook.com/glamglory
http://www.youtube.com/reynalay