Sew yourself a scissor pouch to keep your precious scissors safe when you aren’t using them. This scissor holder tutorial is padded and comes in three sizes – get the scissor case download below!
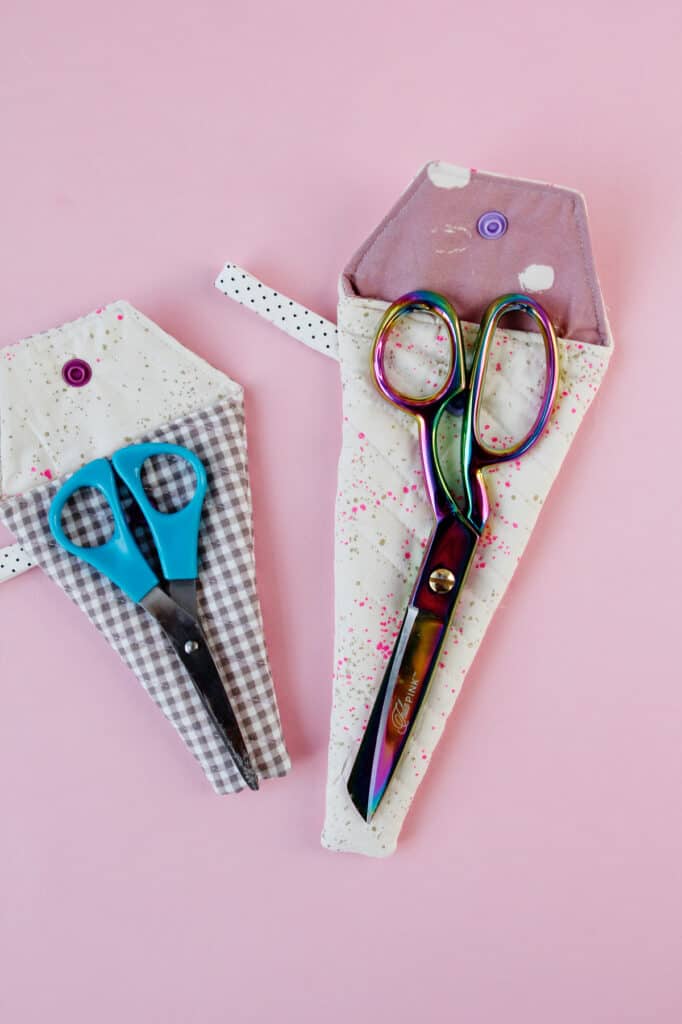
This fun sewing project is a great way to say HANDS OFF MY FABRIC SCISSORS! This is also a great gift for hairdressers to hold their stylist shears.

It’s always fun to have a new accessory for your sewing space. This cute scissor case sewing pattern has a snap closure. This is a quilted scissor holder sewing pattern, you can choose any pattern to quilt the fabric before sewing it together. I love quilting layers of fabric together and it adds a neat texture to your pouch.
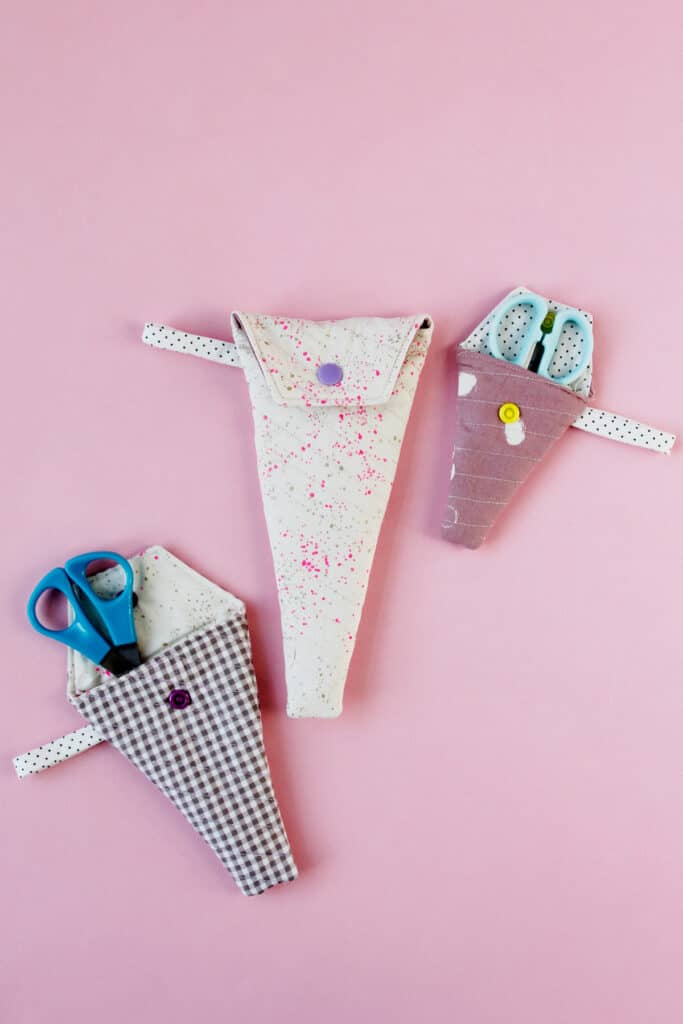
Pick up to 3 different coordinating fabrics for this scissor case – we’ll use one for the outside, one for the lining and one for the hanging loop. Use bright colors if you tend to lose your sewing scissors.
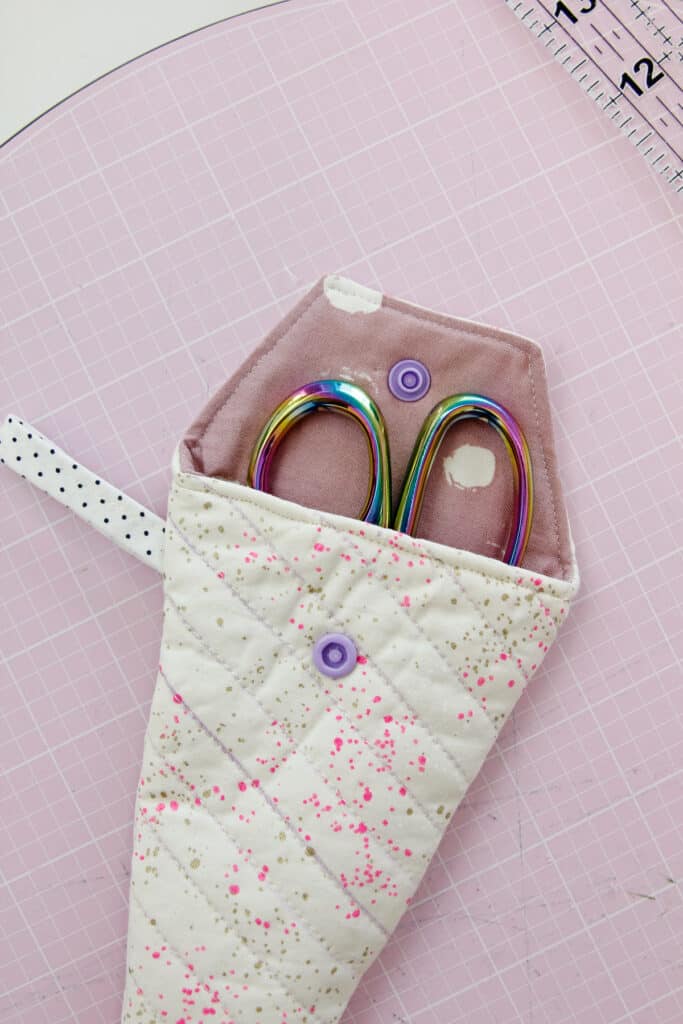
The medium size is also great for school scissors – make a pouch for a fun school supply!
diy scissor cozy materials
- 2 fat quarters of cotton fabric, or use scraps of fabric
- 5 inches of 3/8″ bias tape, or make your own
- Needle felted batting
- Spray baste
- Fabric marker
- Size 20 KAM snaps (Affiliate link)
- Optional: point turner or chopstick
scissor case pattern free download
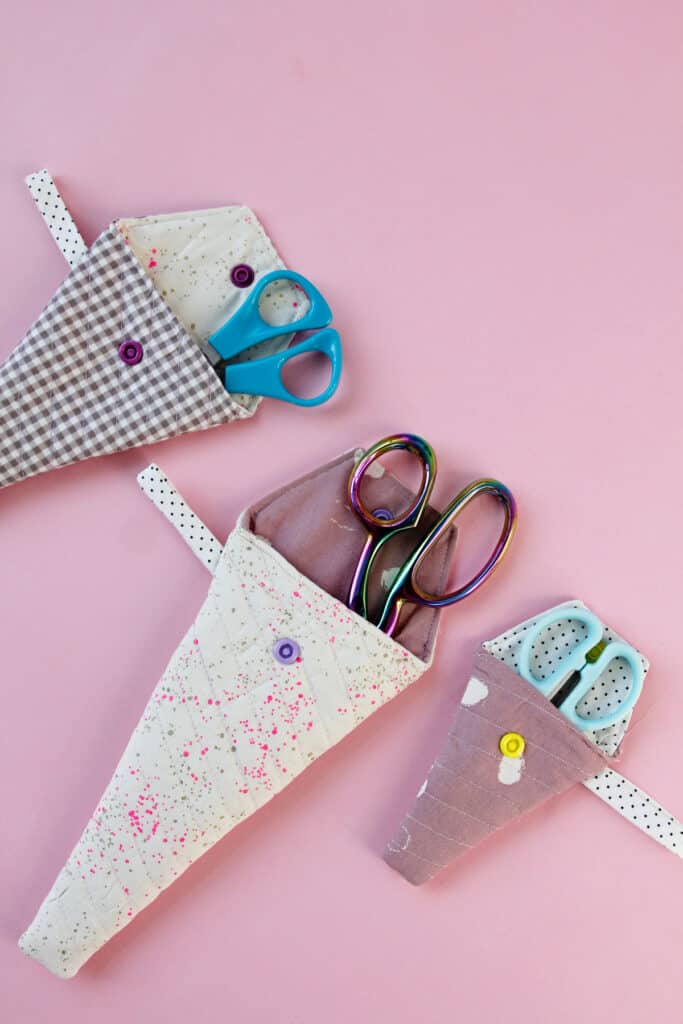
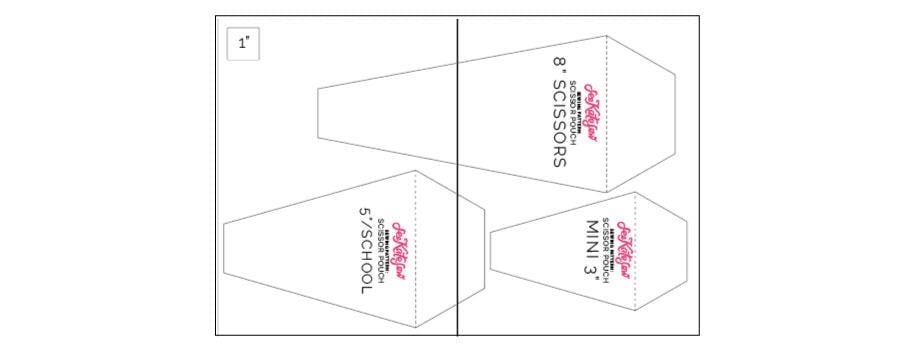
Download the scissor pouch pattern below. This pattern includes three sizes, one for standard size sewing scissors (about 8″ long), one for small sewing scissors or school scissors (about 5″) and one for tiny thread scissors (about 3″).
This pattern is free for newsletter subscribers. Sign up by clicking on the button below and entering your email address in the form. If you’re already signed up, just enter your email address and you’ll be taken to the download page!

scissor pouch sewing pattern print layout
The templates will print on two pages. Trim the edges along the dashed line and tape together as shown:
how to make a scissor pouch
Follow the instructions below to assemble your scissor holder pouch.

Use a 1/4″ seam allowance.
Start by cutting out the following pieces from each fat quarter of fabric:
- Front and back from main or outer fabric
- Front and back from lining fabric
To cut the front of the scissor pouch, cut off the top flap piece from one of the fabric pieces.
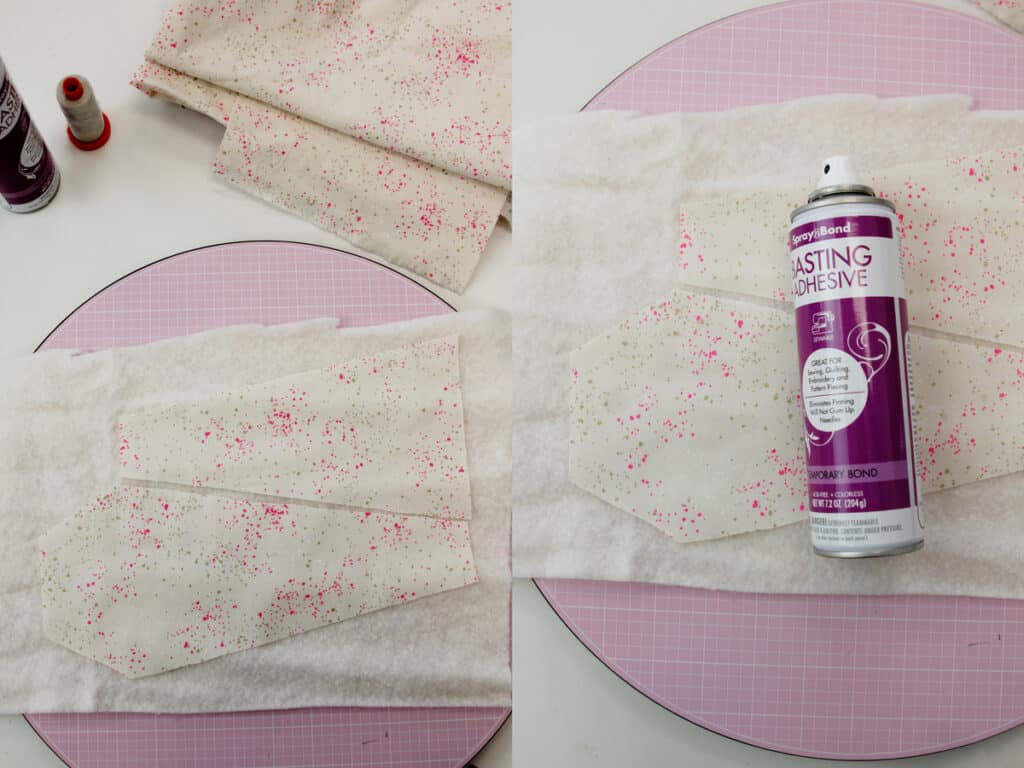
Spray baste main fabric pieces onto a layer of batting. Place them close together so quilting is faster.
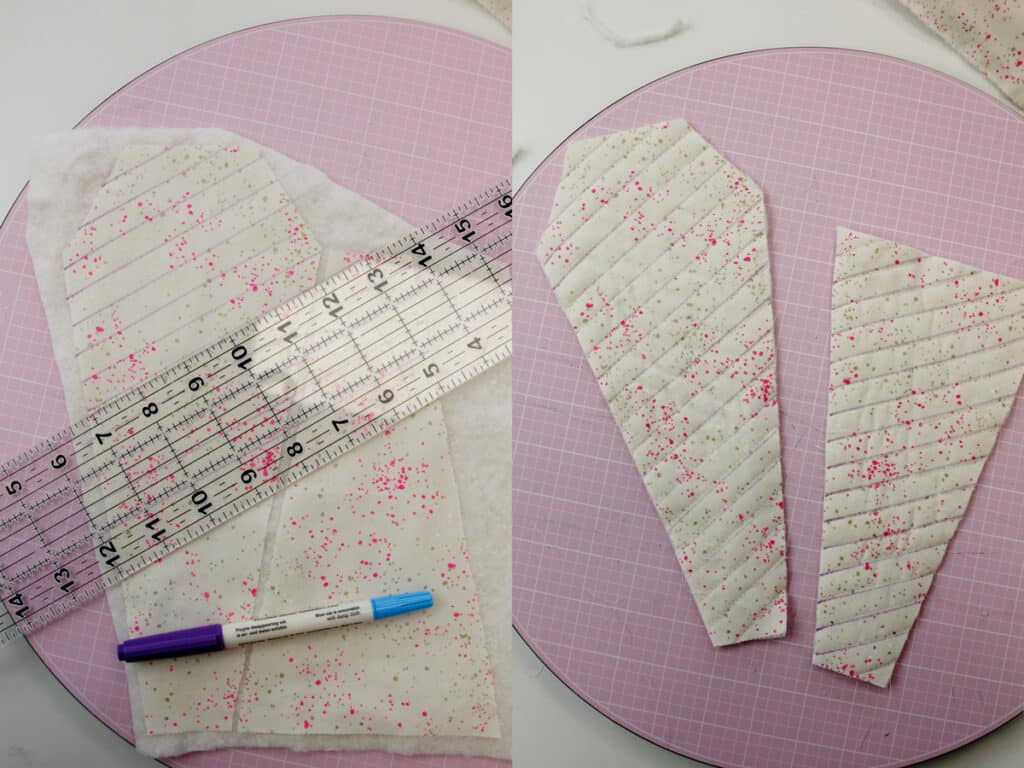
Draw lines with your fabric marker 1/2″ apart diagonally and trace with sewing machine. You can use a walking foot if you prefer. Trim the excess batting after.
If you are adding a loop, sew the bias tape together along the folded edges. Then fold 5″ of bias tape in half to create a loop. Stick it in between the front and back of the main scissor case.
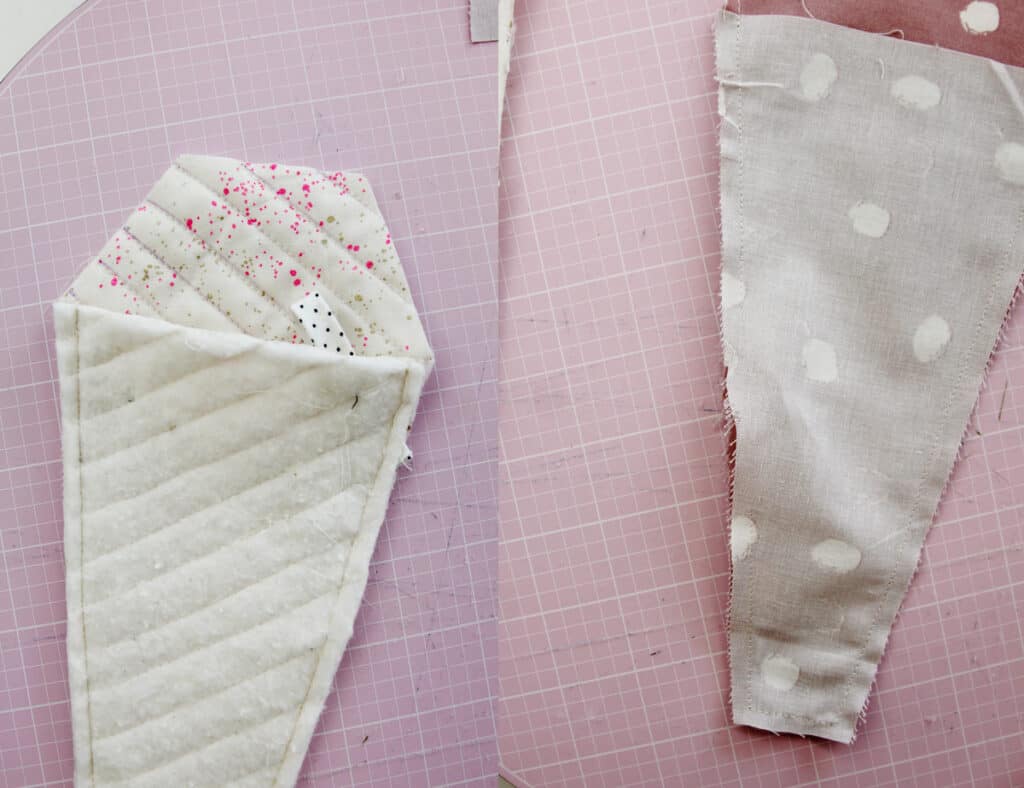
Sew the front and backs together with right sides together. Use a narrow stitch, such as 2.3mm as you pivot around the corners for a more secure stitch. Repeat with the lining fabrics leaving an opening at one of the side seams.
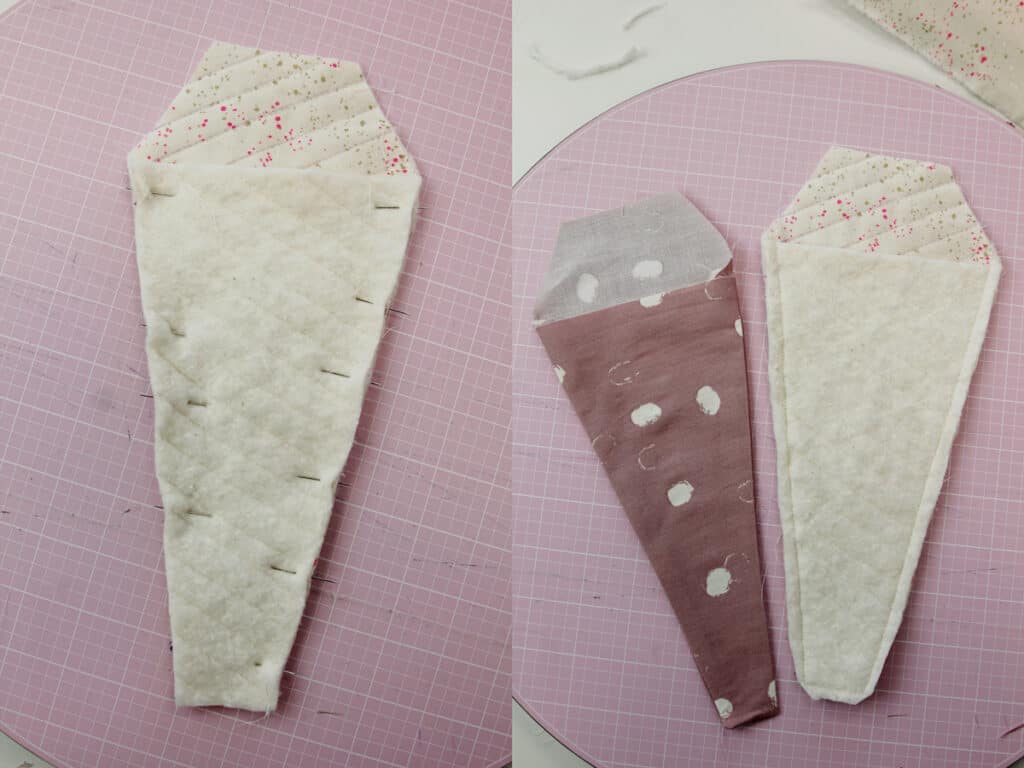
Then turn the lining right side out. Leave the main wrong side out.
Push the lining into the main and line them up at the top.
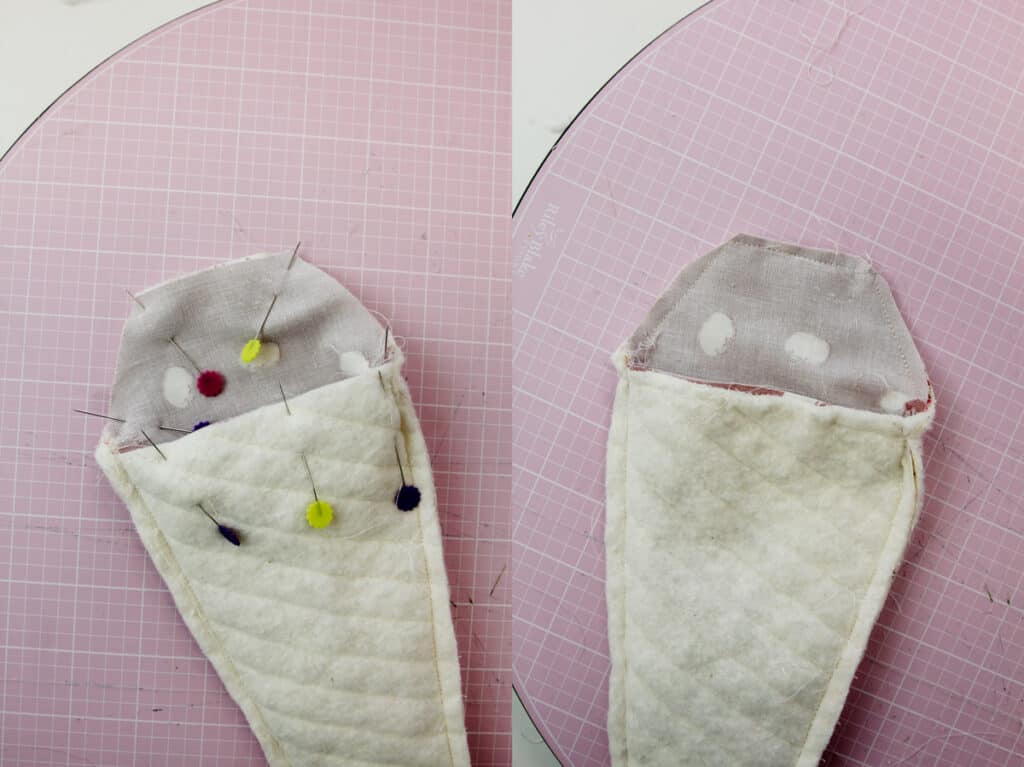
Sew around the top of the pouch. Trim and clip the seam allowance, especially focusing on the thick part where the seam allowances meet.
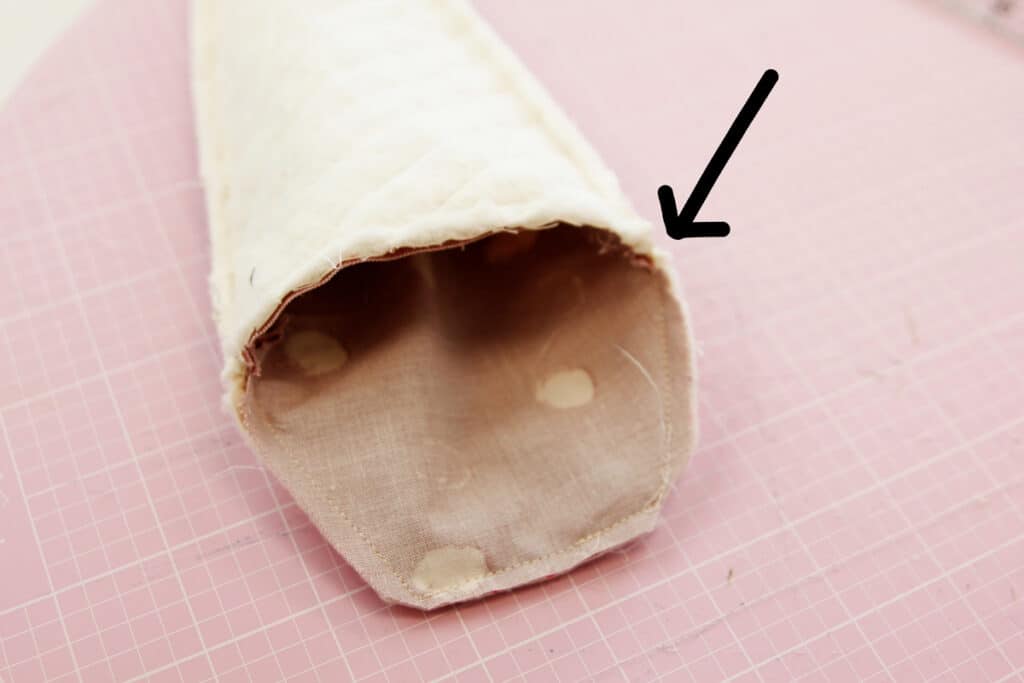
finishing the scissor holder
Turn right side out through the opening in the lining and press well. Sew the lining opening closed close to the edges. Push the lining into the main. Use your point turner to get the bottom of the scissor pouch lining all the way down. Press along the top edges.
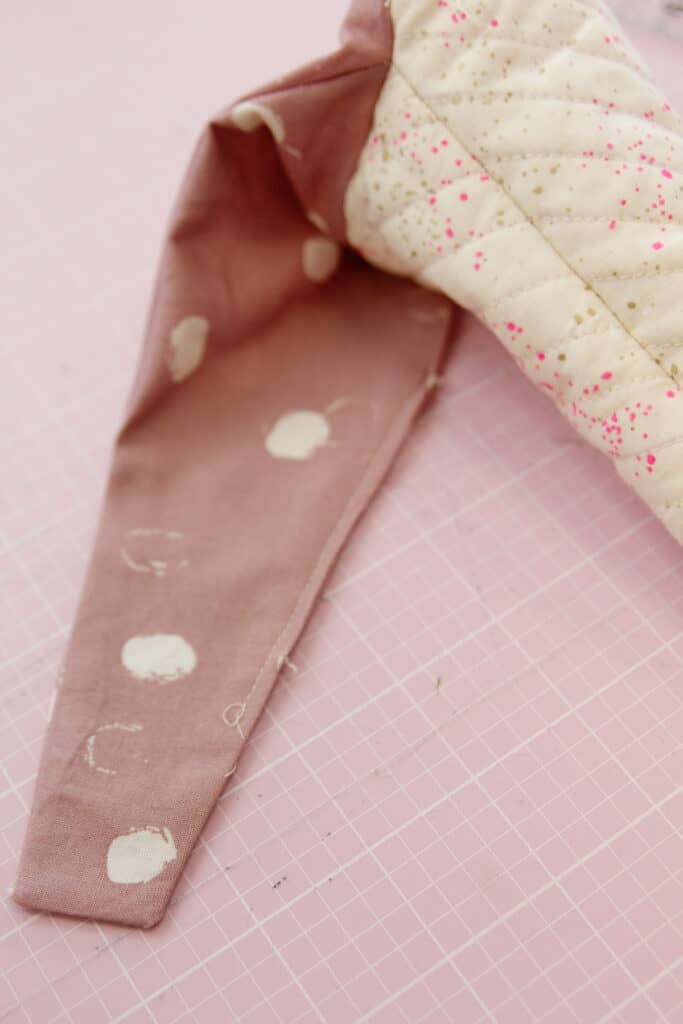
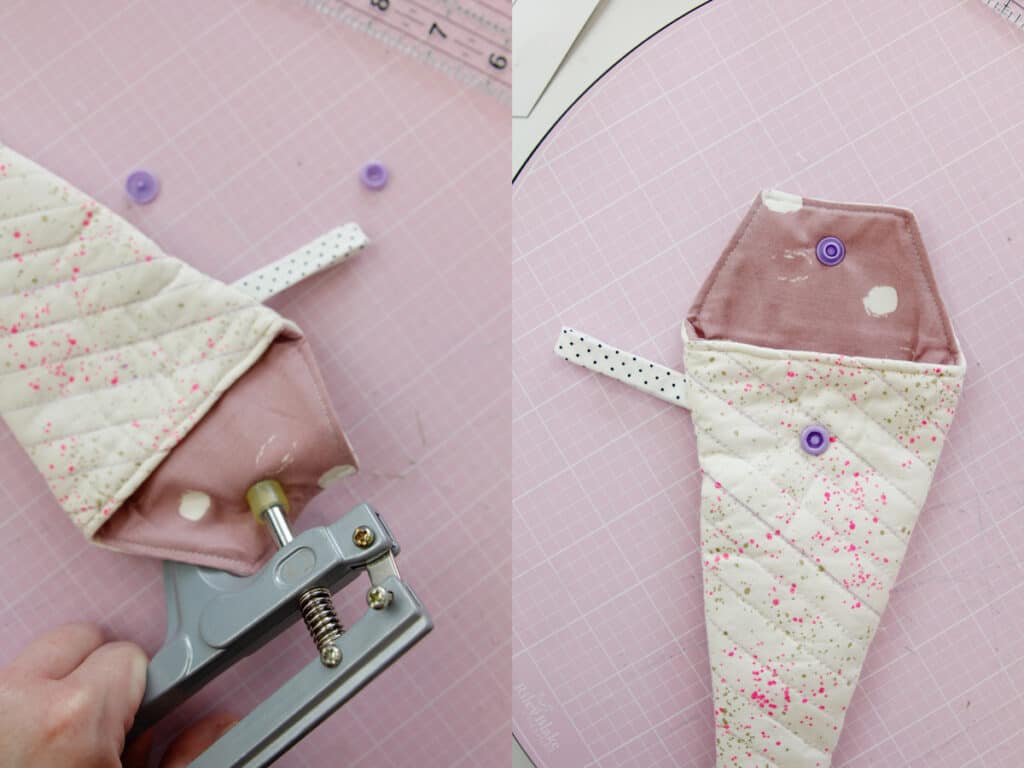
Topstitch around the top flap 1/8″ from the edges. Fold the flap over to decide where to put your snaps. You may want to do this with your scissors in the case. Add snaps and you’re done!


Patterns similar to the scissor holder pattern
If you like this cute scissor pouch, you’ll also love these easy sewing projects with free patterns:
Join our Facebook Community to share your projects and find inspiration!


