A few months ago, on the facebook page, I asked what you’re scared of more: zippers or buttonholes. The response was overwhelmingly buttonholes! I would have guessed zippers, so I was a little surprised. But I also know how scary buttonholes can be. They are just so permanent! And if you’ve ever unpicked one…!
But after a little buttonhole therapy (i.e. lots of practice) I can honestly say I’m not scared anymore. And I don’t want you to be either, because buttons add so much to sewing projects. So let’s go:
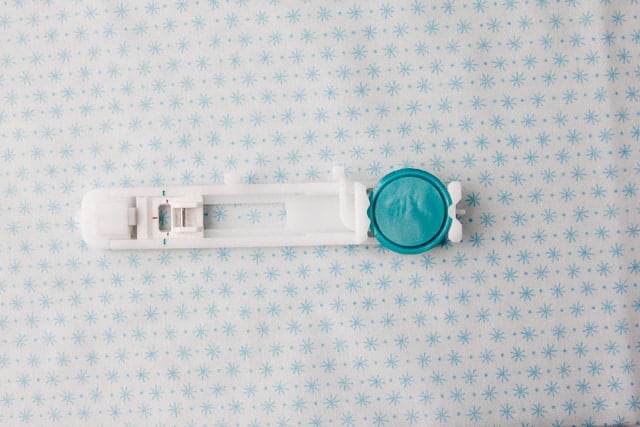
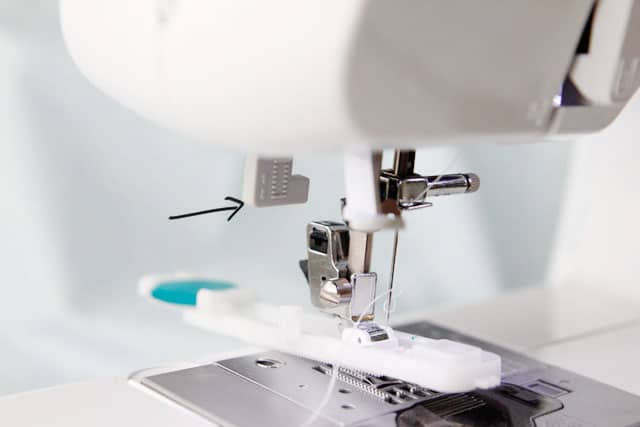
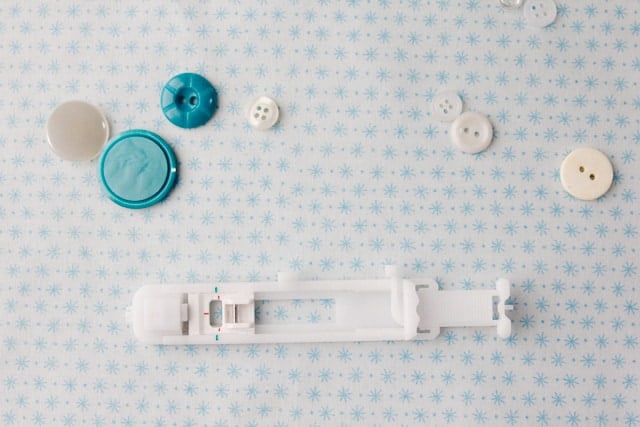
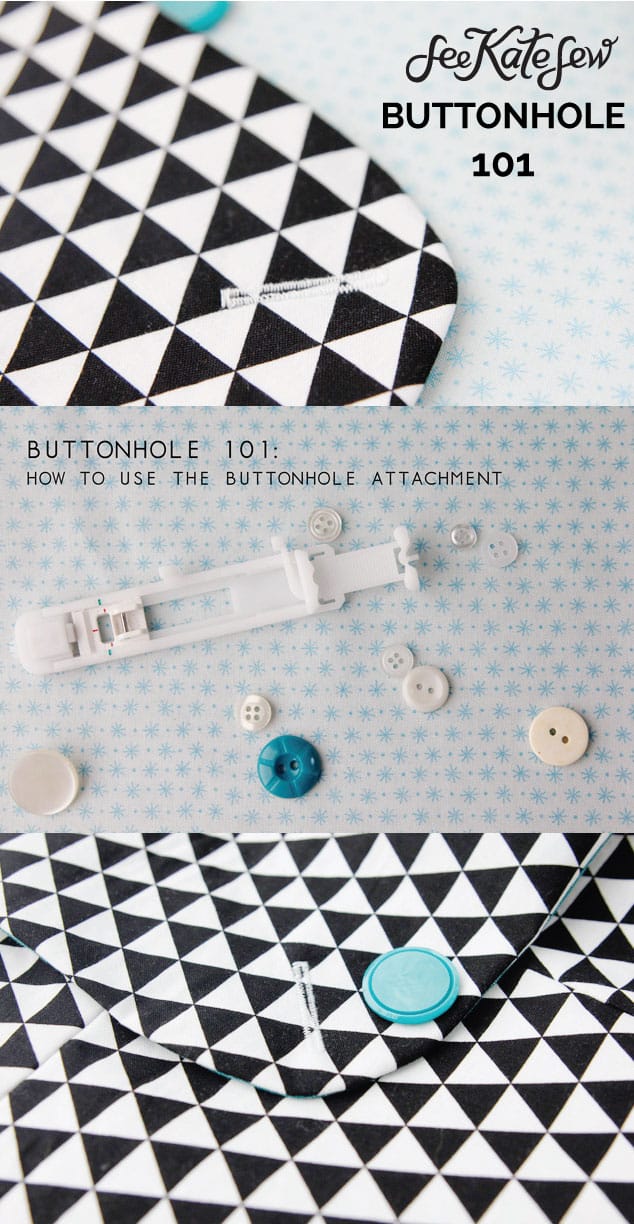
Most sewing machines come with a buttonhole foot. This is the one I use (and the one shown in this tutorial), it came with my machine. Your standard buttonhole attachment looks like this:

The button goes on the end, and tells the foot how big the buttonhole needs to be. A smaller button will move the placement of the plastic guides so the hole ends up smaller.
To make a buttonhole, put the button for which you are making the hole in between the plastic holders.
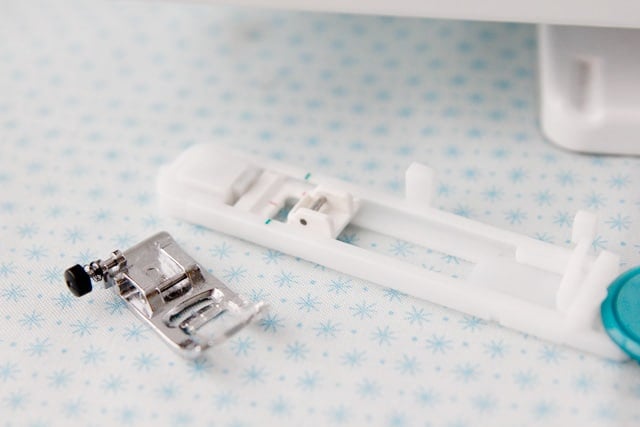
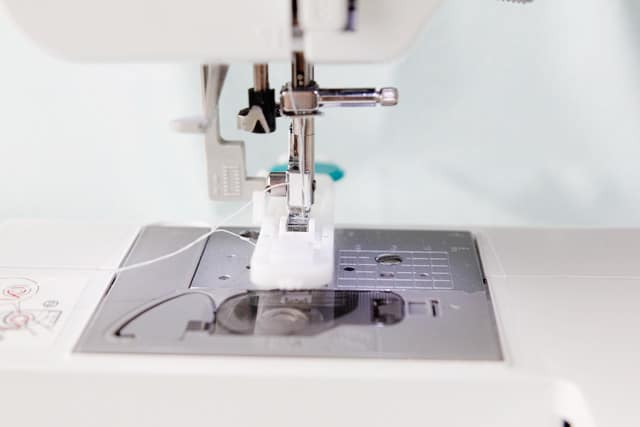
Then remove your normal presser foot and replace it with the buttonhole attachment.

Pick a buttonhole stitch. On 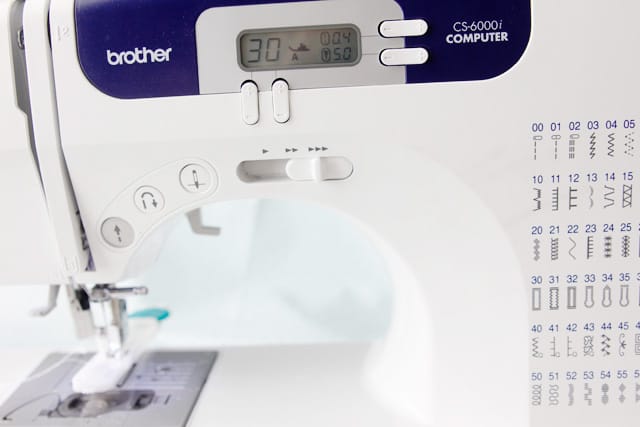
Find your buttonhole lever and pull it down as far as possible. This will act as the sensor to tell your machine to turn around when the lever hits the plastic guide. That way your buttonhole will be the right size for your button. Arrow below indicates lever.
Ready to go!
Place a pin or mark where your buttonhole should go.
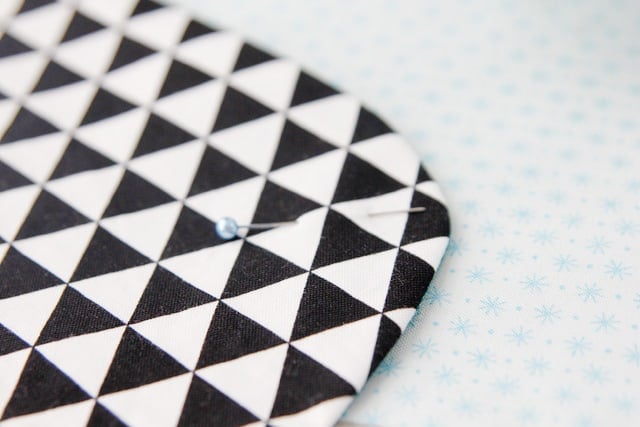
Line up the open space and position the end of the pin or your mark between the three red lines.
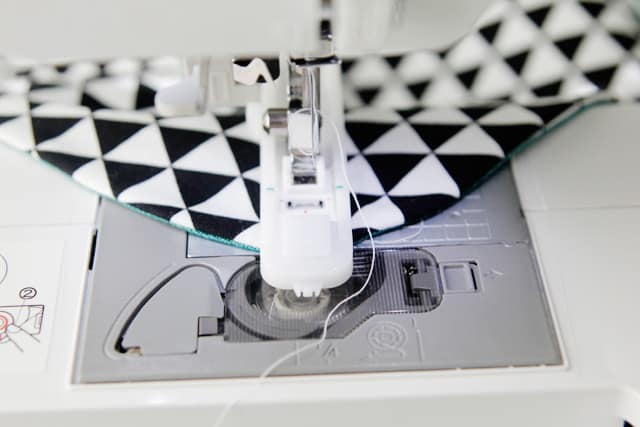
Push down on your pedal and let the machine make your hole! It will slow down and come to a stop when the hole is finished.
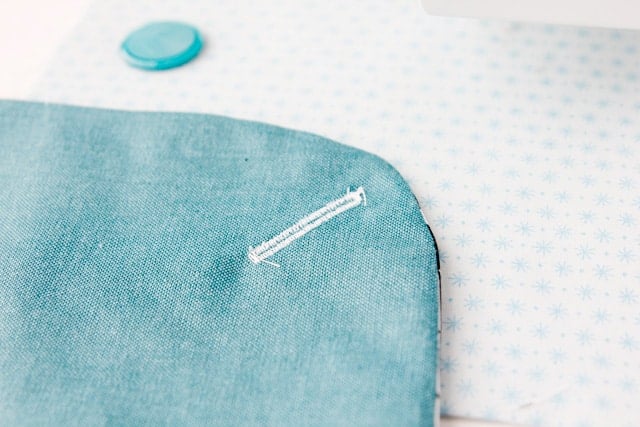
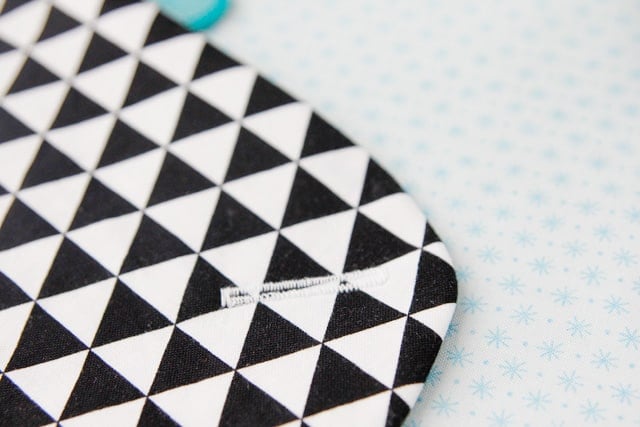
Ta-da! Use
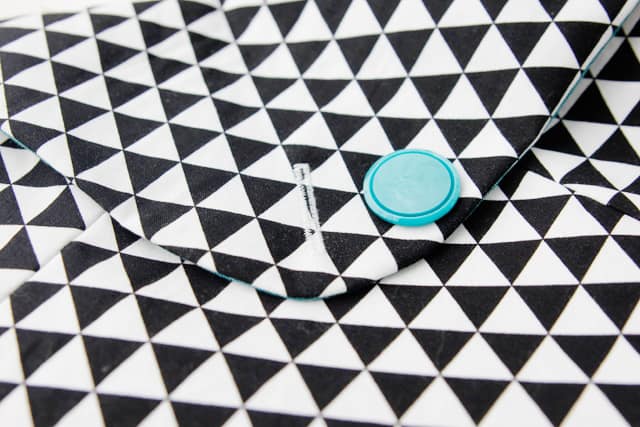
Sew on your button and you’re done!
Tips:
*Always do a test-run on a scrap of fabric first! You’ll never regret doing this, but you might regret not doing it when you’re unpicking a buttonhole (the ultimate worst!)
*Check everything before you start. Check the buttonhole selection, check the button, check the pull-down lever, check the placement on your fabric.
True fact: I hold my breath each time I make a buttonhole, still! I think it’s a habit.


Oh how I wish I had a new fangled sewing machine that did all the hard work for me! I have to measure my button and then watch closely as I 4-step my way through, trying to get it long enough to squidge my button through but not so big that it gapes, while judging the stitch length so it catches all the thread and allows makes a clean opening while not bulking up so much that it wont pass under the presser foot.
Thus I much prefer zips!
Just a few weeks ago I realized that my sewing machine could do this…its awesome! But of course my sewing machine is the older style as well. It made me feel so professional to put on a button hole.
When I found out my new machine did all the work for me I was so excited! The only downside is this doesn’t work for oversize buttons…and the manual technique is less than perfect. Great tutorial!
Please could I suggest a subtle change to make it clear this is a one step buttonhole tutorial rather than “standard”. In the uk one steps aren’t the norm on most basic priced machines. Four step buttonholes are the most common. I would love a one step! And I believe the fear of most people concerning buttonholes centres on mastering four steps. It certainly is why I’ve always struggled with buttonholes and why I answered buttonholes on your poll
I have that same machine, but I haven’t used it that much, it’s pretty new. I was wondering how to make button holes :) I’m going to try it soon.
I’ll definitely be practicing a buttonhole on some scrap fabric first. For my clutch, I’ve already got my pieces cut and ready to sew. Maybe I’ll be able to finish my clutch tonight??!!
I’ll definitely be practicing a buttonhole on some scrap fabric first. For my clutch, I’ve already got my pieces cut and ready to sew. Maybe I’ll be able to finish my clutch tonight??!!
I have the kind of machine where you have to three-step it manually (but then you can set the machine to remember the size and make the rest automatically). Anyway, I truly hate making buttonholes. With a zipper, if you screw it up, you can just try it again. Buttonholes have the potential to destroy a project right at the very end.
I shudder!
Wow, thanks for that. I’ve never seen such a buttonhole-attachement before and I’am really scared of doing buttonholes. (so you don’t really find buttons on my things…)
My machine (my mom’s) is around 45years old, do you think it’ll fit also that machine? Then I’m going to buy one of this immediately and try to get some buttons in my sewing…
I came across your blog via Marla’s Art Page Blog (this post to be specific http://marlaken.wordpress.com/2013/02/26/buttonholes/). I’m so glad that I did, because this is very useful! I have never had an easy time when making button holes. Thanks for posting! Oh and I’ll be pinning this btw! :)
~Jen
Thanks so much for sharing this, I have had my machine for 6 years and NEVER tried this option. Now I have no excuse :)
Thanks for sharing this!
I’ve had my machine for 2 years and never took the time to figure out the button hole attachment! I was terrified of it! Wow, that was so easy! I feel silly :)
you are awesome.
I am going to try it!!
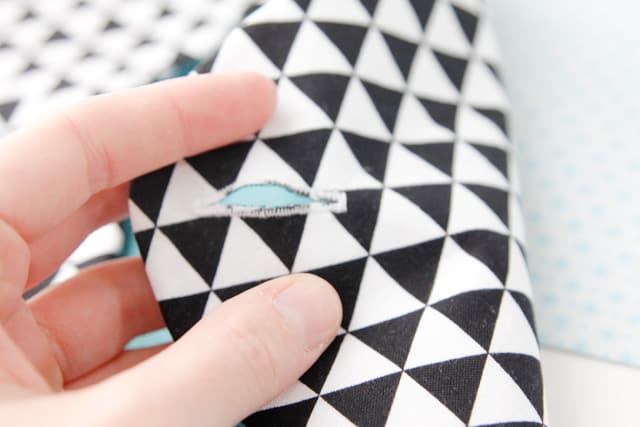
Brilliant trick for opening the button hole!
Jolleen
Thanks so much. I’ve been removing the button from the attachment and hoping that nothing shifts in the process!
Thanks so much. I’ve been removing the button from the attachment before putting it on the machine and hoping that nothing shifts!
awesome tutorial! i held my breath too when i did it…just couldn’t help it!
Wonderful tutorial, thank you! The manual that came with my machine doesn’t have pictures and it has been so frustrating trying to figure out how to use the buttonhole foot!
THANK YOU FOR THIS.
So nervous about buttons. I avoid them, in fact. :) Will be referencing. :)
So excited about this! Especially because I have the same machine! Thank you so so much!
Thanks for your tutorial with the button sewing machine. Quite excited to make my own button attachment now. I had my button sewing machine for quite a while now but I never dared to actually try making a button attachment :)