• Skip to main content
  • Skip to primary sidebar
  • Skip to footer
  • Blog
  • About
  • Contact
  • FAQ
  • Sponsor

see kate sew

sewing, crafts, tutorials, DIY

  • Patterns
    • Free Patterns
    • Pattern of the Month
  • Tutorials
    • Accessories
    • Bags and Pouches
    • Clothing
    • Costumes
    • Crafts
    • Cricut Projects
    • Holiday
    • Household
    • Kids
    • Maternity
    • Quilting
  • Topics
    • Baby
    • Boy
    • Christmas
    • dog
    • Dolls
    • Easter
    • Girl
    • Halloween
    • Lookbook
    • Party
    • pet
    • Printables
    • Training
    • women
  • No Sew
  • Sewing 101
  • Sew4Good
  • Pet
  • Sewing Room
    • DreamBox
  • Reviews
Home
  • Patterns
    • Free Patterns
    • Pattern of the Month
  • Tutorials
    • Accessories
    • Bags and Pouches
    • Clothing
    • Costumes
    • Crafts
    • Cricut Projects
    • Holiday
    • Household
    • Kids
    • Maternity
    • Quilting
  • Topics
    • Baby
    • Boy
    • Christmas
    • dog
    • Dolls
    • Easter
    • Girl
    • Halloween
    • Lookbook
    • Party
    • pet
    • Printables
    • Training
    • women
  • No Sew
  • Sewing 101
  • Sew4Good
  • Pet
  • Sewing Room
    • DreamBox
  • Reviews

09.25

the zooey petal tunic TUTORIAL

Welcome to See Kate Sew! If you’re new here, sign up for my email newsletter for access to free patterns, tutorials and all the latest sewing news! Tour my sewing room HERE!


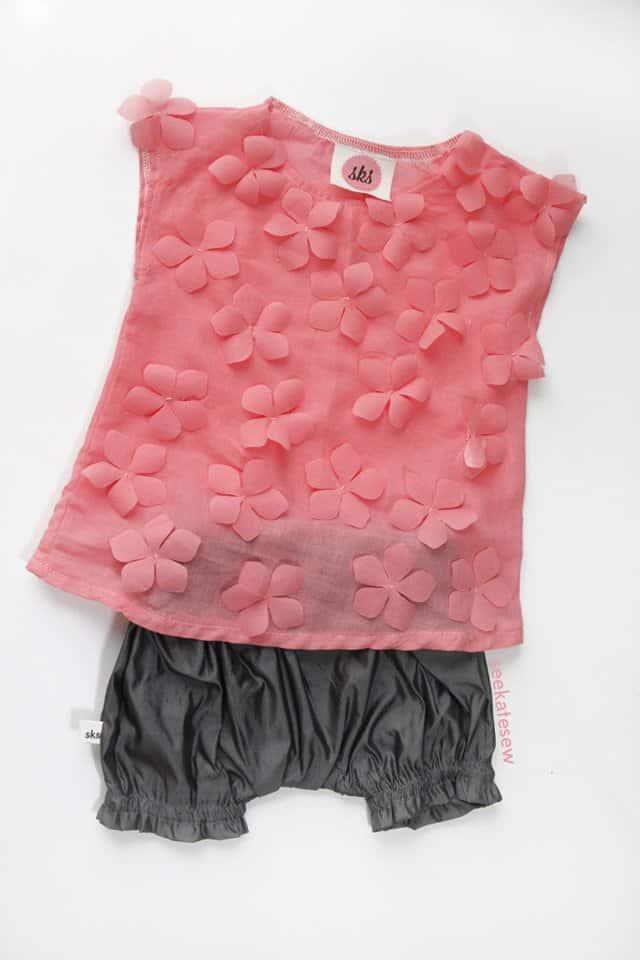
I showed off this tunic at Project Run and Play last week, and I promised a tutorial, so here it is! I used my CAMEO to cut out the fabric flowers, which proved to be a huge time-saver. So first I’ll show you how to make the tunic. Then I’ll show you how to cut and attach the flowers.

assemble the tunic:
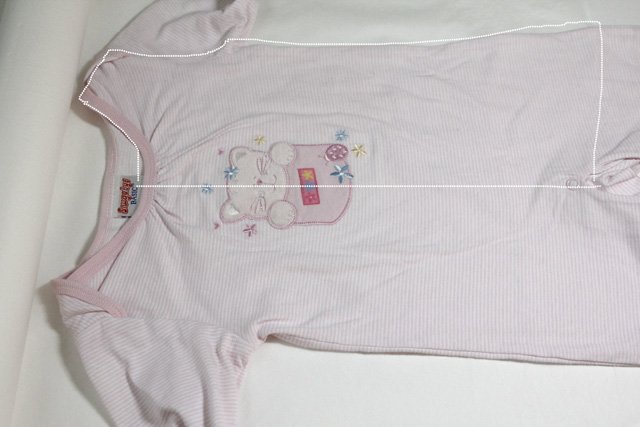
Use a piece of clothing for the size you want to make the pattern piece. Trace the neckline, shoulder, armhole and side seam.

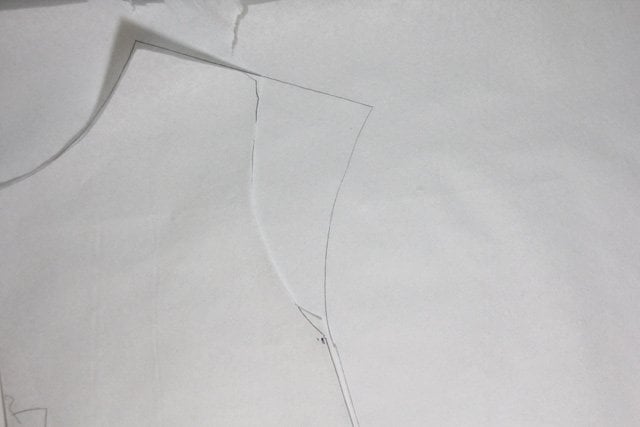
It will look a little like this:

Draw a pseudo sleeve like this:

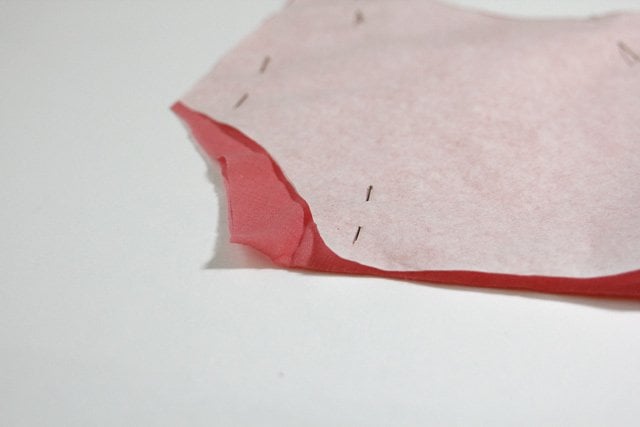
 Then cut two on the fold. Make sure you raise the neckline for the back piece.

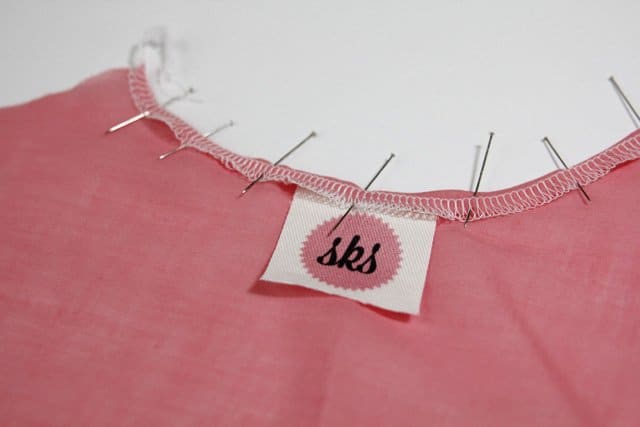
 Finish the necklines by serging and turning over 1/4″. Pin and sew. Stick in a label if you want.

 Then, serge the sides and sew them together up to the armhole point. Backstitch. Finish the armhole seams by pressing over and sewing in place. Then stitch the shoulder seams together.

Hem the bottom and you’re ready for flowers!

Attach the flower petals
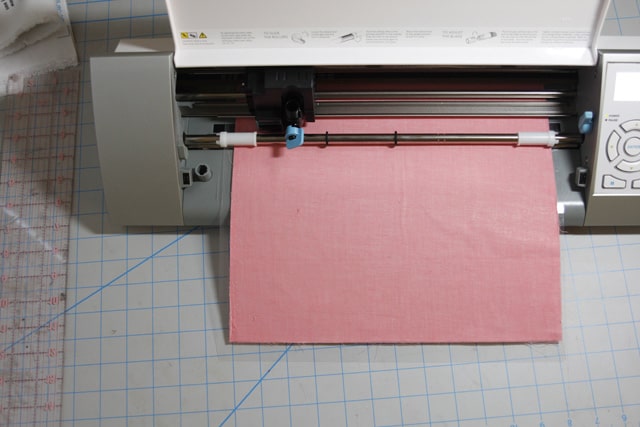
*silhouette interfacing
*12″ by 12″ square of fabric
*Flower petal file

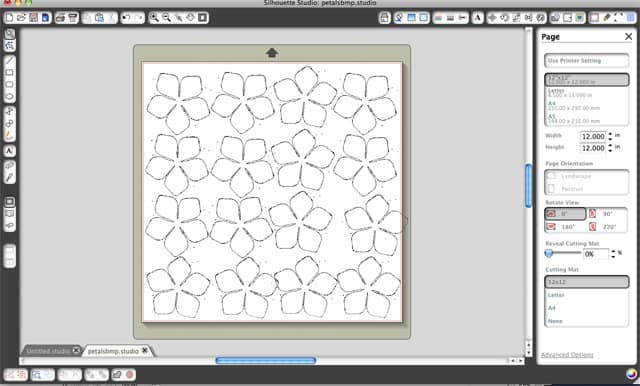
My silhouette software looked like this to make the flowers. I ended up making them a little smaller, squeezing 5 across and 5 down for a total of 25 flowers. I used about 24 on the tunic, I think. You’ll need more or less depending on the size you’re making, of course.

After they cut you’ll have a whole bunch of crisp flowers:

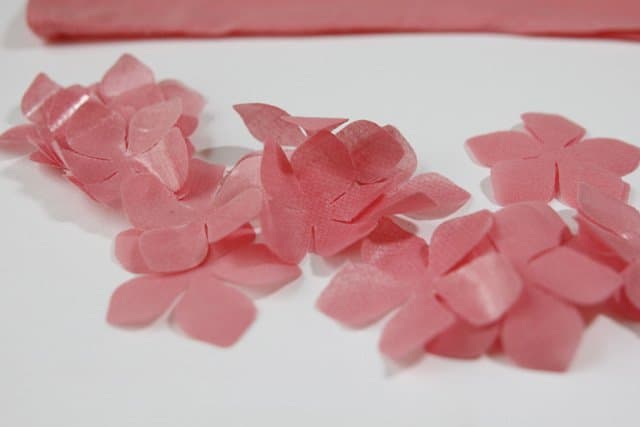
 Arrange them on your tunic and stitch them each on a with a single X.
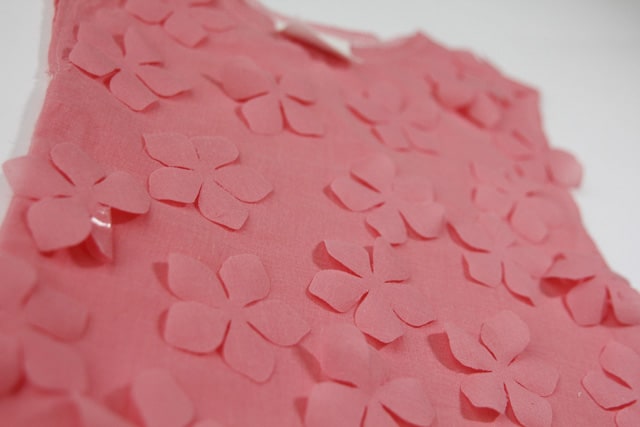
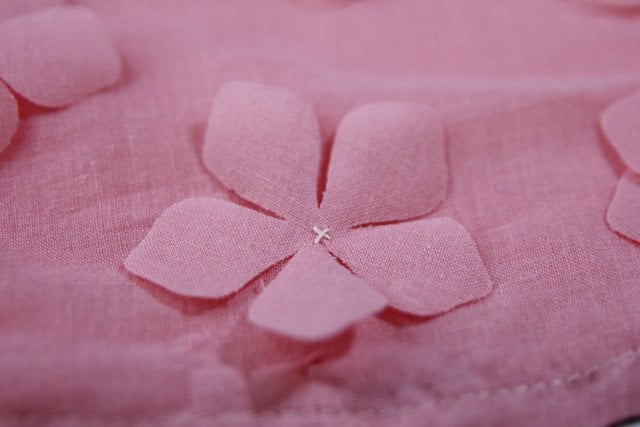
 And you’re done!


Silk Bloomer tutorial coming soon! 

11 Comments | Clothing

Exclusive Free PatternRuffled Apron

Sign up for my email newsletter and receive my ruffled apron pattern totally FREE!

We take your privacy seriously. See our privacy policy here. Unsubscribe at any time.

You may also like these posts...

STYLED BY VIVIAN // the dreamer topfabric spotlight: heat set pleated chiffon10 womens sewing patterns to makepleat week guest! – sachiko from tea rose home

Reader Interactions

11 Comments

  1. Mandy @ Sugar Bee Crafts

    09/25 at 12:19 PM

    ah, you cut the flowers with the Silhouette – that’s the part I was most curious about – genius!

  2. Jessica at Me Sew Crazy

    09/25 at 2:31 PM

    Yahoo!!! You did a tutorial for this shirt, I was so in love with it when I first saw it Kate! Gorgeous! I love it so much!

  3. Gail

    09/25 at 3:36 PM

    will the flowers fray after machine washings. Also will they curl and need to be pressed after each washing

  4. kiki comin

    09/25 at 4:13 PM

    seriously amazing. i LOVE it!:)

  5. Brittany

    09/25 at 4:43 PM

    This might be a dumb-ish question, but did you treat the fabric with something in order to run it through the silhouette, or is that what the machine does? Just wondering; never used one of those before!

  6. Emily

    09/25 at 4:59 PM

    Seriously so cute!! I really need a serger! :) What kind of fabric did you use and/or did you treat the flowers with something to prevent fraying and/or curling? (basically the same question as Gail)

  7. kristin

    09/25 at 5:01 PM

    kate seriously; so freakin’ adorable. wish i had a cameo!!!

  8. Amanda

    09/25 at 5:12 PM

    Adorable…I love it!!

  9. jackie

    09/27 at 1:14 PM

    Love that shirt. Cute, cute, cute.

  10. Susan @ Living with Punks

    09/29 at 3:31 AM

    Completely adorable Kate. It’s so delicate and perfect! Love the softness of the top and the color and fabric of the bloomers create a perfect balance.

Primary Sidebar

  • Facebook
  • Twitter
  • Instagram
  • Pinterest
  • Email

Exclusive Free PatternRuffled Apron

Sign up for my email newsletter and receive my ruffled apron pattern totally FREE!

We take your privacy seriously. See our privacy policy here. You can unsubscribe at any time.

Don’t miss these popular posts!

easy baby dress pattern for the summertime

easy baby dress pattern for the summertime

modern ombre + b/w triangle quilt tutorial + pattern

modern ombre + b/w triangle quilt tutorial + pattern

Fabric

Quilted Cosmetic Case Kiss Me KateKiss Me, Kate FabricOne Hour Granny Square Quilt Tutorial | See Kate SewModern Granny Square Quilt Whole Cloth

Pattern Hacks

Easy Baby Summer Dressthe EMMA pattern | See Kate SewThe EMMA Dress

Footer

Hello friends!

My name is Kate, a twenty something fashion lover and mother of two. When I’m not chasing kids you can find me at my sewing table or daydreaming up new designs. You can read more about me here. Thank you for visiting!

8a918f8da8e0e69102dc0f33a718de85a99c31a57283e0e3e2

FOLLOW ME HERE

  • Facebook
  • Twitter
  • Instagram
  • Pinterest
  • Email
  • Blog
  • About
  • Contact
  • FAQ
  • Sponsor

Copyright © 2025 See Kate Sew  •  All Rights Reserved  •  Privacy Policy  •  Site Design by Emily White Designs