This post, Trick or Treat Bag Pattern, is sponsored by Hotel Transylvania 3 in connection to the home release of Hotel Transylvania 3, avilable now on Digital and 10/9 on DVD and Blu-ray combo!
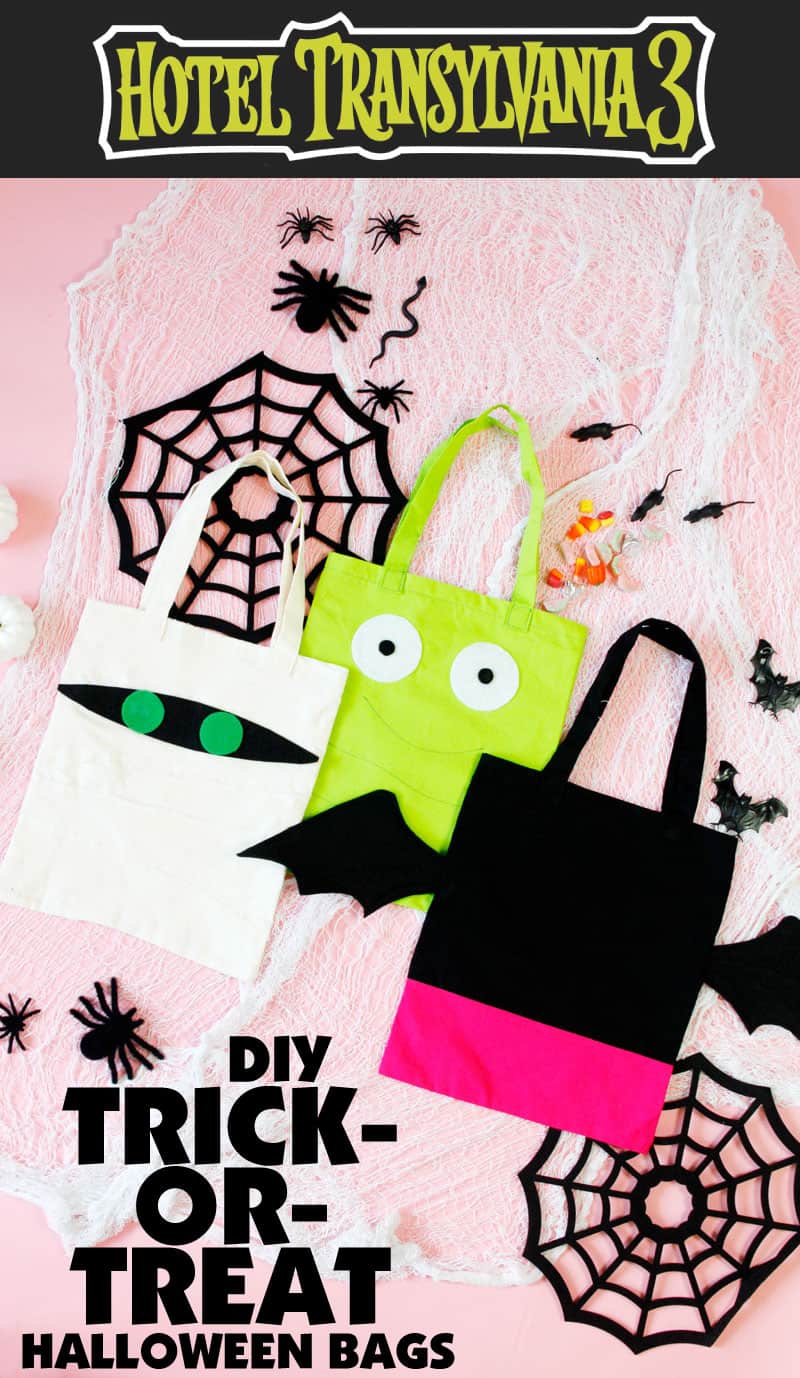
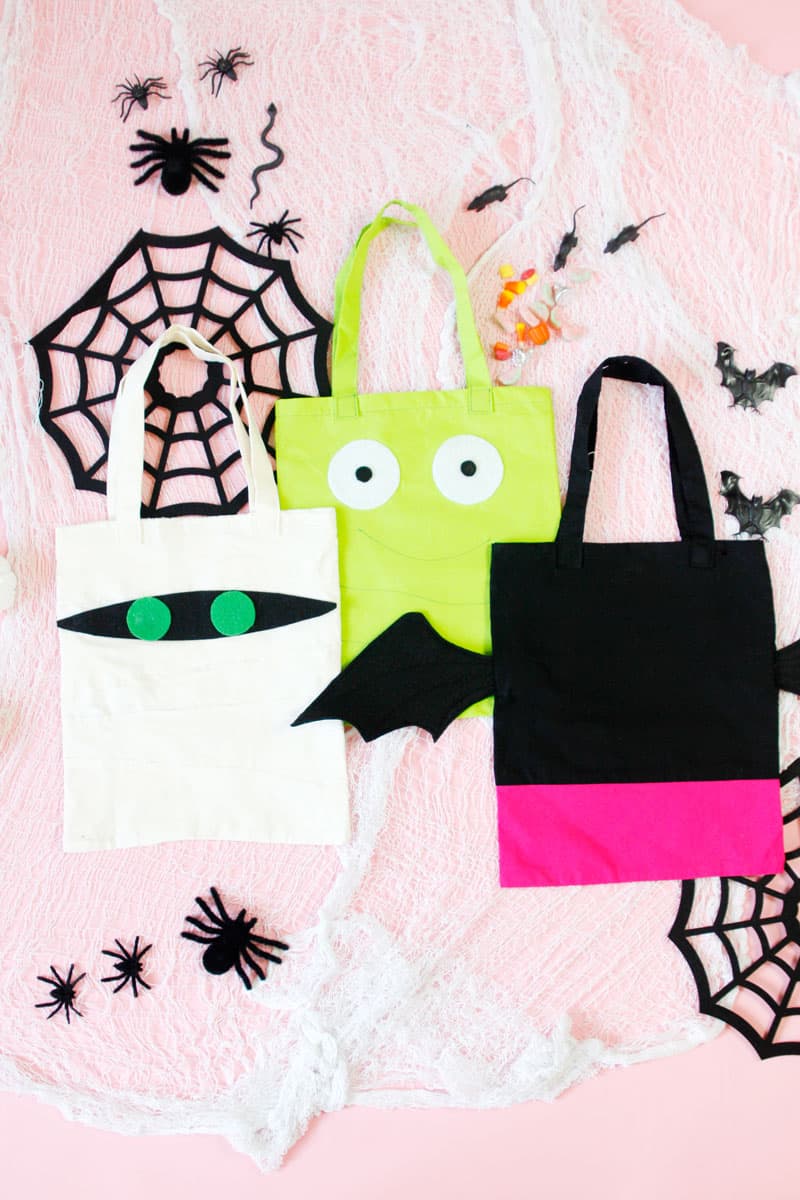
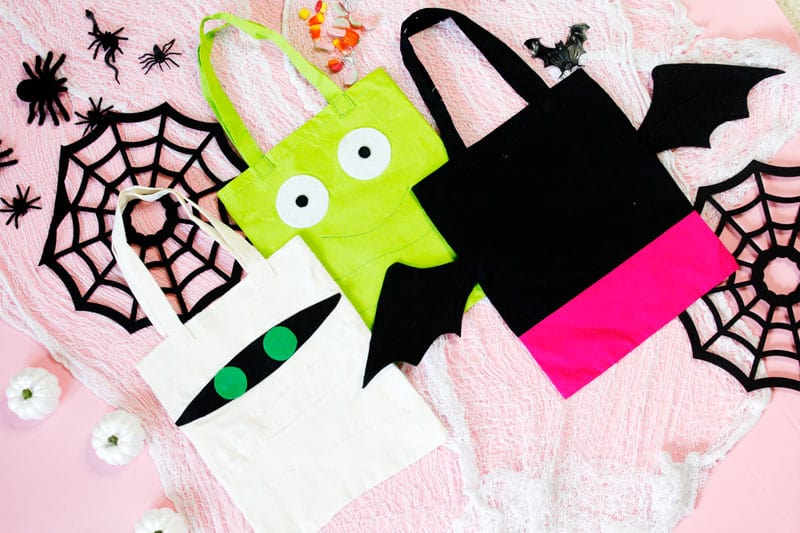
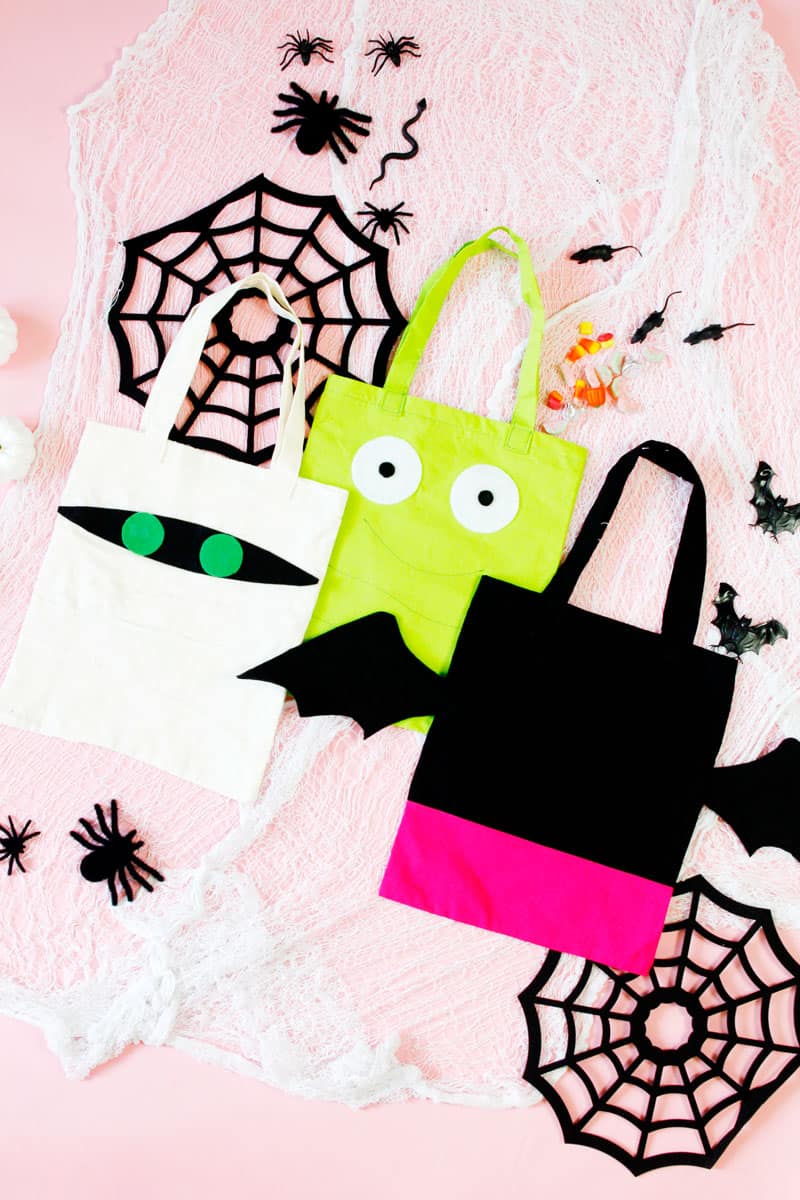
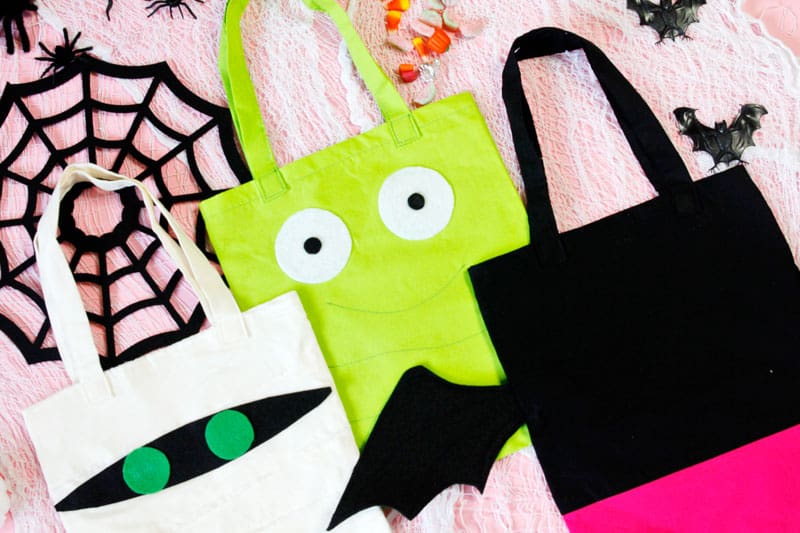
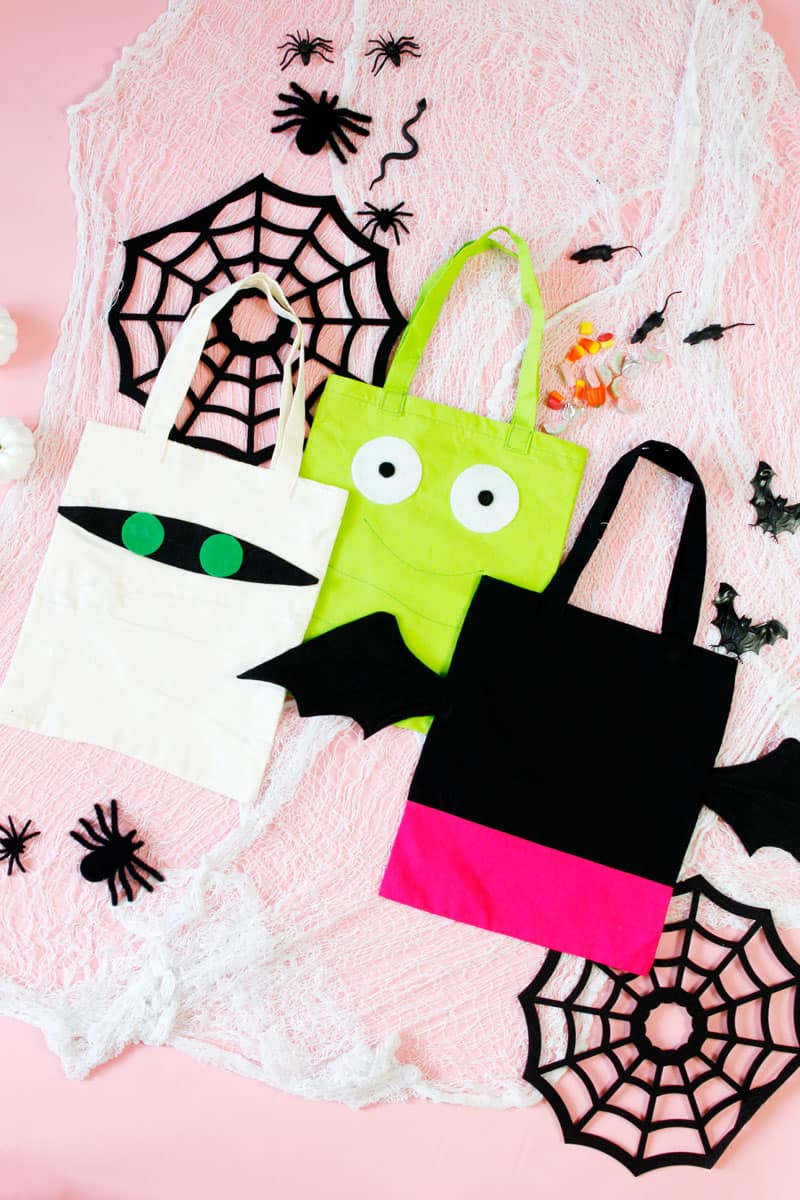
We are so excited to use these Halloween trick or treat bags with our HOTEL TRANSYLVANIA 3 costumes (Check them out here!) Use this trick or treat bag pattern to make your own character tote bags – inspired by Mavis, Blobby and Murray the Mummy! I love the idea of making extra characters into tote bags to add to your group Halloween costume, sometimes you don’t have enough people to cover as many characters as you want to! Or, make a character inspired tote to go with the same costume!
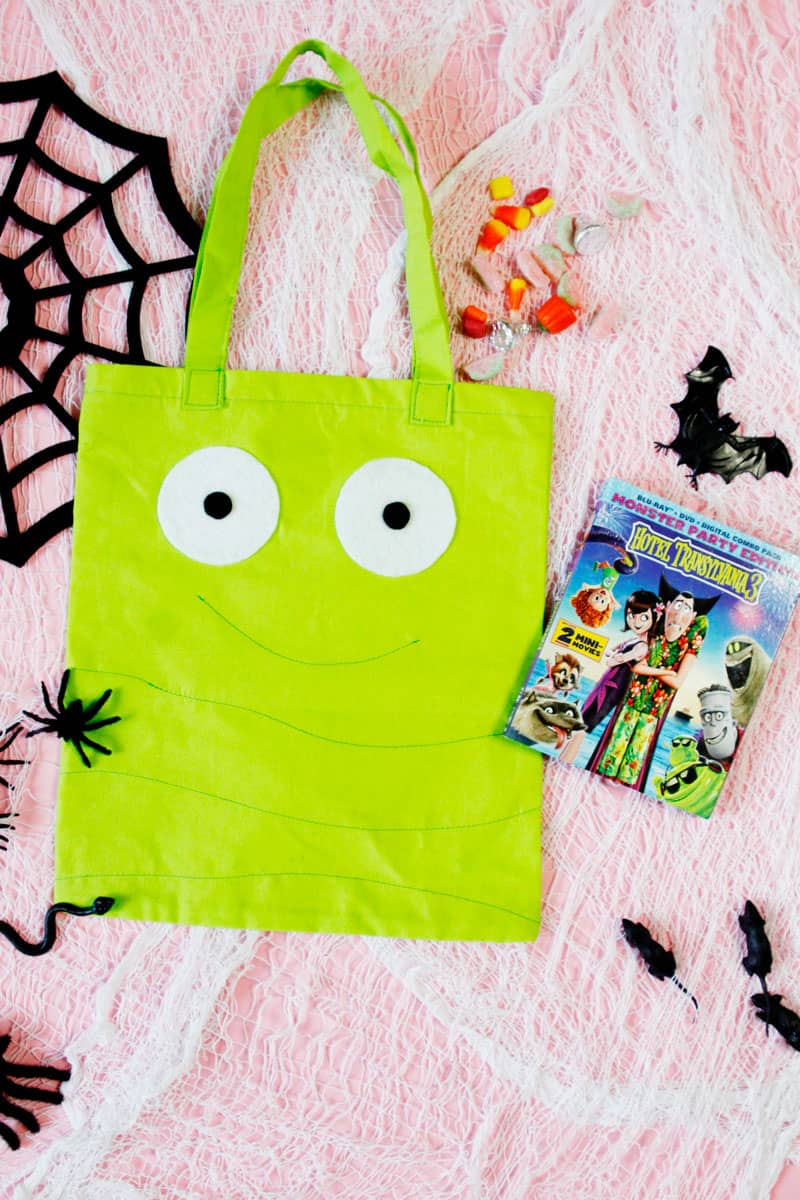
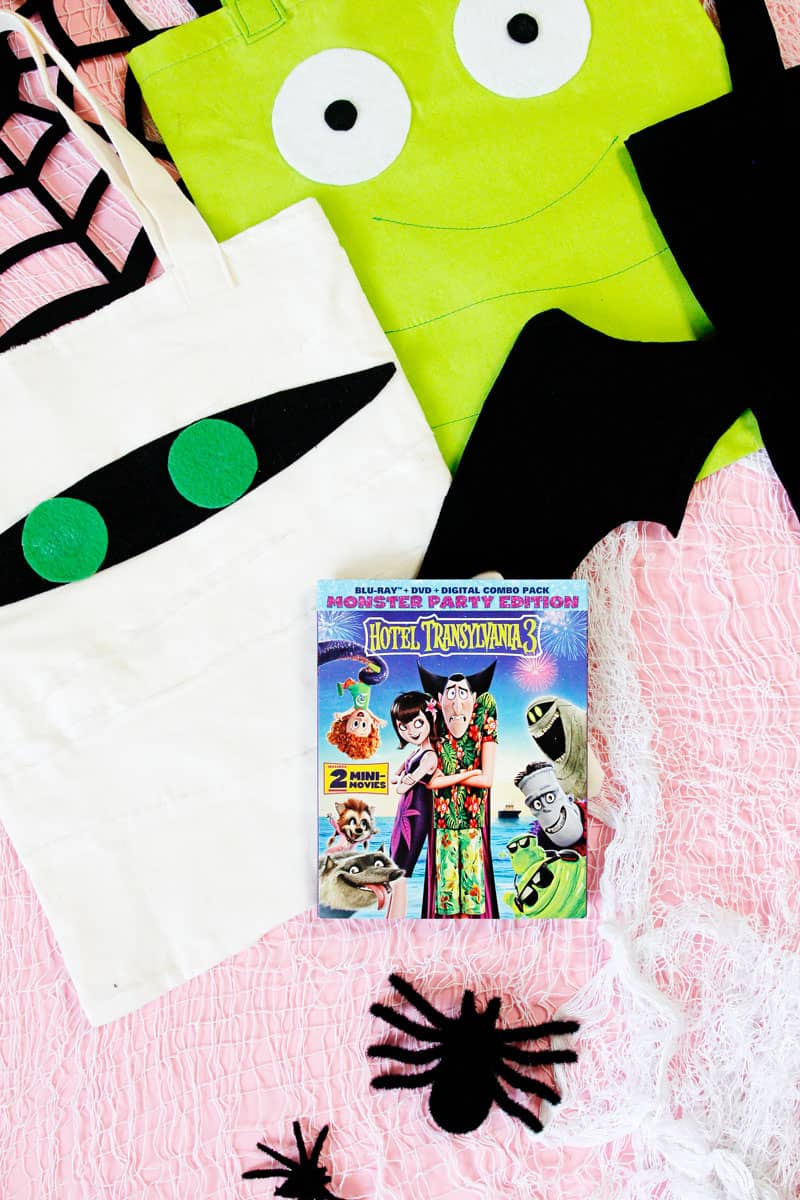
Use the measurements included to make a basic tote or make it with these variations for a spooky Halloween tote! And then take a break and watch Hotel Transylvania 3 at home – it’s available in Digital format now and on DVD and Blu-ray combo October 9! When you purchase a copy you also get fun extras – like 2 mini movies (we watched these already and they are so cute!) – music, and behind-the-scenes content!
The 3rd movie is a fun continuation of the series we already loved – the character development is just hilarious! We are so excited to use this movie to kick off our Halloween celebrations! Halloween is one of our favorite holidays – everyone in the family agrees! We love decorating, creating our costumes and trick-or-treating together! And we always watch as many spooky movies as possible! I love the Hotel Transylvania series because has monsters but isn’t scary – but fun and positive! There are also so many good one-liners that have made it into our family lingo, like when Drac says “I don’t say blah blah blah!”


Let’s get making!
Materials//
-1 yard cotton, various colors
-various thread colors
-lightweight fusible interfacing
-contrast cotton for lining
-felt for wings + eyes
-4 sheets black felt for Mavis bag
-1 sheet black felt and 1 sheet green felt for Murray the Mummy bag
-1 sheet black felt (or scraps) and 1 sheet white felt for Blobby Bag
–TEMPLATE DOWNLOADS
Use 1/2″ seam allowances.
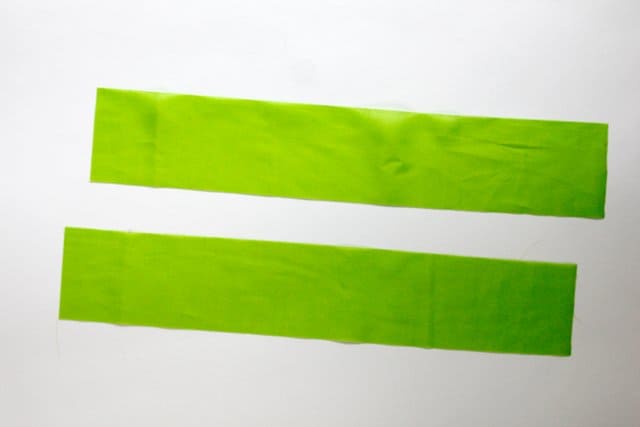
Instructions for Straps/
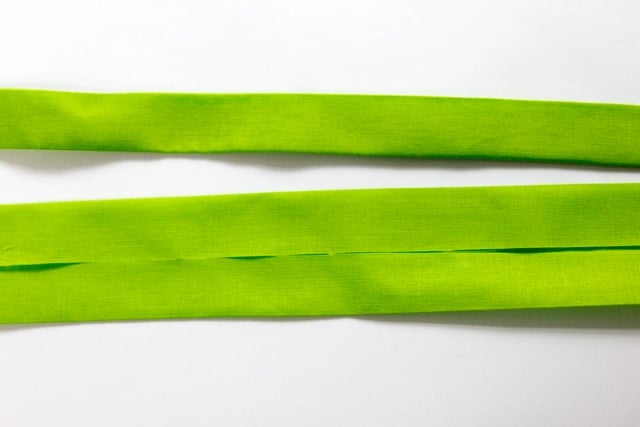
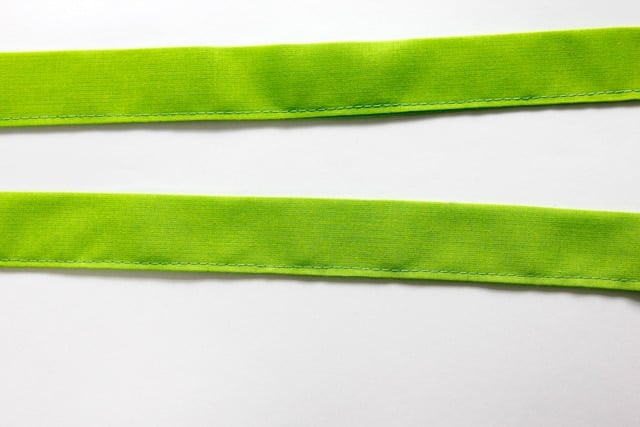
The straps for all 3 tote bags will be constructed the same way. Cut 2 strips of fabric 4″ wide by 22″ long. Press long edges to the middle. And then press in half again. Topstitch along both edges of the straps with matching thread.
Instructions for Blobby Tote//
Cut one piece of green cotton 25″ wide by 15.5″ tall. Fuse interfacing to the back of the fabric.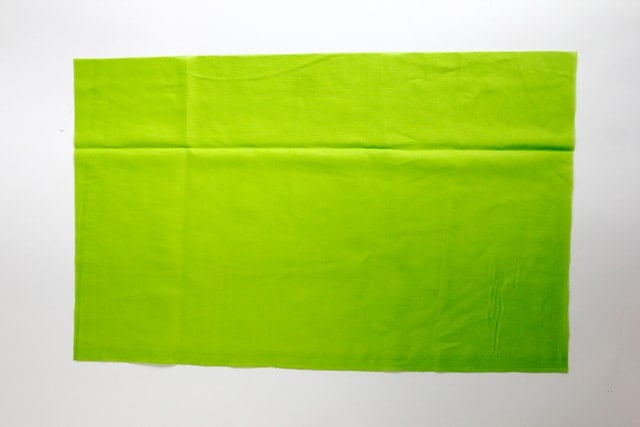
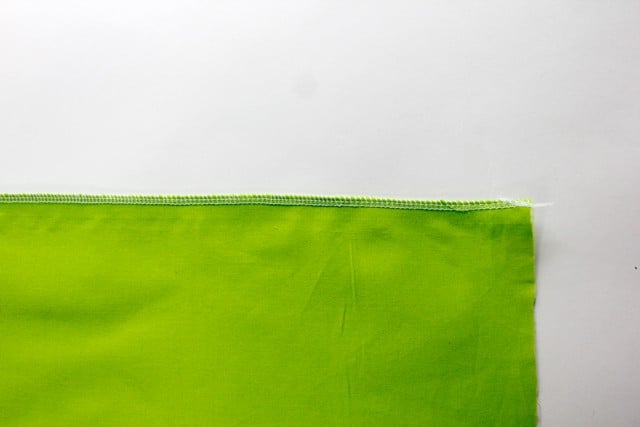
Finish the top edge of the tote with either a serger, a zig zag stitch or fray check.
Fold under 1″ at the top of the tote and press. Topstitch around top using a matching thread color.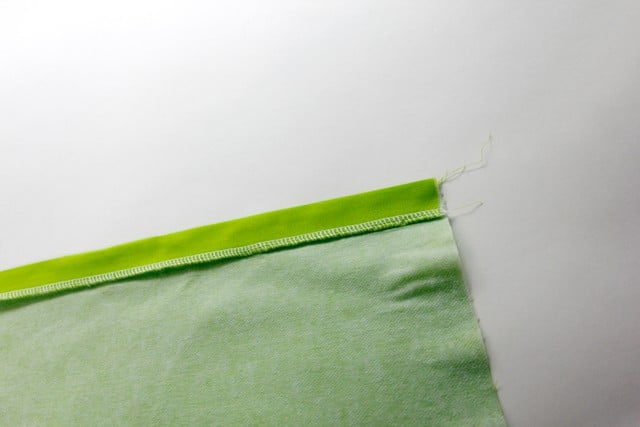
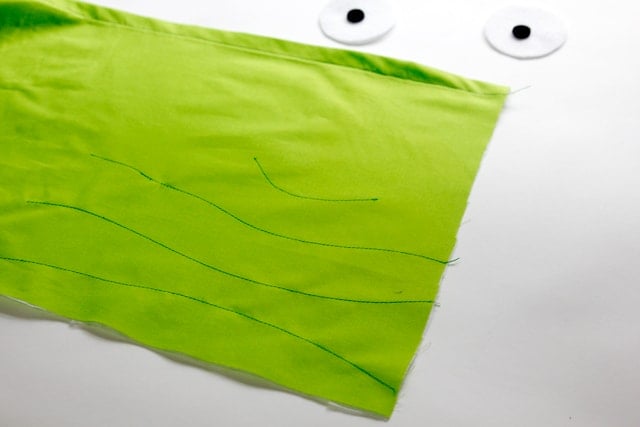
To make Blobby’s “blobs”, use a darker thread color and create topstitching shaped like simple curves along the right side of the bag. Be sure to backstitch at each starting and stopping point.
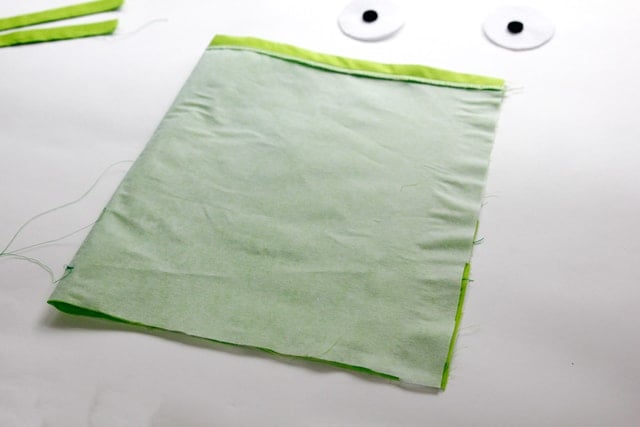
Fold bag over with right sides together and sew the bottom and side edges.
Use the template to cut Blobby’s eyeballs and pupils from white and black felt. Glue to front of bag. 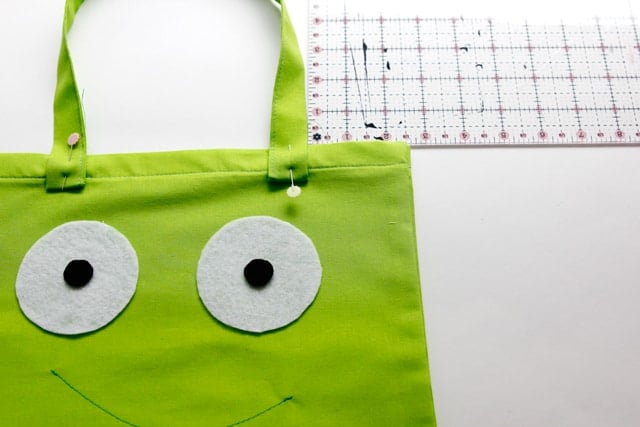
Sew straps onto front and back of bag, 2.5″ from each side. Done!
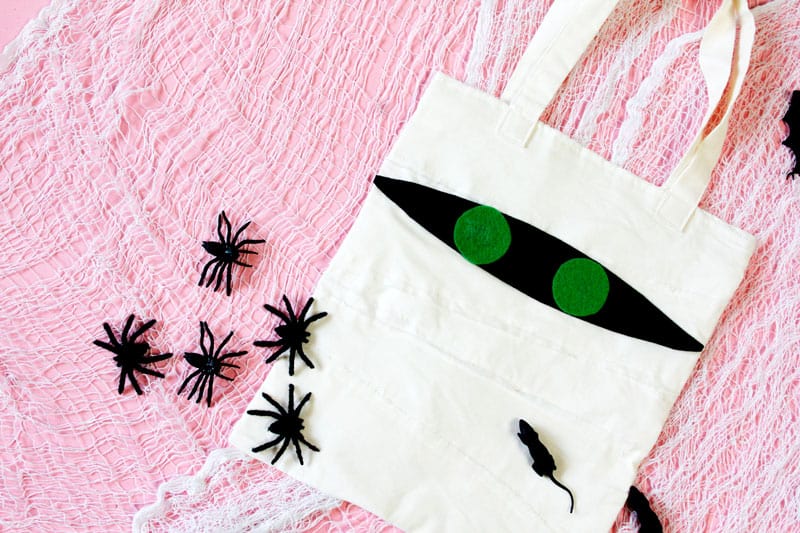
Instructions for Murray the Mummy Tote Variation//
Follow the instructions to the Blobby Tote until you finish the top edge of the bag.
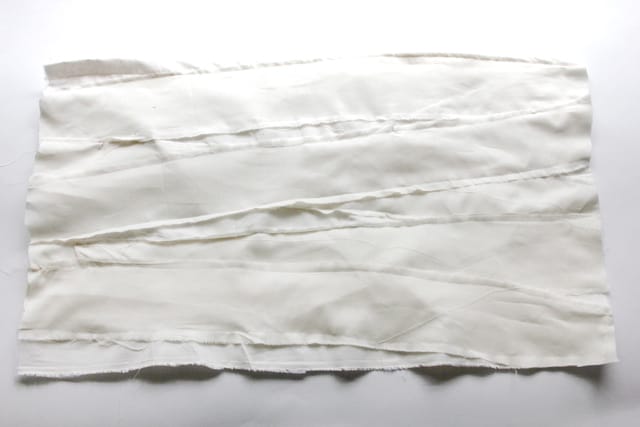
To make Murray’s mummy wraps, tear strips of fabric 3″ wide. Arrange the strips diagonally going up and down across the length of the bag and sew them down 1 at a time until you feel like you have a mummy-inspired bag! I used 6 strips.
Fold bag over with right sides together and sew the bottom and side edges.
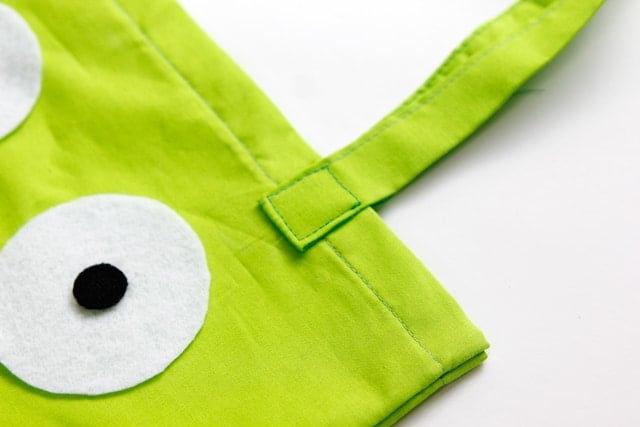
Use the template to cut Murray’s black eye band and green eyes. Glue to front of bag.
Sew straps onto front and back of bag. Done!
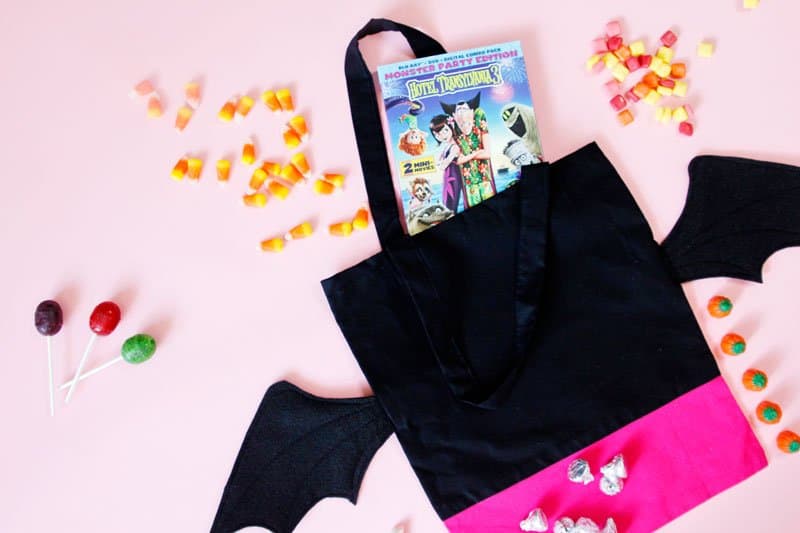
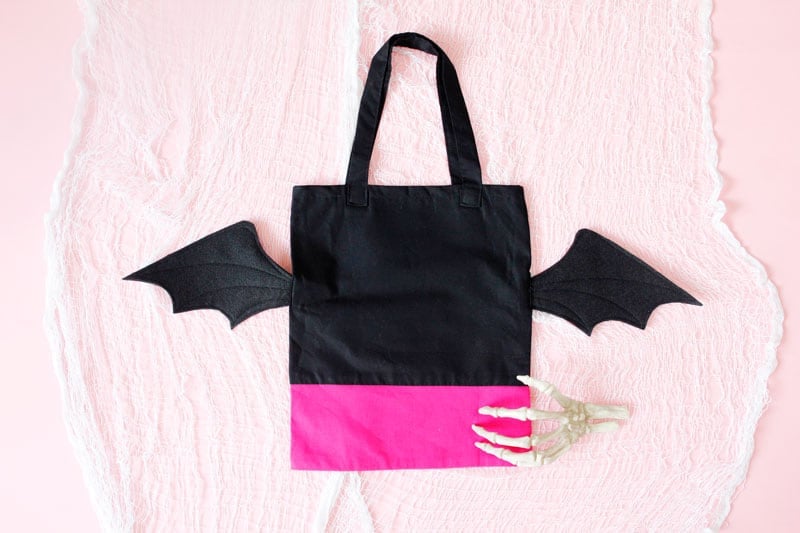
Instructions for Mavis-inspired Tote//
Cut one piece of magenta cotton 25″ wide by 11.5″ tall.
Cut one piece of black cotton 25″ wide by 5″ tall.
Sew black band to bottom of magenta strip.
Assemble like Blobby tote.
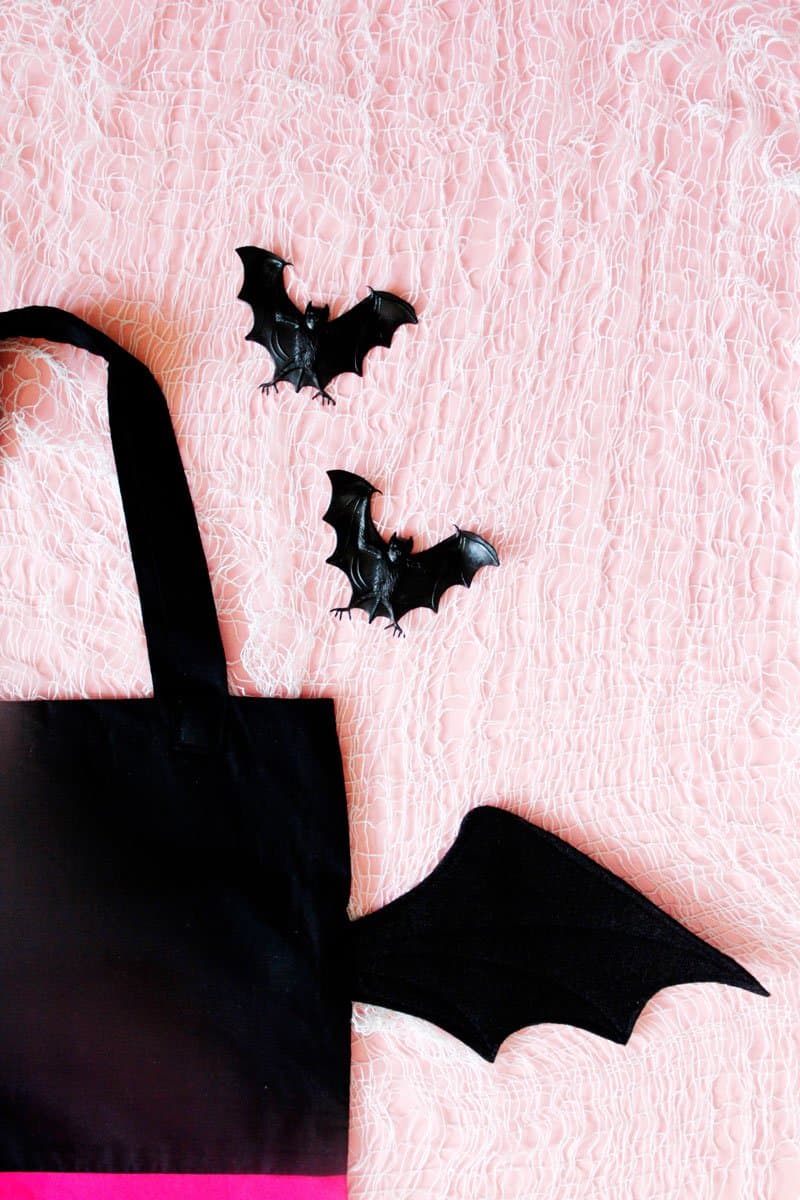
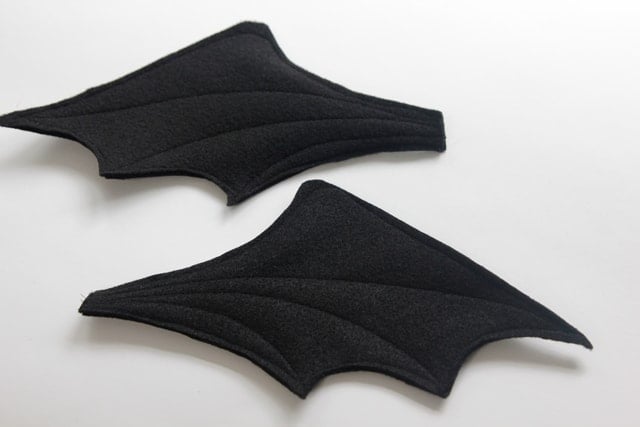
Use the template to cut 4 layers of wings from black felt. Sew 2 layers of the bat wings together using black thread. Topstitch though the middle of the wings to create “veins”.
Sew to back of bag so they stick out to the front.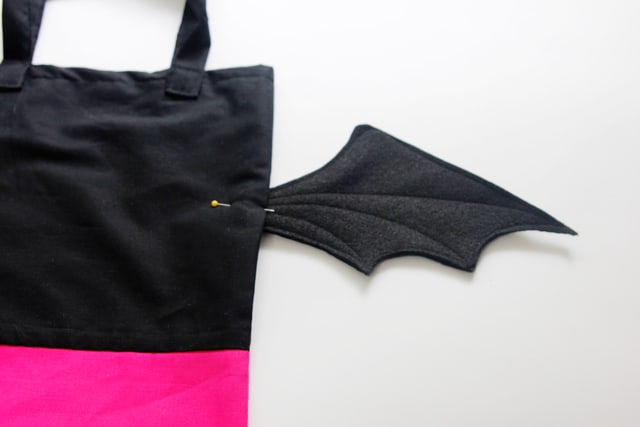
Have fun trick or treating with your new bags!


I think you’ve got your cutting and sewing instructions for the Mavis backwards. Your pictures show the magenta as the bottom, narrower portion of the bag.
Also, your materials list includes a contrast cotton for lining, but the instructions don’t address a lining.