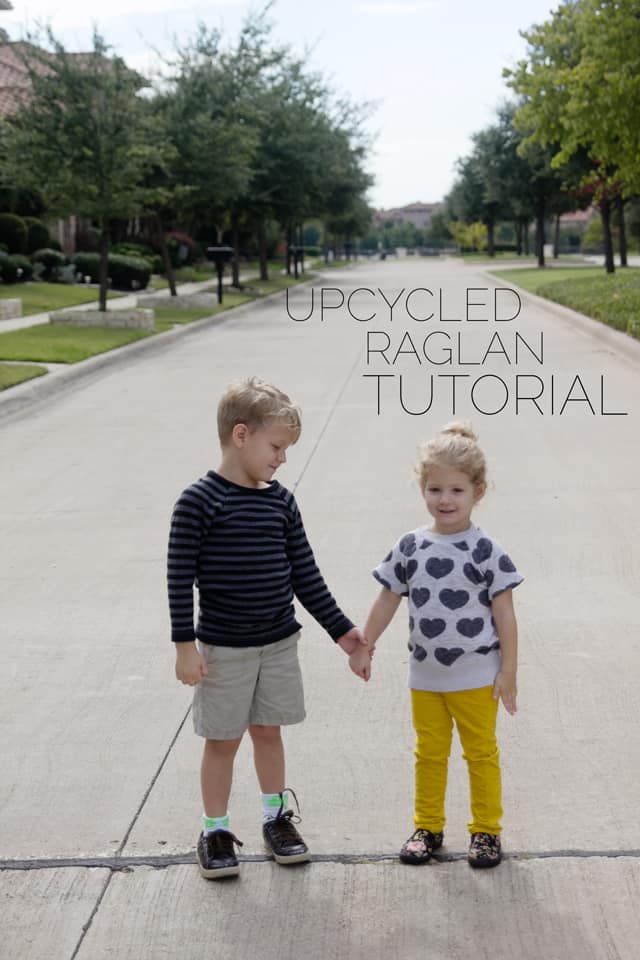
Welcome to Day 2 of Recess Raglan Week! Today I’m going to show you how to upcycle a larger shirt or sweater into a Recess Raglan!
(Don’t forget the Recess Raglan PDF pattern is on sale all week for just $5!)
Upcycling is a super fast way to make a raglan. You get to take a few shortcuts, including skipping hems! The Recess Raglan is already a pretty quick sew, so with these shortcuts, it is even faster!
No promises that making your kids new shirts will make them love each other, but…
Awwww…
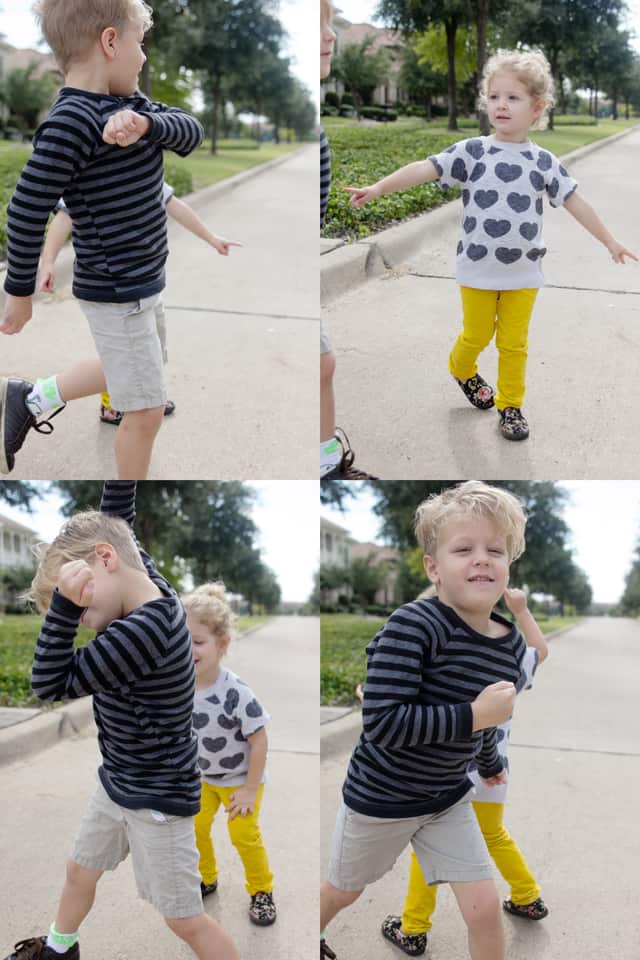
And apparently, the Recess Raglan is toddler mosh pit approved!
I just love this photo.
Anyways, let’s get sewing!
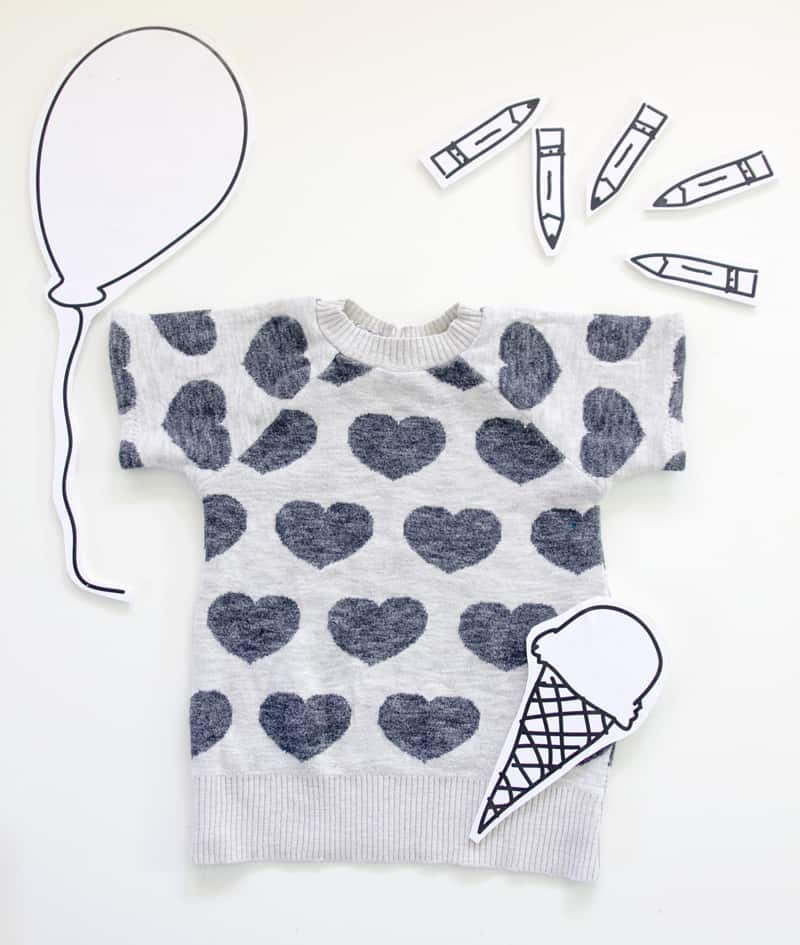
I made two shirts, one with my old heart sweater from Forever 21 that I couldn’t bear to part with, but didn’t really want to wear again. I love using my old favorite clothes that I’m just over to make cute girl clothes for my daughter. I get to keep the memories of the clothing without actually keeping it in my closet! And it gets a second life as a child’s top. I made this one months and months ago. It was one of those fast afternoon projects that I did just for fun.
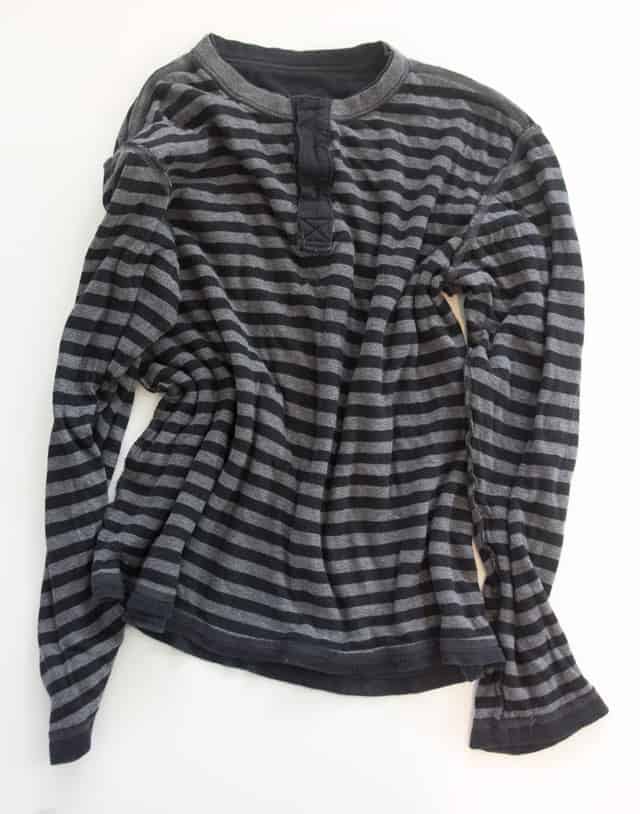
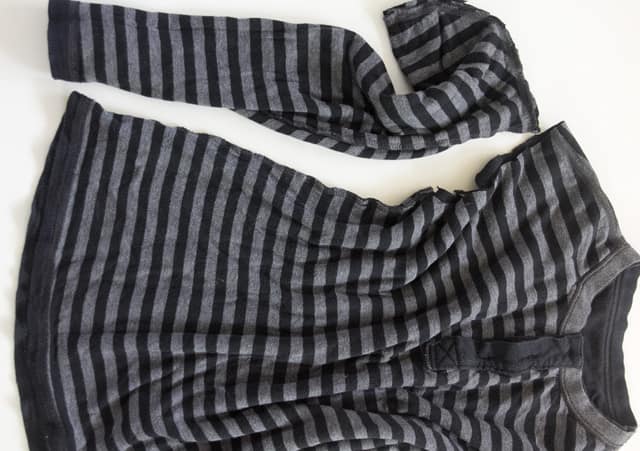
For the second, I started with a men’s ribbed henley from our donate pile. It was actually lined, too, so I decided to use the striped lining as my main fabric. The ribbing fabric on the outside was a little stretched out and wonky from wear, but the lining was just fine. Since it is two layers of fabric, it will be a nice and warm raglan for the winter!
Upcycled Recess Raglan Tutorial //
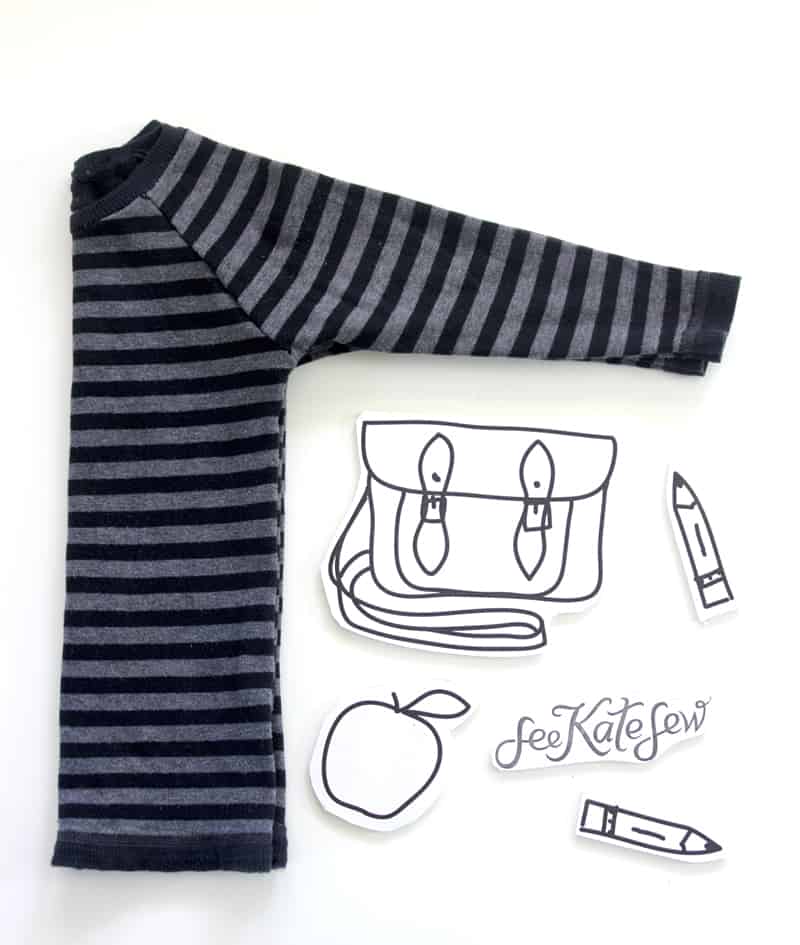
Step 1: Cut off the sleeves at the armscye.
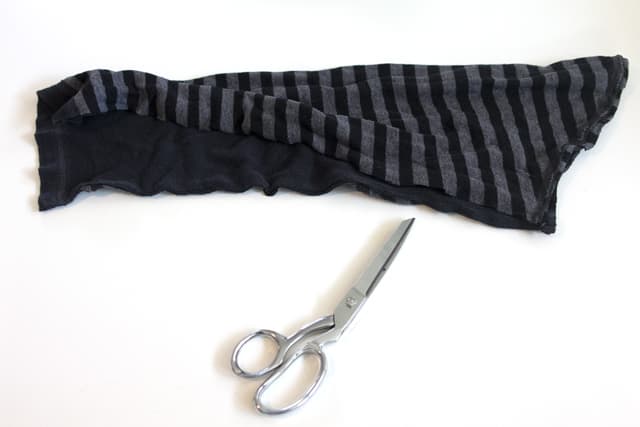
Step 2: Cut open the sleeves along the sleeve seam. Cut as close to the seam allowance as possible.
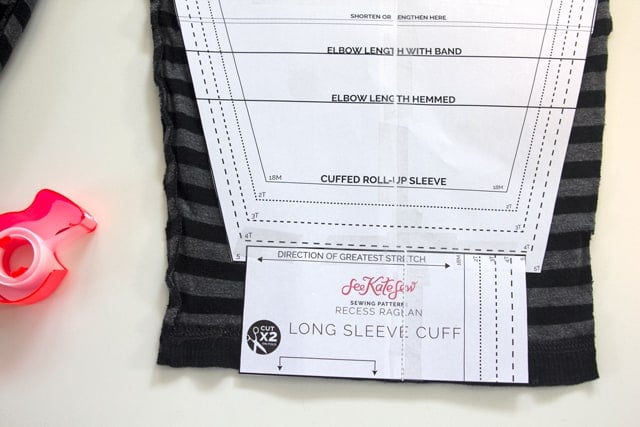
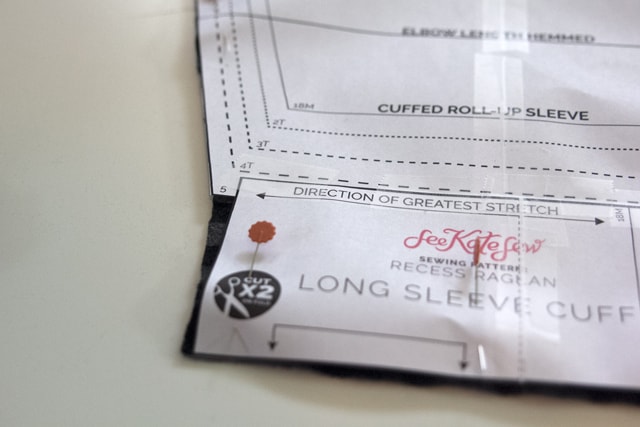
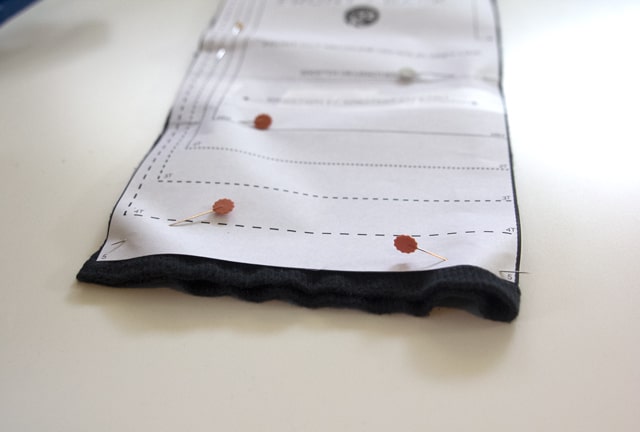
Step 3: If you’re using the long sleeve option, tape the cuff piece to the bottom of the long sleeve pattern piece, overlapping 3/8″ (or the seam allowance). This will make sure the pattern is long enough since we are omitting the sleeve cuff. You certainly can use the sleeve cuff as written, too.
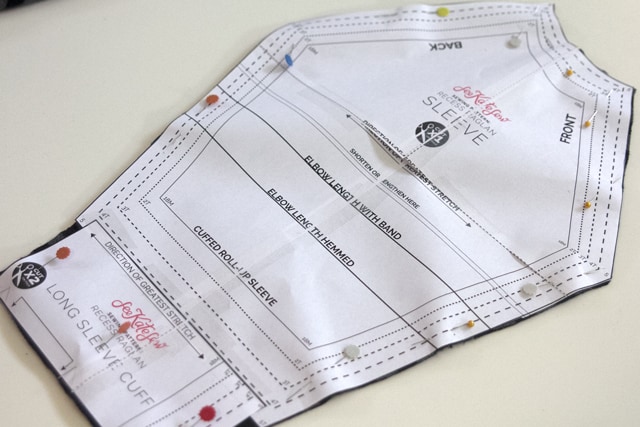
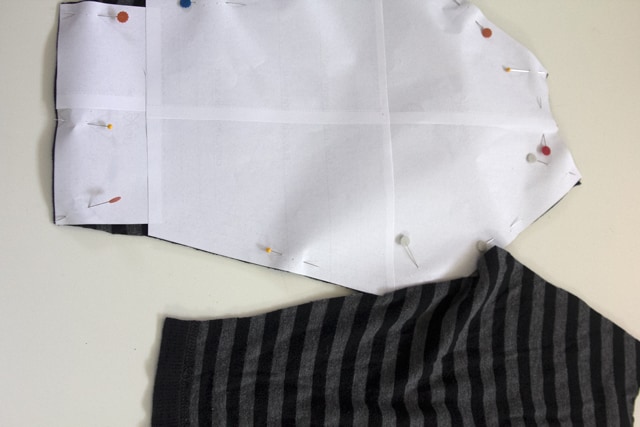
Step 4: Line up the bottom of the cuff pattern to the bottom of the original sleeve hem. Pin and cut out the sleeve.
Taper from the bottom of the cuff piece to sleeve.
Step 5: Cut the second sleeve out from the other sleeve, making sure the sleeve pattern is FACE DOWN. That will give you two mirror image sleeves.
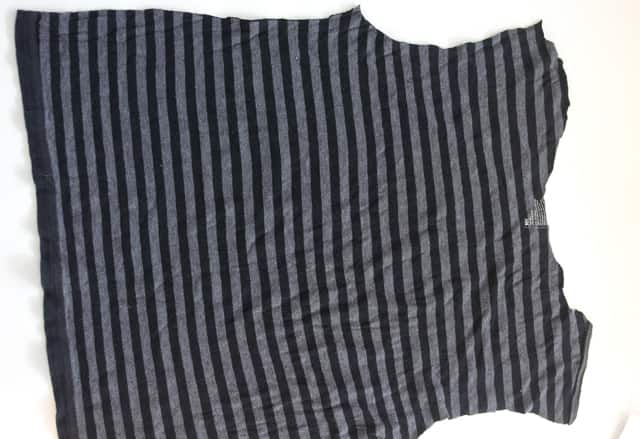
Step 6: Now cut out the front and back of the original shirt. Cut around the neckline. We will try to salvage the neckband to use on your new shirt, depending on the type of fabric.
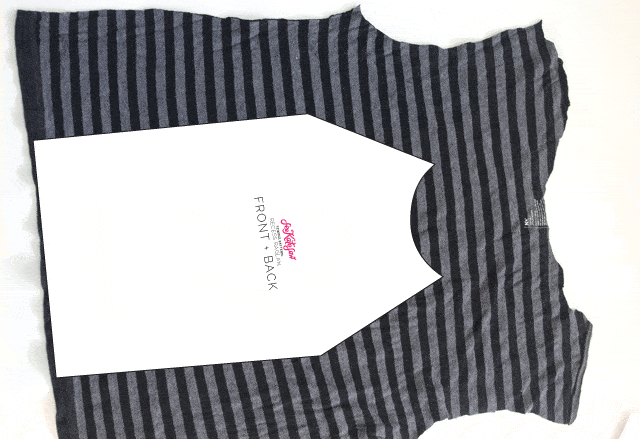
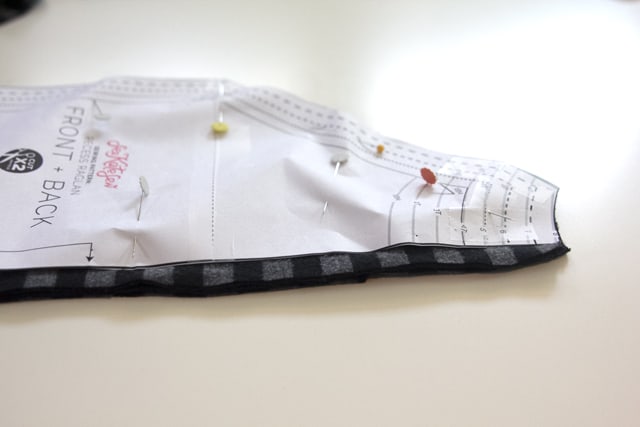
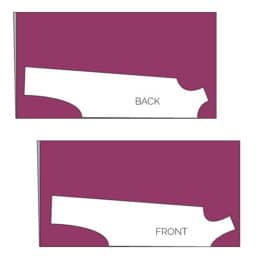
Step 7: For the front piece, fold the original fabric in half and pin the pattern piece on. I added a little extra length to mine by pinning it above the original hem about 1/2″. Since you won’t need to hem this top, you can actually pin the pattern below the original hem by about 1/2″ if you want a regular length tee. The paper will hang off over the bottom of the shirt/fabric.
Step 8: Repeat with back piece. If you have to work around something, such as a button placket, you can also pin the pattern piece to the fabric NOT on a fold and add 3/8″ to the middle for a seam allowance. Then sew these two pieces together with right sides together before proceeding.
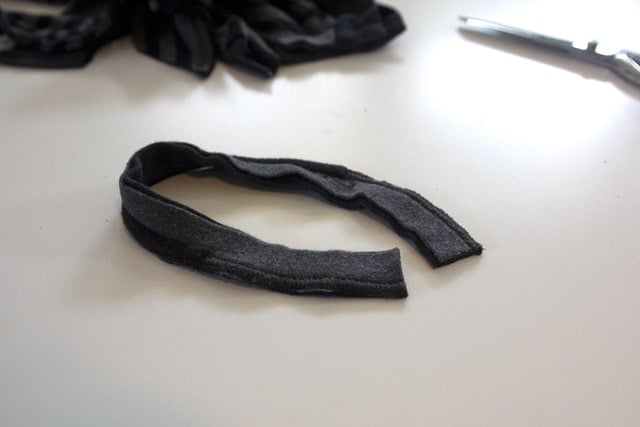
Step 9: Use the fabric from the neckband to make your new neckband. Use the pattern piece to get the right length. Remember that the original ribbing is already folded in half, so you will just need to use the total length of the pattern piece (not the width).
Step 10: Everything is cut out, so sew your pattern together as instructed in the pattern, just omit the sleeve hems and shirt hem and you’re done!
Sources//
Floral Shoes
Yellow Pants- H&M kids
<

