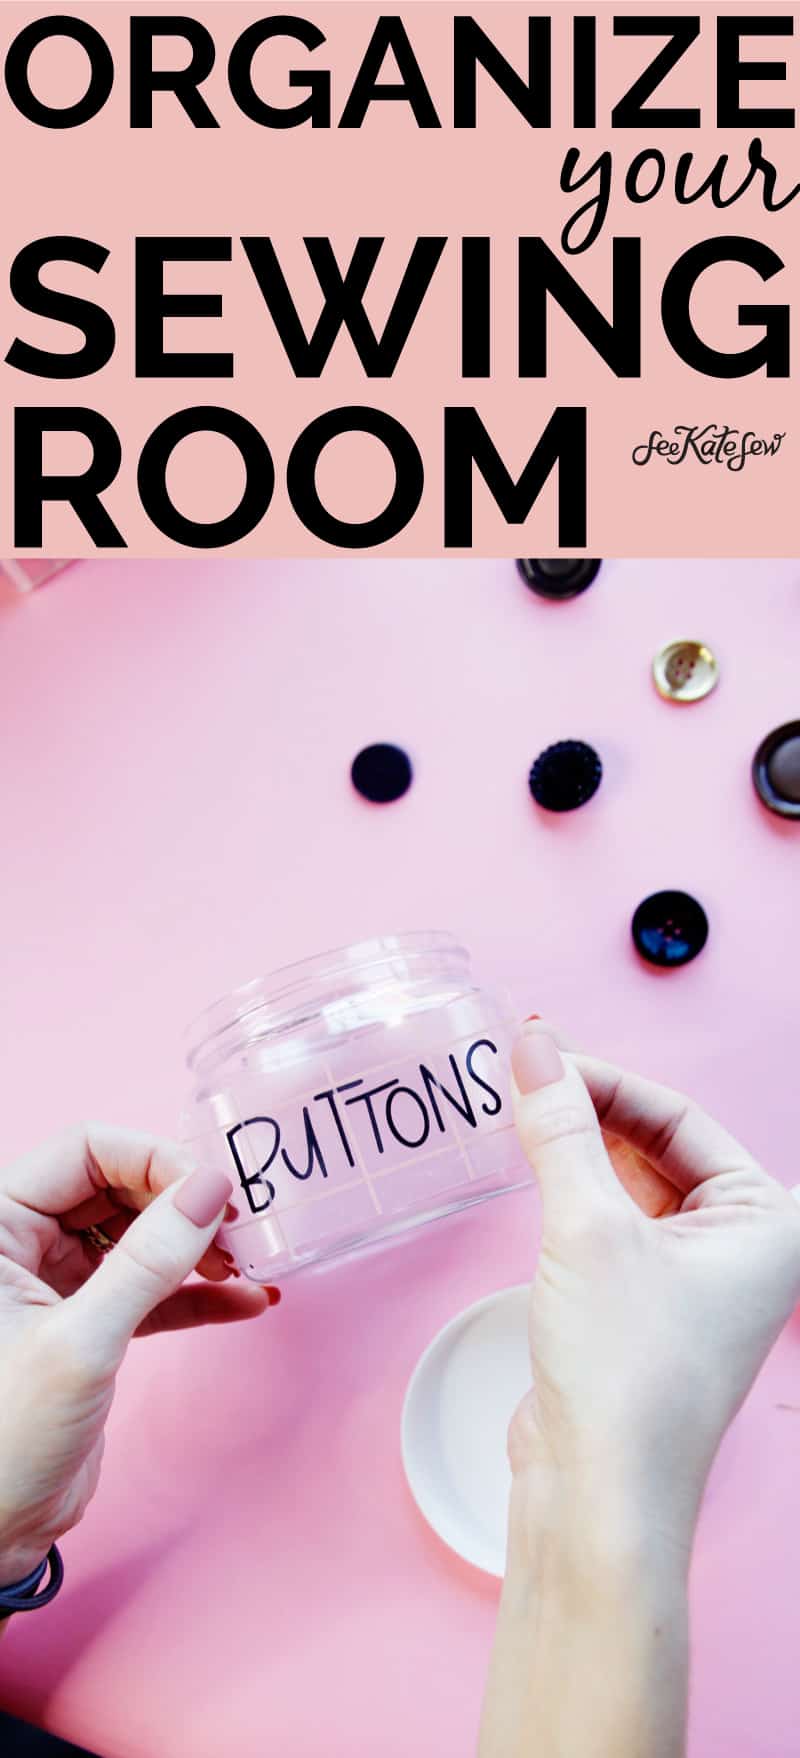
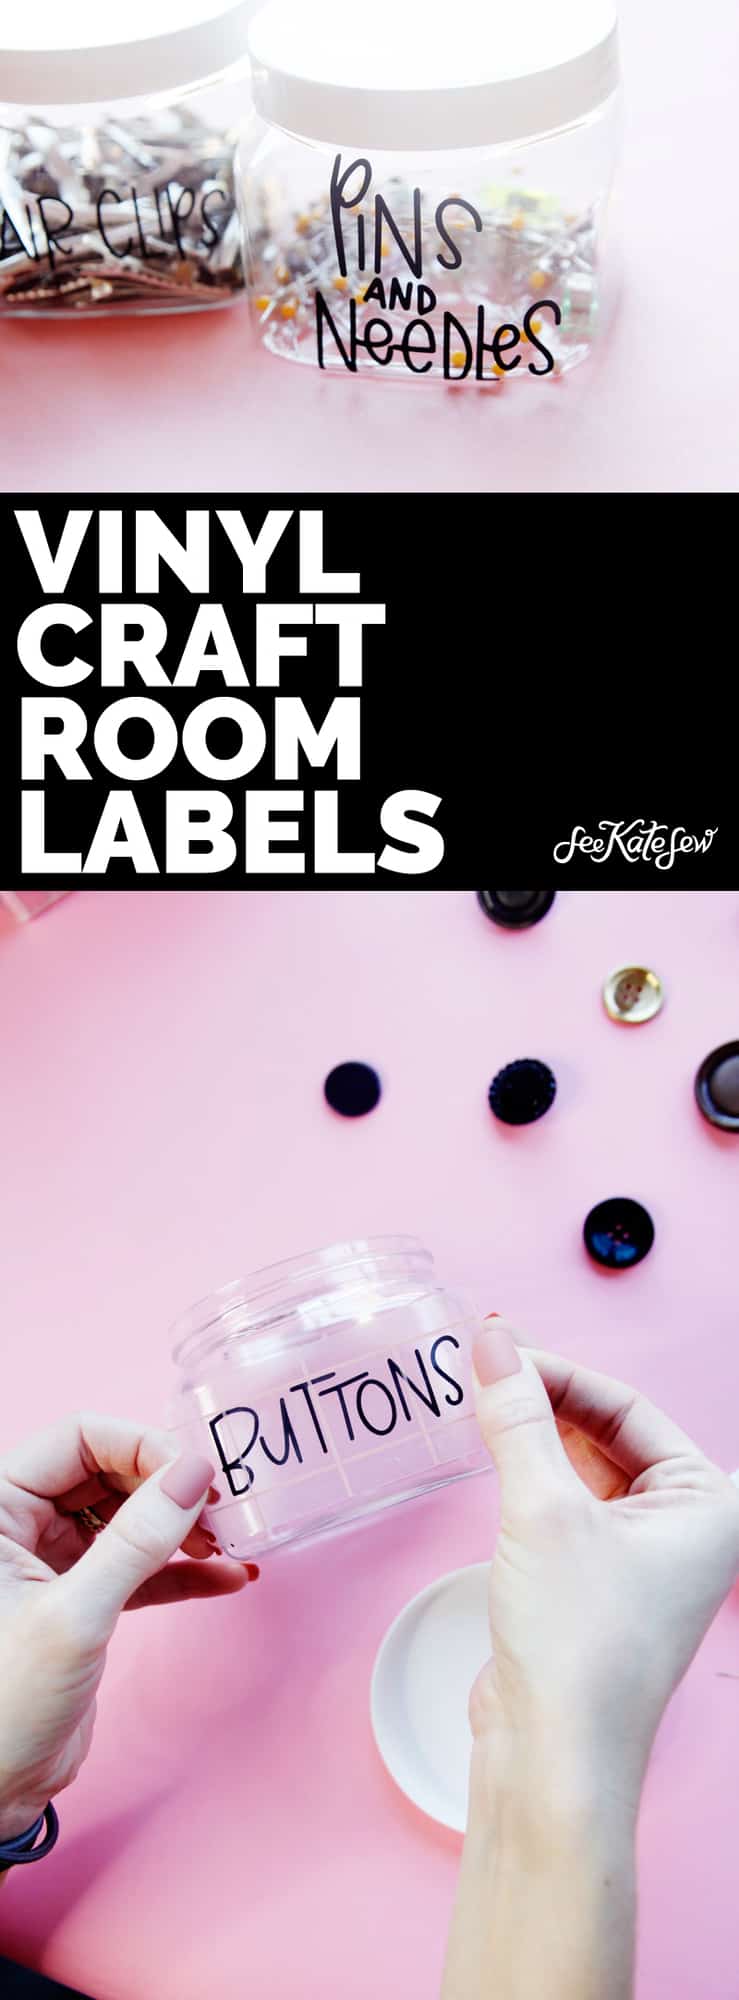
I’ve been getting the big parts of my sewing room together and it’s time to focus on the micro-organizing! I love bins and jars to hold little sewing materials and I really love it when they are labeled! These craft room labels will get your organization started and they are so easy to make!
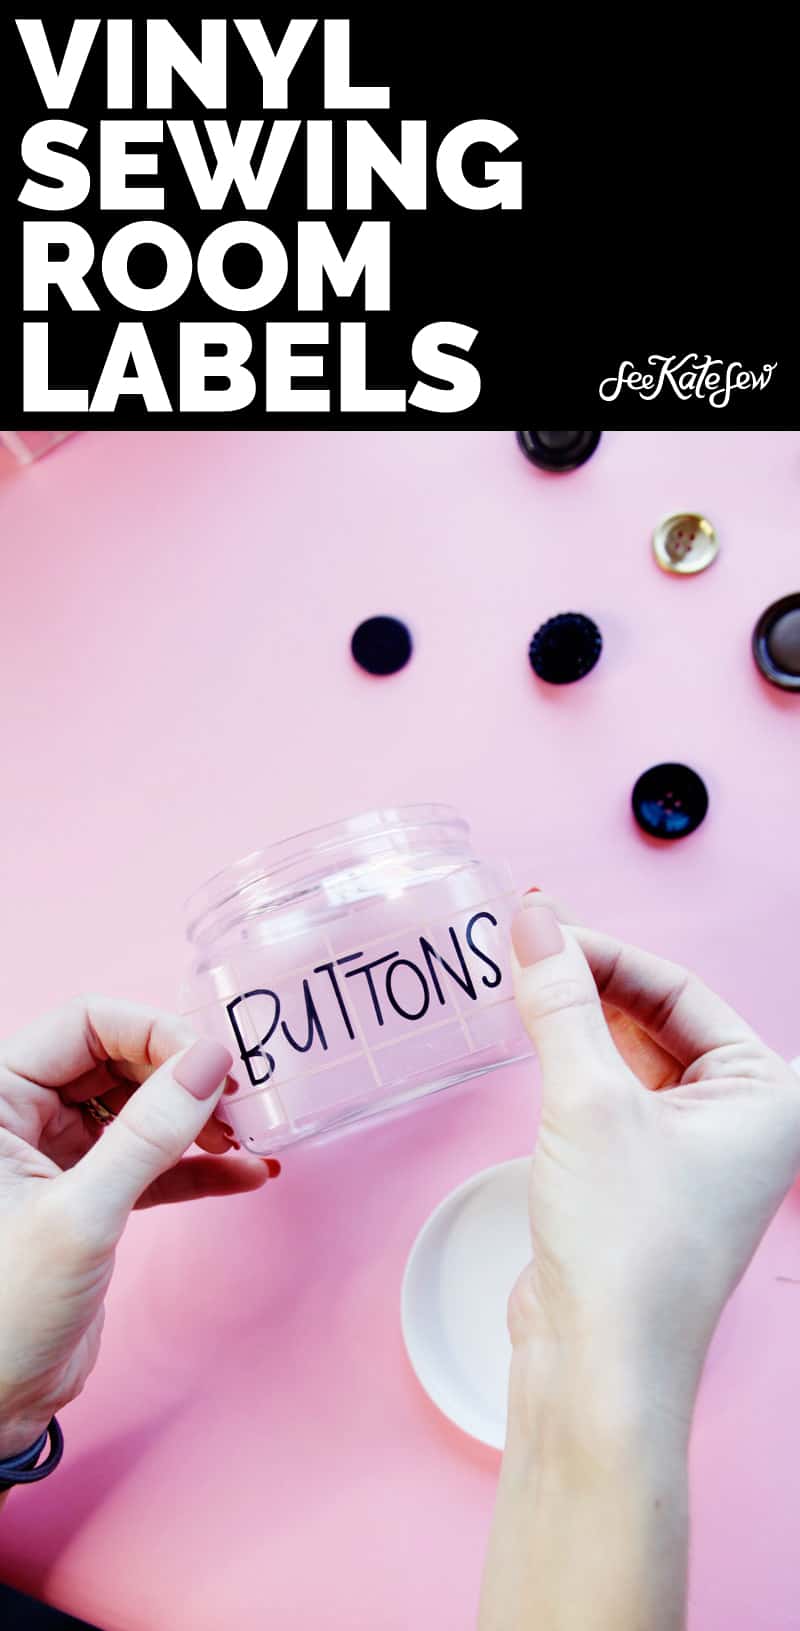
In this post I’ll show you how to use your cutting machine to cut out the SVG designs in vinyl and apply them to whatever surface you are using – boxes, jars, plastic bins etc.
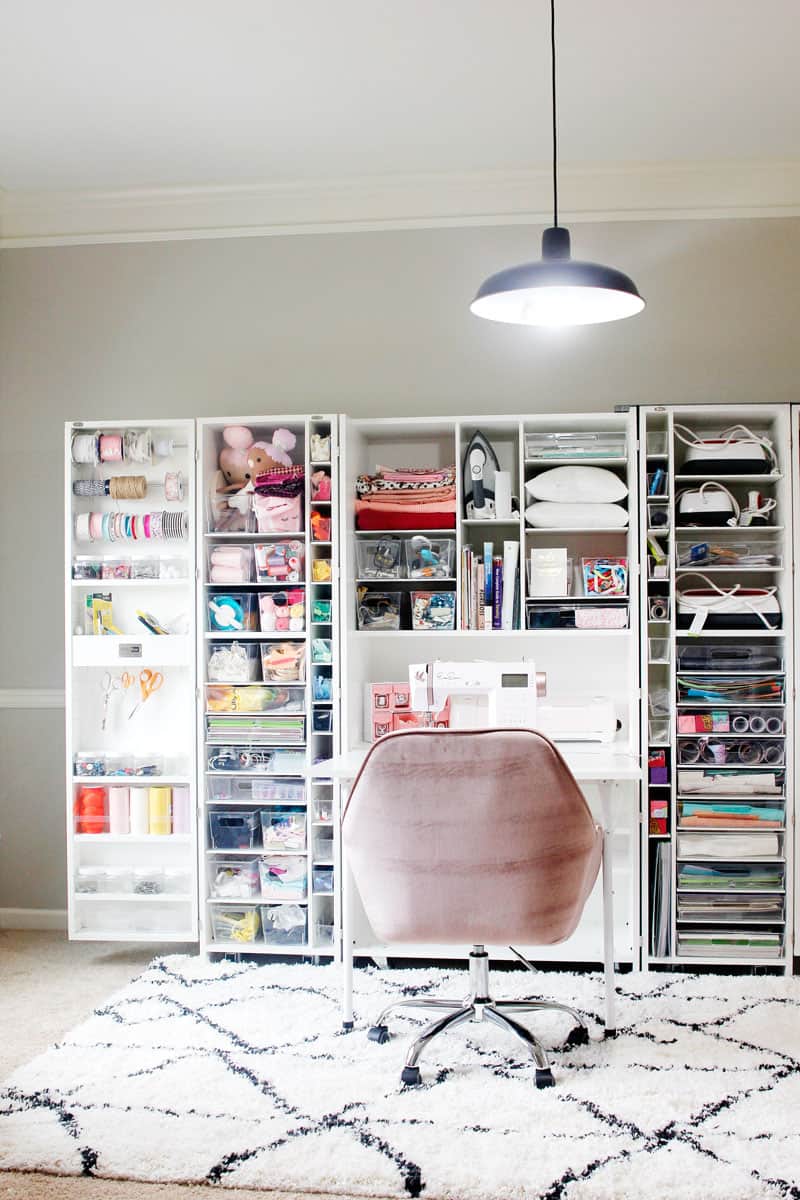
When I set up my DreamBox, I fell in love with the clear totes and drawers for storing things. The labels are mostly for looks since I can see everything. They do help me organize materials since somethings look the same from the outside, like trims and bias tape and some of the totes have a few different items. Read more about the DreamBox (including a discount code) HERE! And click here to watch my tour of the DreamBox on YouTube!
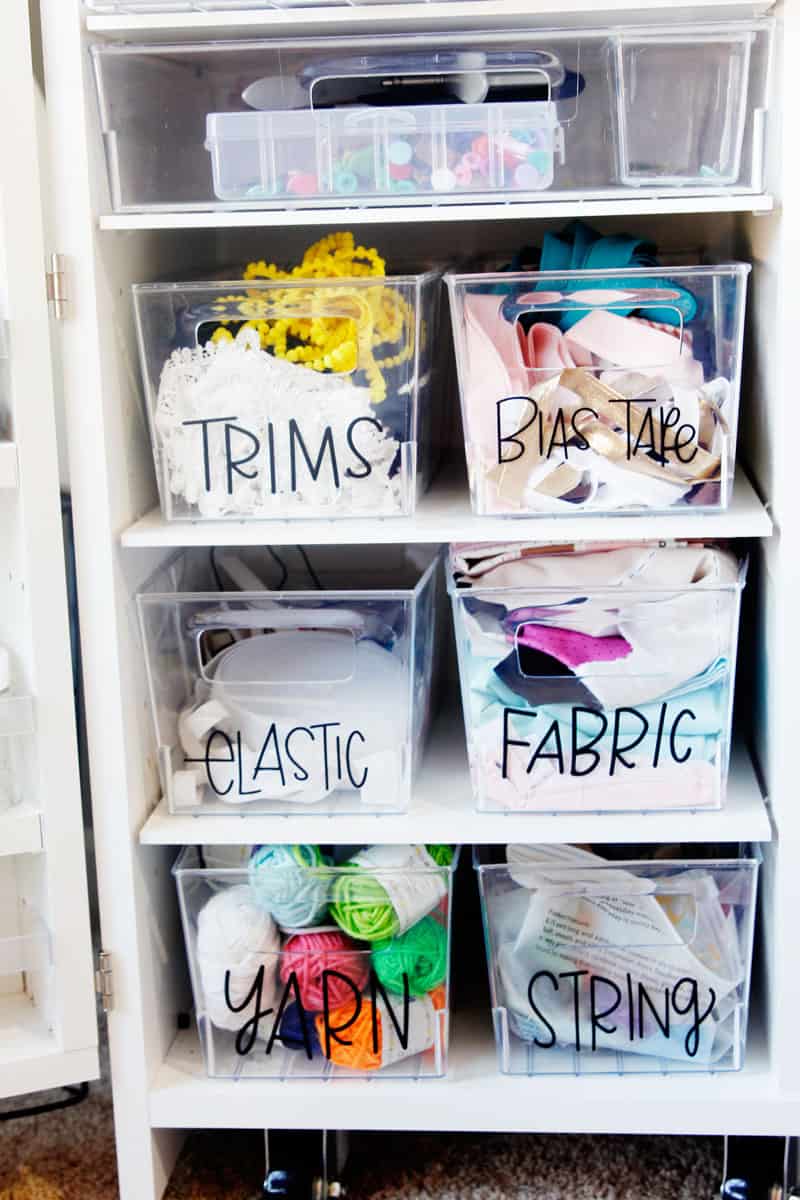
These words are available in my Sewing Organization PDF/SVG pack available through Pattern of the Month, this is an bonus exclusive for POTM subscribers until the end of January! After that, it will be available in my pattern shop here.
Materials for Vinyl Sewing Labels
- Cricut Maker or Explore Air 2
- Regular Vinyl
- SVGs for Craft Room Words (available exclusively through Pattern of the Month until Feb 1)
Over 40 words included! Zippers, Hardware, Bobbins, Snips, Notions, Rulers, Tape, Glue, Lace, Wood, Scraps, Pens and Pencils, Ideas, Punches, Patterns, Tape Measures, Seam Rippers, Pattern Weights, Fabric, Cording, Scissors, Chocolate, Hair Clips, Buttons, Sewing Clips, Pins and Needles, Interfacing, Stabilizer, WIP, Snaps, Velcro, Trims, Leather, Vinyl, Bias Tape, Rotary Cutters, Yarn, String, Felt, Machine Parts, Elastic
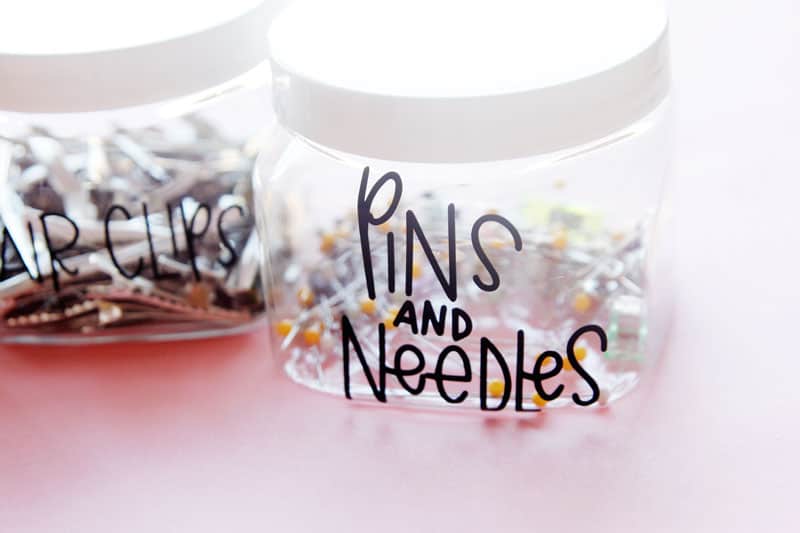
Instructions for Craft Room Labels
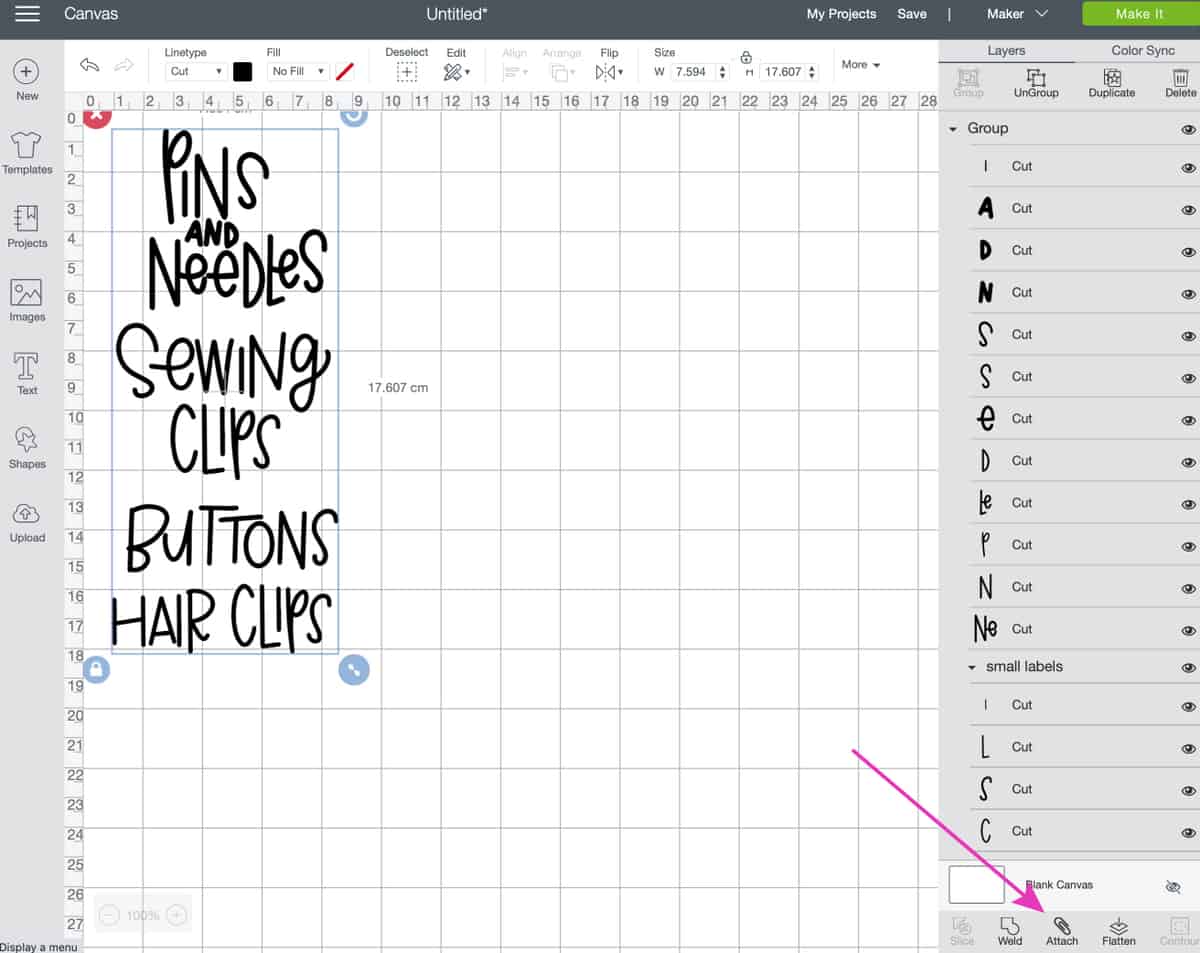
Let’s get started! Upload the files to Design Space. They are broken down so each will fit on a 12″ by 12″ canvas, but you can ungroup the words and rearrange them. Just be sure to hit ATTACH before cutting.
Cut them out and weed.
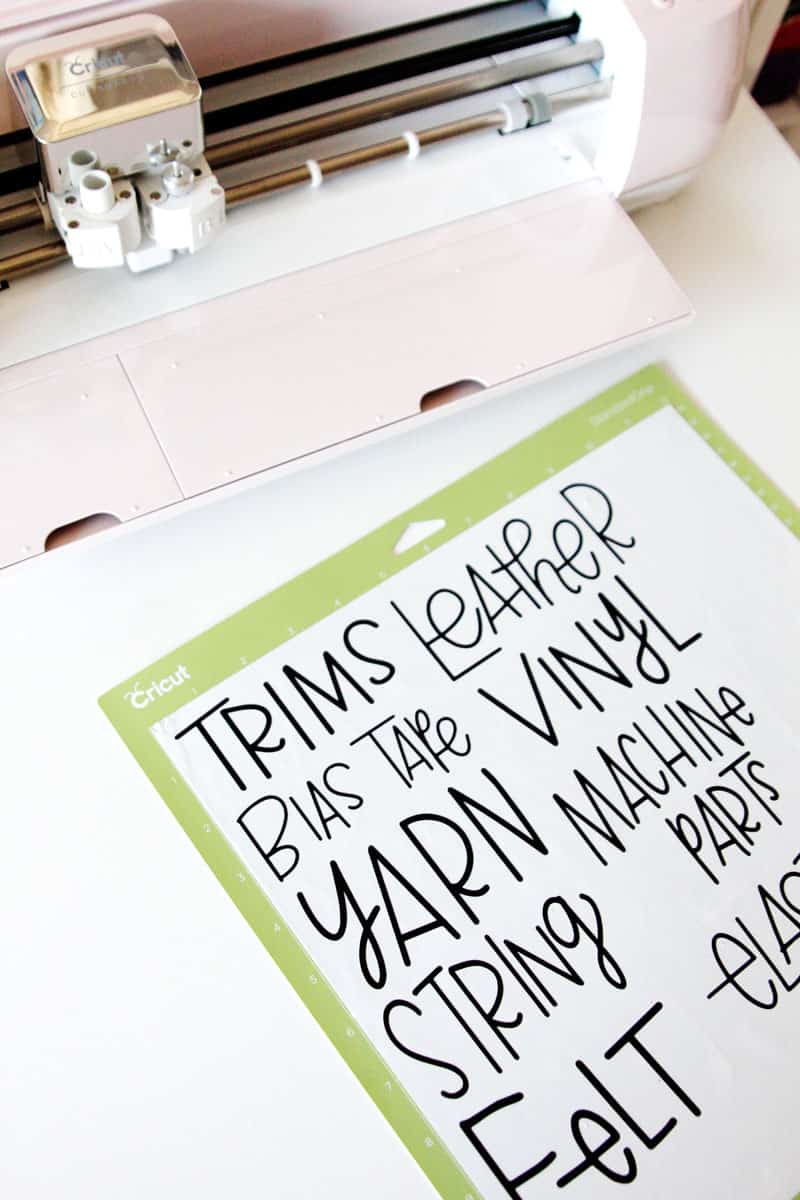
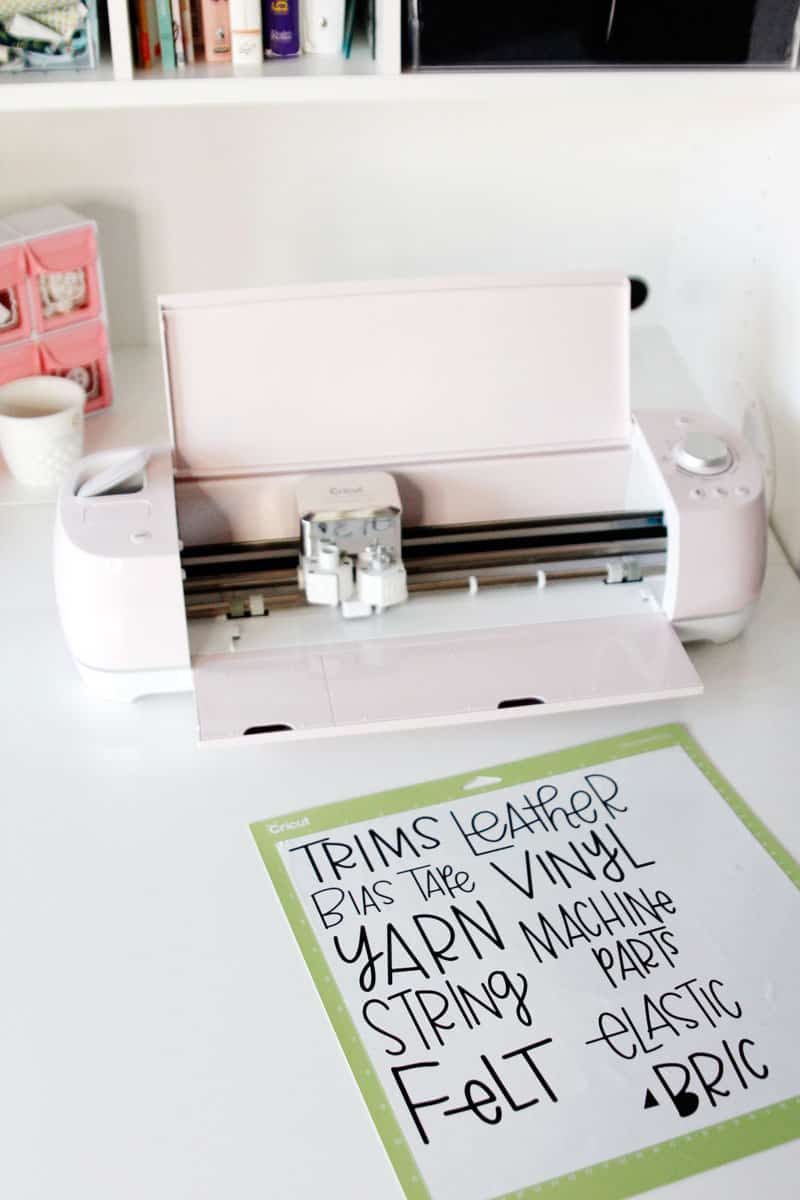
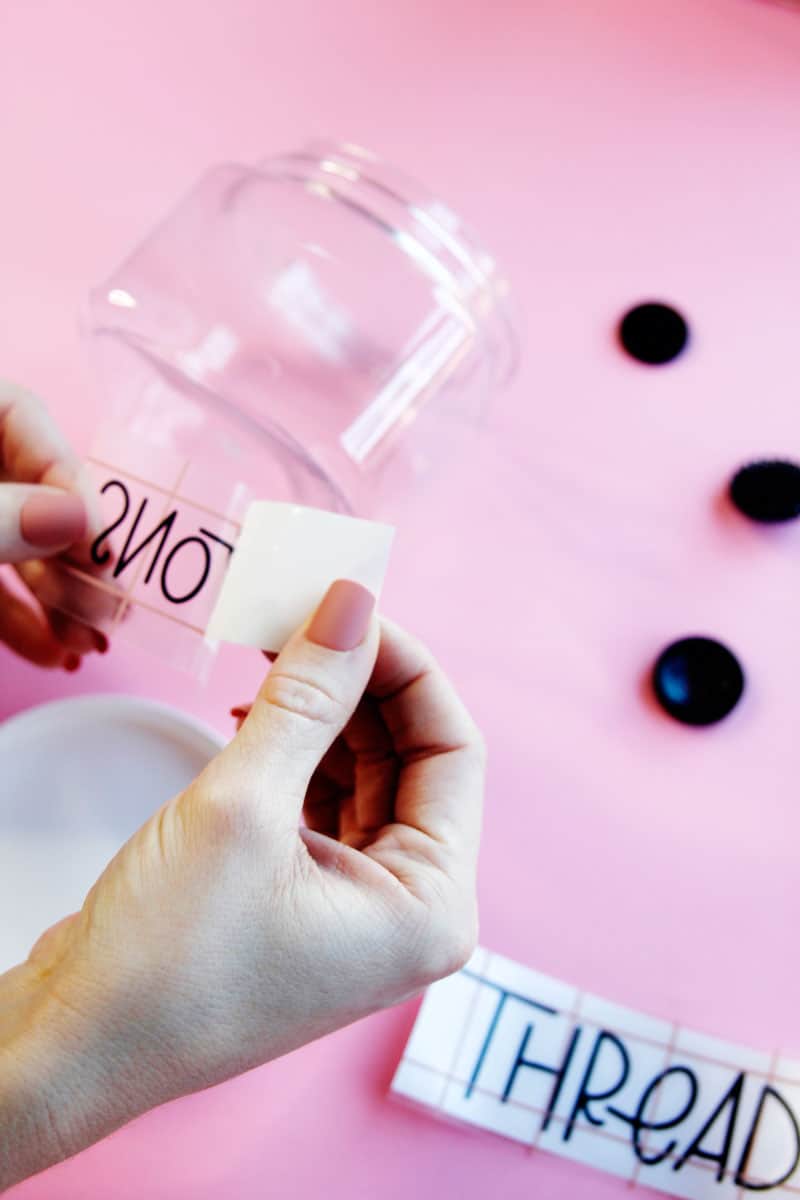
Use transfer tape (I like Cricut brand best) to get the sticky part of the vinyl ready for your surface. Peel off the white backing.
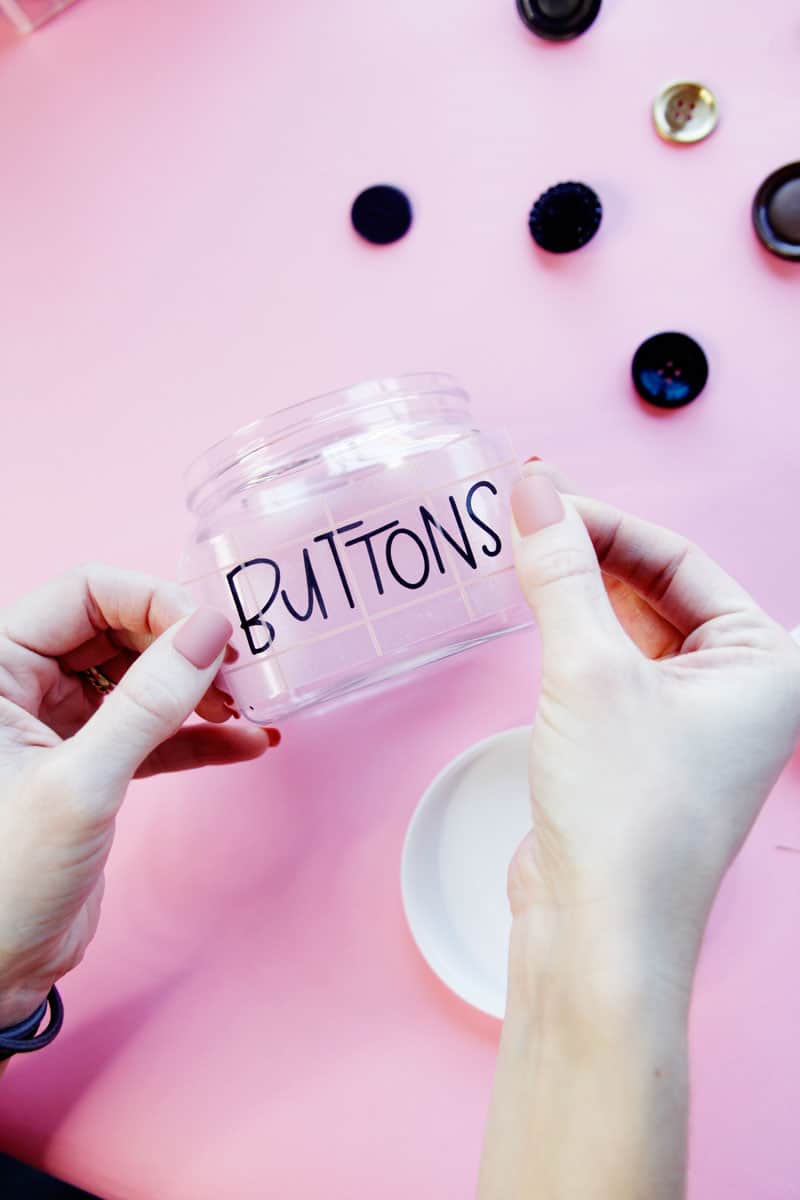
Center your vinyl and press down.
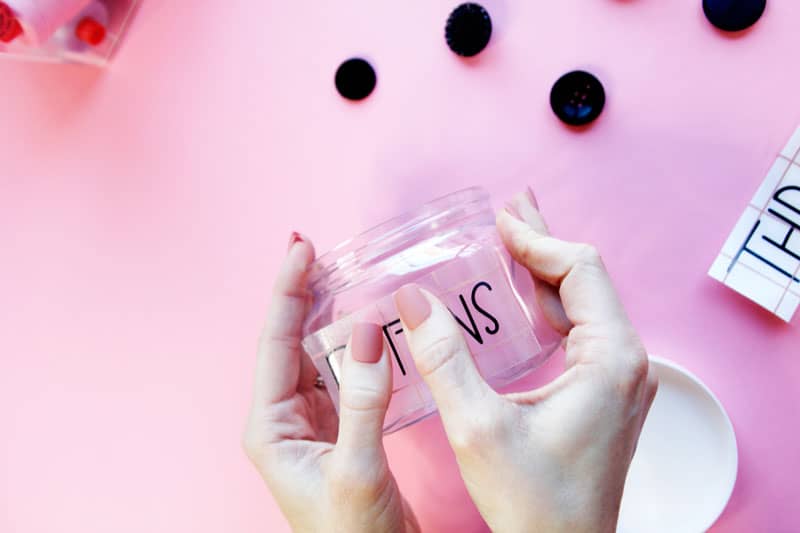
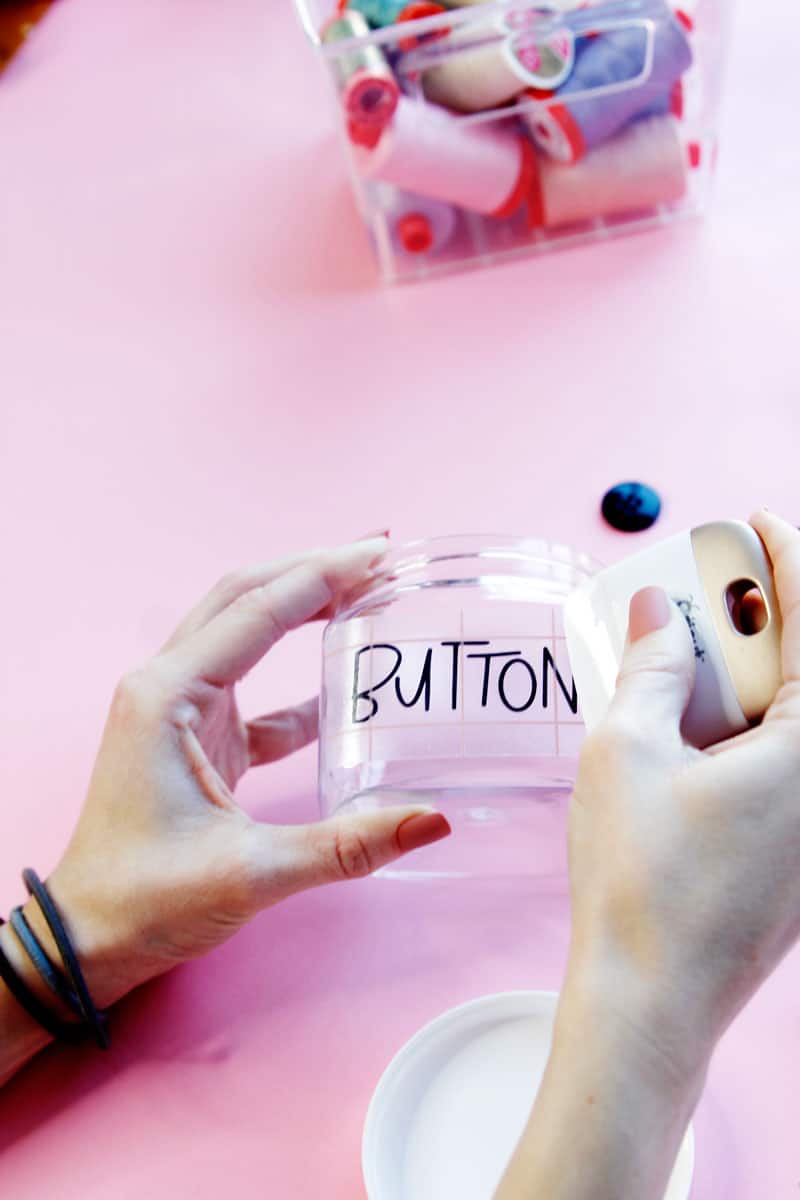
Then peel the transfer tape off!
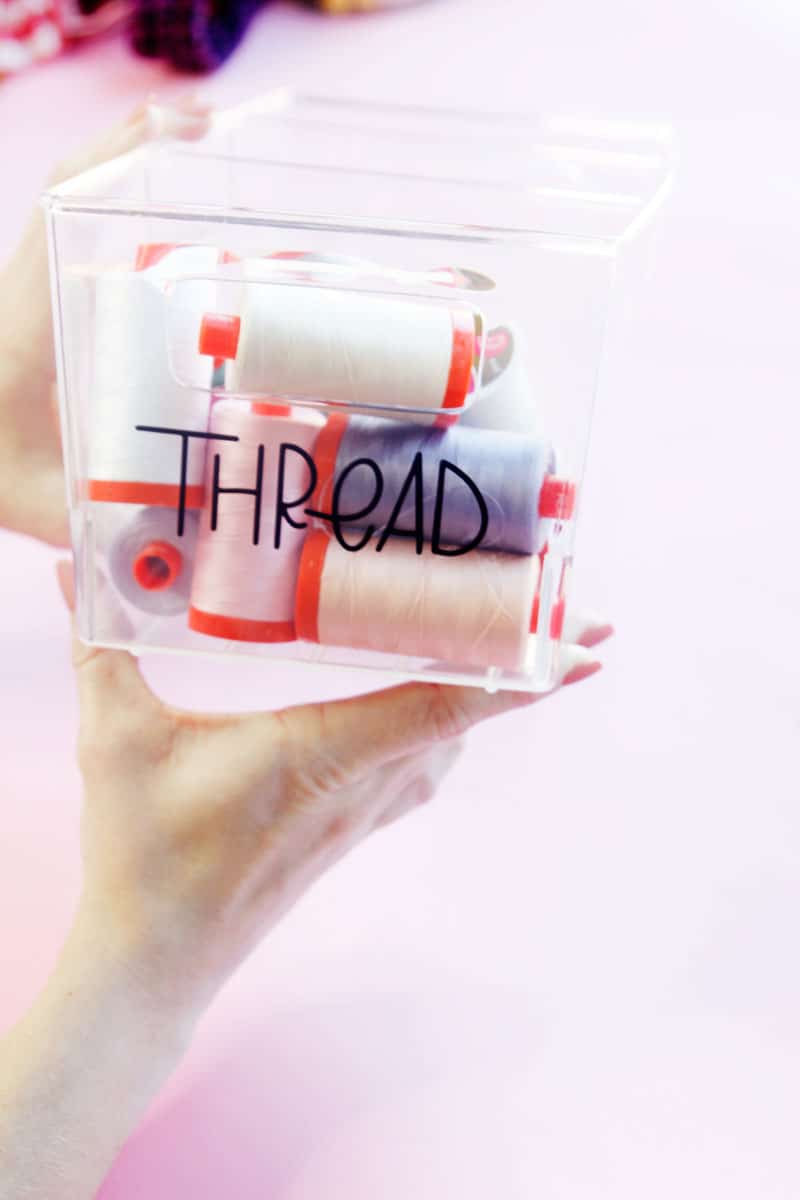
And you’re done! Repeat for all your bins and totes!



Kate just watched your scrapbox tour. What kind of rods did you use for the ribbons and things? I would love to find some because I have a huge space with the holes and I would love to organizer my stabilizers that way?
Thanks for sharing
These are really cute. I love the font. What is the name of the font?