• Skip to main content
  • Skip to primary sidebar
  • Skip to footer
  • Blog
  • About
  • Contact
  • FAQ
  • Sponsor

see kate sew

sewing, crafts, tutorials, DIY

  • Patterns
    • Free Patterns
    • Pattern of the Month
  • Tutorials
    • Accessories
    • Bags and Pouches
    • Clothing
    • Costumes
    • Crafts
    • Cricut Projects
    • Holiday
    • Household
    • Kids
    • Maternity
    • Quilting
  • Topics
    • Baby
    • Boy
    • Christmas
    • dog
    • Dolls
    • Easter
    • Girl
    • Halloween
    • Lookbook
    • Party
    • pet
    • Printables
    • Training
    • women
  • No Sew
  • Sewing 101
  • Sew4Good
  • Pet
  • Sewing Room
    • DreamBox
  • Reviews
Home
  • Patterns
    • Free Patterns
    • Pattern of the Month
  • Tutorials
    • Accessories
    • Bags and Pouches
    • Clothing
    • Costumes
    • Crafts
    • Cricut Projects
    • Holiday
    • Household
    • Kids
    • Maternity
    • Quilting
  • Topics
    • Baby
    • Boy
    • Christmas
    • dog
    • Dolls
    • Easter
    • Girl
    • Halloween
    • Lookbook
    • Party
    • pet
    • Printables
    • Training
    • women
  • No Sew
  • Sewing 101
  • Sew4Good
  • Pet
  • Sewing Room
    • DreamBox
  • Reviews

02.12

We MERMAID to be friends Valentines with a knotted scrunchie tutorial

Welcome to See Kate Sew! If you’re new here, sign up for my email newsletter for access to free patterns, tutorials and all the latest sewing news! Tour my sewing room HERE!

This post and Mermaid Valentines project is sponsored by Cricut!

We Mermaid to Be Friends | valentine ideas and diy knotted scrunchie tutorial | fun valentine ideas | diy valentines | how to make a scrunchie | diy scrunchie | handmade scrunchie tutorial || See Kate Sew #scrunchietutorial #diyscrunchie #handmadescrunchie

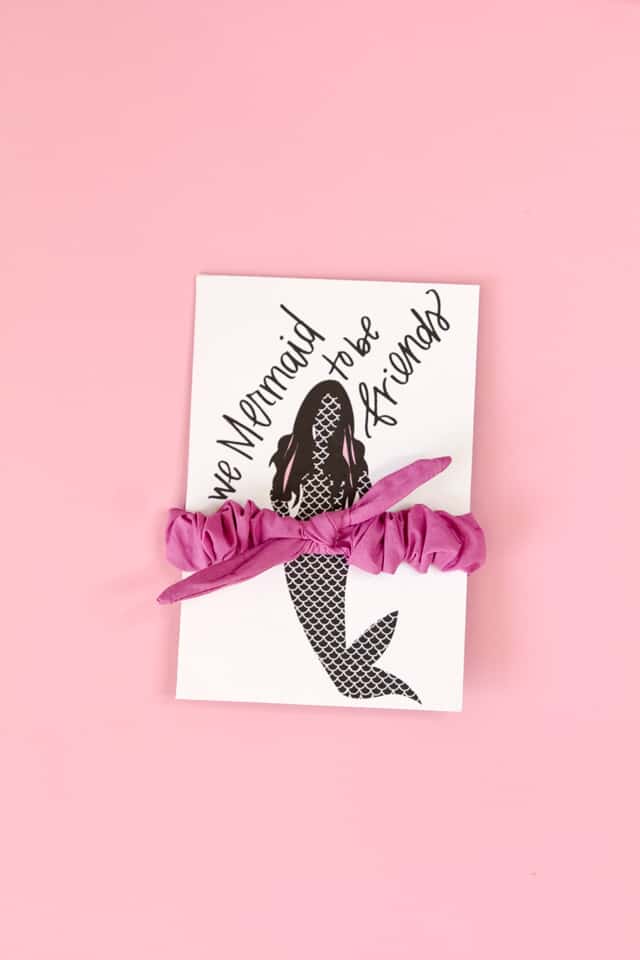
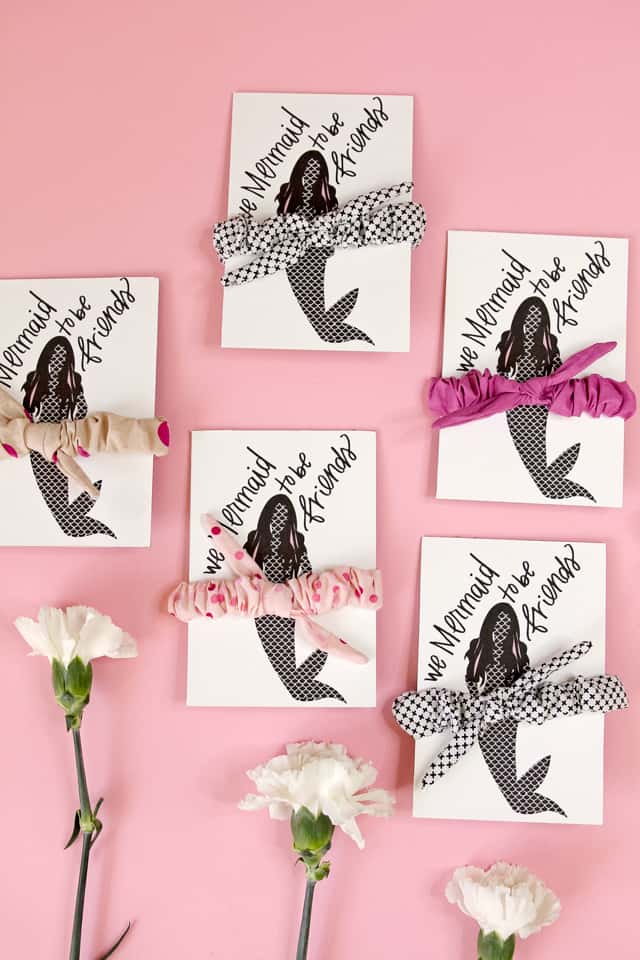
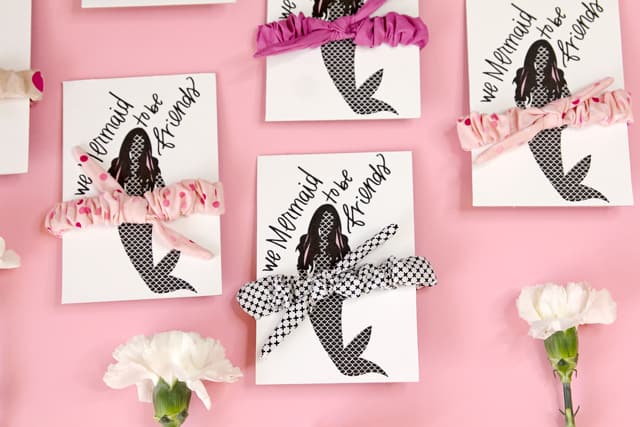
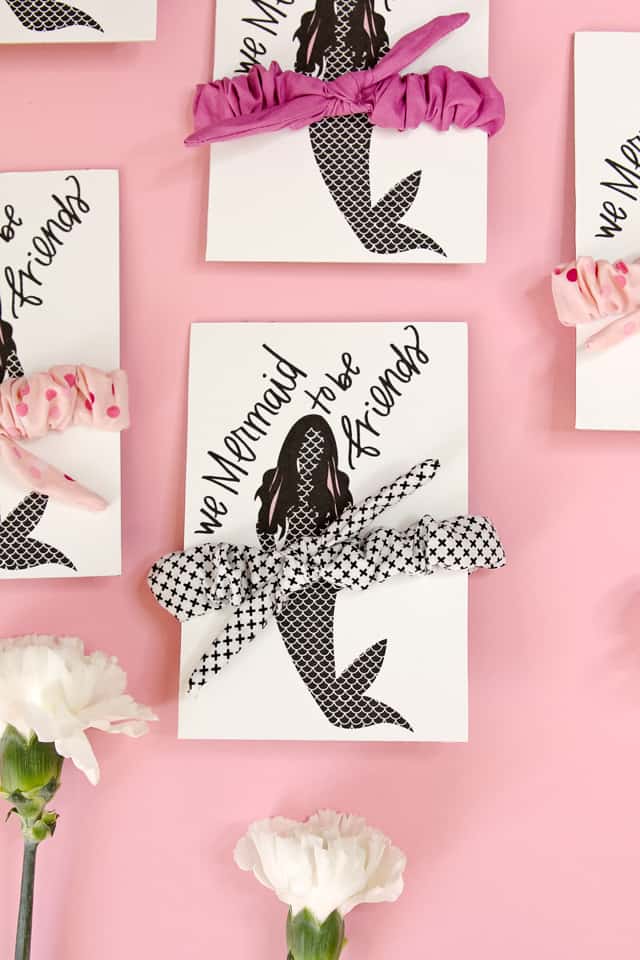
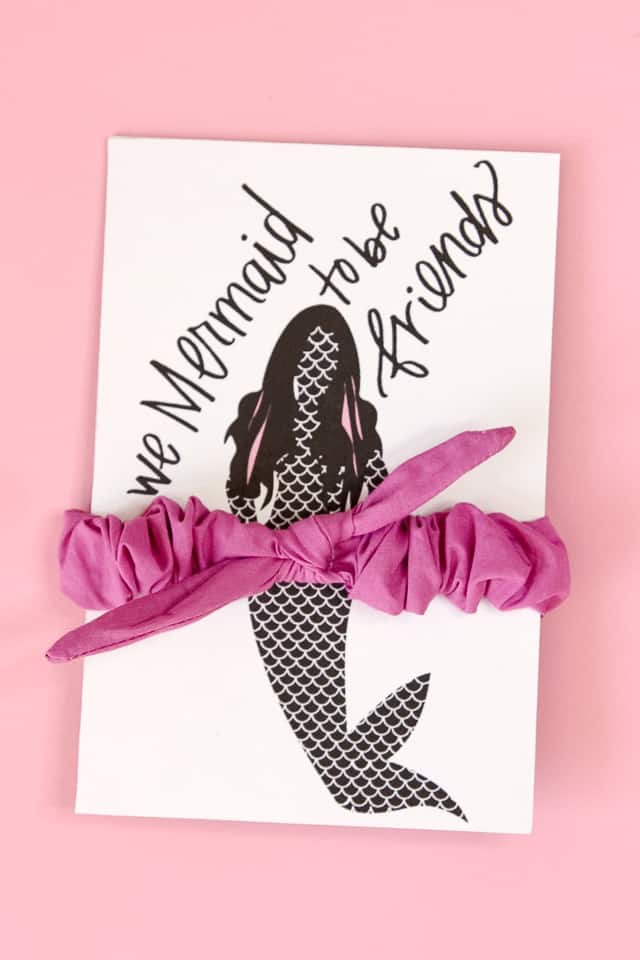
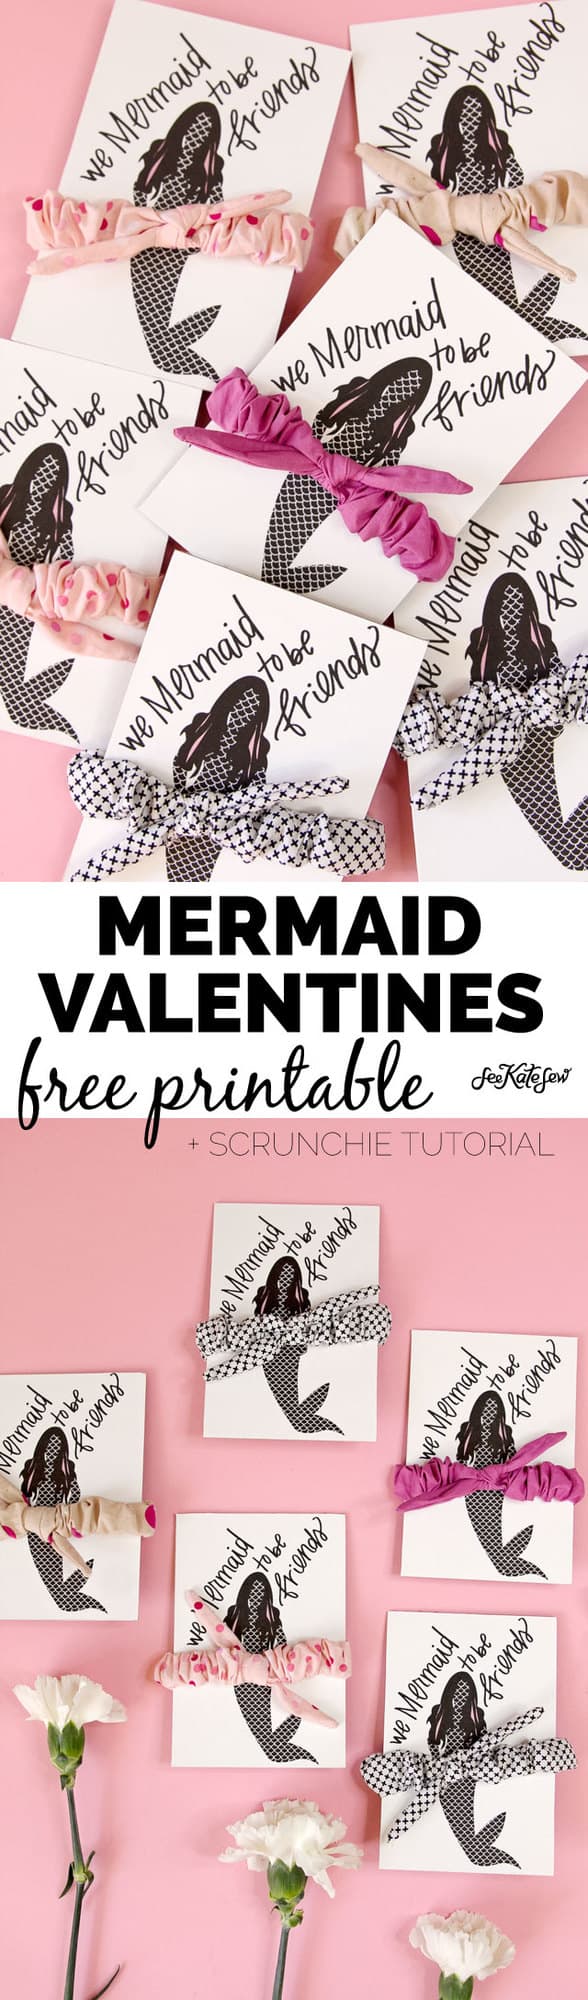
We mer-maid to be friends! What is cuter than Mermaid valentines with a scrunchie attached?

We Mermaid to Be Friends | valentine ideas and diy knotted scrunchie tutorial | fun valentine ideas | diy valentines | how to make a scrunchie | diy scrunchie | handmade scrunchie tutorial || See Kate Sew #scrunchietutorial #diyscrunchie #handmadescrunchie

Mermaid everything, please! These little mermaid Valentines have a knotted velvet scrunchie as a ‘skirt’, plus a pun, there is no better combo! I’m all about the non-candy valentines and this one has a useful treat!

We Mermaid to Be Friends | valentine ideas and diy knotted scrunchie tutorial | fun valentine ideas | diy valentines | how to make a scrunchie | diy scrunchie | handmade scrunchie tutorial || See Kate Sew #scrunchietutorial #diyscrunchie #handmadescrunchie

The basic scrunchie was one of my first sewing projects growing up. I mass produced them on the floor of my bedroom and I think I even wore them after. And it was so fun! I also got into those weird bandana things that people wore circa 1998, why did we wear those again?

We Mermaid to Be Friends | valentine ideas and diy knotted scrunchie tutorial | fun valentine ideas | diy valentines | how to make a scrunchie | diy scrunchie | handmade scrunchie tutorial || See Kate Sew #scrunchietutorial #diyscrunchie #handmadescrunchie

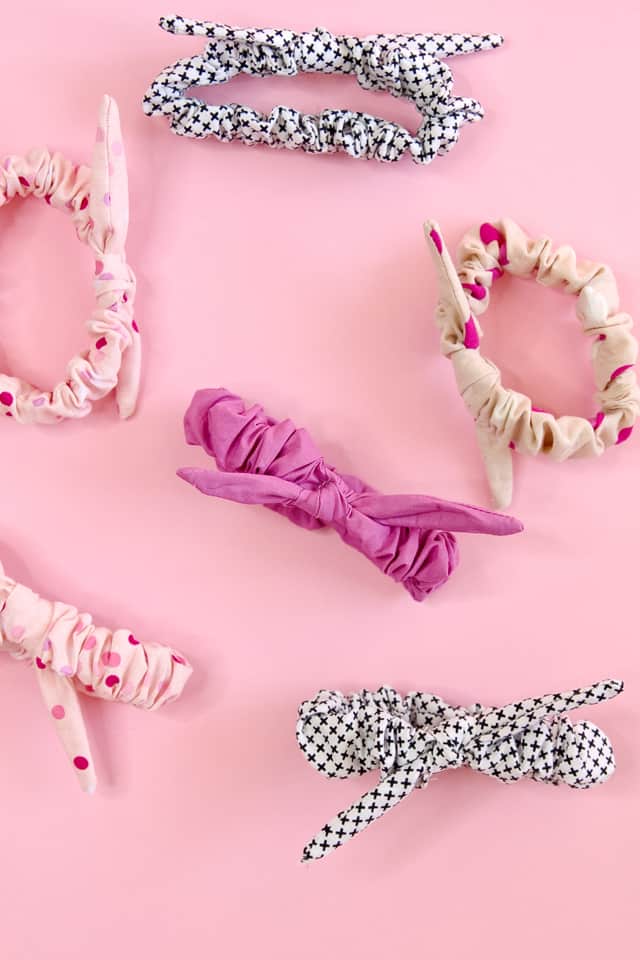
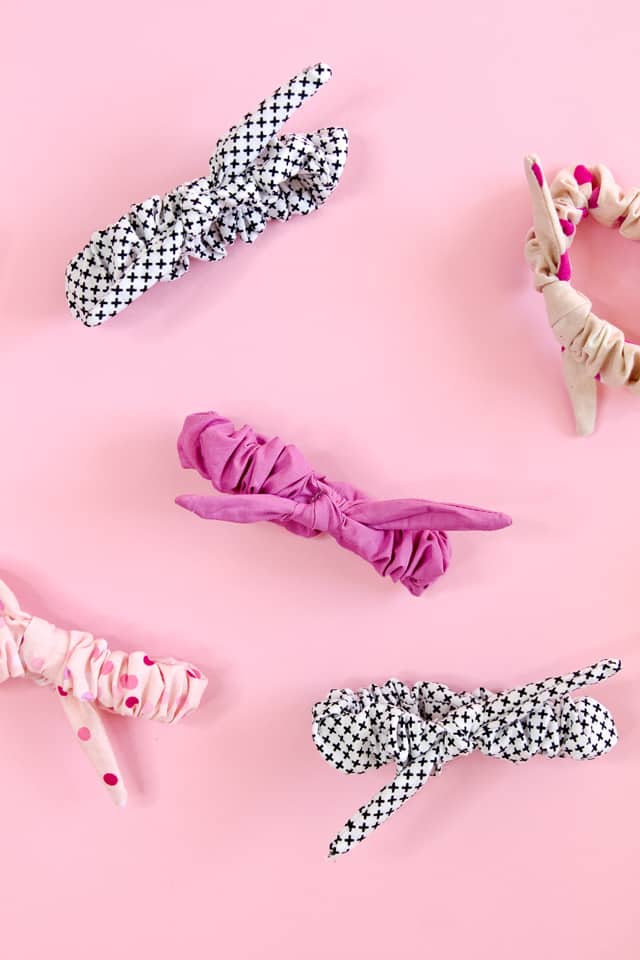
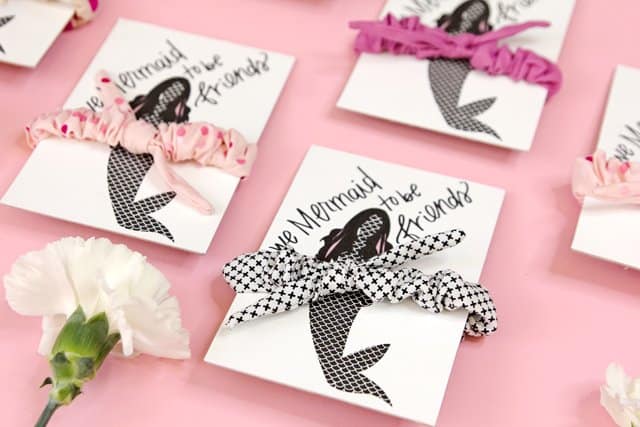
Anyways, another good first sewing project for another day ;) It’s fun that scrunchies are coming back a little bit. This is a fun twist on the basic scrunchie – it has a knotted bow tied over it. The bow makes the project extra girly, but also makes it easier to construct the scrunchie. You’ll hide the topstitching with the knot!

We Mermaid to Be Friends | valentine ideas and diy knotted scrunchie tutorial | fun valentine ideas | diy valentines | how to make a scrunchie | diy scrunchie | handmade scrunchie tutorial || See Kate Sew #scrunchietutorial #diyscrunchie #handmadescrunchie

If your kid insists on treats, the scrunchie works as band to hold a candy bar, so stick one under the band of the scrunchie on the back.

MERMAID SCRUNCHIE VALENTINES

I used my Cricut Maker machine to cut the fabric for these scrunchies! The file download on this post includes both a PDF and an SVG file for your use. The PDF can be printed from your home computer and is a pattern piece of the knot part.

The SVG file can be uploaded directly to Cricut Design Space. It’s pre-sized and has 3 scrunchie pieces and 2 full knot pieces on one panel. The Maker cuts the pieces out in a matter of seconds while you can be doing other things! Like sewing! This is the perfect project for the Maker because it cuts the small pattern pieces out precisely and all at once! The strips are also perfectly cut and ready to sew! There is no pinning paper to fabric here or measuring out strips. Just cut and go!

I’ve raved about the Maker in quite a few posts, and the machine has a permanent set-up next to my sewing machine. I always loved the possibilities of a cutting machine but before the Maker came out, I wasn’t totally sure how often I would use a machine like this. But now that the Maker cuts all types of fabric, I find myself using it all the time, and trying new projects that I wouldn’t normally, such as the Gem Quilt Block and Coffee Cup Quilt Block. Also compare the Explore Air 2 to the Maker in this post to see which meets your needs best!

MERMAID SCRUNCHIE VALENTINES

These scrunchies are the perfect size to double around a tiny little bun!

MERMAID SCRUNCHIE VALENTINES

Let’s get sewing!

1/4″ seam allowance included.

Mermaid Valentines Materials

Materials//
-1/3 yard Quilting Cotton
-1/2″ elastic, cut into 8″ strips
-Cardstock to print on
-cardboard/chipboard/cereal boxes for extra stability
-Printable download, see below
-Safety Pin
-glue stick

Cricut Supplies (affiliate links)
–Maker Machine
–12″ by 24″ FabricGrip Mat
–Essential Tool Set

Mermaid Valentine Instructions

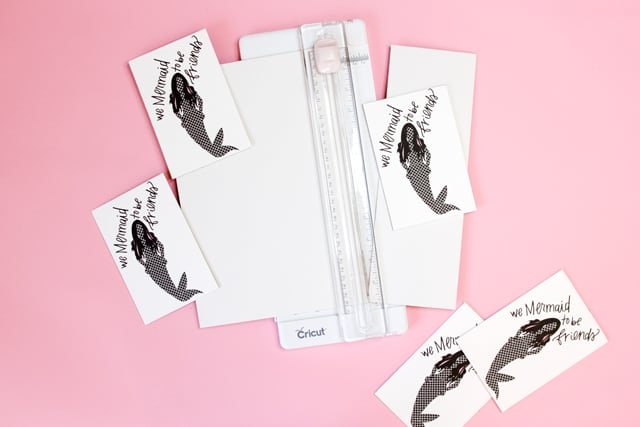
To make the cards, print download the mermaid card file and print it out. They print 2 to a page. Trim the cards down to 4″ wide by 6″ tall. Cut cardboard or chipboard the same size and glue to the back of the cards. This will help the card to not bow when the scrunchie is wrapped around it.

I used my Cricut Trimmer from the Essential Tool set to cut the cardstock and chipboard down to size. I love this little trimmer, I also use it to trim pattern pages!

To make 1 scrunchie cut a strip of velvet 2.5″ by 18″ long and a piece of elastic 8″ long.

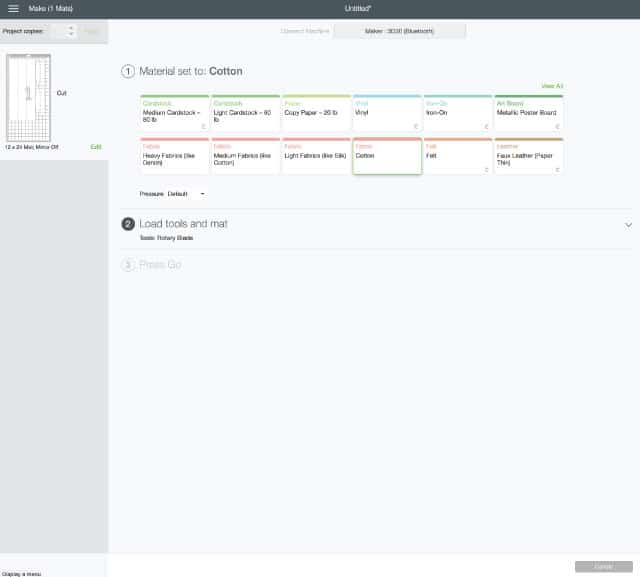
When you upload the image to design space, it will look like this on your canvas.

Click on the image and then hit “ATTACH” at the bottom right of the canvas. This will make the image stay on the canvas so it won’t be rearranged.

Hit the green MAKE button at the top of the screen and then set everything up! You’ll first get a screen that says your design requires a 12″ by 24″ mat so just say okay and then pick your material, which is Cotton in this case. That’s all the set-up required! There is no adjusting tension or whatever! The screen will prompt you to load the appropriate tool, the Rotary Blade which comes in the box with the Maker. And then you hit GO!

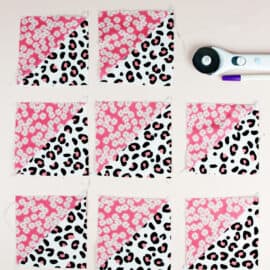
And this is what you’ll get:

MERMAID SCRUNCHIE VALENTINES

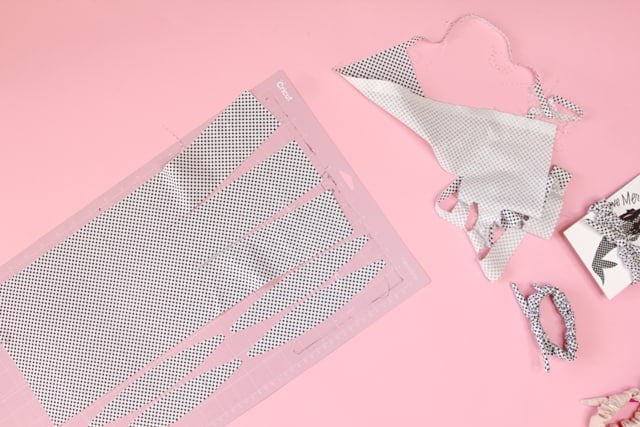
Each mat you cut will have enough for 3 scrunchies and 2 knot ties.

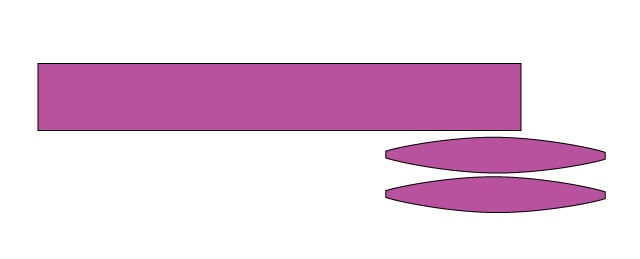
Take 1 strip and 2 tie pieces.

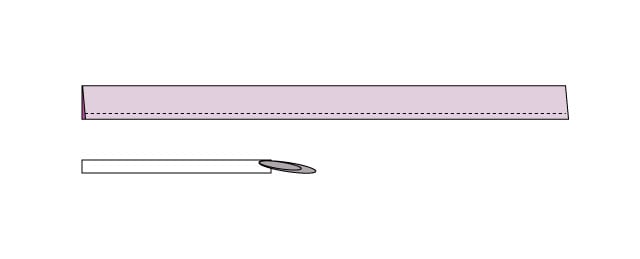
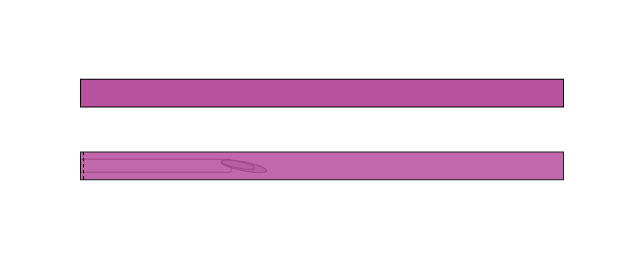
Fold the strip in half longways and press. Sew along the bottom edge 1/4″ from the raw edges.

Attach a safety pin to your elastic.

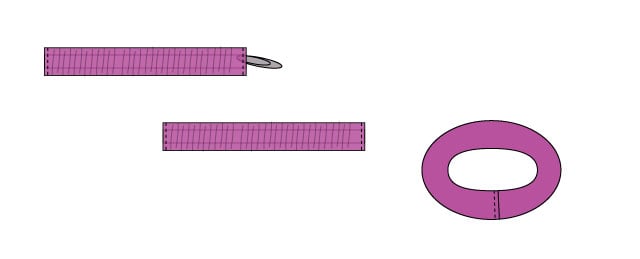
Turn the scrunchie tube right side out. No need to press this since we’ll be “scrunching” it all up anyways. Thread the elastic through the tube. When the end hits the end of the tube, sew the elastic to the tube.

Then continue threading, scrunching the fabric as you go. When you get to the other side, take the safety pin out and sew the other elastic edge to the tube. Bring the two ends of the scrunchie together and stitch the ends together. Since we will cover your sewing lines with a knot, you don’t have to fold the ends under or hide the stitching.

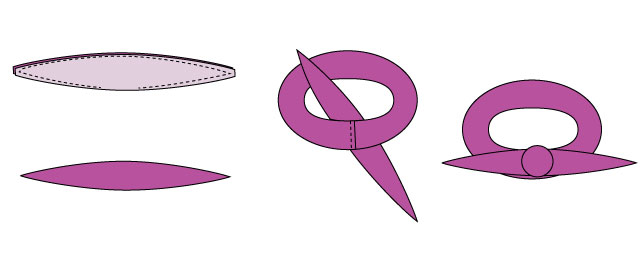
Place 1 knot piece on top of the other with right sides together. Sew all the way around, pivoting at the points. Leave about 1″ open in the middle of the knot piece. Turn right side out and press. Tie the knot over the place where the scrunchie ends meet and tie into a knot. All done! The knot will hide it’s own opening and cover the topstitching you created on the scrunchie.
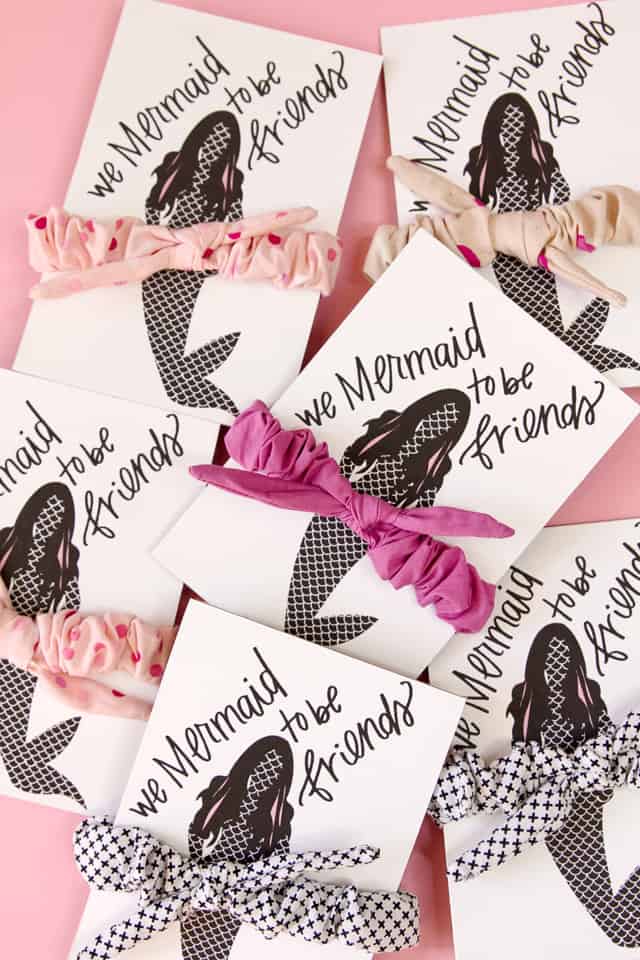
Assemble Valentines

Pull the scrunchie over the chipboard mermaid Valentine and it’s ready to give!

We Mermaid to Be Friends | valentine ideas and diy knotted scrunchie tutorial | fun valentine ideas | diy valentines | how to make a scrunchie | diy scrunchie | handmade scrunchie tutorial || See Kate Sew #scrunchietutorial #diyscrunchie #handmadescrunchie
Knot Scrunchies free pattern | diy knotted scrunchie tutorial | how to make a scrunchie | diy scrunchie | handmade scrunchie tutorial || See Kate Sew #scrunchietutorial #diyscrunchie #handmadescrunchie
We Mermaid to Be Friends | valentine ideas and diy knotted scrunchie tutorial | fun valentine ideas | diy valentines | how to make a scrunchie | diy scrunchie | handmade scrunchie tutorial || See Kate Sew #scrunchietutorial #diyscrunchie #handmadescrunchie

This is a sponsored conversation written by me on behalf of Cricut. The opinions and text are all mine.


SaveSave

3 Comments | Accessories, Crafts, Free Patterns, Holiday

Exclusive Free PatternRuffled Apron

Sign up for my email newsletter and receive my ruffled apron pattern totally FREE!

We take your privacy seriously. See our privacy policy here. Unsubscribe at any time.

You may also like these posts...

FREE gnome sewing patternApplique Gnome Sewing PatternCrumbl Cookies Teacher Gift Printablecrumbl cookie teacher gift printableQuilt Swatches Printable PlannerQuilt Planning Worksheet Free DownloadHalf Square Triangles Instructions for Magic Eight Methodhalf square triangles 8 at a time chart

Reader Interactions

3 Comments

  1. Loretta

    02/16 at 9:02 PM

    These are adorable! I have some leftover fabric that should be just enough to sew up some scrunchies for me and my niece :)

  2. Becky Ethington

    02/19 at 9:58 PM

    These do fit adults, correct?

    • Lynette

      02/26 at 10:15 AM

      Can these be made larger to be used as an adult headband? Or is there a pattern for adults headbands?

Primary Sidebar

  • Facebook
  • Twitter
  • Instagram
  • Pinterest
  • Email

Exclusive Free PatternRuffled Apron

Sign up for my email newsletter and receive my ruffled apron pattern totally FREE!

We take your privacy seriously. See our privacy policy here. You can unsubscribe at any time.

Don’t miss these popular posts!

easy baby dress pattern for the summertime

easy baby dress pattern for the summertime

modern ombre + b/w triangle quilt tutorial + pattern

modern ombre + b/w triangle quilt tutorial + pattern

Fabric

Quilted Cosmetic Case Kiss Me KateKiss Me, Kate FabricOne Hour Granny Square Quilt Tutorial | See Kate SewModern Granny Square Quilt Whole Cloth

Pattern Hacks

Easy Baby Summer Dressthe EMMA pattern | See Kate SewThe EMMA Dress

Footer

Hello friends!

My name is Kate, a twenty something fashion lover and mother of two. When I’m not chasing kids you can find me at my sewing table or daydreaming up new designs. You can read more about me here. Thank you for visiting!

8a918f8da8e0e69102dc0f33a718de85a99c31a57283e0e3e2

FOLLOW ME HERE

  • Facebook
  • Twitter
  • Instagram
  • Pinterest
  • Email
  • Blog
  • About
  • Contact
  • FAQ
  • Sponsor

Copyright © 2023 See Kate Sew  •  All Rights Reserved  •  Privacy Policy  •  Site Design by Emily White Designs