This post was originally shared at I Heart Naptime for the Crazy Christmas Event. There is still time to whip some up before the holidays!
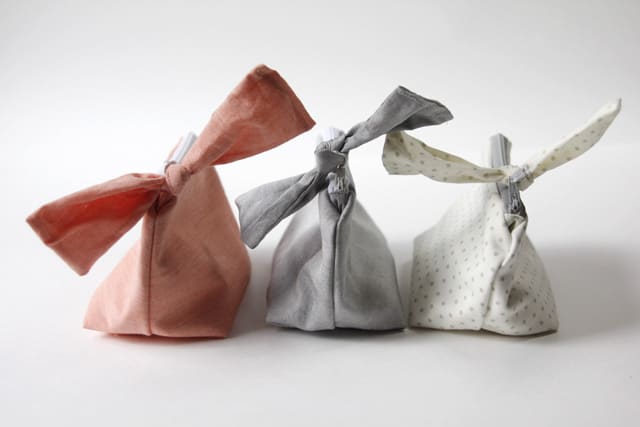
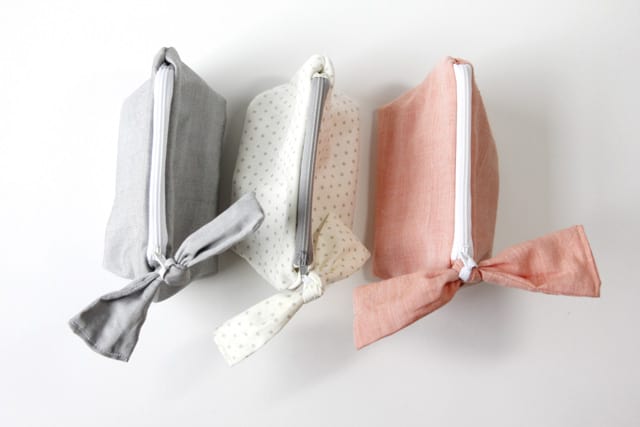
I love giving little pouches filled with goodies for the holidays! These are fun because you can make a whole bunch and personalize the contents for anyone on your list! Makeup for the teen, candy for the husband, toy cars for the boy, anything goes!
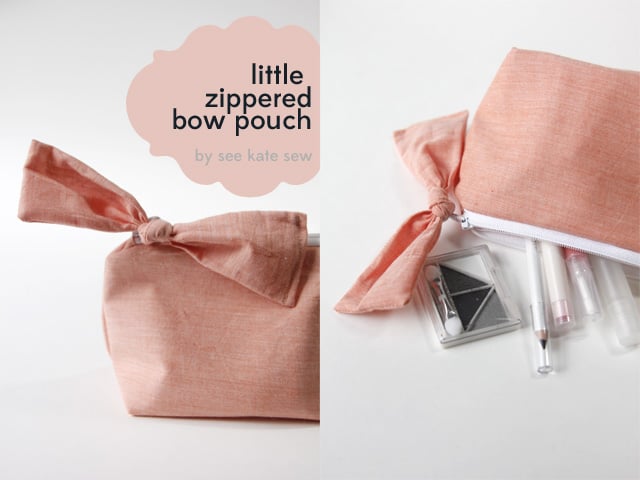
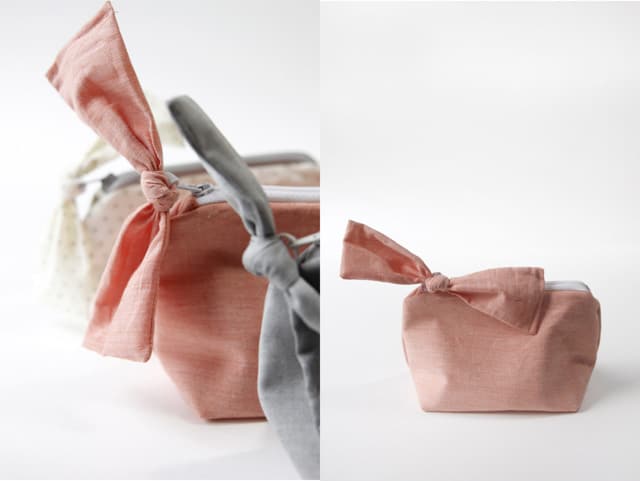
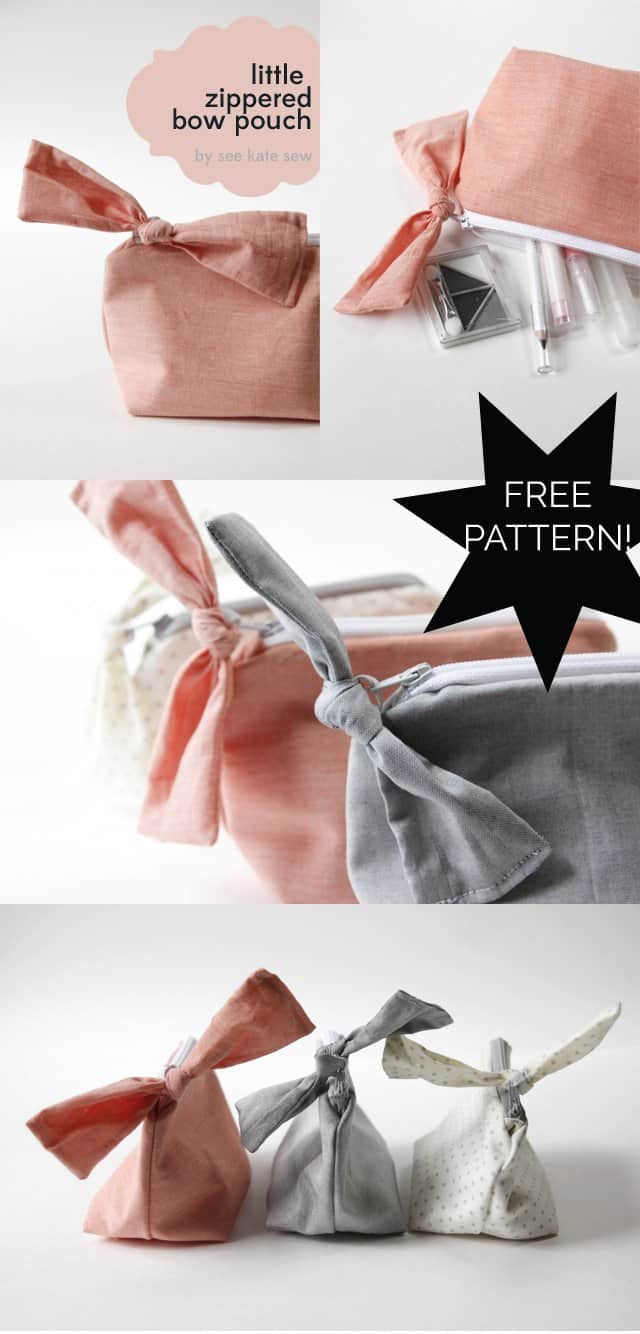
Zippered bow pouch tutorial
Materials:
*1/4 yard fabric for outside
*1/4 yard fabric for lining
*1/4 yard duck cloth for interfacing
*1 7″ zipper
*1″ of 1/4″ wide elastic
*downloadable pattern piece
Instructions:
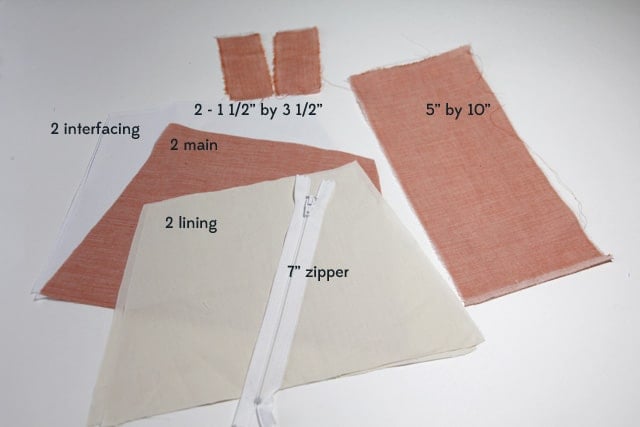
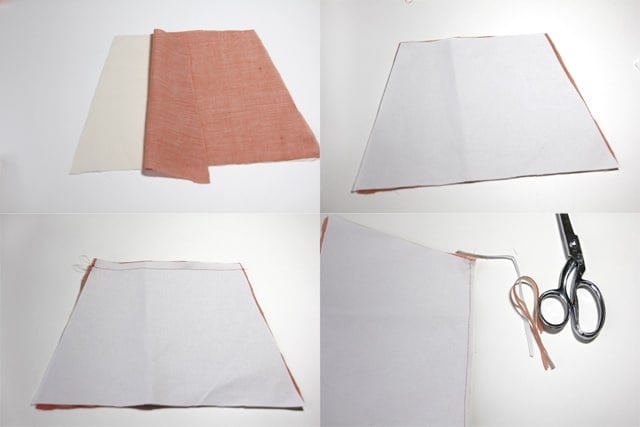
Print out pattern piece and tape it together. Then cut out the following:
*2 pouch pieces of main fabric
*2 pouch pieces of lining fabric
*2 pouch pieces of interfacing
*1 rectangle 5″ by 10″
*2 rectangles 1 1/2″ by 3 1/2″
Stack one main piece and one lining piece right sides together. Then stack 1 interfacing piece on top of the backside of the main fabric. Sew along the top at 1/2″. Trim down.
Press seam allowance toward lining and topstitch.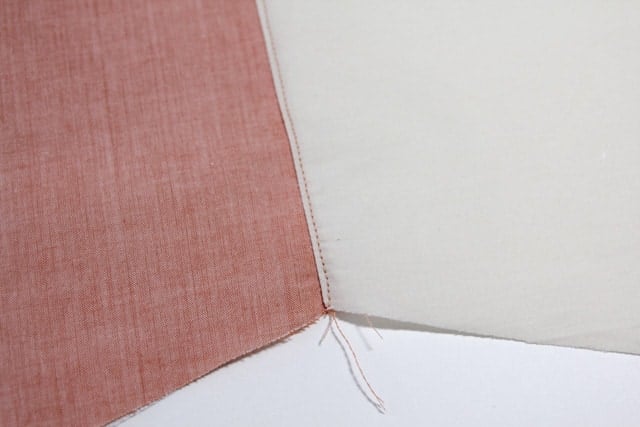
Then press in half.
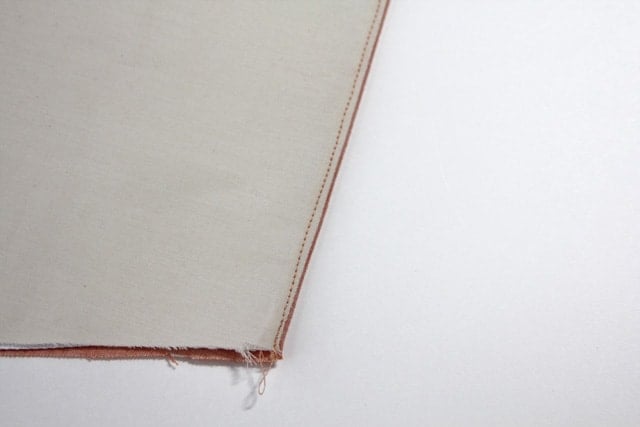
This makes one half of your bag. Repeat for the other side.

Press in 1/2″ on either end of the little rectangle pieces. Then press in half.
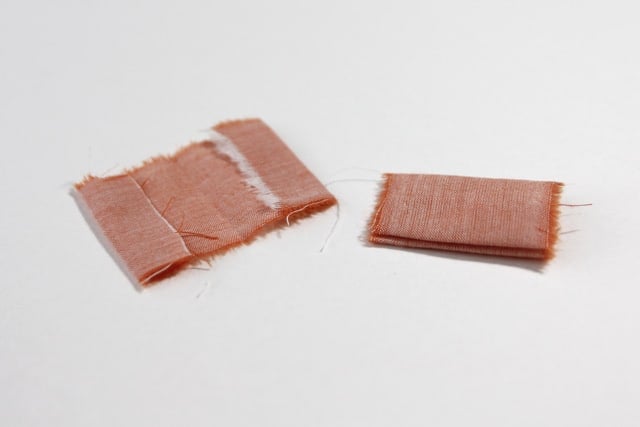
Trim off about 1/2″ on each end of the zipper.
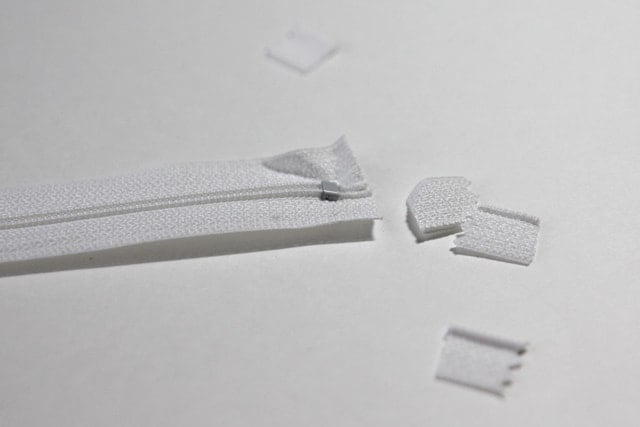
It should match the length of the bag piece.

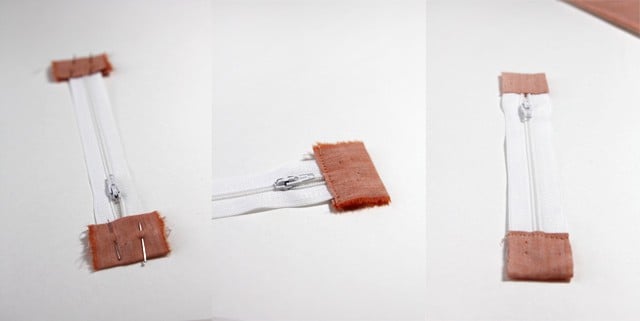
Pin your little pressed in rectangles over each end of the zipper. They should sandwich the zipper. Topstitch both ends in place.
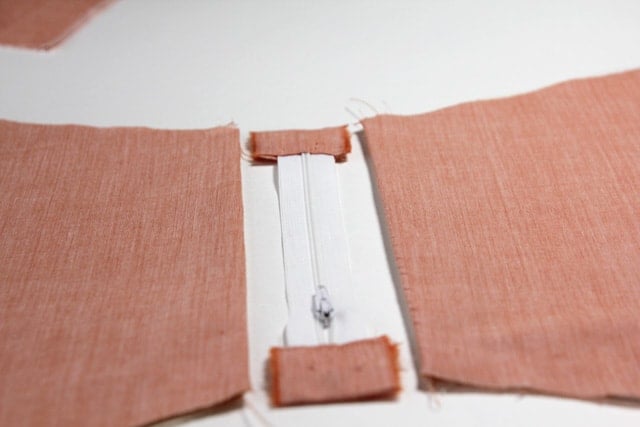
Now put zipper on bag piece with right sides together. Pin in place and sew up at 1/4″. Repeat on the other side.
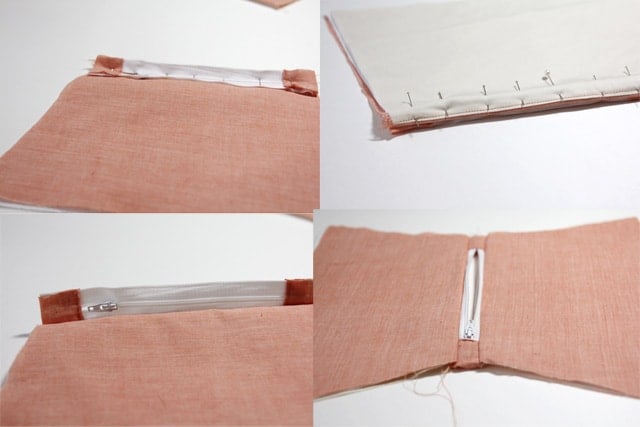
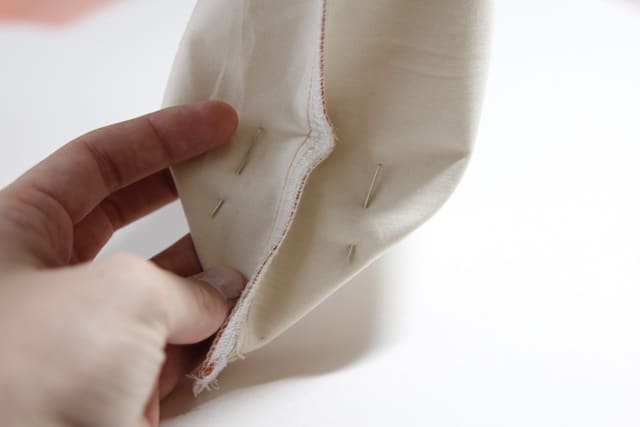
Open zipper and pin bag pieces together, right sides together.
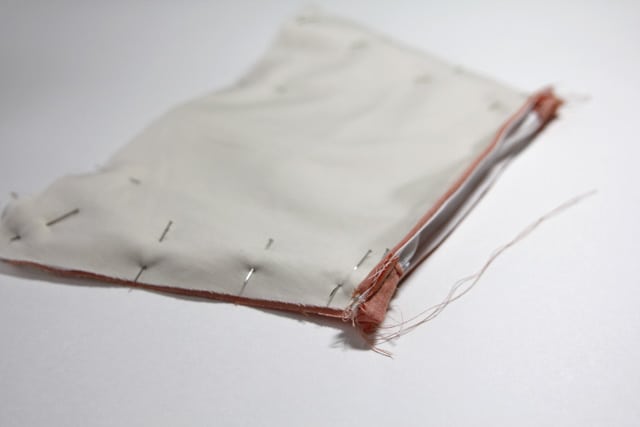
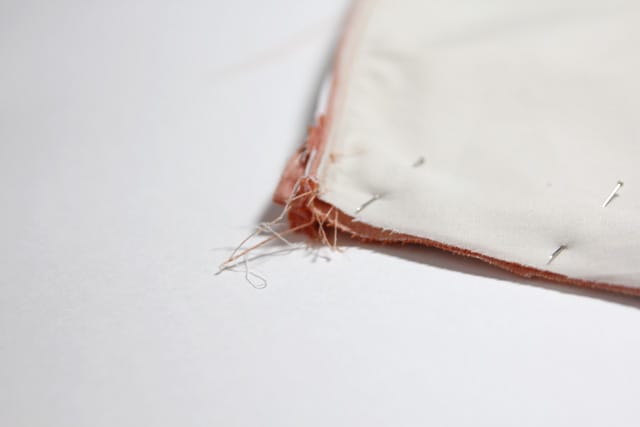
Sew all the way around at 1/2″.
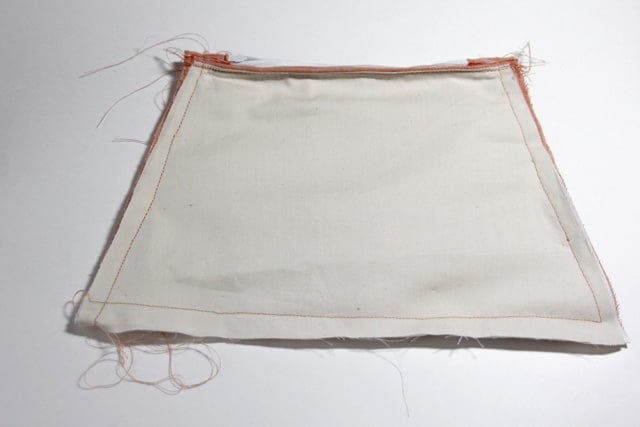
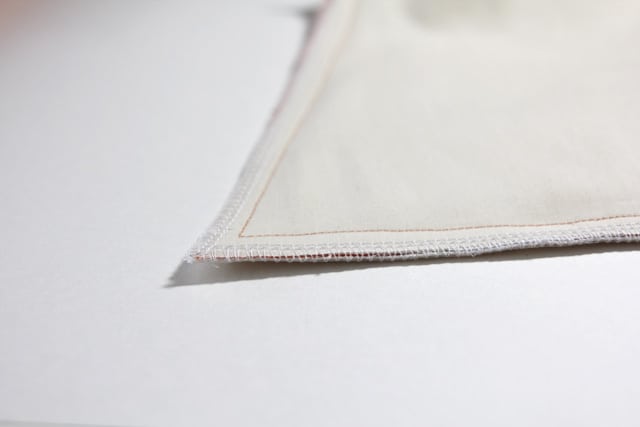
Serge or zig zag the seam allowance.
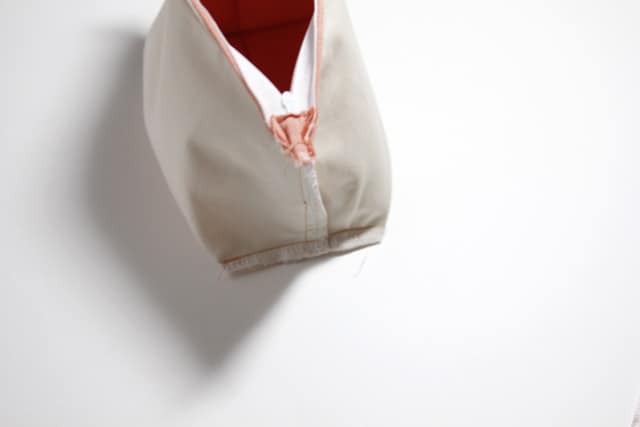
Now pinch the bottom corners of the bag and pin.
Sew 2 1/2″ from the corner.

Clip off the excess fabric and serge or zig zag seam allowance.
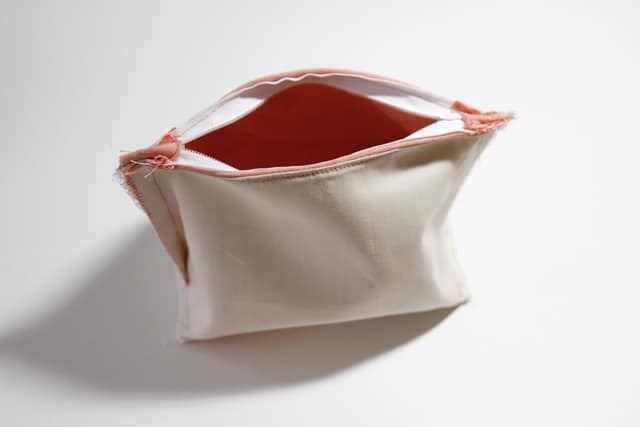
Turn right sides out. Almost done! We just have to add the bow now.
To make the bow, fold rectangle in half and sew one short edge and one long edge. Clip corners and turn right side out. Fold under 1/4″ on the open edge, pin and topstitch closed.

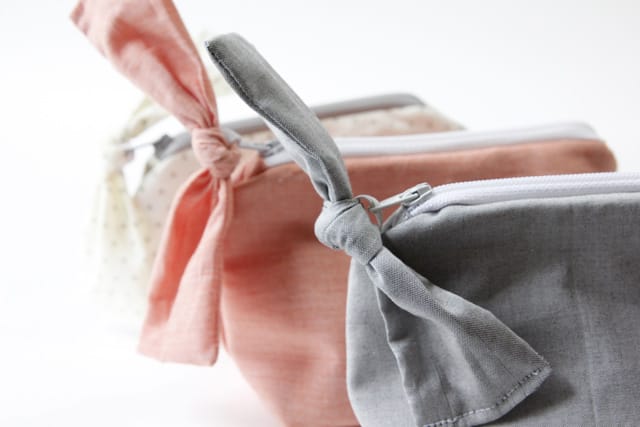
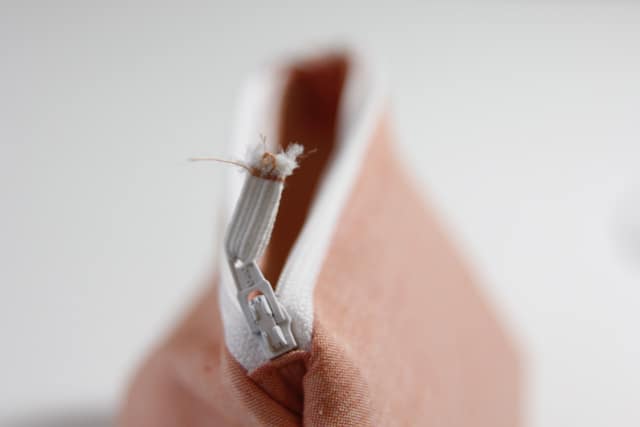
Thread your little piece of elastic through the hole in the zipper pull. Sew it together.
Thread your bow piece through it.
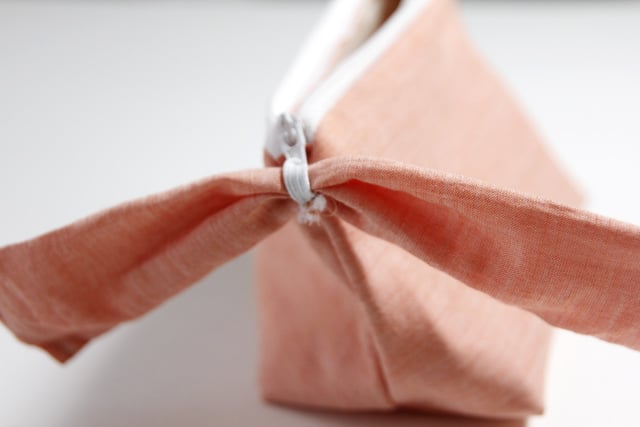
And tie it in a knot.
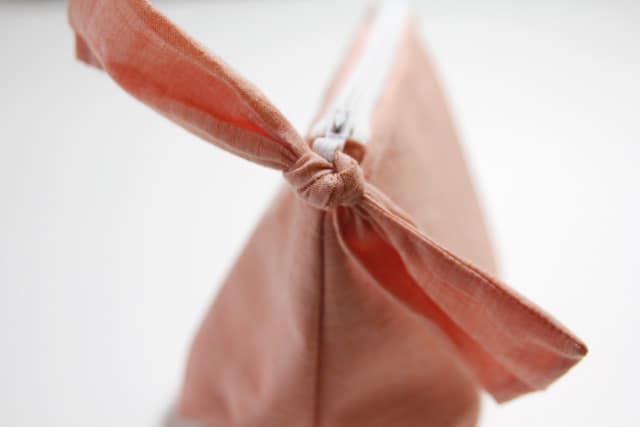
And then you’re done!
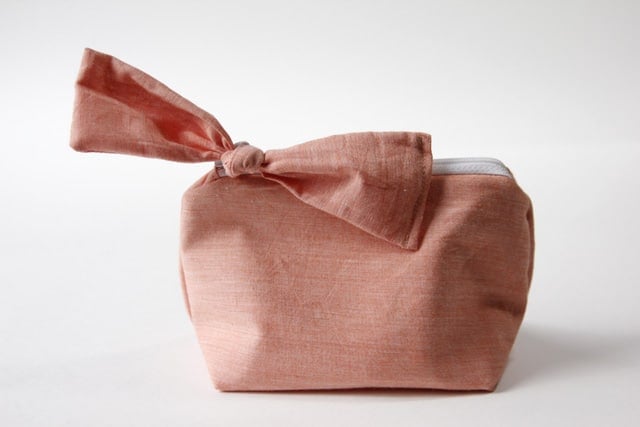

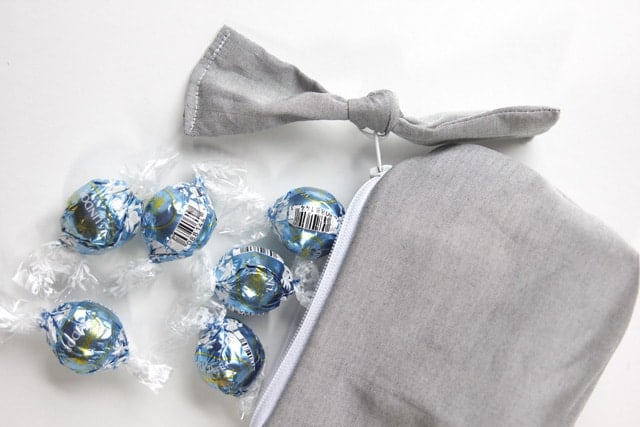
What will you fill yours with?


So cute!
Love ot, looks so cute! ♥ Too bad I’m not really skilled at sewing
They look lovely!
Super cute…Elizabeth had been on a zippered pouch making kick as of late…but I have to admit I’ve never made one…yet…I really need to. They are so stinking cute!
-liZ
Love the bow on the zipper. :)
These are just the cutest little things!
ADORABLE! I definitely need to make a couple of those – love the elastic on the bow pull. And your colors are so pretty all lined up together.
I love these! The Christmas season is calling for these.
xoxo
Kim
http://www.fashionlovesdetroit.com
Kate! I love these! I teach very small little local sewing classes called ‘Sew Classy’ and I would LOVE to have your permission to teach this clutch at the next January class. I’ve been looking for a little clutch simple enough for beginners, but still cute! Let me know if you mind! Thanks so much!
Vanessa
DesignsBySessa.com
Love them sooooo much! You inspire me my dear.
very cute! I’ll take the one with truffles in it! ;)
THAT BOW!
I like how you add the fabric tabs to the end of the zipper before sewing it on. I plan on giving that a try next time I make a pouch! Thanks!
Wow.. these tutorial is very good. and the fabrics are adorable. I love it. Thanks for sharing these :)
Did you just use regular quilting fabric for your bags and can you use fusible interfacing or fusible fleece instead of duck interfacing? Never heard of duck interfacing. Was going to try and make one of these.
I love this and just started following your blog. I’m really inspired to try this project and a few others!!
XO
http://www.livebowfully.com
Just found you through Girl Inspired…Will be following and making things from your blog. Thanx for the inspiration!!!
Kate – just finished this bag as my very first sewing project, and it was super easy and totally doable for a beginning sewer. I’m loving your blog and will definitely be following along for more projects and tutorials as I continue to hone my skills!