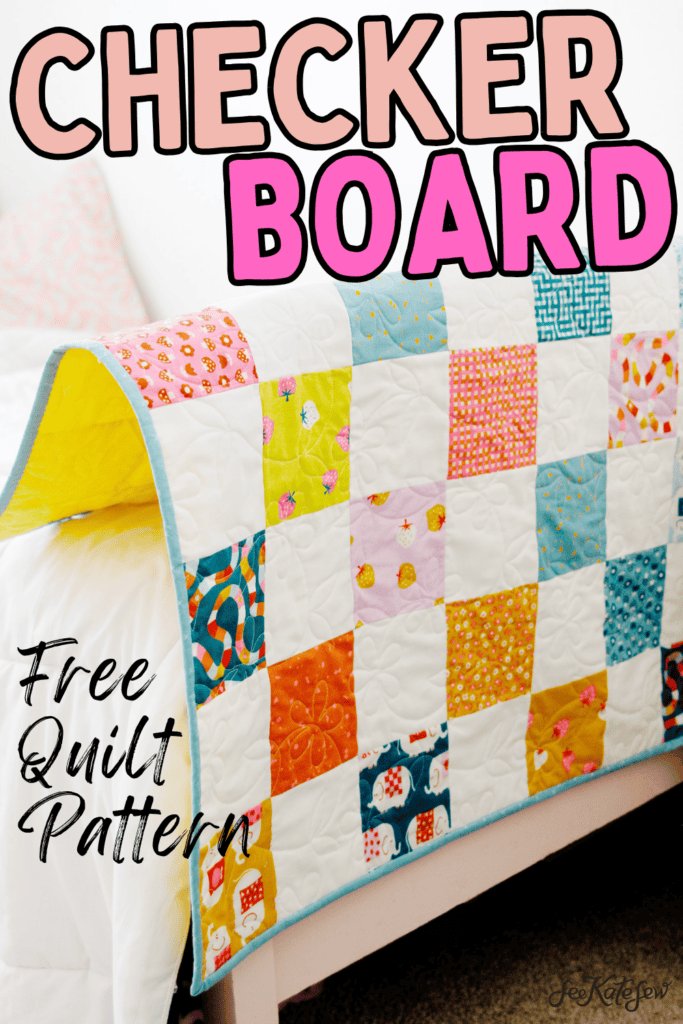
Let’s sew a bold and easy quilt top! This basic checkerboard quilt pattern is a simple classic that is always beautiful!

Even an advanced quilter can enjoy a simple project like this!

Basic Checkerboard Quilt Materials
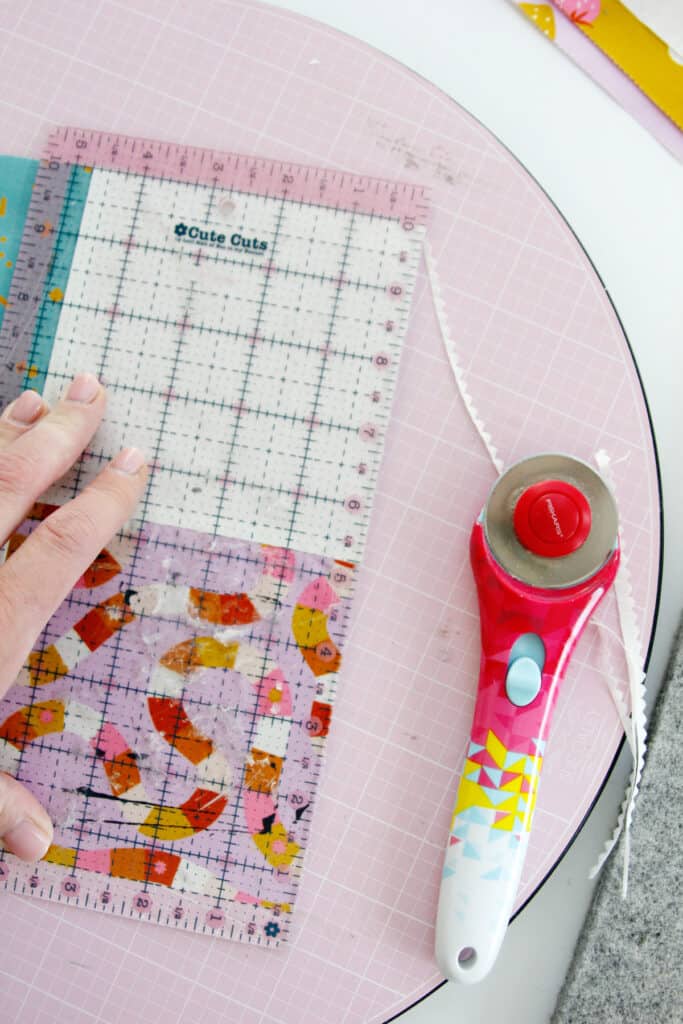
This pattern starts with charm squares but feel free to use yardage or scraps to cut your own 5″ squares. If you are cutting your own square, cut strips of fabric 5″ wide and then cut them down to 5″ squares.

Sizes and Charm Squares Required
Small/Baby Size requires 64 squares (32 print and 32 solid)
Approximate Finished Size: 36″ x 36″
- 1 printed charm pack
- 1 solid charm pack
Printable Checkerboard Quilt Pattern
To download a printable PDF of these instructions click the button below. This includes measurements and yardage required for more quilt sizes.
Checkerboard Quilt Tutorial
Use a 1/4″ seam allowance.
For this quilt we’ll be sewing the squares first into blocks of 4 and then sewing the blocks together. You can also sew these in rows and then sew the rows together – it’s up to you! I find that it is a little easier to keep things neat and straight when I work in blocks instead of rows so I’ll show you that method.
Pick 4 squares (2 solids and 2 prints) and set them up in a checkerboard pattern.

Lay the blocks together with right sides together.

Sew together with right sides together with a 1/4″ seam allowance.

You can chain stitch these pairs to make this step quicker! Just sew all the prints to a solid.

Sew the charm square blocks
After your pairs are sewn together, pick 2 of the pairs. Press the seam allowances in opposite directions, or both towards either the printed or solid sides.

If you are using the same brand of charm squares, you probably won’t need to trim this up at this step. But if your squares aren’t quite the same size like mine, trim the sides.

Now we’ll sew two pairs together to create a block of 4.

Since your seam allowances are pressed in opposite directions, the seam allowances can easily “lock” or butt up against one another. This will give you crisp edges where your fabrics meet. I like to put a few pins in the seam allowances to hold until I sew over that part of the blocks.

Open up your seam and press to one side. Check out that crisp intersection!

Repeat until you have 16 blocks. Make sure you are consistent with your upper left fabric placement. If you use a solid at that spot, use a solid for every block.
Trim each block up to 9.5″ square, if needed.
Finish the checkerboard quilt
Now, sew the blocks into rows of 4.

Sew 4 rows of 4 to use up all your blocks.

Lay out the rows in the pattern you like. Sometimes I like to do this before sewing to make sure I don’t have the same color clustered together in one spot. Once you decide your pattern, press the seam allowances in opposite directions. Press the seams to the right for the first row, the left for the second, etc. This will help you lock your seams between all the blocks.

Sew the rows together to complete your quilt top.