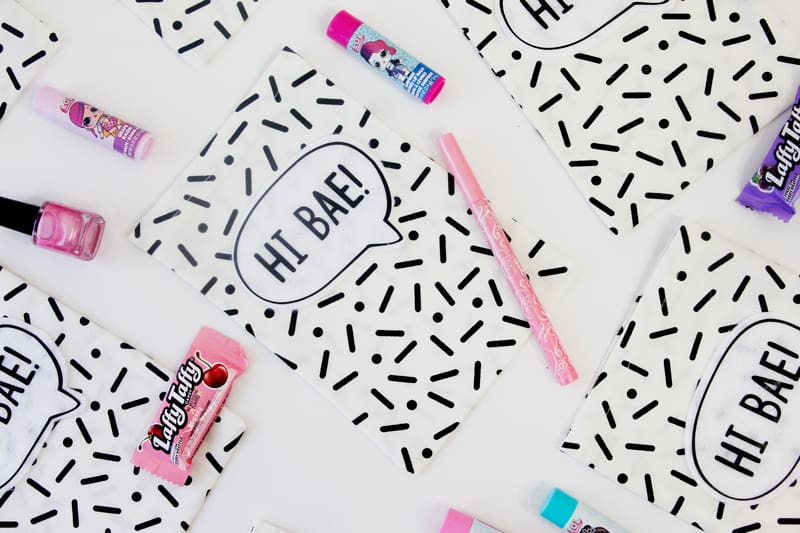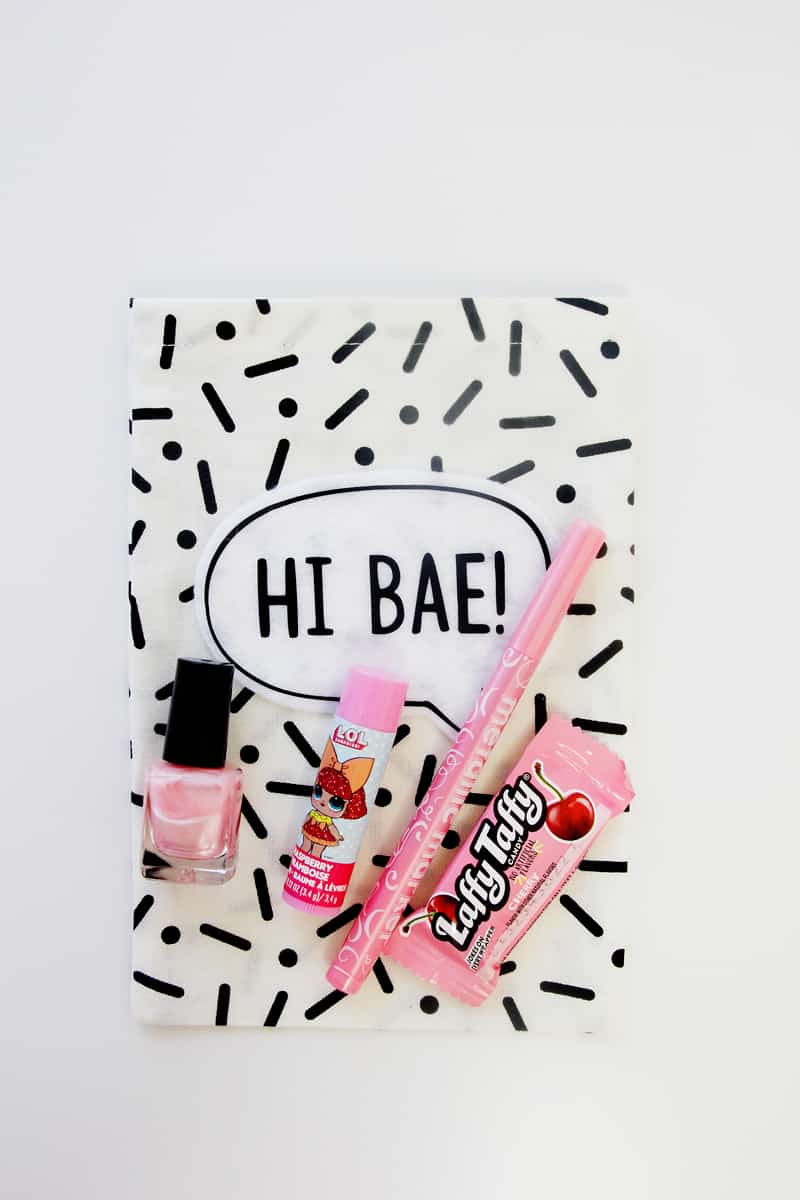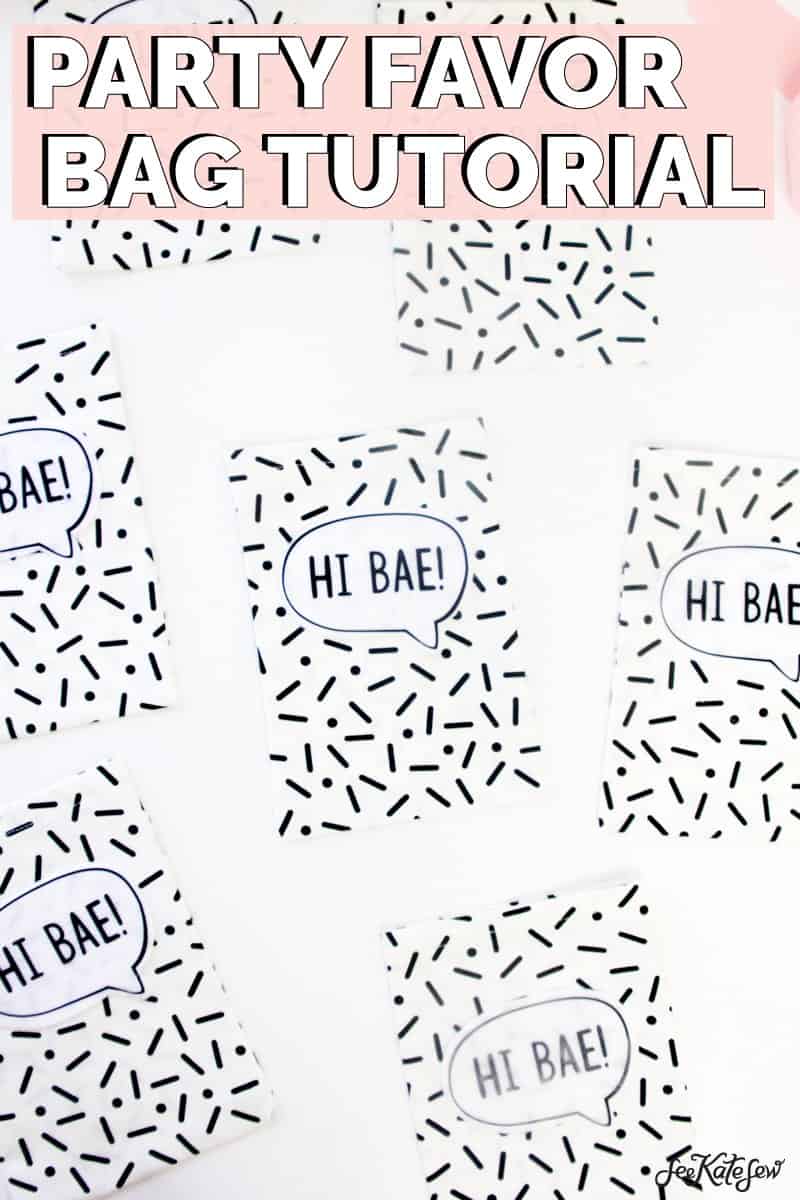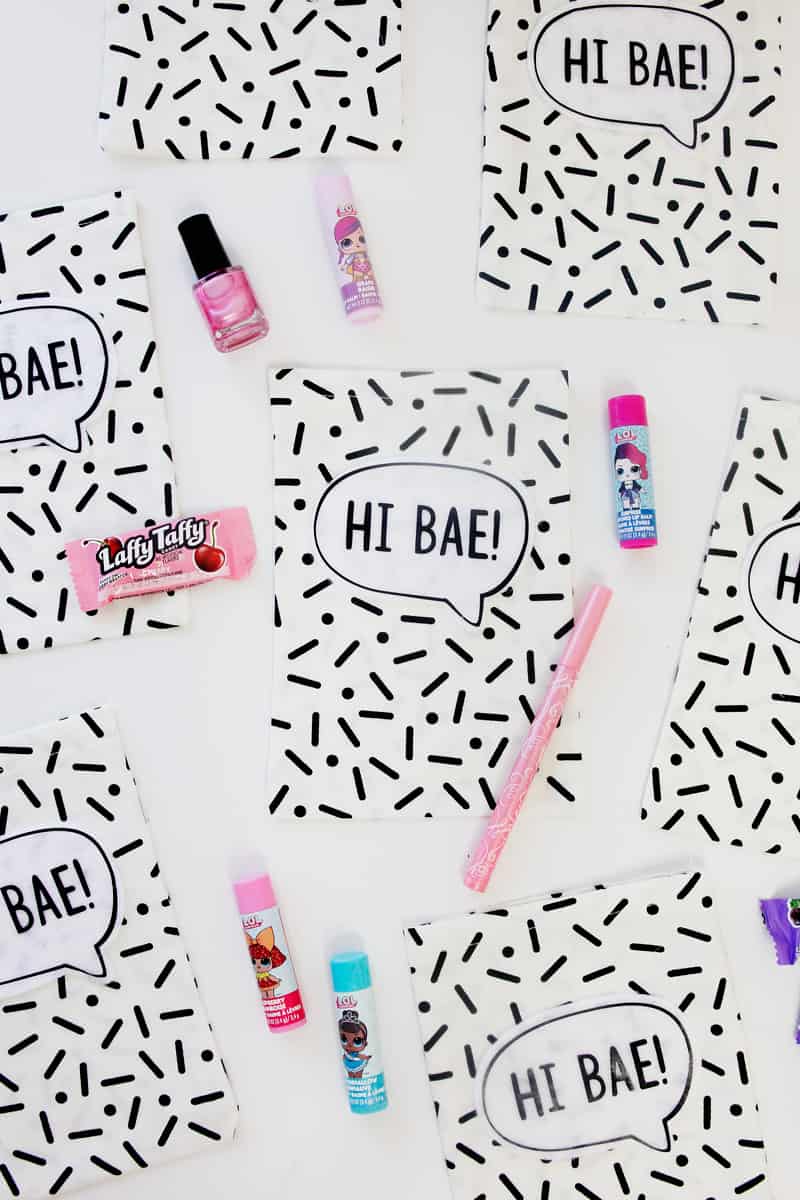
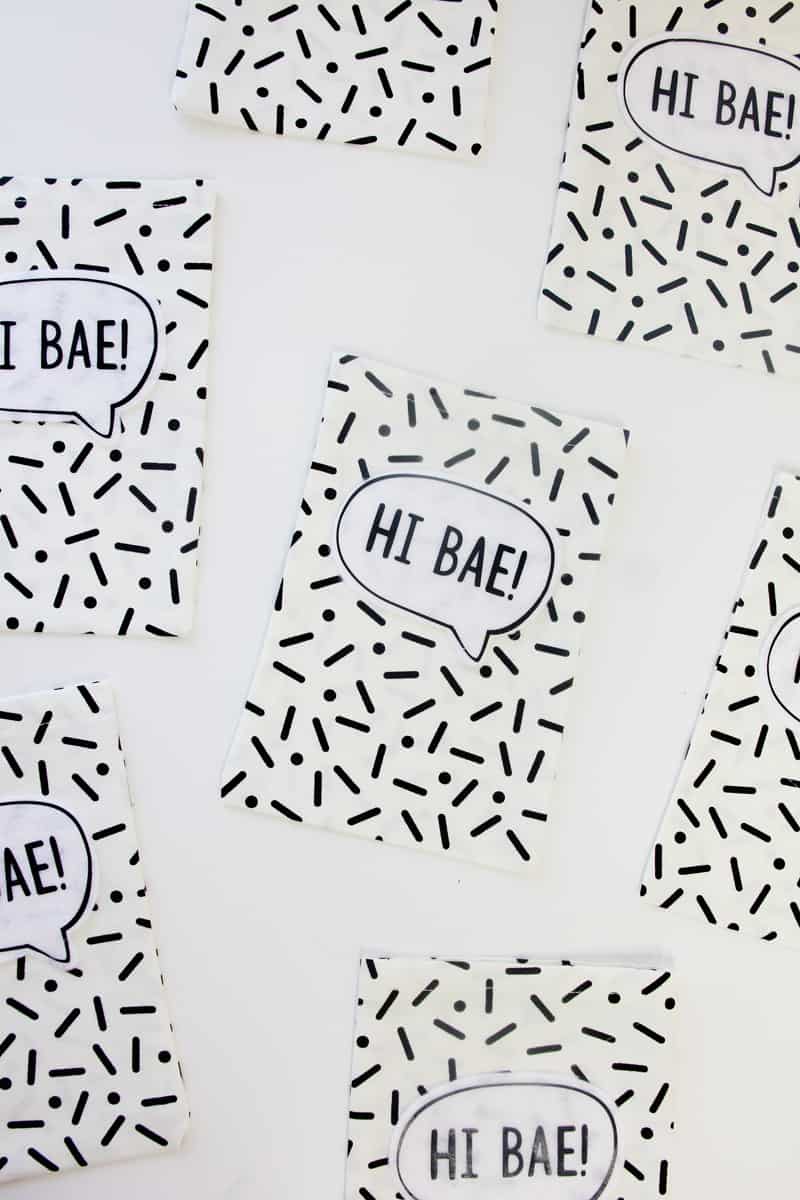
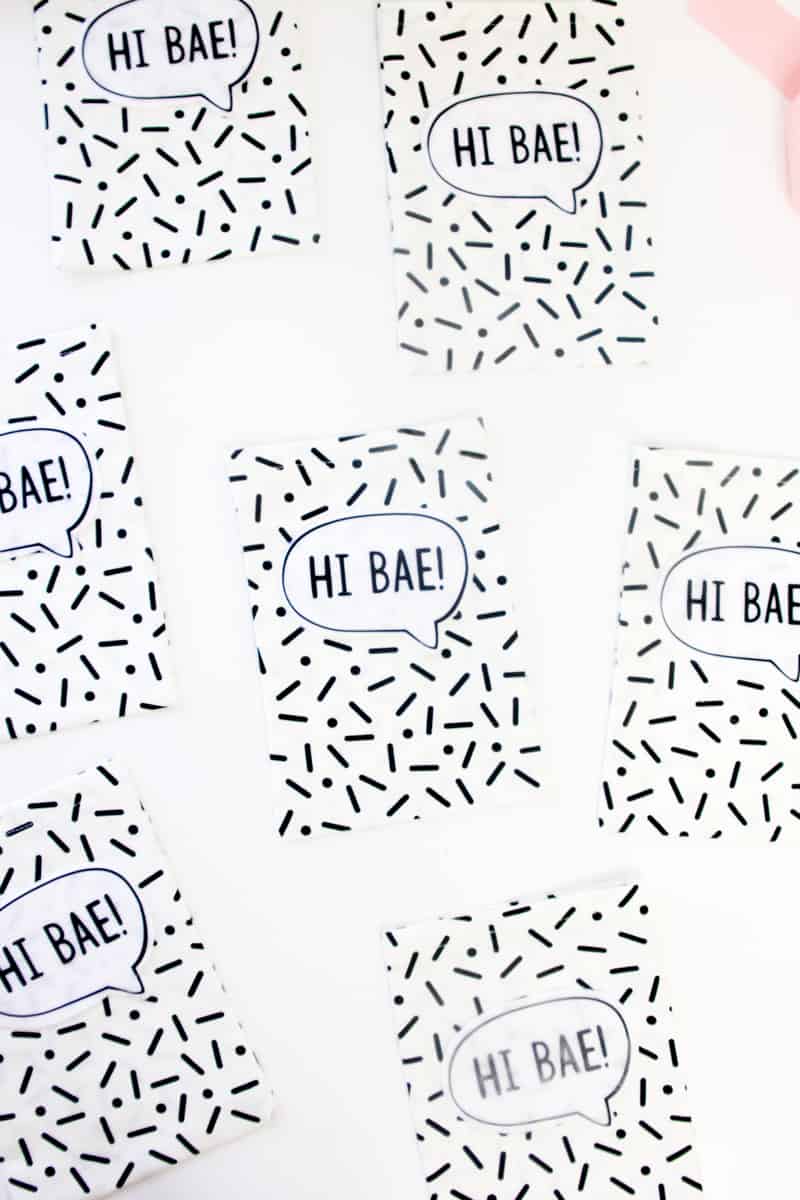
HI BAE! Don’t ask me quite what that means but I think it means hi friend! in LOL language ;) In this post I will show you how to make fabric party favor bags that can be used for any kind of party! We’re still LOL Obsessed (see HERE, HERE, HERE, HERE and HERE for more proof!) and we had an LOL themed birthday party last weekend! These little treat bags are made with basic cotton fabric and only require 3 lines of stitching – BUT you can also do a no-sew version by just using a hot glue gun wherever there is a seam. Since they are just little cute treat bags, glue will hold up just fine. I used hot glue to adhere the felt speech bubble, too! And the ‘HI BAE!’ is iron-on vinyl. With this simple tutorial, you can use different things to decorate the bags with your party theme. Use other kinds of felt shapes or iron-on to customize as you need!
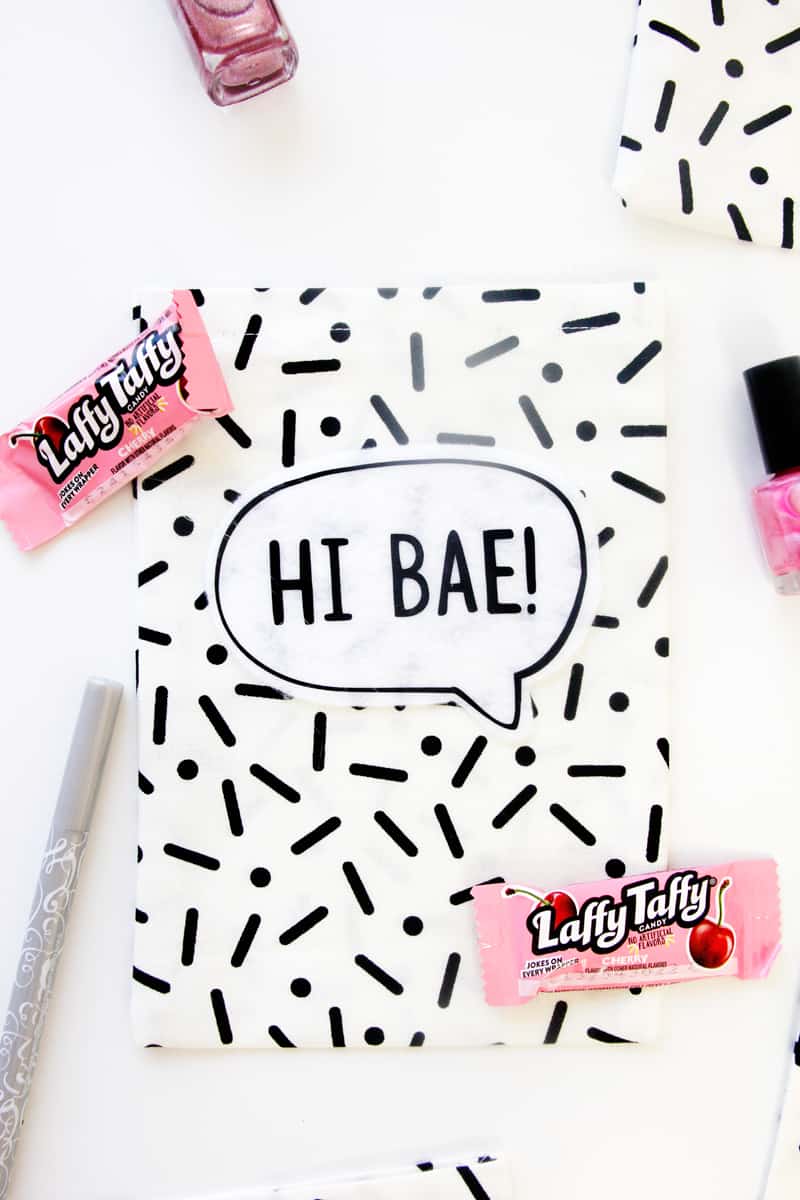
We filled them with an LOL chapstick, mini nail polish, shimmer marker and Laffy Taffy. We got all of these favors at Five Below. We will also stick our party craft (hair bows!) in the bag!
Let’s make some quick favor bags!
Materials//
-1 yard cotton fabric – I’m using Cotton + Steel Snap to Grid Pill Dot
–white felt
–Black Iron-on Vinyl
–Cricut Maker
–Cricut EasyPress 2
-Hot glue gun + glue sticks
-Hi Bae! SVG cut files (download below!)
HI BAE! Design Download
Instructions//
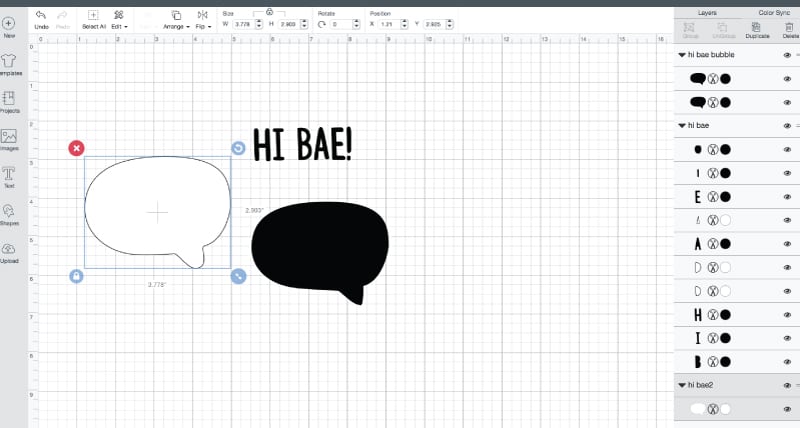
Upload all three designs to Design Space.
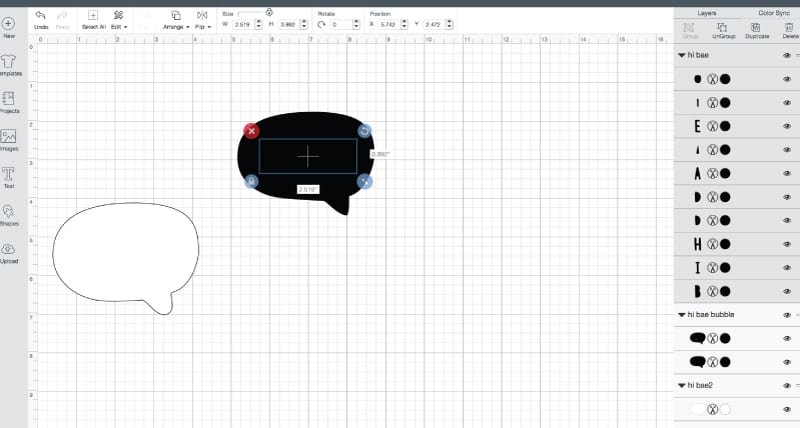
Make sure “HI BAE!” is at the front. Right click on it and hit SEND TO FRONT. Then drag it over the black bubbles. Highlight both “HI BAE!” and the black speech bubbles and ‘ATTACH’ both the the canvas.
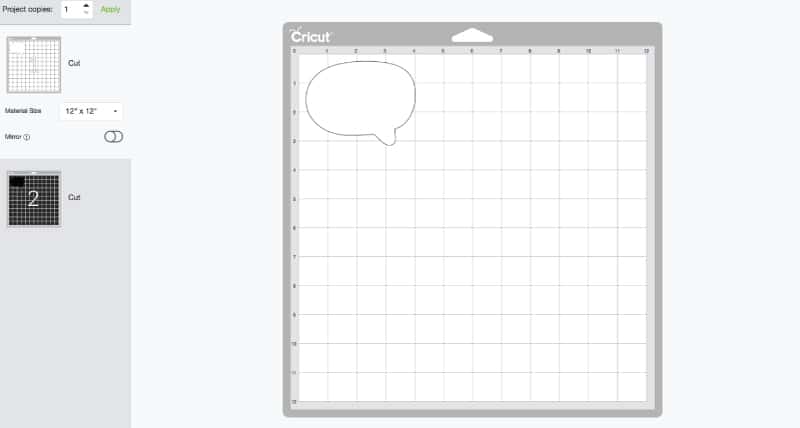
Continue by clicking on the green “MAKE IT” button and you’ll have two mats:
Adjust the number of copies and then proceed to cut the white bubble out with felt and the black letters and outline out with black iron-on vinyl. Make sure the iron-on is set to cut out with MIRROR IMAGE ON .
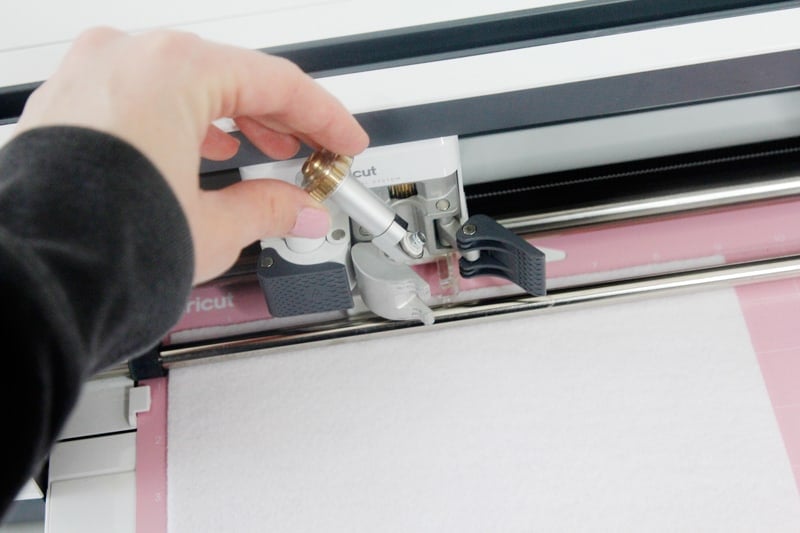
Load your mat with the Rotary Blade.
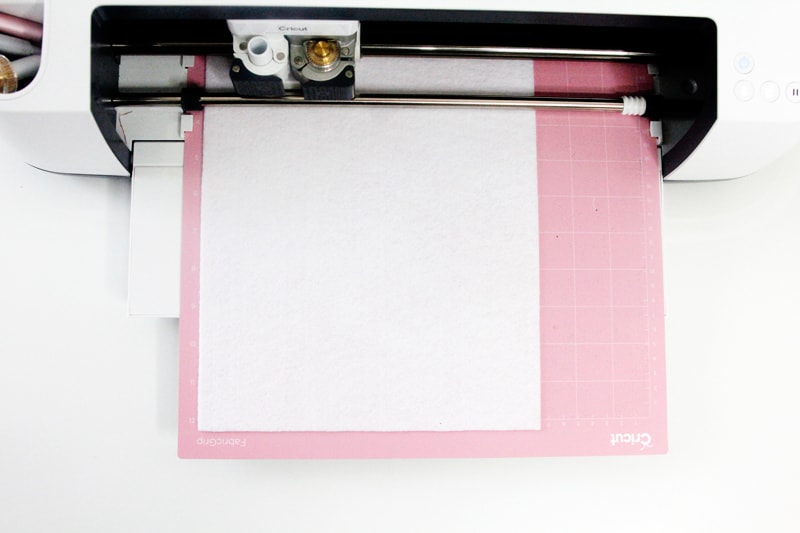
And then load the felt. I like to adjust the pressure to MORE when cutting felt.
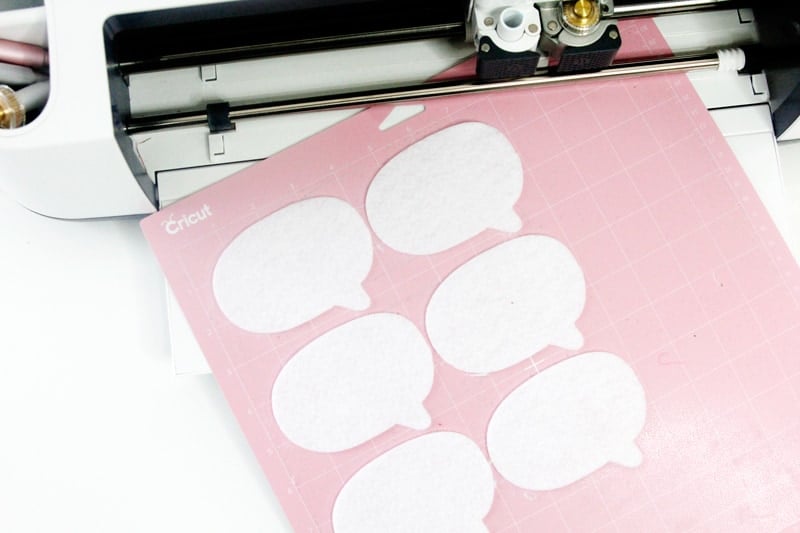
Ah! Perfect every time!
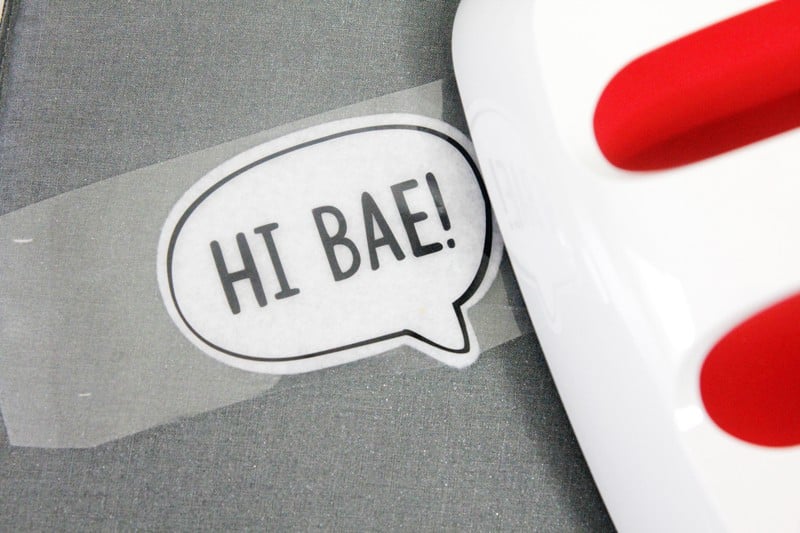
Use the Cricut EasyPress 2 to fuse the outline and letters to each felt bubble.
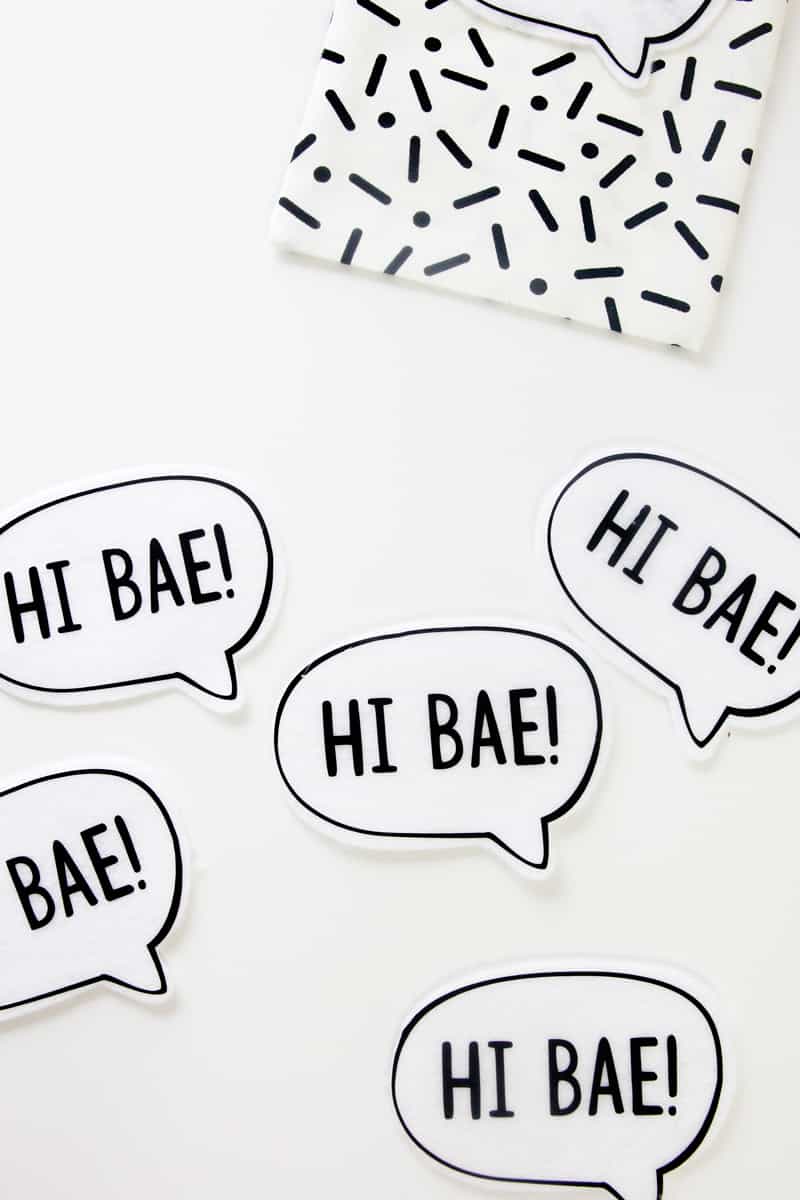
I’m obsessed with these cute little bubbles! You could really write anything in them!
To make the rest of the bag….Cut cotton fabric into a rectangle 6″ by 16″.
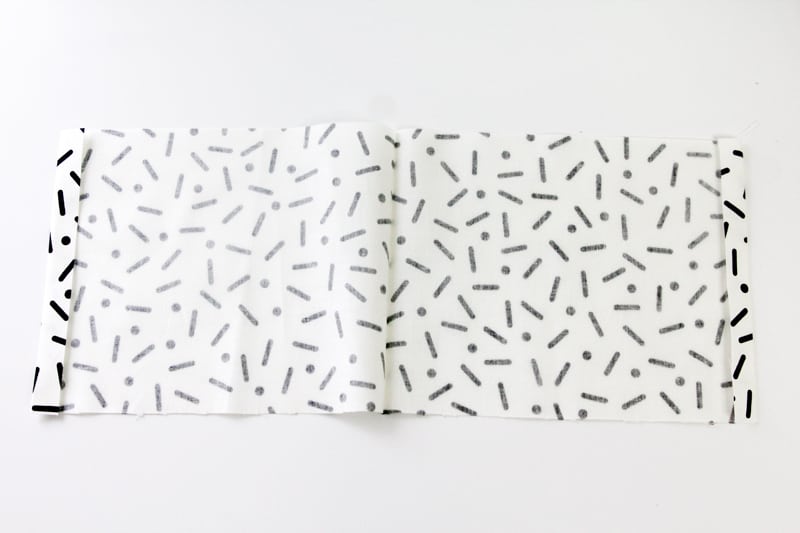
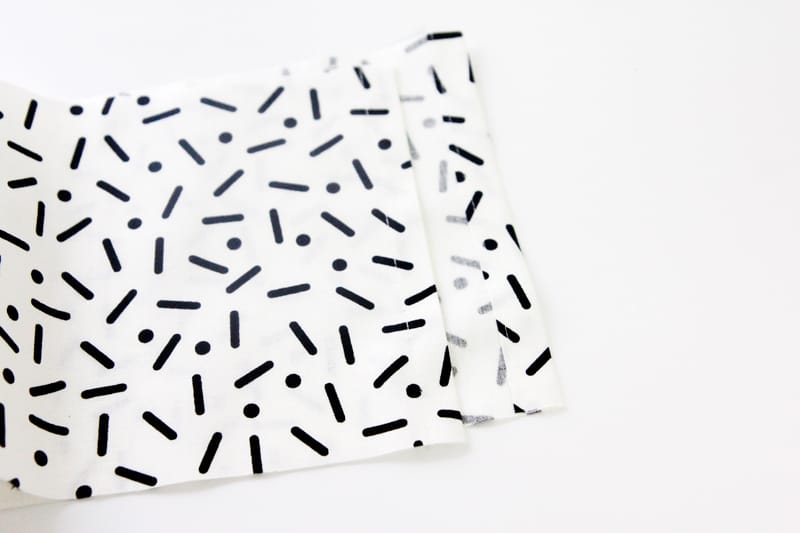
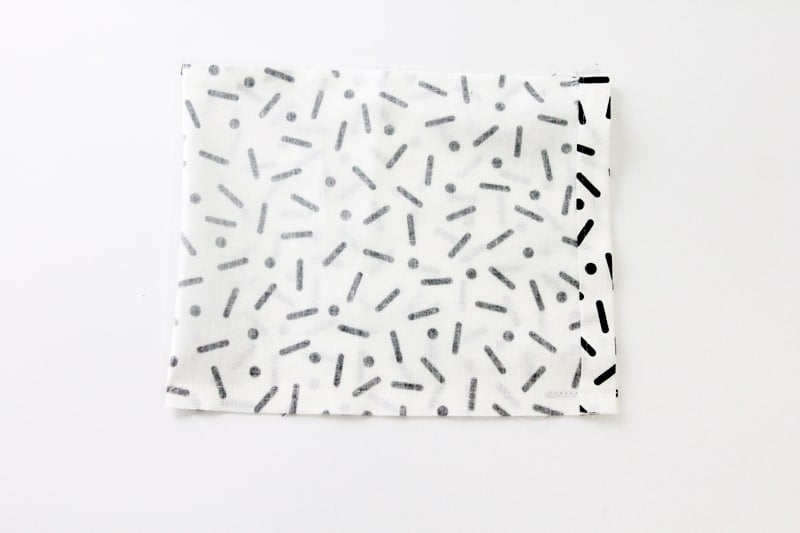
Fold over the short edges 1/2″ and press. If you want to prevent fraying, treat the edges with Fray Check first.
Sew along the folded edges 3/8″ from the fold. This will be the top of the treat bag.
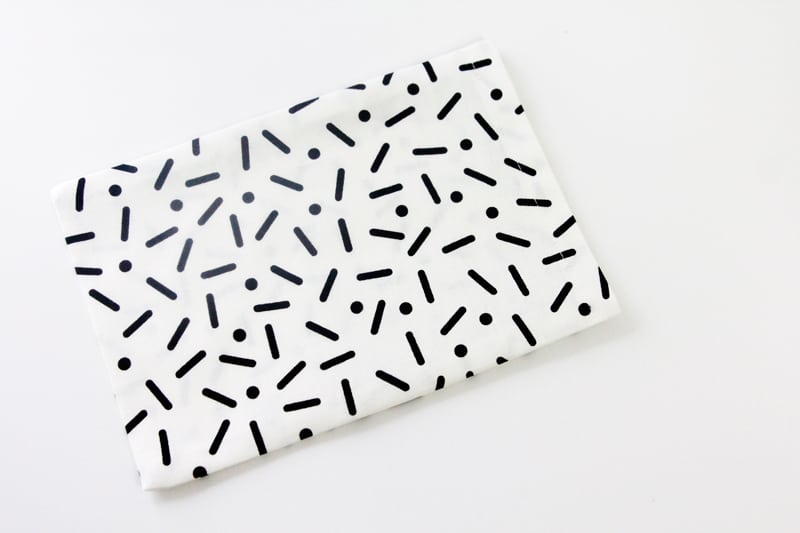
Fold in half with right sides together and sew up the sides of the bag. Backstitch at the top and bottom.
Turn right side out and press.
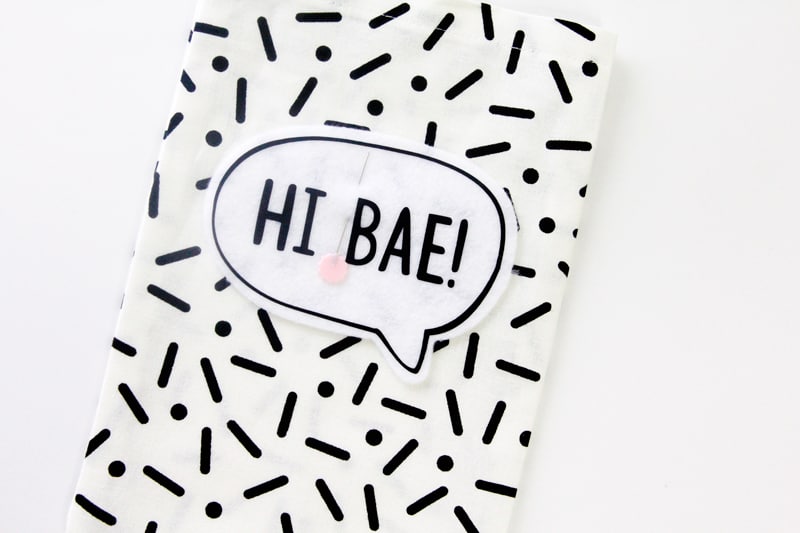
Pin the felt design in place about 2″ from the top of the bag.
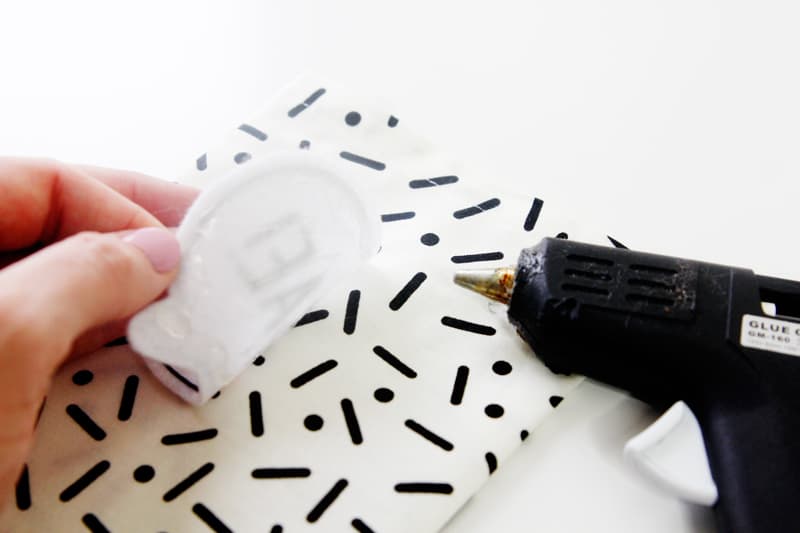
Use hot glue to attach the design and remove the pin!

