This post was originally posted over at Gugu Guru as a part of a 3-part maternity series! Today I’m bringing it home so you have access to it in my archives! This is one of my all-time favorite makes, I wear it all the time. And now that I have a real baby belly (that one in those photos was fake!) I am wearing it often. It’s a good cooler-spring top.
I am really making an effort to sew during this pregnancy. I’m kinda over buying maternity clothes, and it’s pretty fun to sew around a bump. I feel like I’m usually too tired or overwhelmed during pregnancy to actually sew maternity clothes, so it was fun to get this series done when I wasn’t expecting but was hoping to soon. I had a few new pieces ready to wear and they’ve inspired me now that I am pregnant!
Since I’m on my 4th baby, my belly has popped out much faster than before. I’ve been living in leggings and maternity pants since week 8. So it’s gonna be a long 9 months, haha! I’m committing myself to share 1 maternity make per week for the next 20 or so weeks, hold me to it! I think I’ll start that on Monday. Make it a MMM Monday Maternity Makes series. Since I realize not all readers are pregnant, I’ll always try to give you a modification for these makes. It usually just comes down to shaping around the bodice.
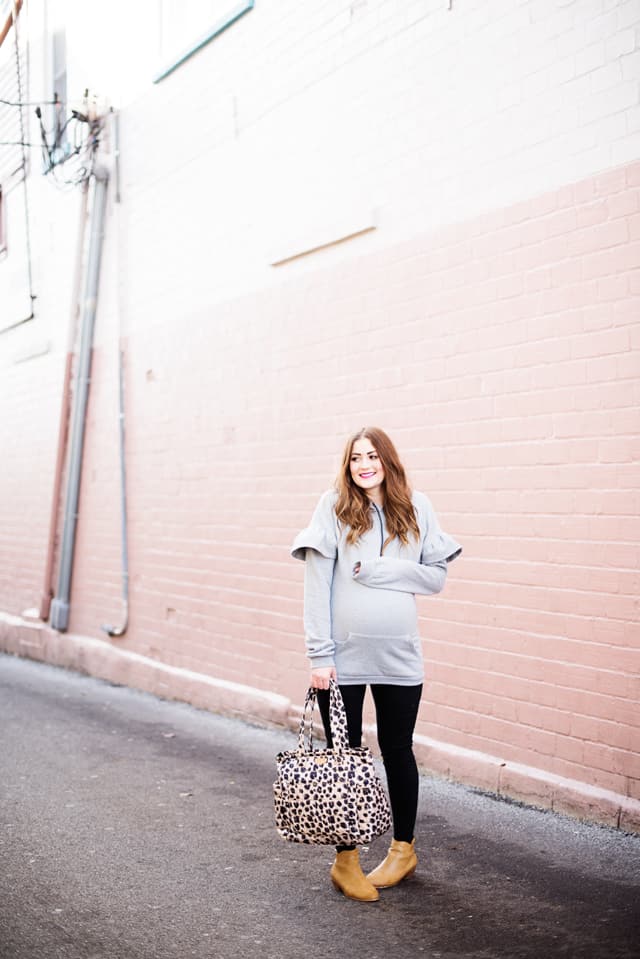
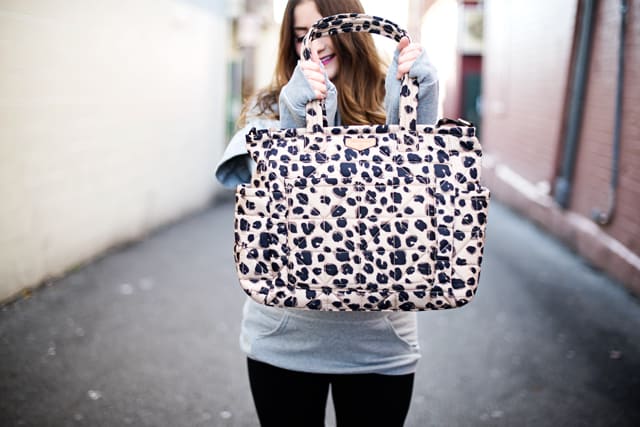
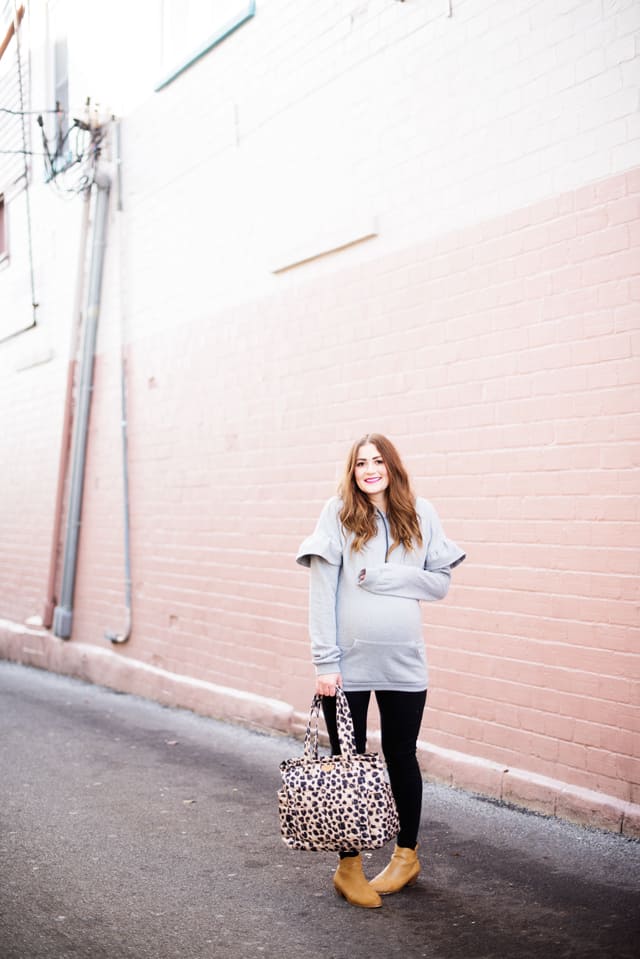
We partnered with TWELVElittle for this post, you can go back to this post to read my review of this adorable leopard diaper bag!
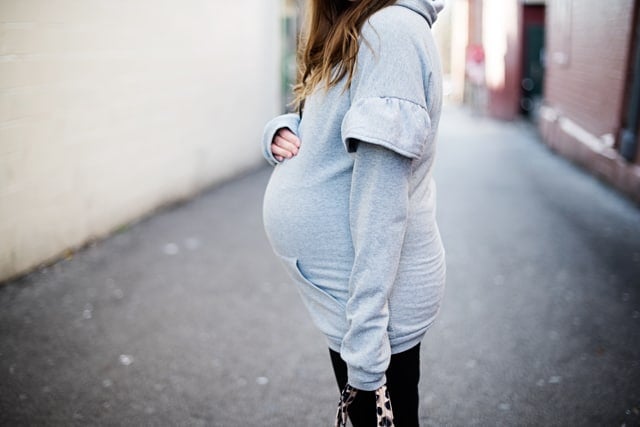
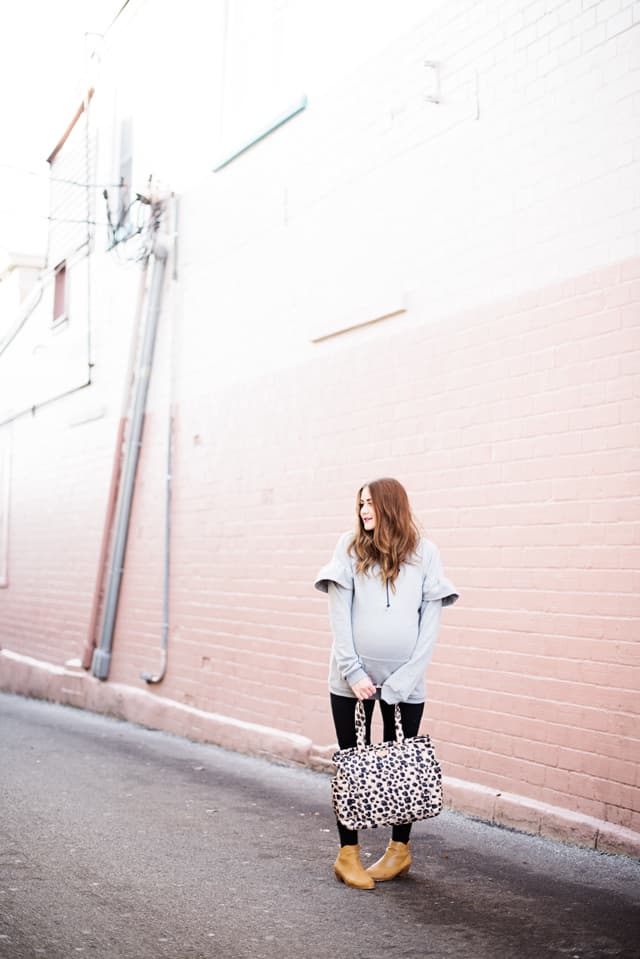
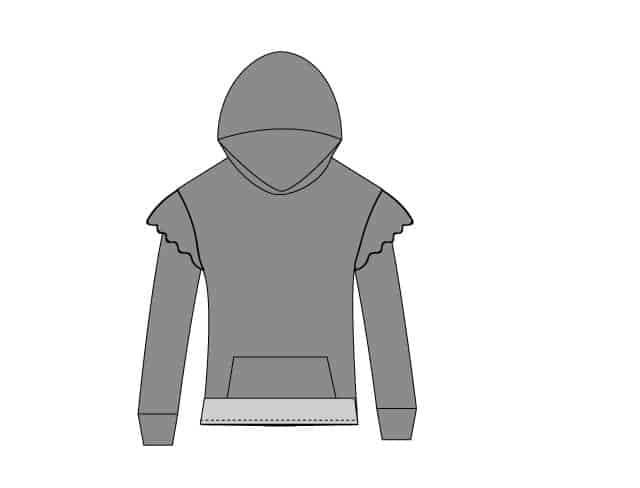
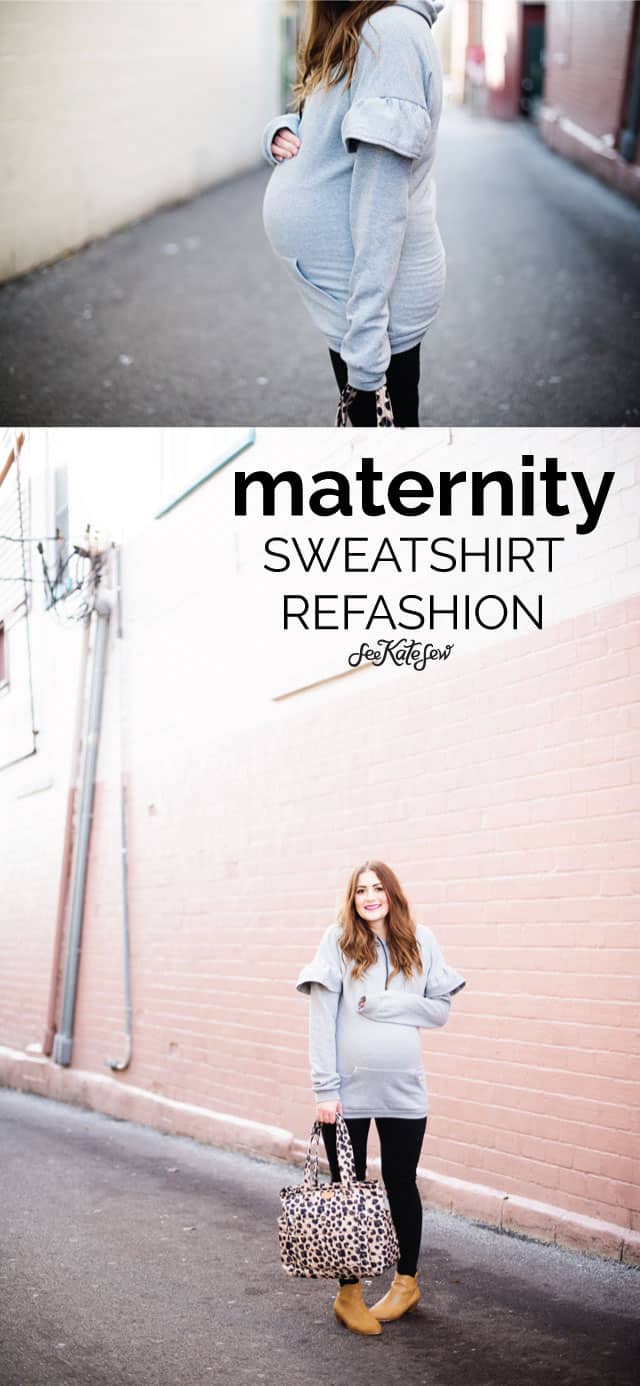
This sweatshirt refashion is pretty quick and I love the result – a dropped sleeve tunic with extra long sleeves and ruffles that look like bells! I started with a size 3X mens sweatshirt (and a second one for extra fabric!). You can find them at the thrift store or a cheap rack at Walmart. Pair it with maternity leggings and you’ll be set and cozy for all 9 months!
It’s just right to hug your belly and also perfect for loose postpartum wear during the new baby stage.
Let’s get sewing!
Materials//
-2 Oversized Sweatshirts
-Coordinating thread
–bell ruffle pattern
–stretch needle
Instructions//
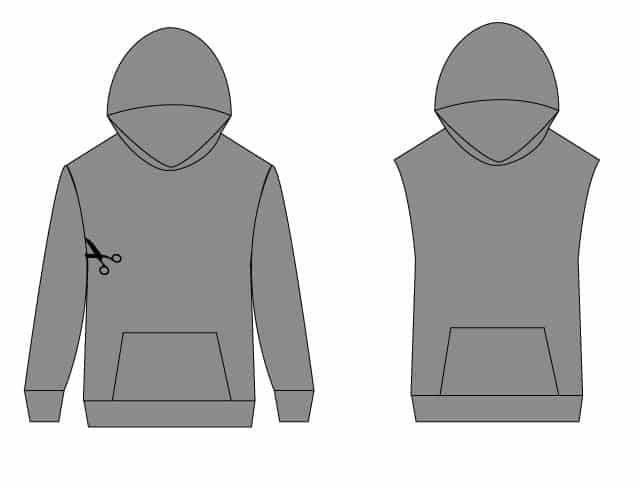
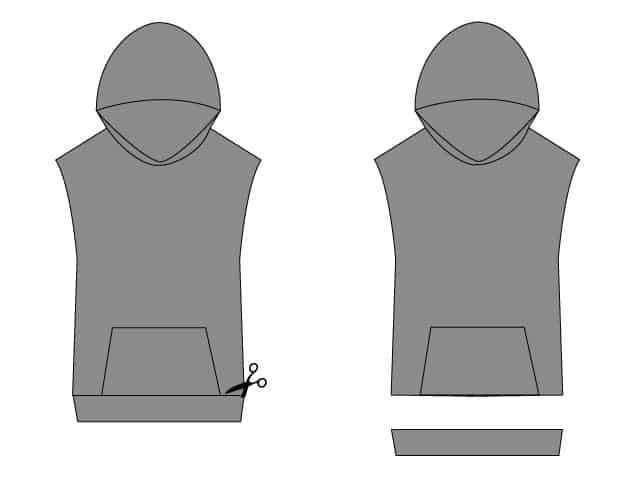
First up, cut off those sleeves! Follow the armhole seams and just cut the whole sleeve off. Do the same with the waistband.
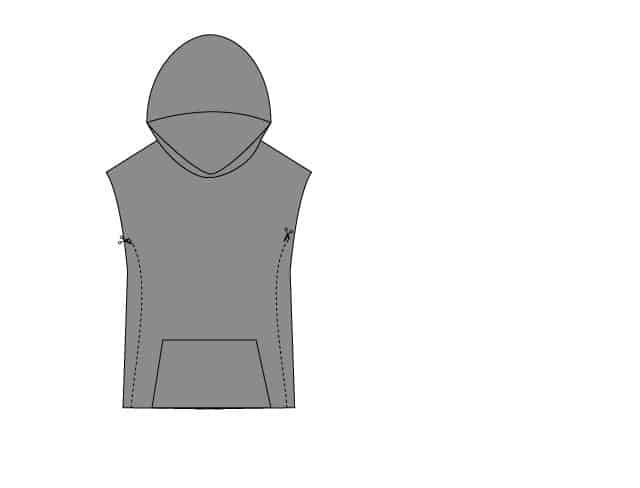
Try on your sweatshirt and pinch under the arm where you want the sleeve to stop. Trying it on will insure that your sleeve isn’t too tight when eyeballing it. Stick a pin where you want to sew and take off the sweatshirt. Cut from the armhole down the side seam, taking in just a few inches under the arm and an inch or two on the sides. Taper to the bottom of the sweatshirt. You want to keep some fullness to allow belly space, but also contour it so you don’t look like you’re wearing oversized clothing.
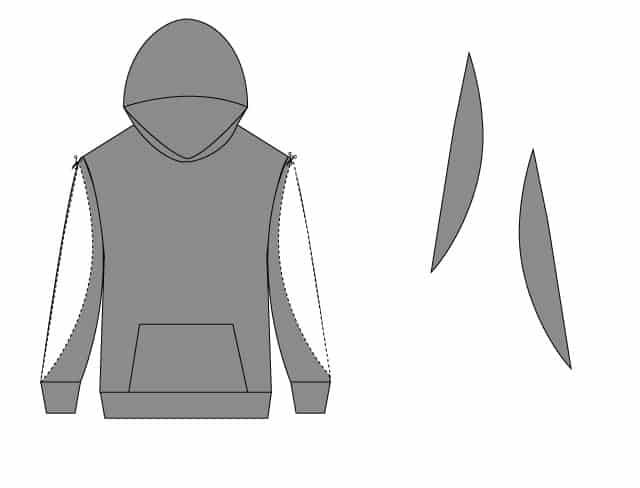
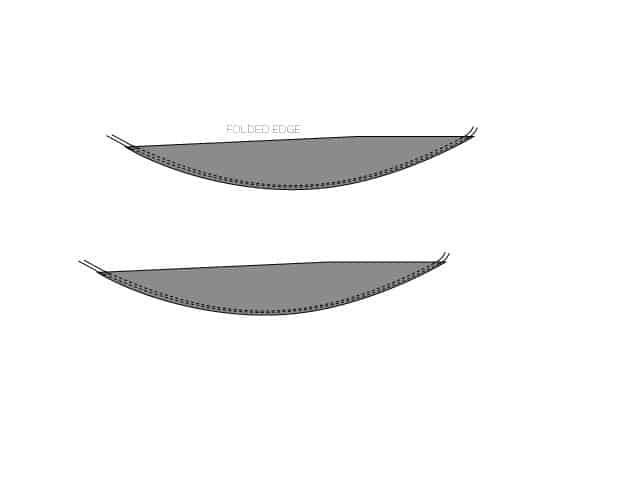
Use the second sweatshirt’s sleeve to cut out the bell ruffle. Use the top of the sleeve crease as your fold.
Use the other sleeve for a second ruffle. Sew the raw edges together using a baste stitch, 1/2″ from the raw edges. Repeat 1/4″ from raw edges so you have two lines of basting stitches.
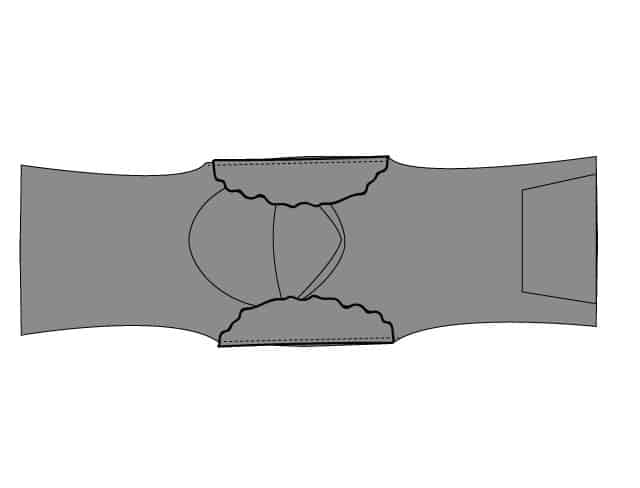
Open up the sweatshirt over the shoulder seam and flatter out on a table. Pull the baste stitches on the ruffle until they match up with the shoulder edge. Pin the ruffle to the shoulder on the right side with raw edges together. Baste to keep in place.
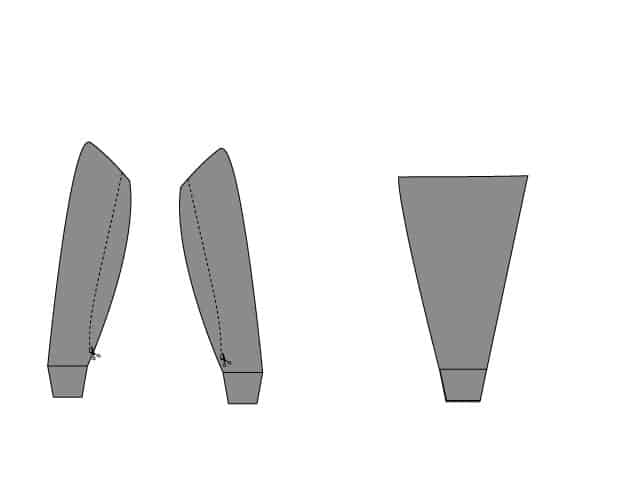
Turn what you have of the sleeve inside out. Trim from 1/2″ above the cuff up to the top of the sleeve. You want the top edge of the sleeve to match up with the shoulder edge since they are going together!
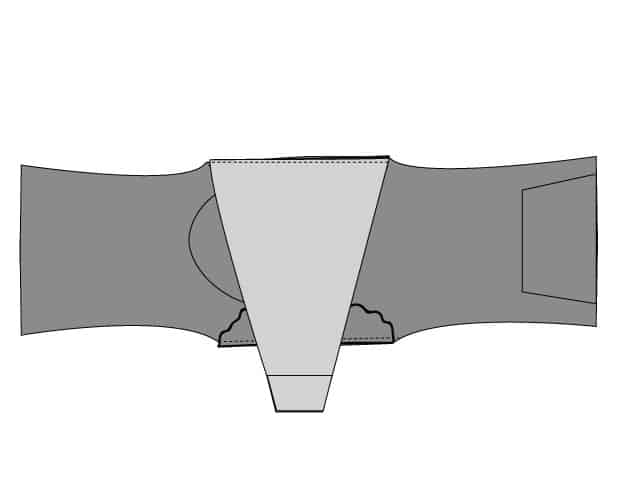
Sandwich the top of the sleeve over the ruffle and sew it on. The right side will be DOWN.
To finish the top, we just need to sew the side seams and then attach the waistband.
Lay the sweatshirt wrong sides out and match up the side seams. Sew from hem to cuff. Turn right side out.
Trim cuff so it isn’t as wide and sew the short edges together. Wrap waistband around the bottom hem with raw edges matching. Sew and press.
Done!





That’s pretty awesome! I am going to try that out.