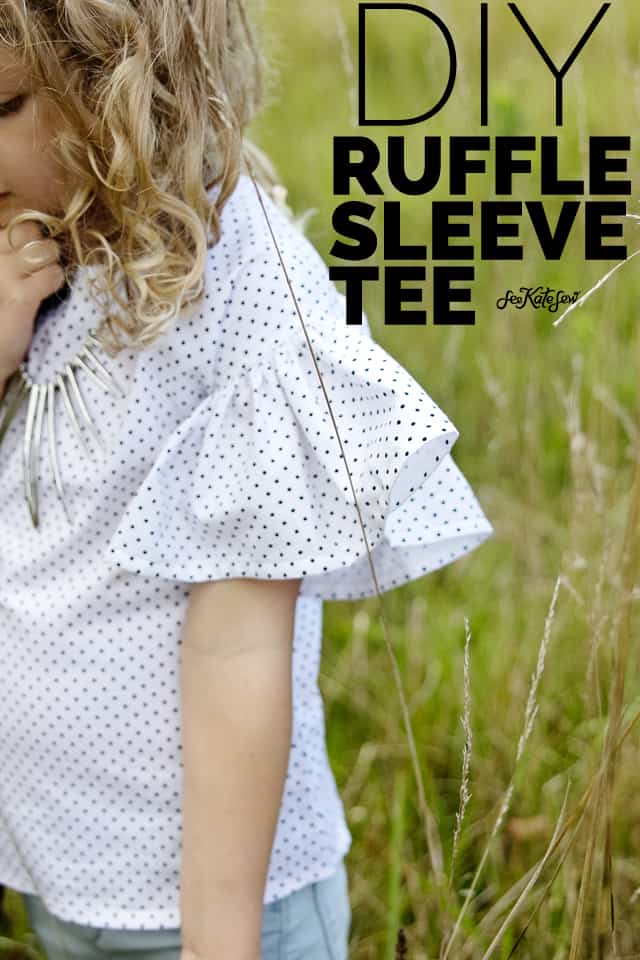
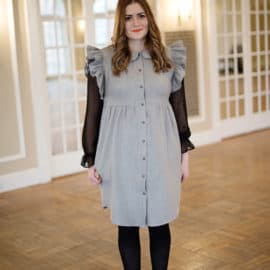
Turn the Little Zippy pattern into a ruffle blouse! This is a quick and fun tutorial to turn an already fast (“zippy”) pattern into a fast and extra chic pattern!


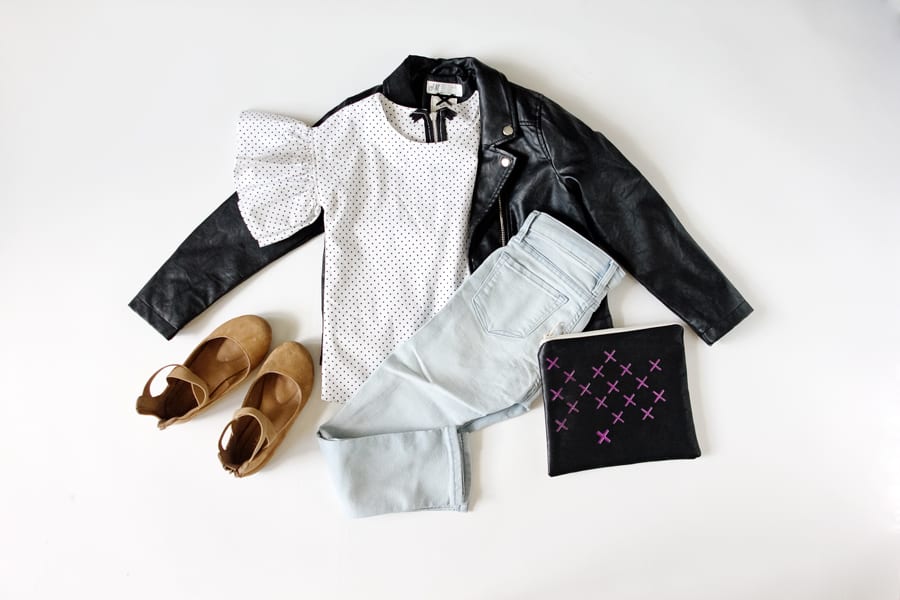
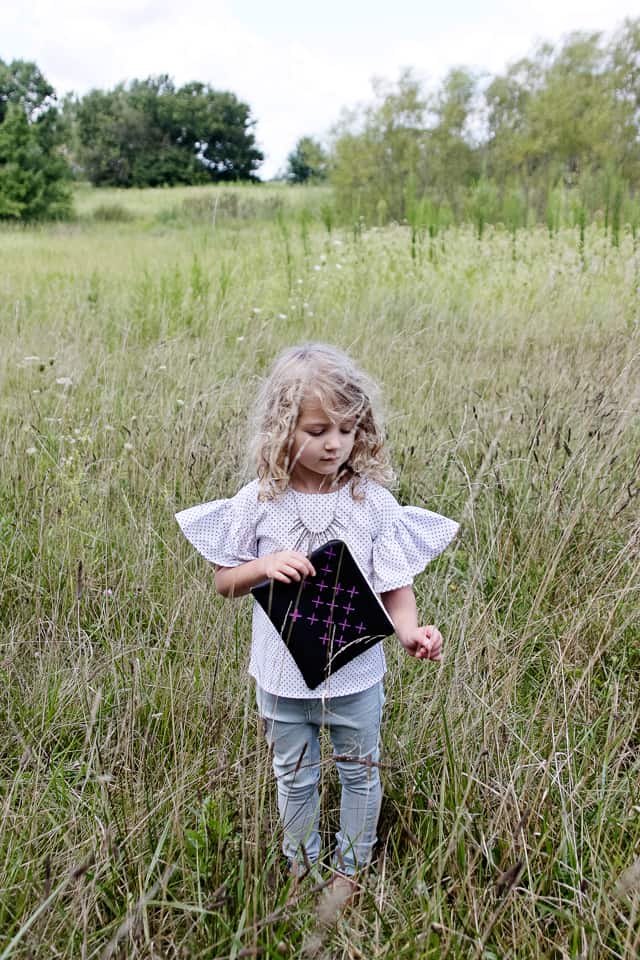
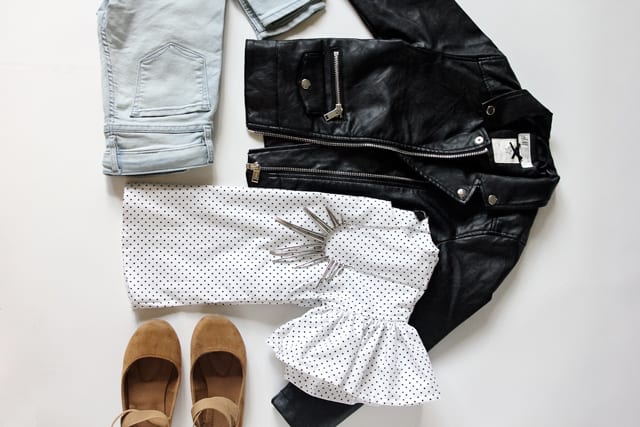
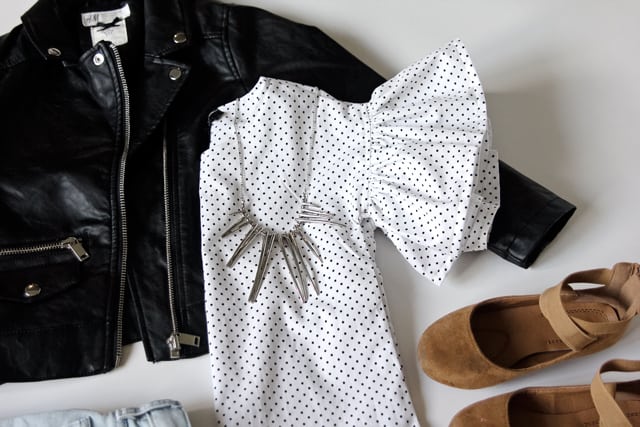
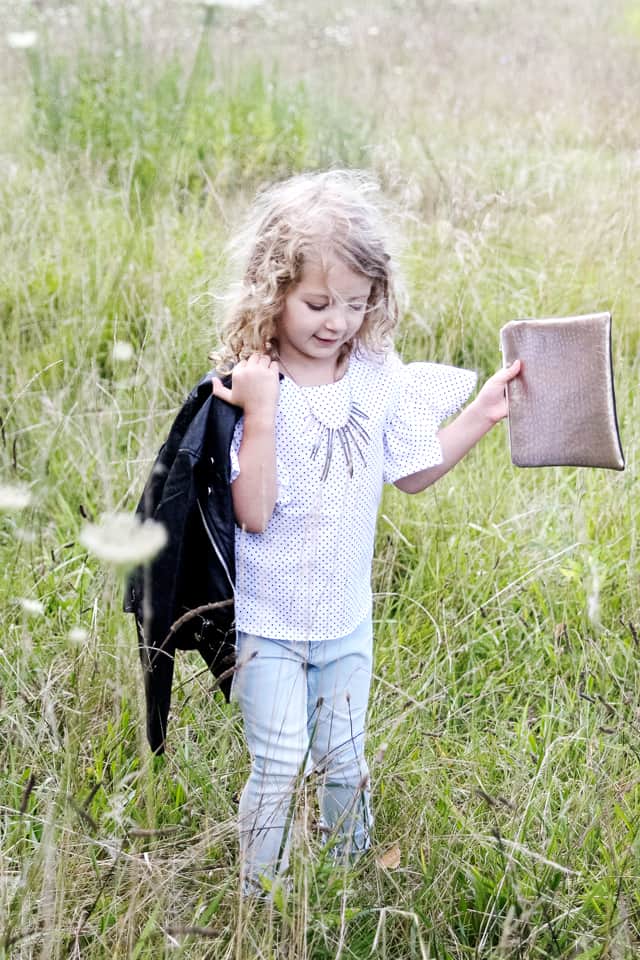
I used Riley Blake Swiss & Dot in black and white which is so classic and making my tiny girl look like a teenager. I paired the top with H&M skinny pants, and a faux leather moto jacket. It just felt right! Hah! The shoes are from amazon and the X clutch tutorial and cut file is available in this zipper pouch tutorial!
Materials//
–the LITTLE ZIPPY top pattern
-cotton fabric
-one 5-7″ zipper
Make the sleeve pattern//
This little hack requires the basic zippy top sewn up until the sleeve hem part. When you get to that part, measure the sleeve hem and multiply that number by 3. This will be your ruffle width. The length is 6″. Cut 2 rectangles with those dimensions.
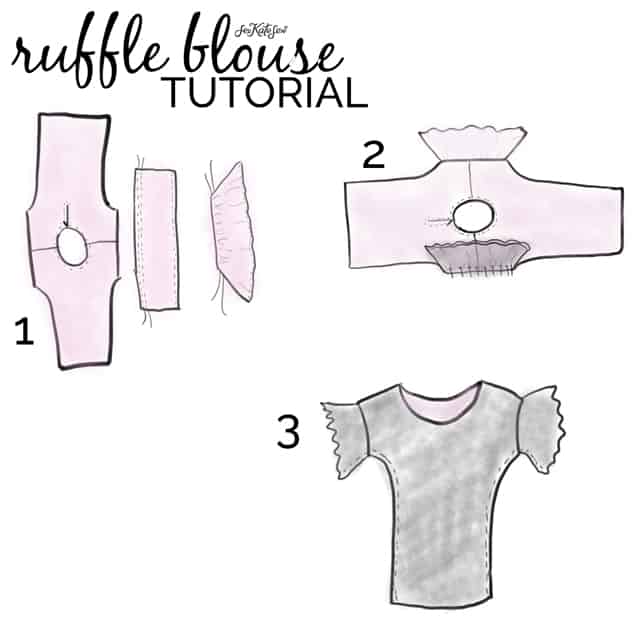
- Step 1 shows your little zippy sewn with the shoulders and neckline finished. The zipper has been installed and you’re ready to add the sleeves! Hem one side of the sleeve. You can either fold under 1/4″ TWICE, or finish the edge and fold under 1/2″ once. Sew in place.
Sew two rows of basting along the raw edge of the sleeve ruffle, 1/4″ and 1/2″ from the edge. Pull the stitches to gather the fabric. Gather it until the width matches the sleeve edge.
2. Pin the ruffle right side down on the right side of the sleeve. Match the raw edges and pin. Adjust the gathers as needed. Sew in place. Repeat with second side.
3. Flip the shirt so the right sides are facing. Match up the sleeves and side seams. Finish the top by sewing up the side seams and finishing the seam allowances. Hem the shirt and you’re done!
You can do this same exact thing with the women’s ZIPPY top! I made one for myself and I love it! Photos coming soon!

This post may contain affiliate links.


I am so in love with this top! I recently just made a similar flare sleeve top for myself! If only my husband would let me put my son in one! I guess I’ll just have to wait for a girl!