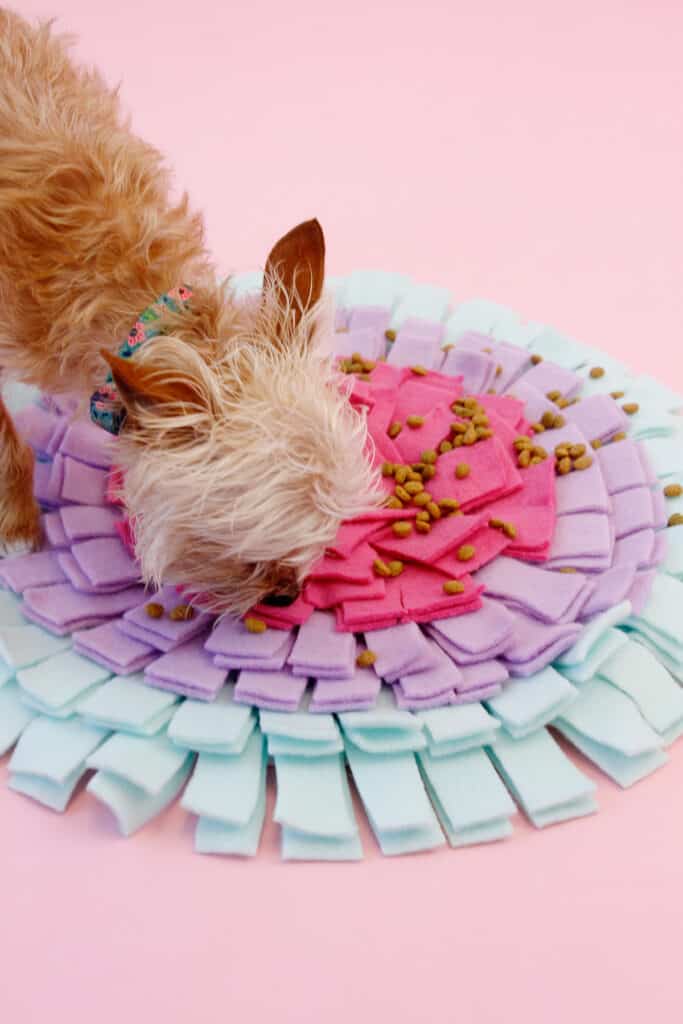
A DIY Snuffle mat is a fun feeding accessory to encourage slow eating for your animals. These mats hide food to create a game out of eating. Snuffle mats also helps your dog not scarf down their food. In this post I’ll show you how to make snuffle mats for your pet with both a sewing tutorial and a no-sew version.
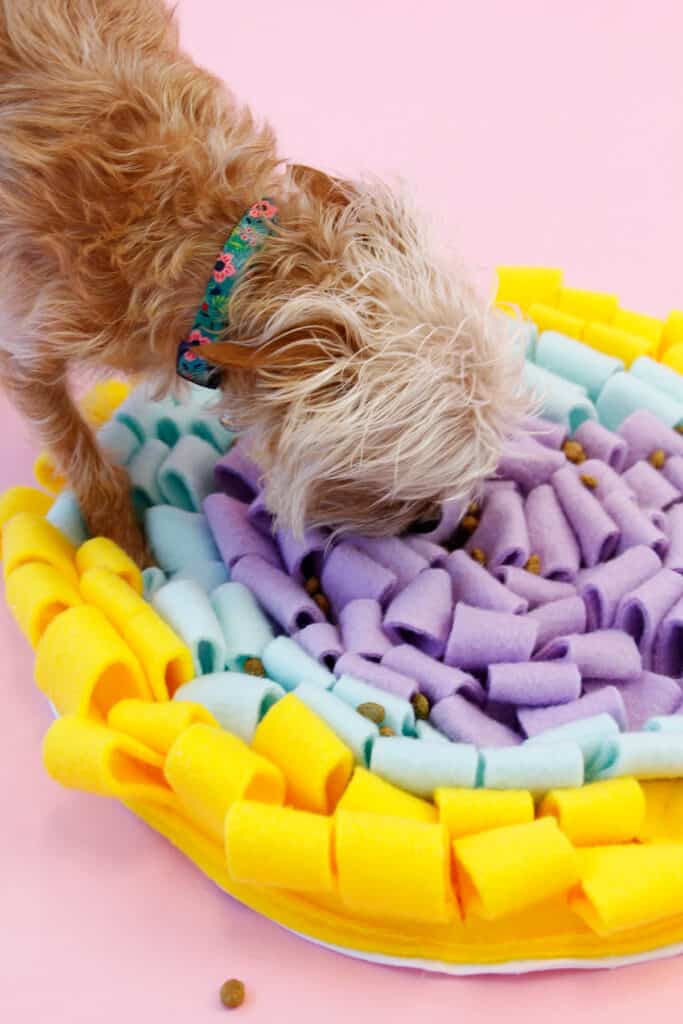
This project can also be called a foraging mat because the dog has to forage for his food. It’s also a great sniffing game that will keep your dog occupied for a while – perfect for a rainy day!
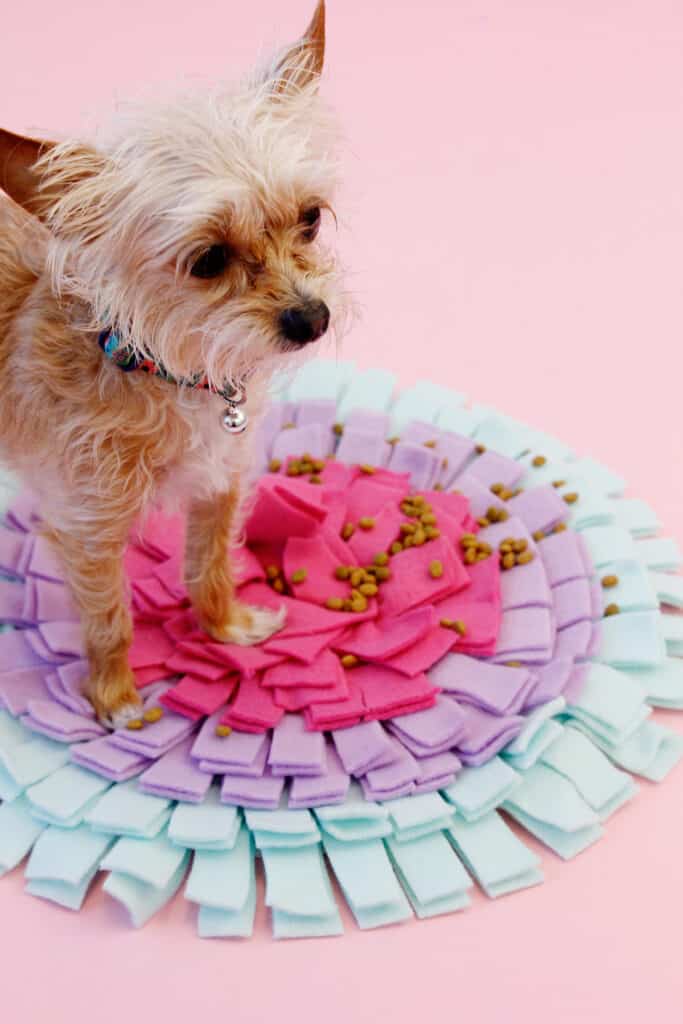
A homemade snuffle mat is extra fun because you can use your favorite colors or create different patterns for the base. I’ve included a few different shapes and variations for the strips of fabric so you can get the look you want. The fleece strips will hide a piece of food so your pooch will have to search!
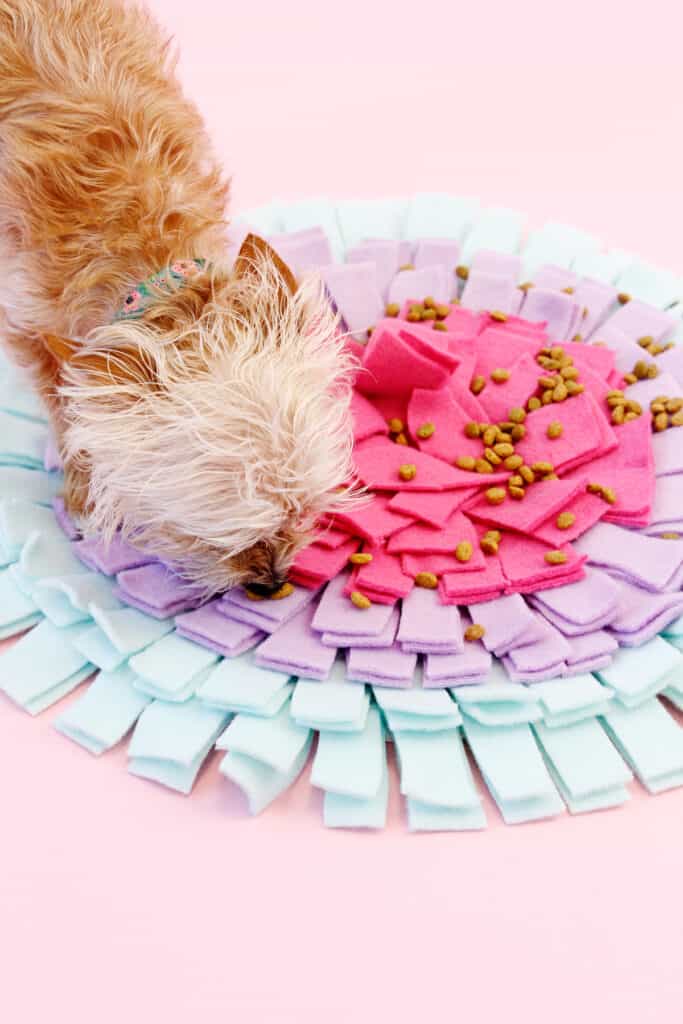
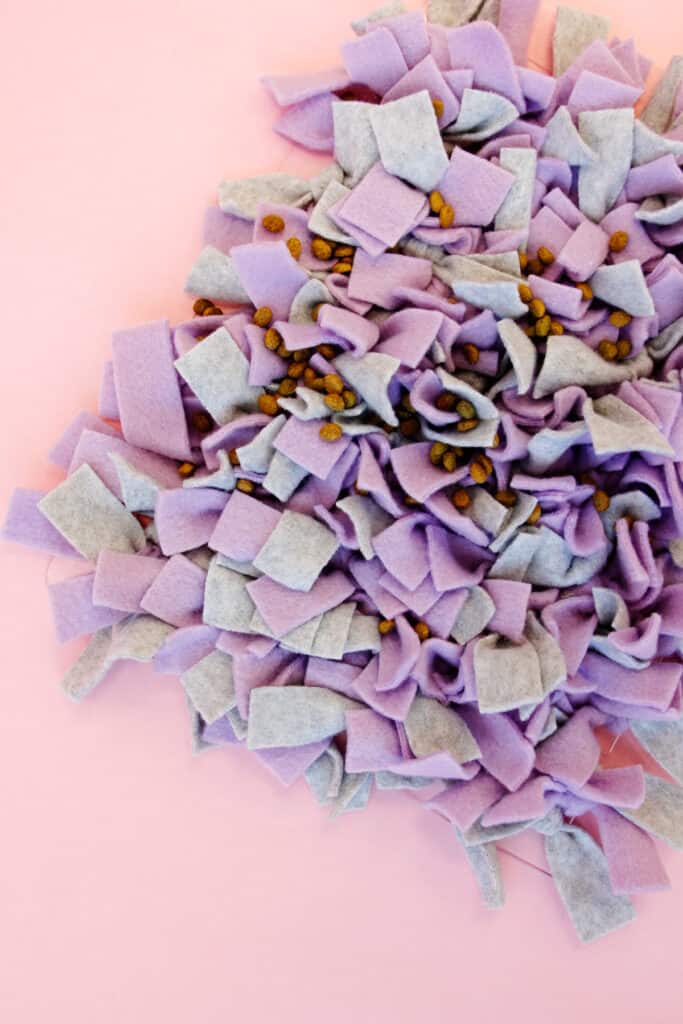
To use this sniff mat, sprinkle dog treats or kibble throughout the fleece rows. Your pup will have an enrichment game for mental stimulation at the same time as her meal!
Snuffle Mat DIY Materials
For a no-sew version, see the modified supply list with the no-sew instructions near the end of the post.
- Fleece fabric in a few colors, you’ll need about 1/2 yard for each mat
- This is a great way to recycle an old fleece blanket
- Use green fleece to look like grass
- 1/2 yard canvas fabric for base
- Use canvas, duck cloth, denim or similar heavyweight fabric
- 1/2 yard fusible interfacing
- Sharp scissors
- Fabric marker
- Rotary cutter, mat and acrylic ruler
- Sewing machine
DIY Snuffle Mat Pattern
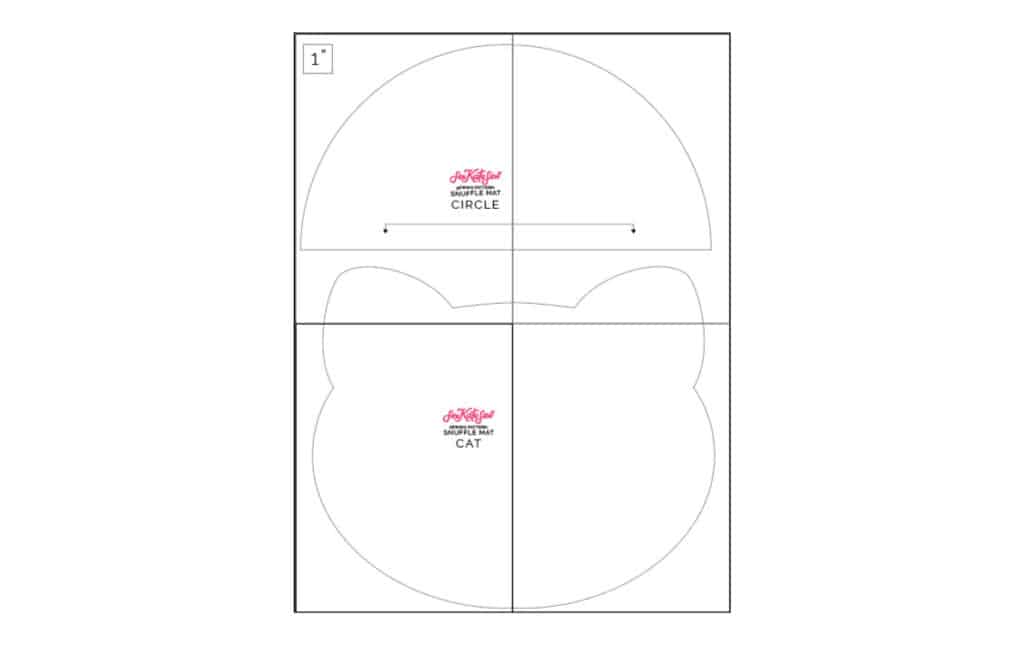
This pattern comes in a few variations:
- Circle Mat
- Cat Shaped Foraging Mat
There are also 3 different techniques for attaching the fleece – each will give you a different look and will change difficulty level of the feeding mat.
Print the pattern by clicking on the link below. Sign up for the newsletter to get access to this sniffle mat pattern.
Trim the edges of the pattern paper and tape together as shown below:
Snuffle Mat DIY Instructions
Use a 3/8″ seam allowance. Scroll down for no sew instructions.
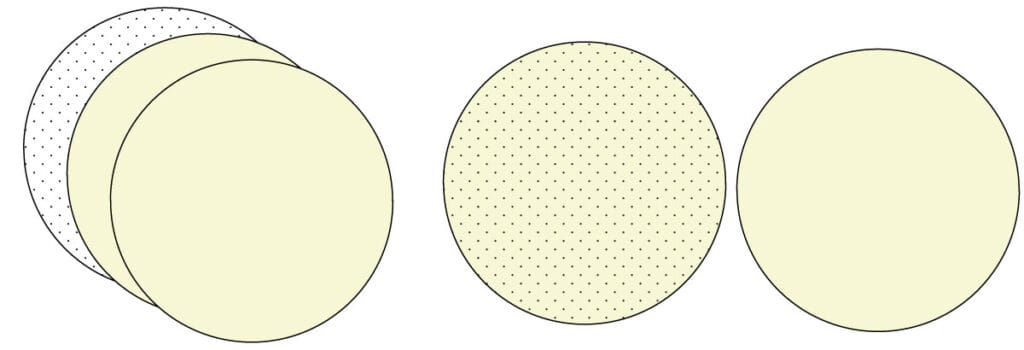
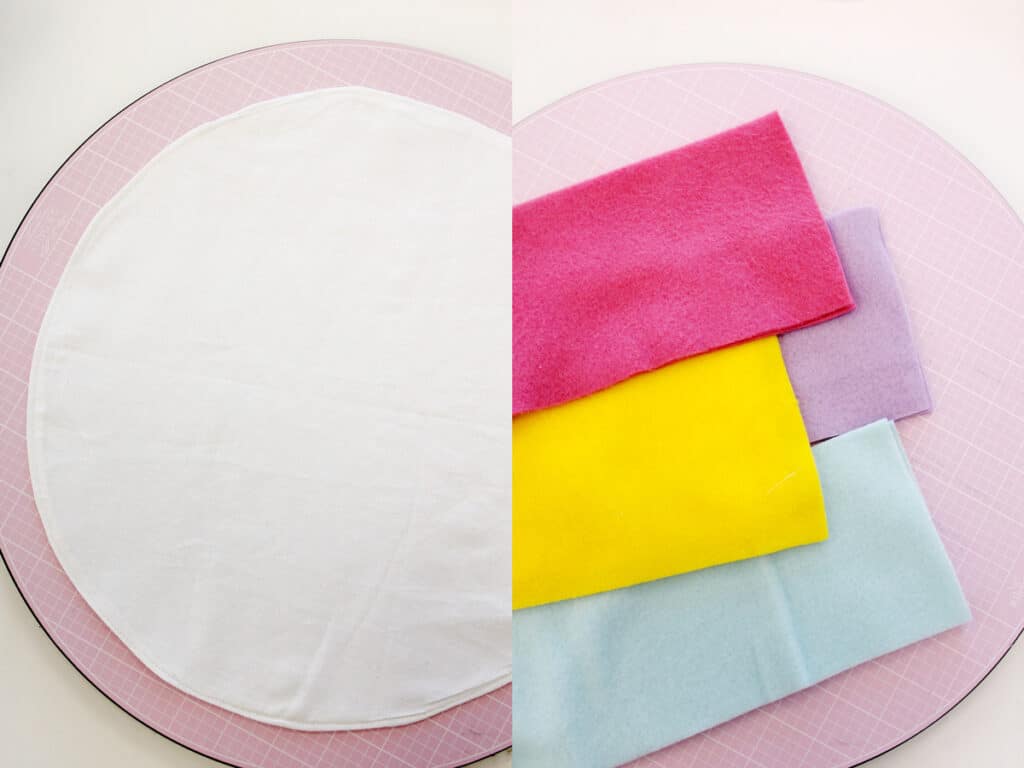
Start by cutting out 2 layers of the main shape with your canvas fabric. Cut 1 layer from fusible interfacing. Fuse interfacing to the back of one of the canvas pieces.
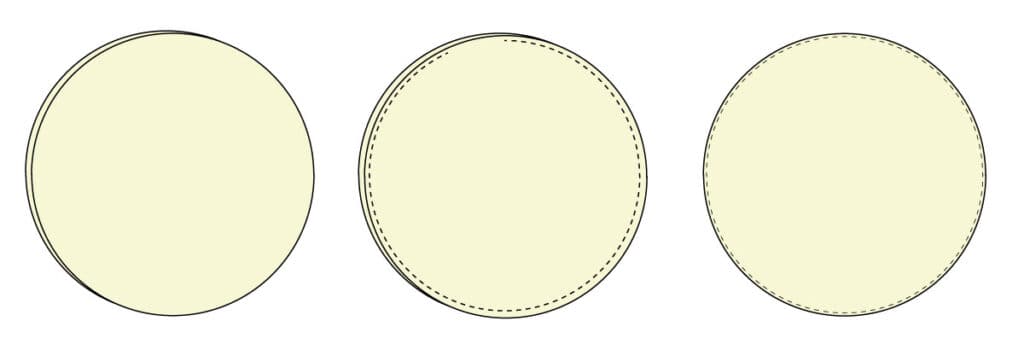
Lay piece right sides together, then sew around the shape edge leaving a 2-3″ opening. Trim seam allowance and clip edges. Turn right side out and press well, especially along the opening edge. Topstitch around the mat 1/8″ from the edge.
Cut the fleece
Cut strips of fleece 4.5″ wide.
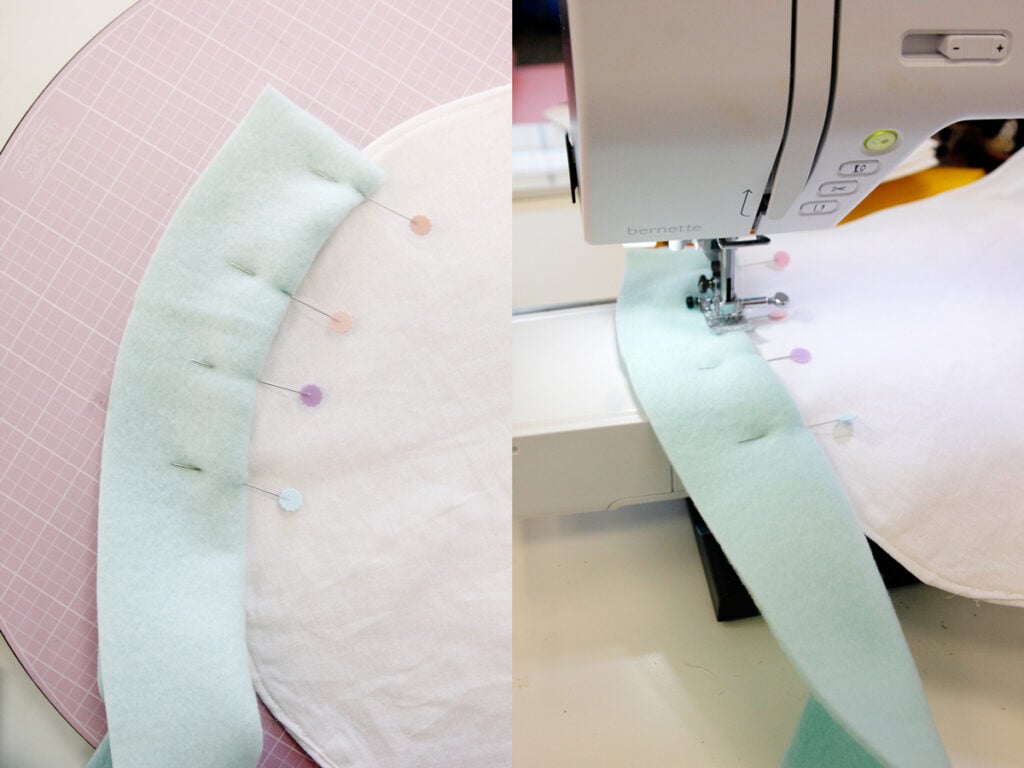
Fold the fleece in half and pin the fold to the outside of the mat. Sew the fleece onto the mat in a spiral pattern.
When you get back to where you started, continue sewing the fleece on in a spiral pattern with about 1 inch between the layers.
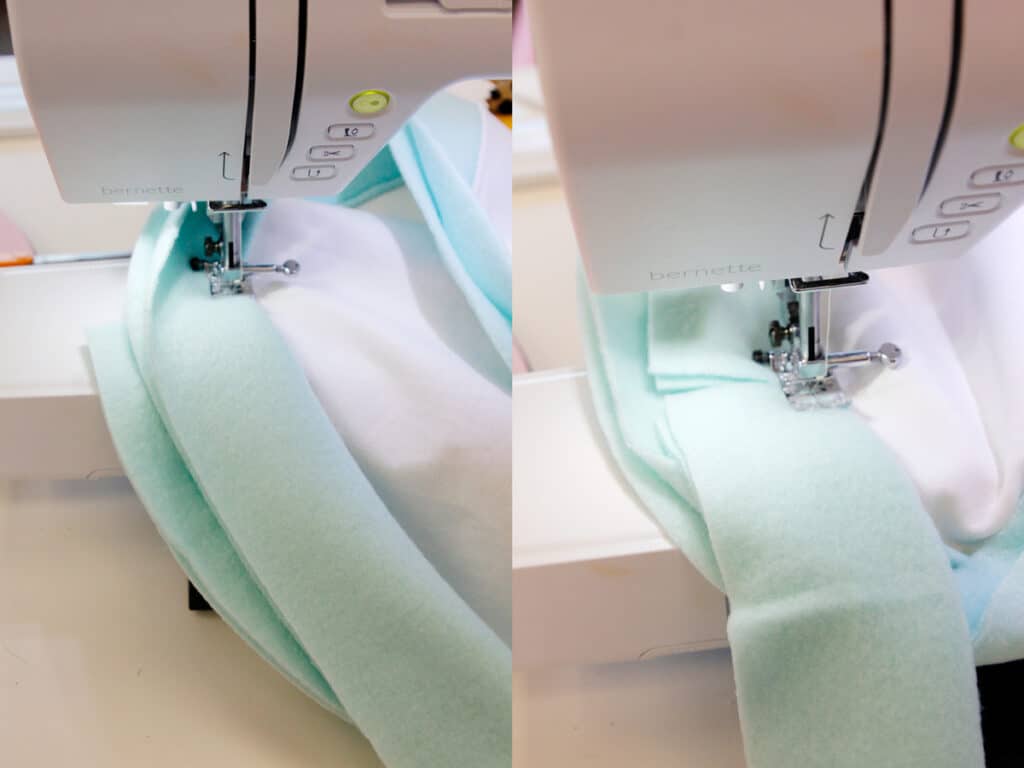
When you run out, just start another strip. I did about two rows of each color, but this is where you can get creative!
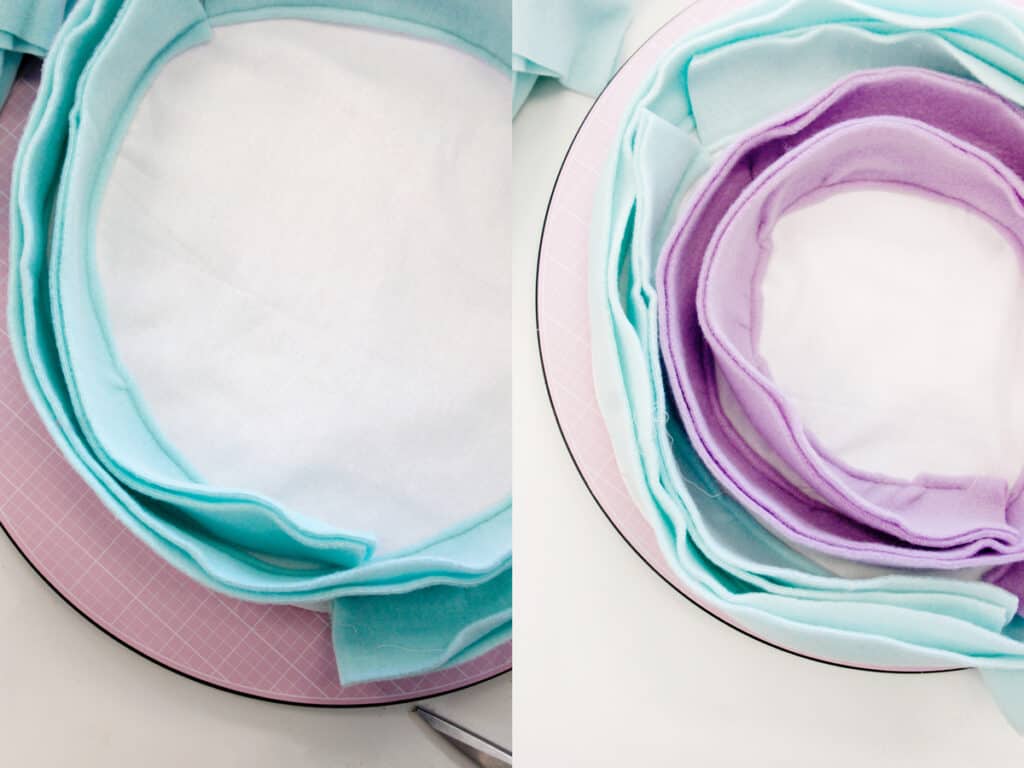
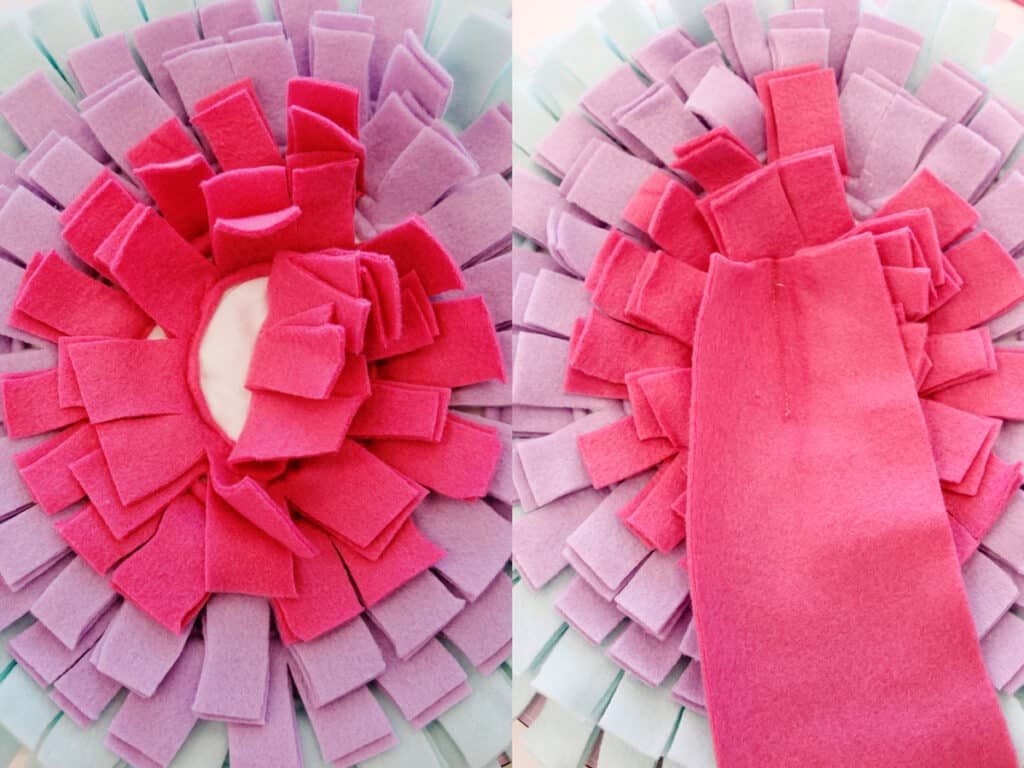
Continue until you get all the way to the middle. Then clip the fleece every inch or so to fan out the layers. Clip most of the way down to the bottom of the mat, leaving about 1/4″ unclipped at the bottom.
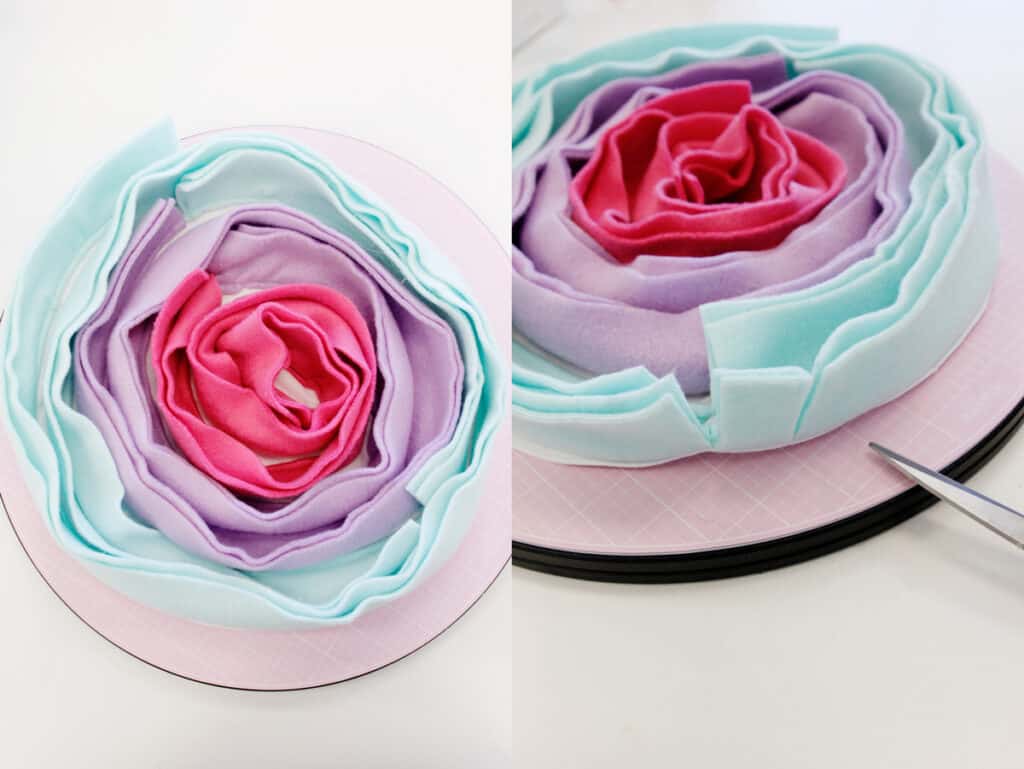
When you’re done, check for any “bald” spots and fill them in by laying a fleece strip open and stitching into the spot. Trim the strip and clip into 1″ segments.
Looped Mat Variation
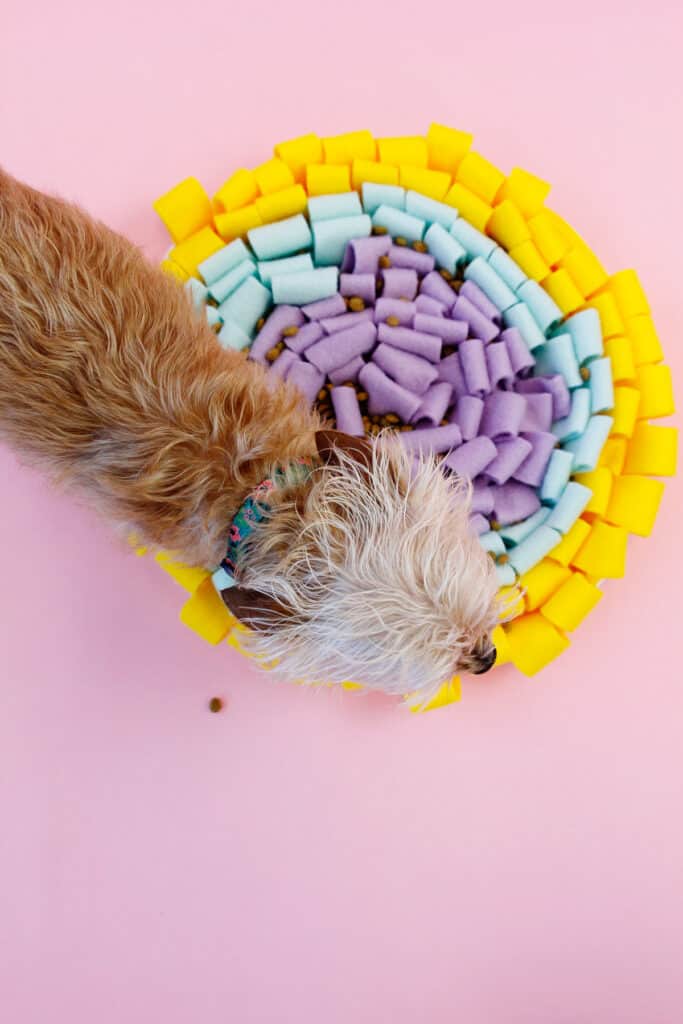
To make this activity a little more challenging, create loops with the fleece. Kibble and treats can get caught inside the loops making it a great mat option for high energy pups!
The looped mat is made almost the same way. Instead of sewing the fleece on at the fold, match the raw edges together and sew. The fleece will create a tube that you will clip into loops.
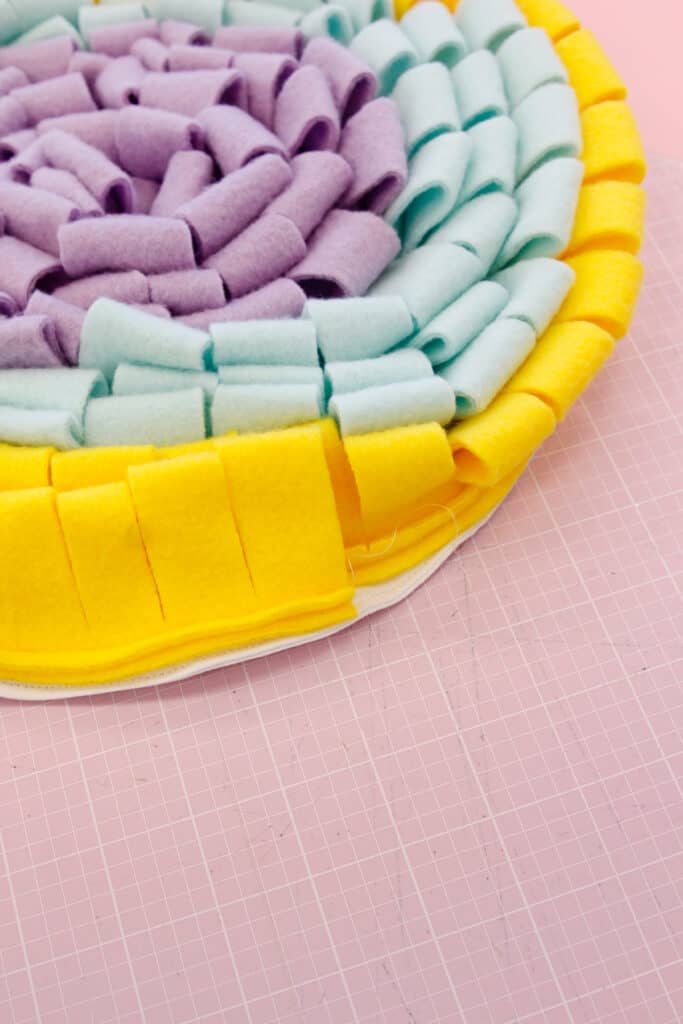
See the video in this post for more detailed instructions for the looped mat.

Tied Cat Slow Feeding Mat
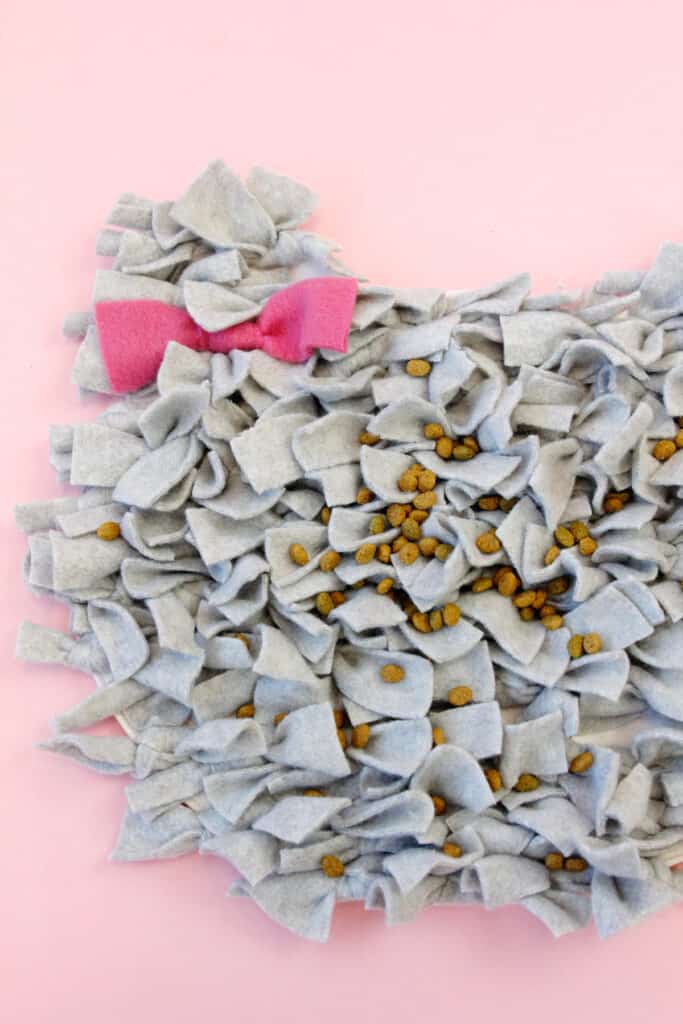
The cat shaped mat has tied fleece. To make this mat, follow the instructions above for finishing the base of the mat.
Cut strips of fleece 6″ wide. Place the fleece onto the base without folding. Draw a line through the center using a fabric marker. Sew over line to attach fleece to mat.
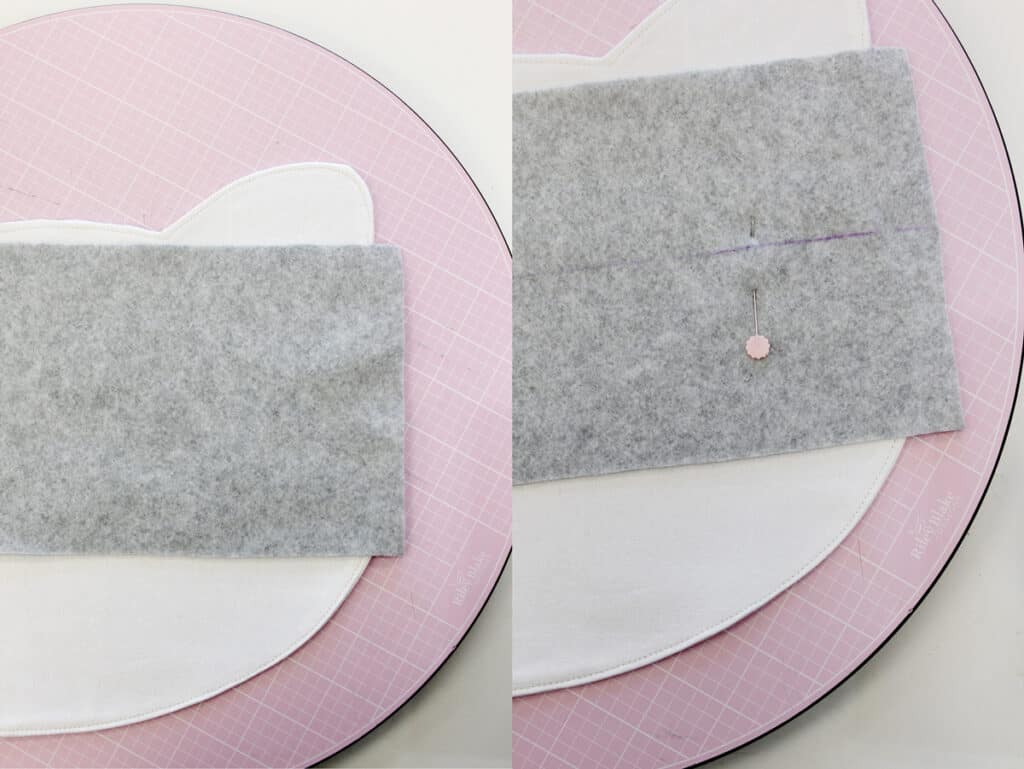
Fold the fleece up and out of the way. Trim the fleece at the edge of the mat.
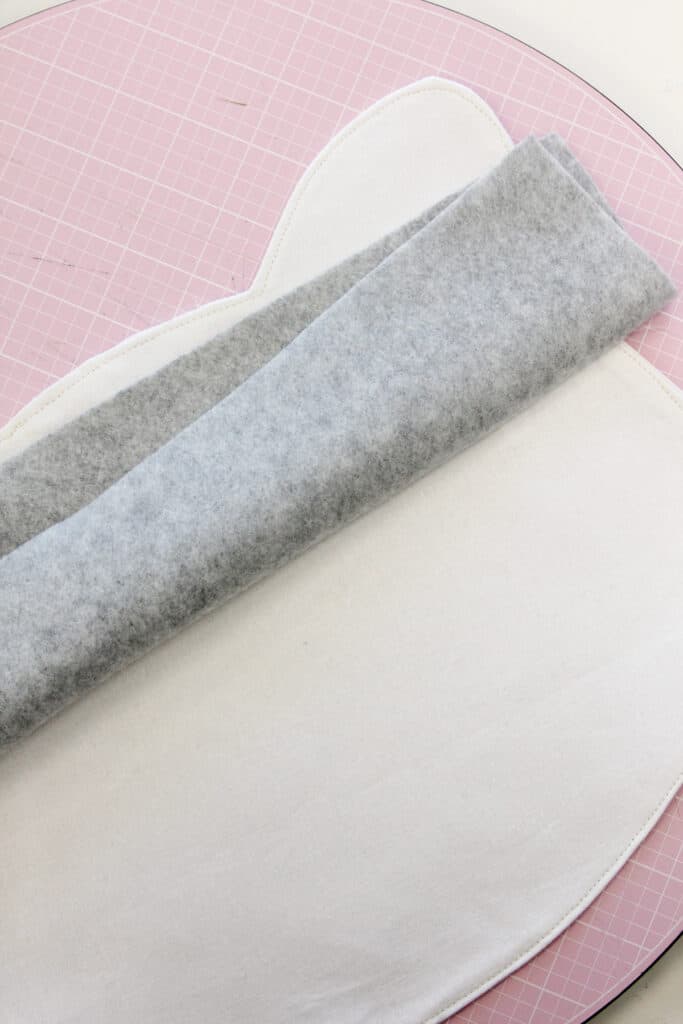
Lay another strip about 3/4″-1″ from the first one and repeat. When you get to the ears, repeat the same process, trimming the fleece at the edges of the ears.
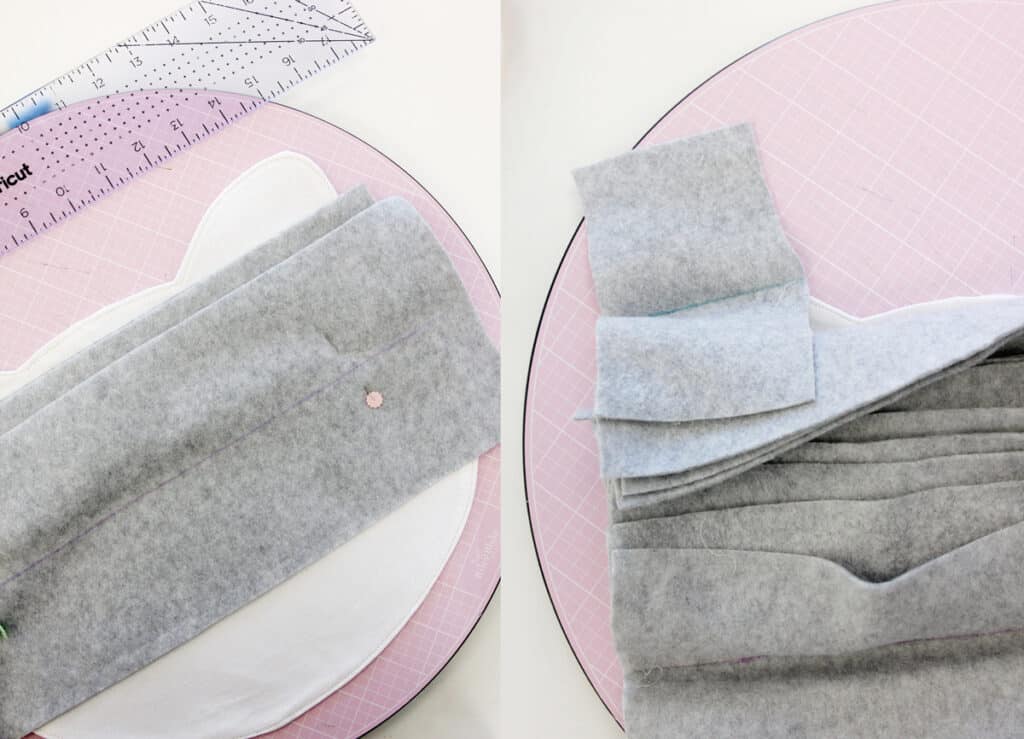
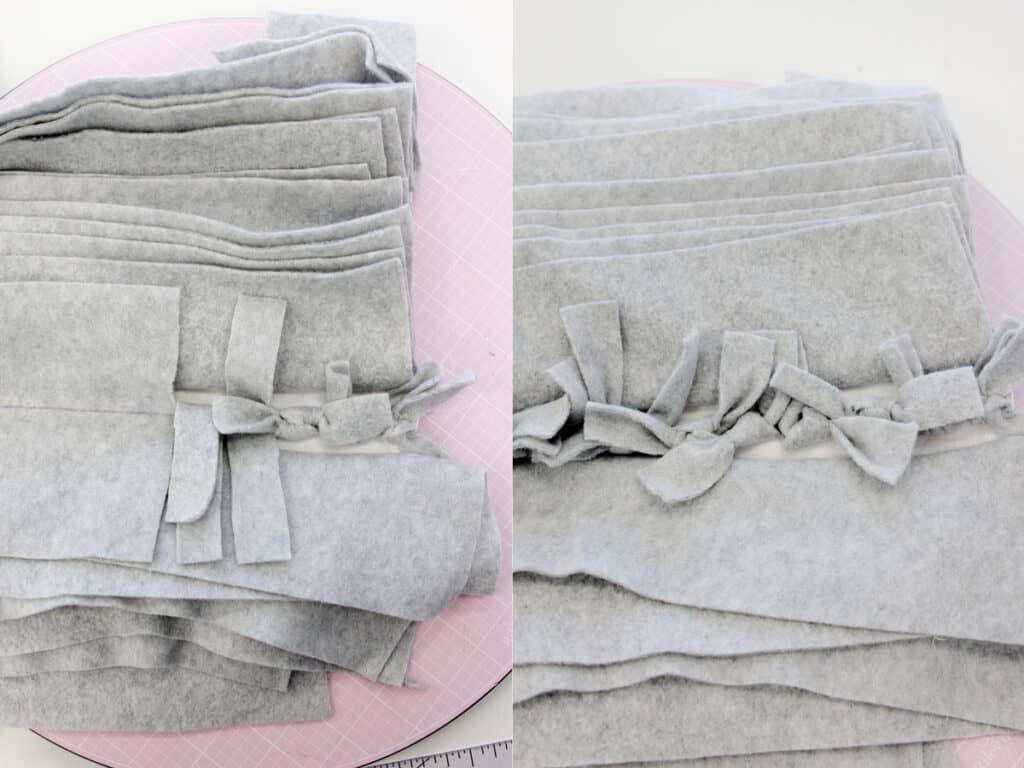
Clip the fleece into strips about 1″. Clip only until 1/4″ from the stitching. Then tie both sides of the strips together to create a knot. Continue until your mat is completely tied.
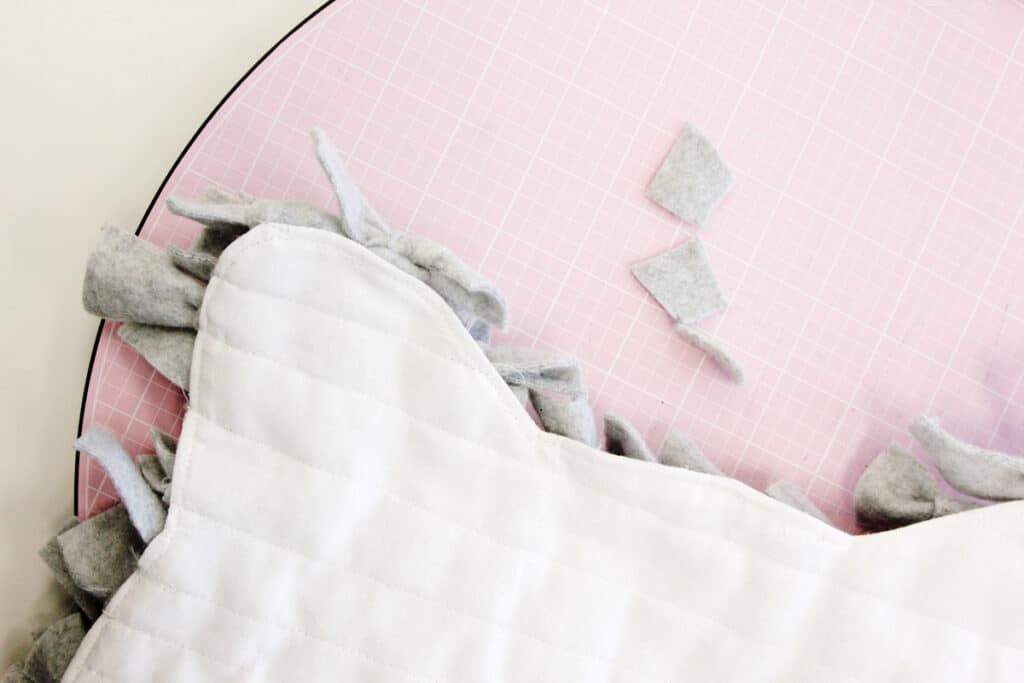
Trim the fleece that overhangs over the mat to get the perfect cat shape.
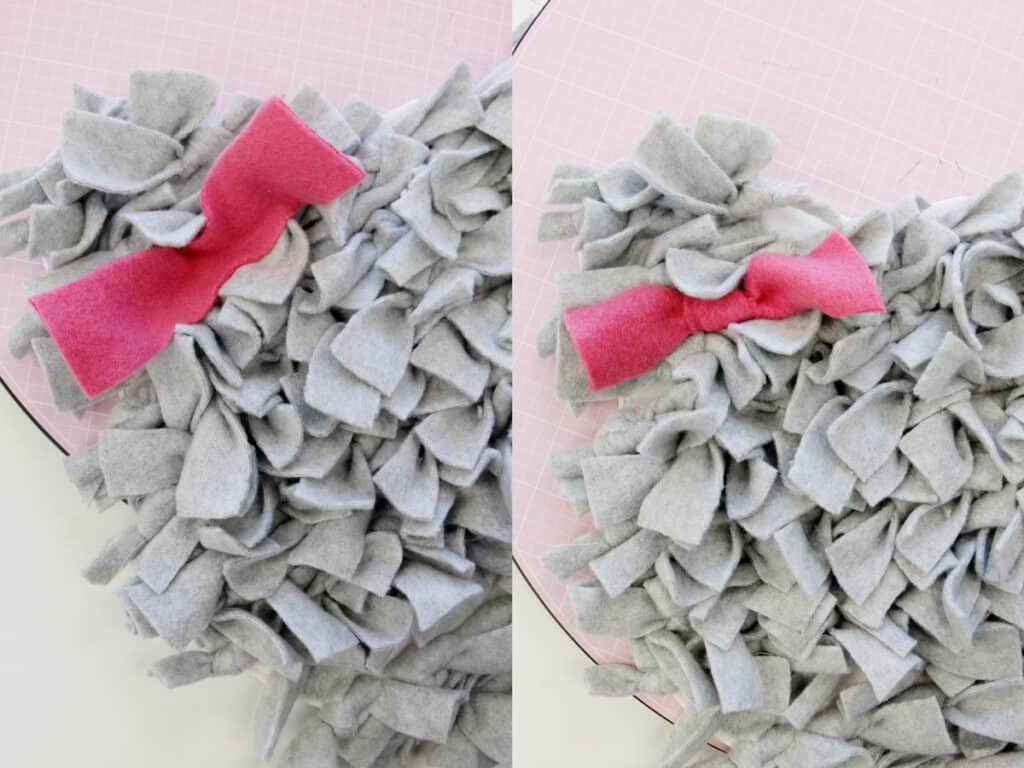
To add a little bow, cut a strip of fleece 1.5″ by 7. Sew it on near the ear. Then tie into a bow.
No Sew Snuffle Mat
- Rubber sink mat or floor drainage mat
- Fleece
Want to make a snuffle mat without the sewing? You’ll just need the fleece fabric and a rubber sink mat. This version won’t be easily machine washable but you can simply hand wash. The no-sew snuffle feeding mat is a great project for kids to practice their knots!
If your rubber mat is too big, use a box cutter to cut it down to the size or shape you want. The mat I used is a clear sink mats with squares cut out from the Dollar Tree.
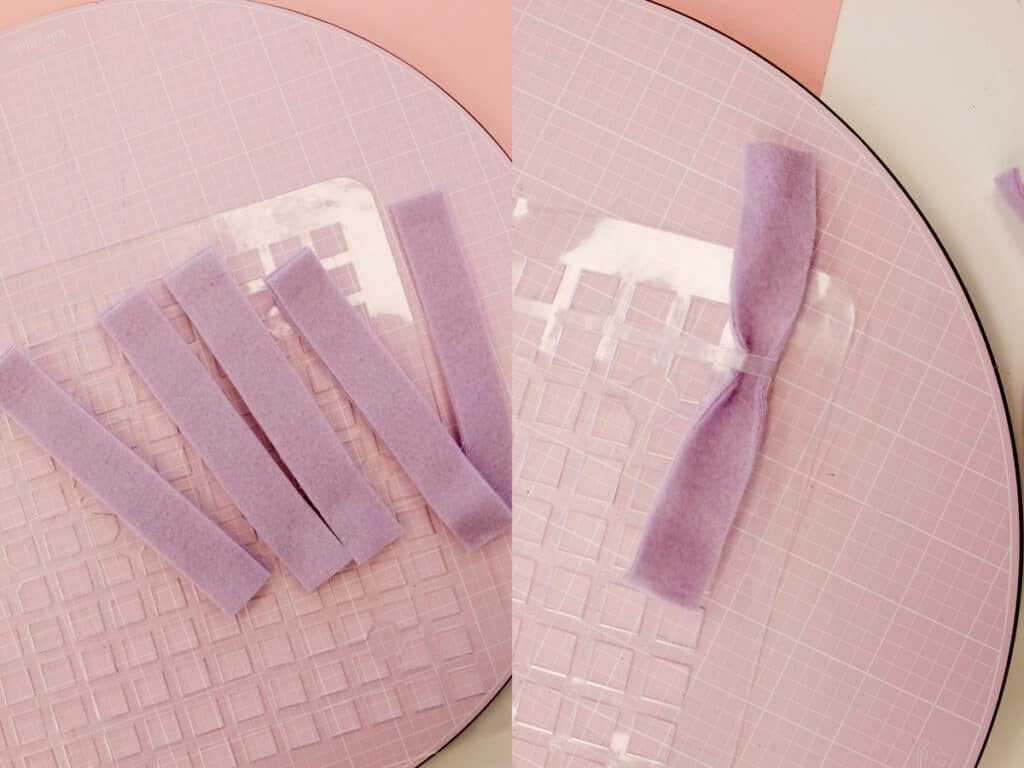
Cut strips 6″ by 1″ wide. Thread through the squares and tie.
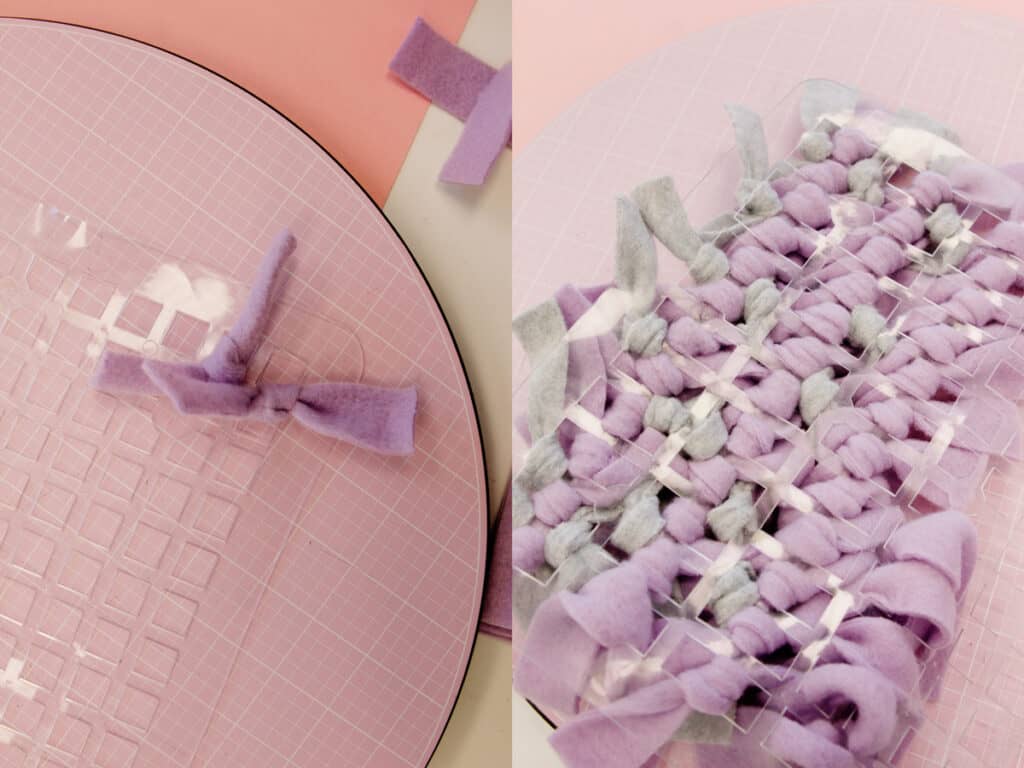
Continue tying ties until your mat has the amount of fullness you want!
More Pet Sewing Patterns and Crafts
- 9 Dog Sewing Projects
- DIY Dog/Cat Leash Pattern
- Dog/Cat Bed Pattern
- Easy Dog Bandana Pattern
- The Kitty Committee Cat Quilt


