Hey friends, it’s Michael Ann here from Michael Ann Made with a simple project perfect for summer adventures – the Easy Drawstring Bag Tutorial!
Now that summer adventures are upon us, I needed to figure out an easy way to pack all of my little toddler boy’s “accessories” so that he can find his favorite truck, lego, toys, etc, while I’m driving, or so I don’t end up with cracker crumbs all over my purse… Enter the drawstring bag!
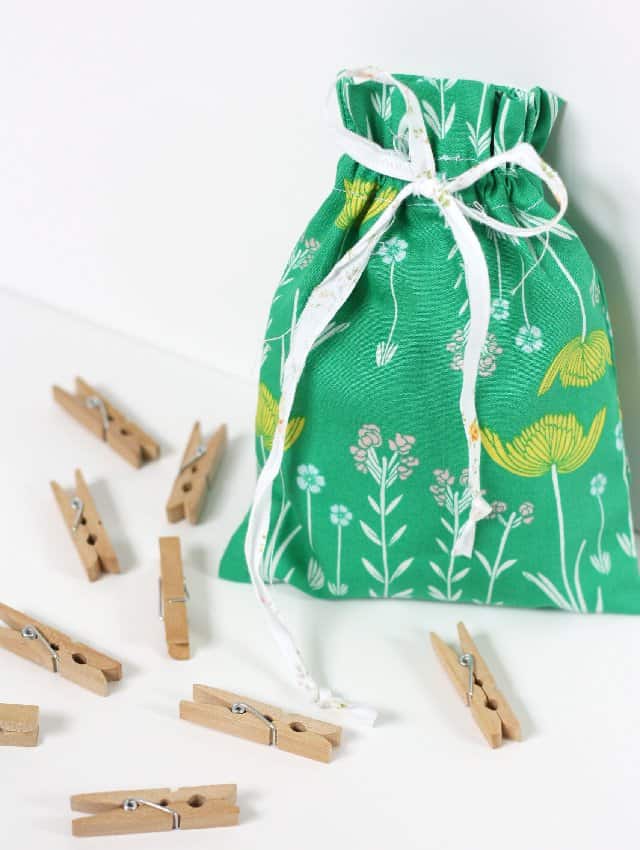
They’re the perfect little thing to hold all kinds of kids treasures, snacks, extra splash pad clothes, you name it. A place for everything and everything in its place, right? It’s also great to stash in a larger bag, like a gym bag or purse, so you can always find your important things!
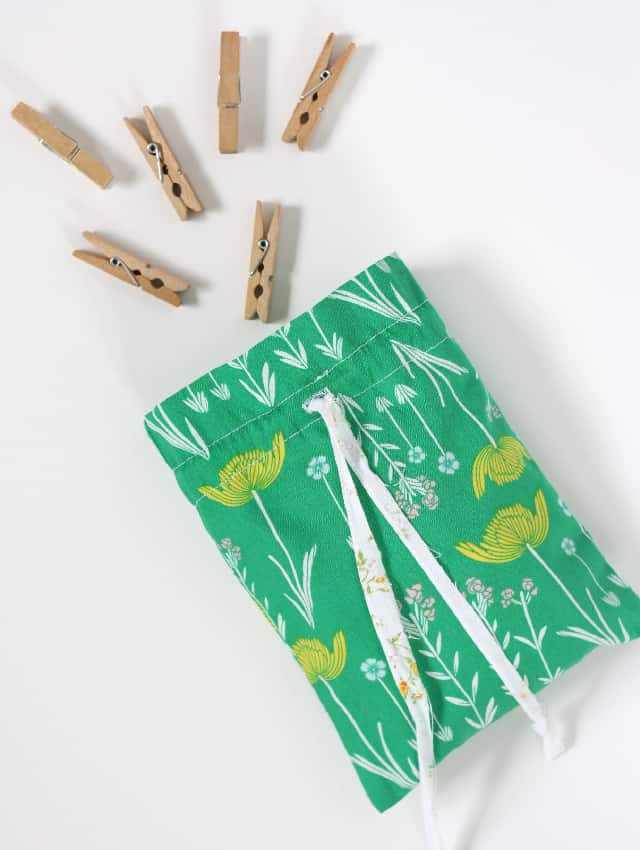
They’re simple enough you could easily stitch up a bunch in an afternoon, and would make a great gift. This tutorial is suitable for any skill level including beginners. Let’s get sewing!
Drawstring Bag Materials
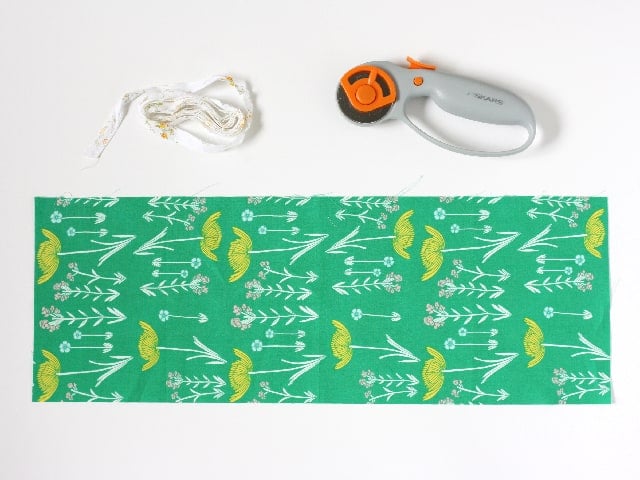
- One fat quarter or quarter yard of cotton fabric
- A yard or so of ribbon, cording or twill tape
*This free tutorial shares measurements to make a small bag, large enough to hold a couple hot wheels or crackers, and is conveniently sized to get three bags out of one fat quarter. With a small amount of math, you could easily make a bag any size you wish!
Use fabric scraps from your stash or use yardage!
Printable Drawstring Bag Pattern
Click the download link below to print the pattern to go along with this easy drawstring bag tutorial. Print at 100% or DO NOT SCALE.
Drawstring Bag Sewing Tutorial
First, cut out a rectangle of fabric, 7″ x 18″. (If you want to make a bunch of bags, you should be able to fit three bags from one fat quarter of fabric.)
Now to make a buttonhole for the drawstrings – Find the center of your bag front by folding it in half lengthwise, and then mark 3 1/4″ from the top. Place your buttonhole right here! This way it will line up when you stitch your drawstring casing.
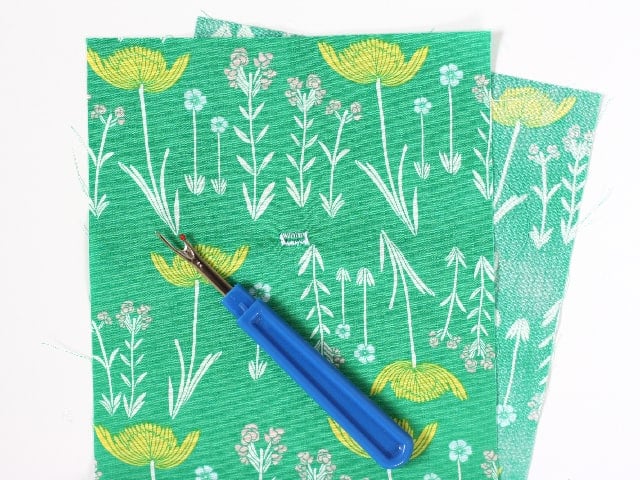
Have you ever been intimidated by “french seams”? We’re going to make some now on the side seams and you will see just how easy they are! French seams are a great way to get a clean finish using a regular sewing machine.
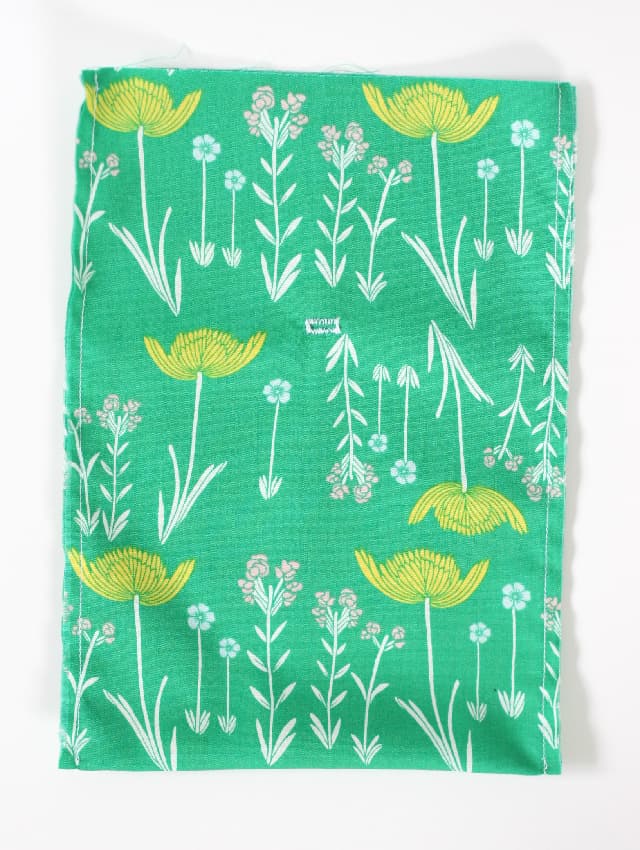
Fold your fabric in half to make the bag shape, with WRONG sides together. Stitch down both long sides with a 1/4″ seam. Flip it inside out and press the seams well. There is no bottom seam with this tutorial!
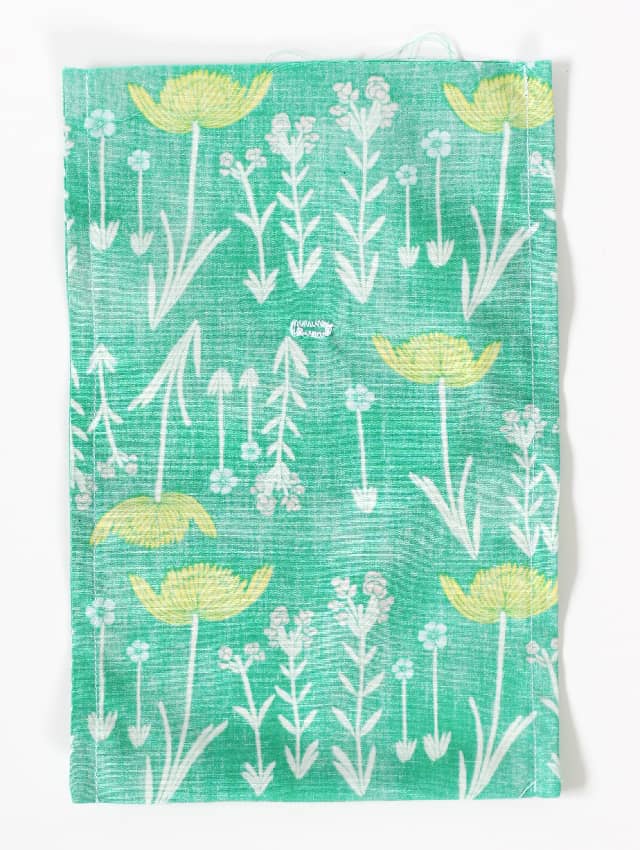
Now with the RIGHT sides facing together, stitch again down each side, with a bit wider than 1/4″ seam. You want to make sure you enclose the previous seam allowance within this seam.
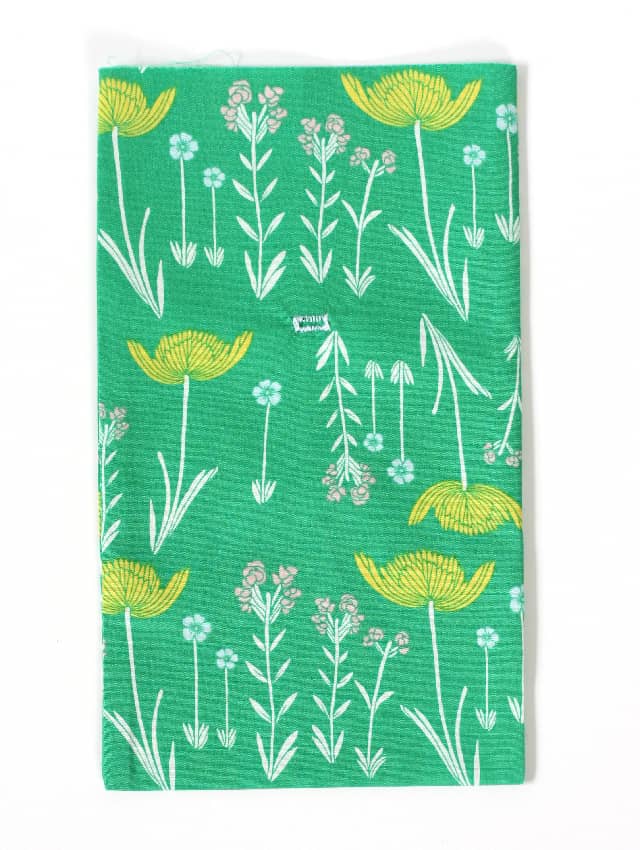
Turn the bag right side out, press your seams, and presto! You have beautifully enclosed seams that will ensure these bags last through a whole summer’s worth of fun!
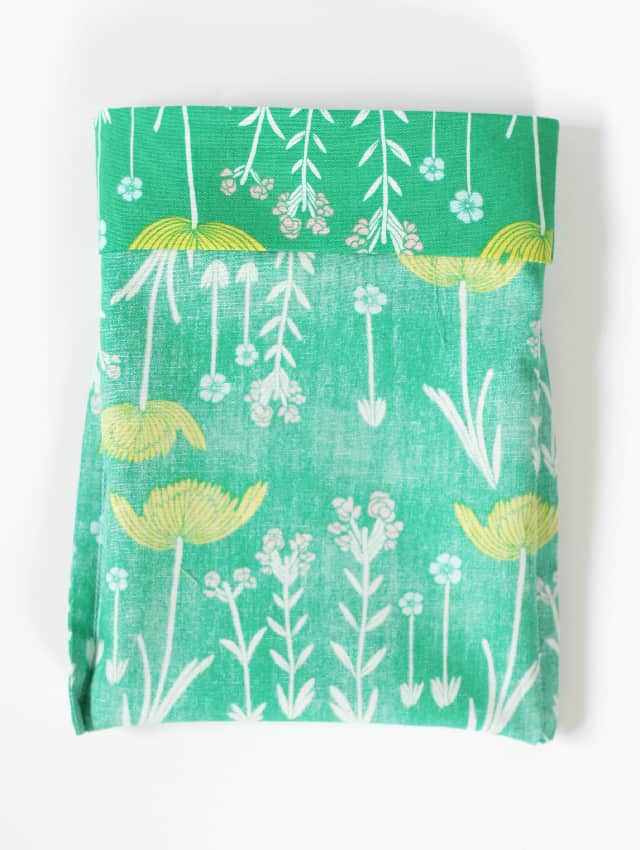
To make the casing, fold the top under 1/4″, press, and then fold it another 1 1/2″ and press. Now stitch two lines, one right along the bottom fold, and one 1/2″ to 3/4″ away from that. You will want to make sure the button hole you made in the beginning is inside of those two seam lines.
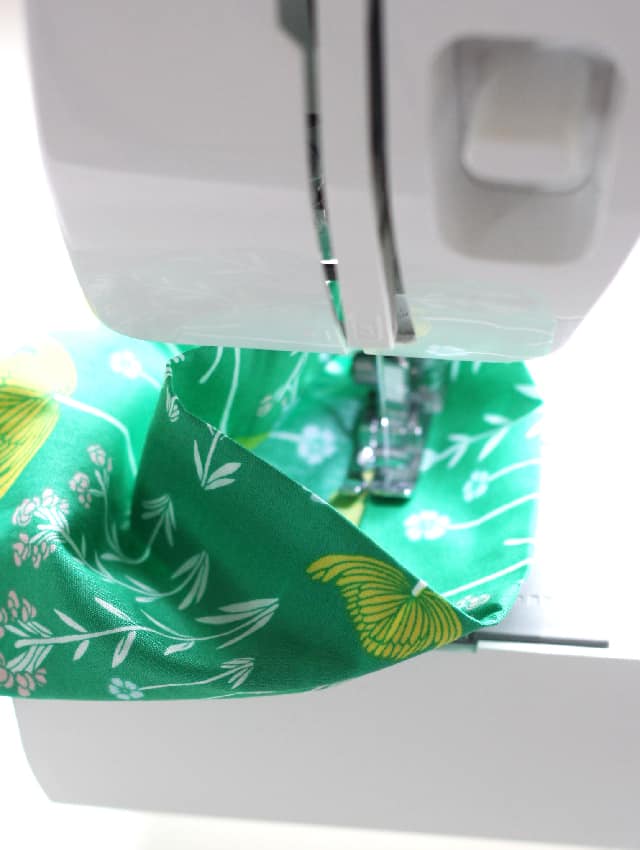
When sewing a tiny bag, it can be easiest to have your bag turned right side out, and stitch it from the inside, like in this photo.
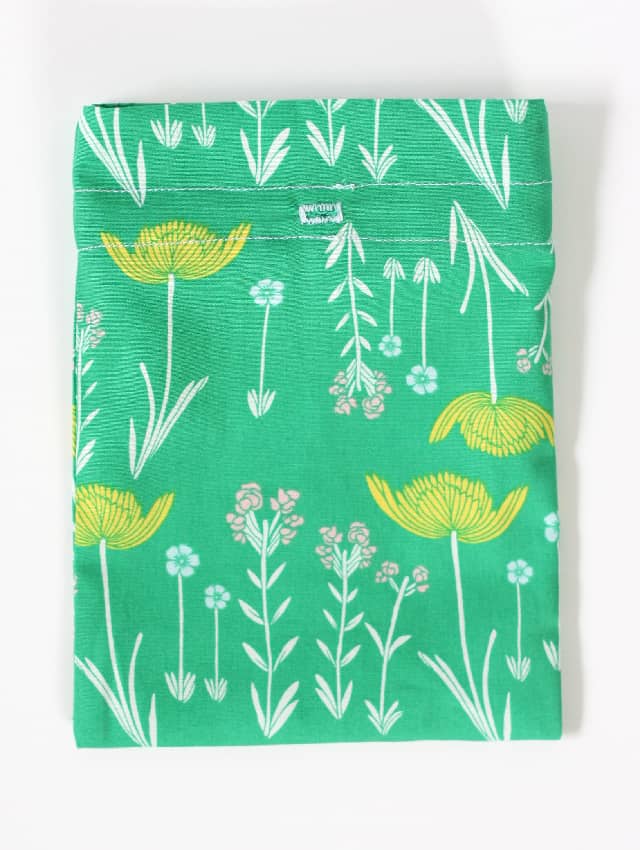
After sewing your casing seams, trim open your buttonhole. You’re almost there!
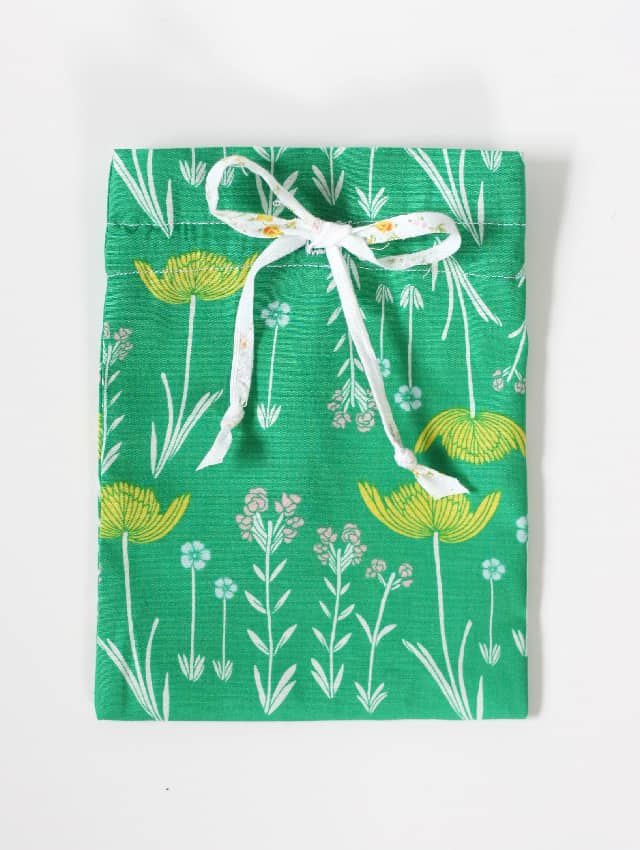
Using a safety pin attached to one end of your ribbon so have something to hold onto, thread your ribbon through the buttonhole, around all the casing, and back out the same buttonhole.
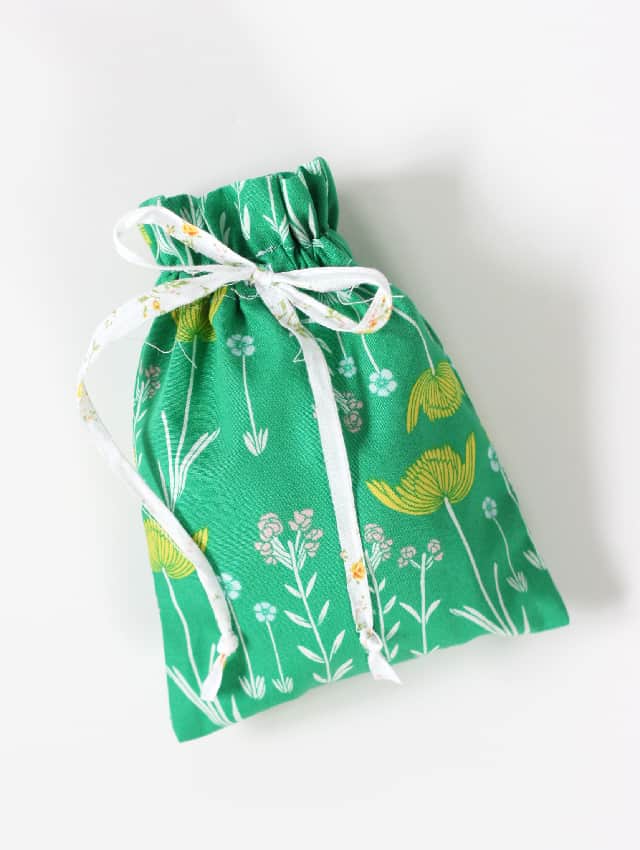
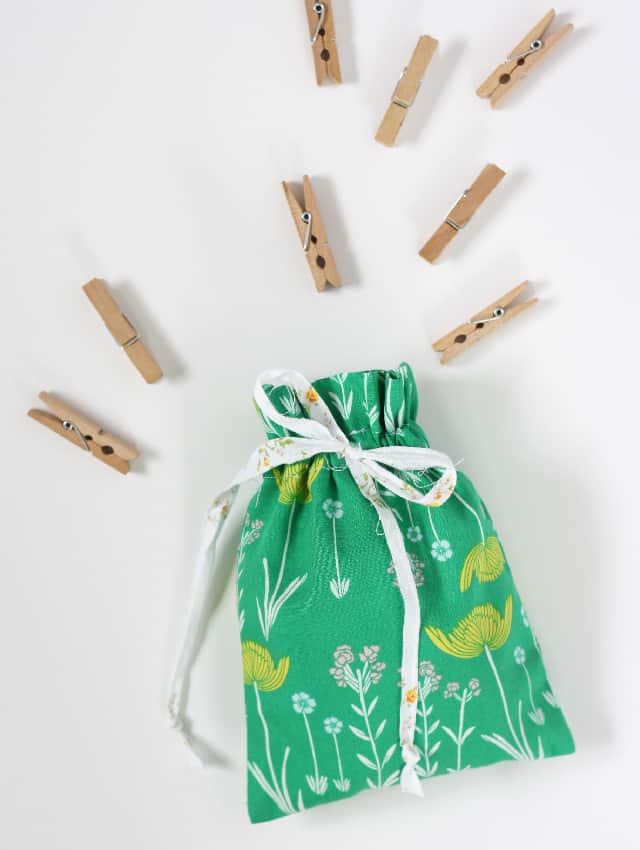
Finish the ends of the drawstring with a knot. Tie a pretty little bow and you’re all done!

I hope you find all kinds of creative and fantastic uses for your little drawstring bags. Make these extra fun with appliqué or an embellishment.
What will you put in yours? Have fun sewing!
More Free Patterns




Thanks for the great idea! I will have to use these for something for my tea brand!
–http://soulalien.blogspot.com/
Thanks a lot for the tutorial! I’ve been meaning to add a ribbon in the middle like this on my bag! Your fabric is lovely :)