Embroidery floss can be messy – if you know you know! Avoid tangles and set up a new embroidery floss storage system with this free floss bobbin template and notions dividers! How satisfying is this organized floss?!
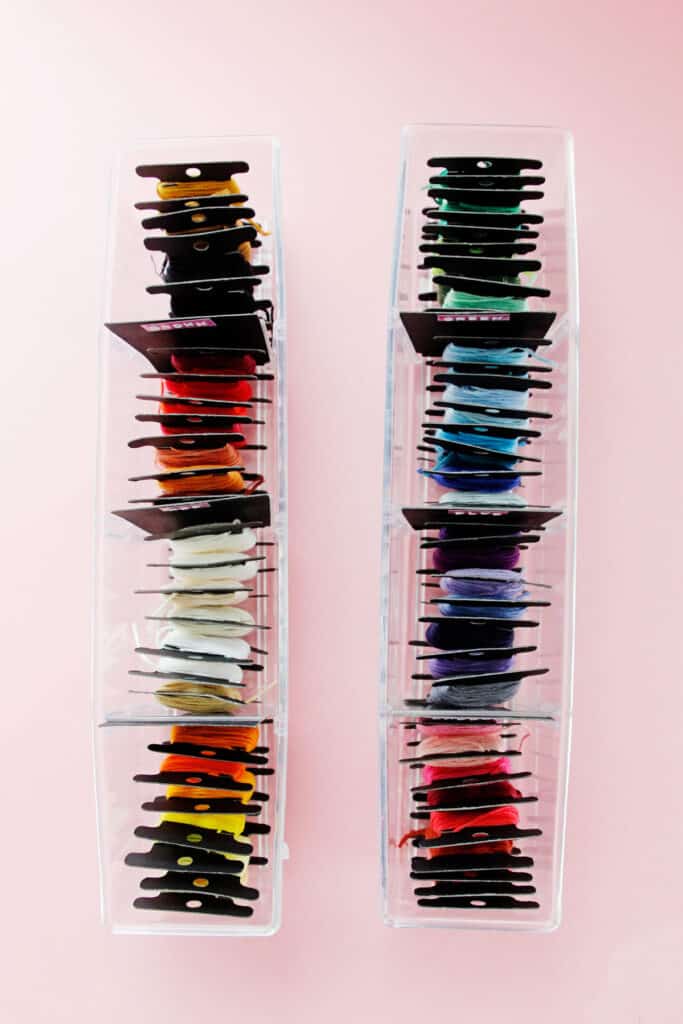
This post includes a template you can either print and cut by hand or download and use with a cutting machine! Make a few of these and keep your creative goods in order! Look at my before photo, yikes!
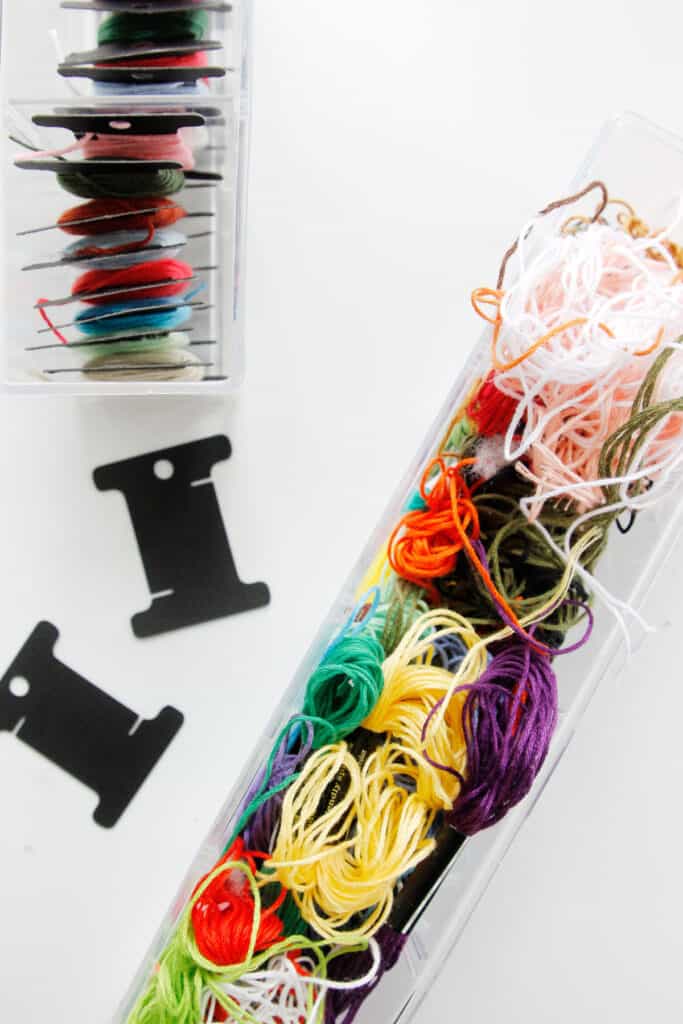
I also included a storage divider that you can use to section off your embroidery flosses for easy access.
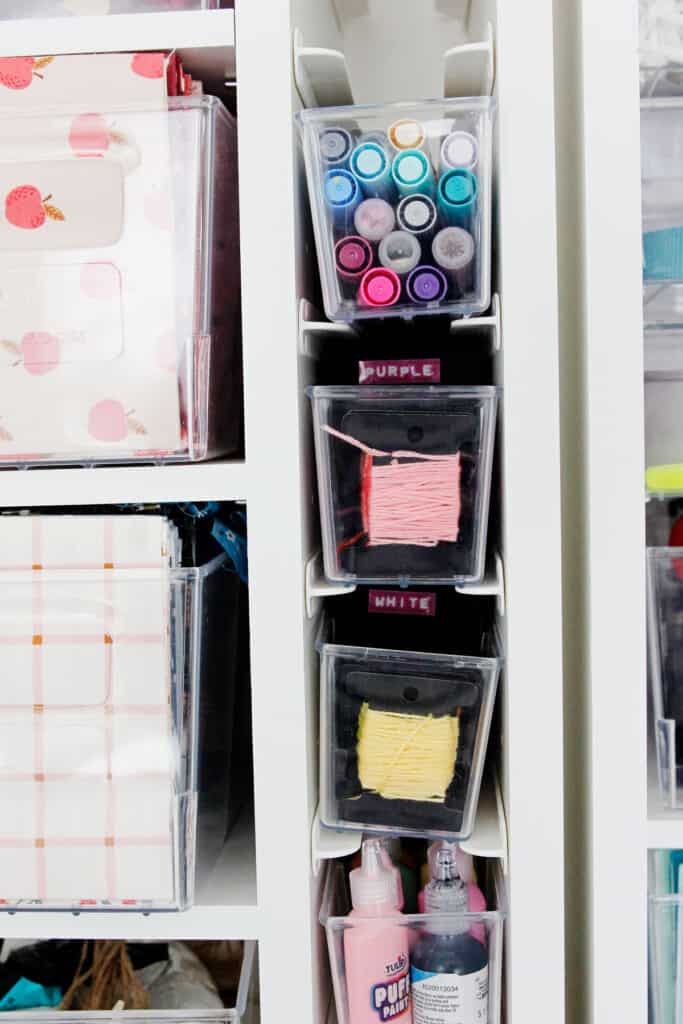
I sized these specifically for the notions holders in the DreamBox 2. These are the cutest little plastic totes that fit right into the sides of the DreamBox.
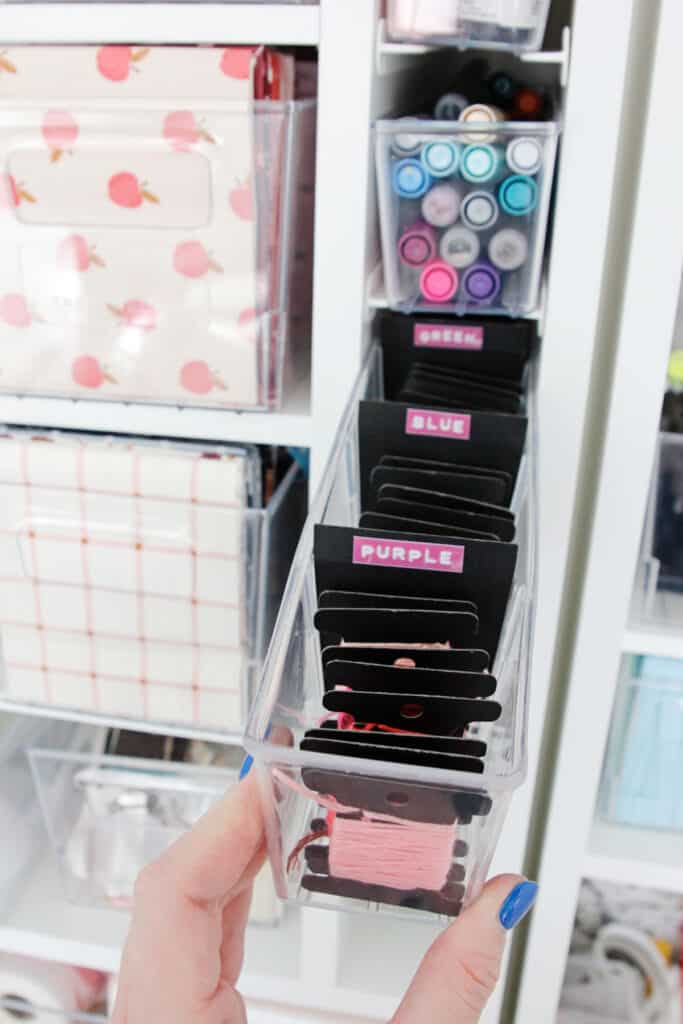
You can read about my DreamBox 2 and see lots more photos in this post (more info coming, I’m still organizing all my supplies!!)
Make your own Embroidery Floss Bobbins – Materials
- Thick card stock, chipboard or Cricut kraft board (affiliate links)
- Cutting machine or tool
- Embroidery floss
- Optional: paint, labels, stickers etc for decorating the bobbins
You can choose how sturdy you want your floss bobbins to be – use anything from card stock to cardboard to balsa wood! You can even use old cereal boxes which is a great way to upcycle!

Free Floss Bobbin Template Download
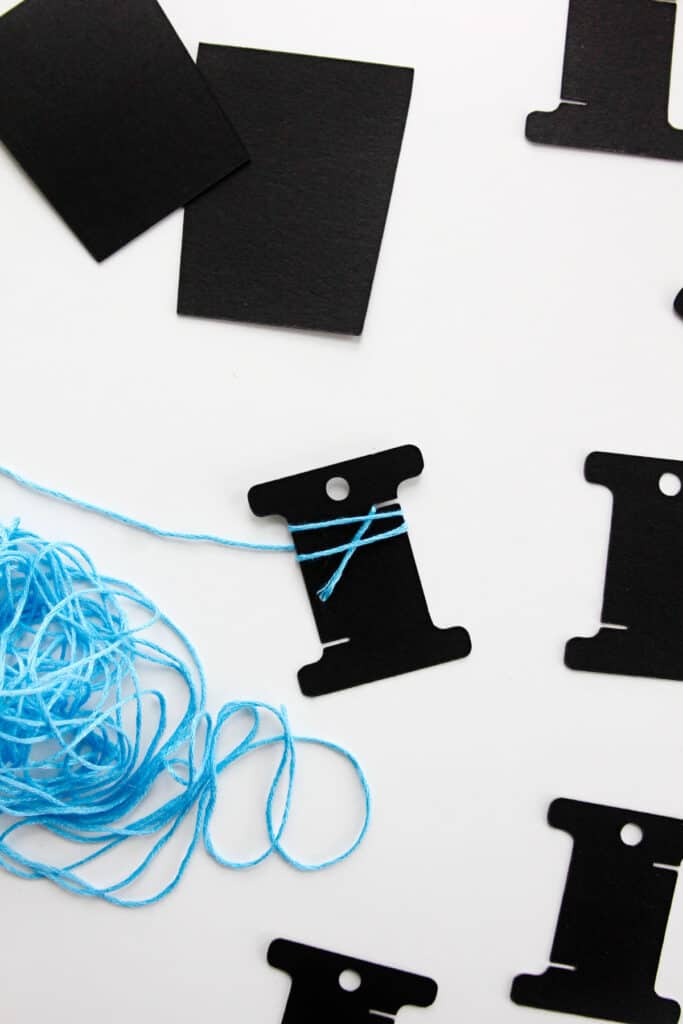
Download the digital files by entering a valid email address to sign up for See Kate Sew’s newsletters.
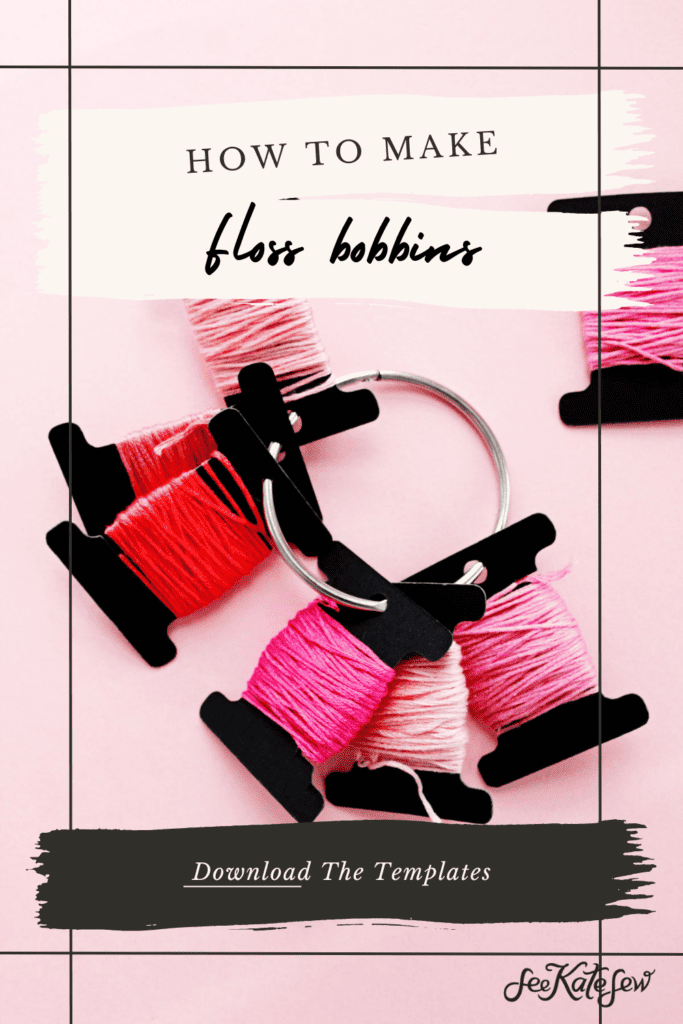
These floss bobbins have a hole at the top and two little slits for holding the ends of the thread. The slits will keep the strands of your thread neat and tidy!
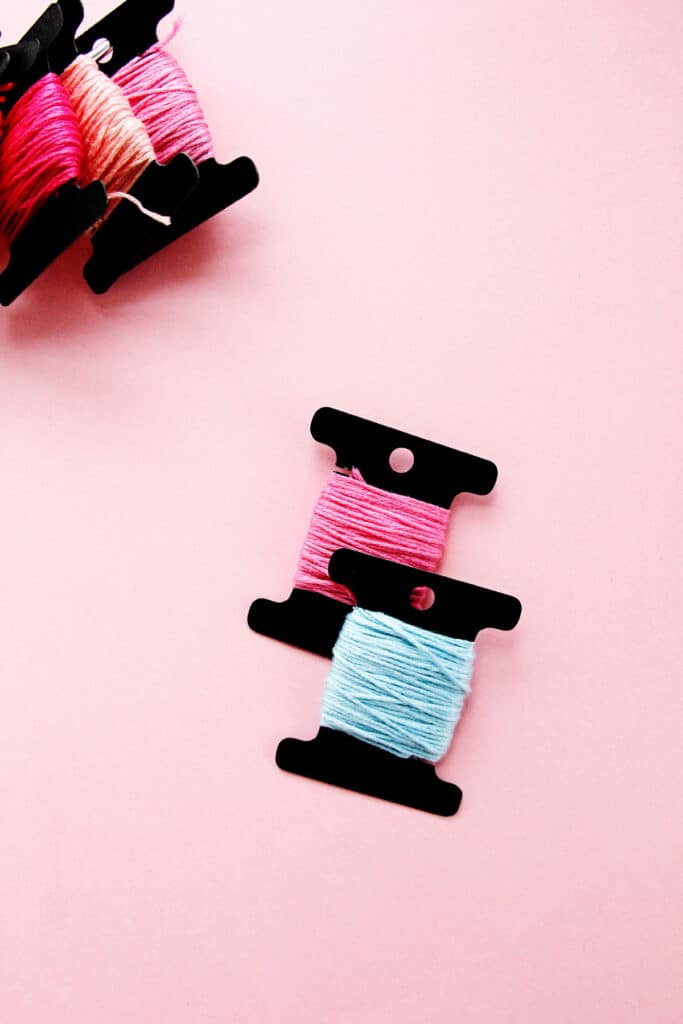
The holes at the top can be used to store the floss on a large ring like swatches. Ring storage is perfect for taking crafts on the go – just stash them along with your cross stitch patterns.
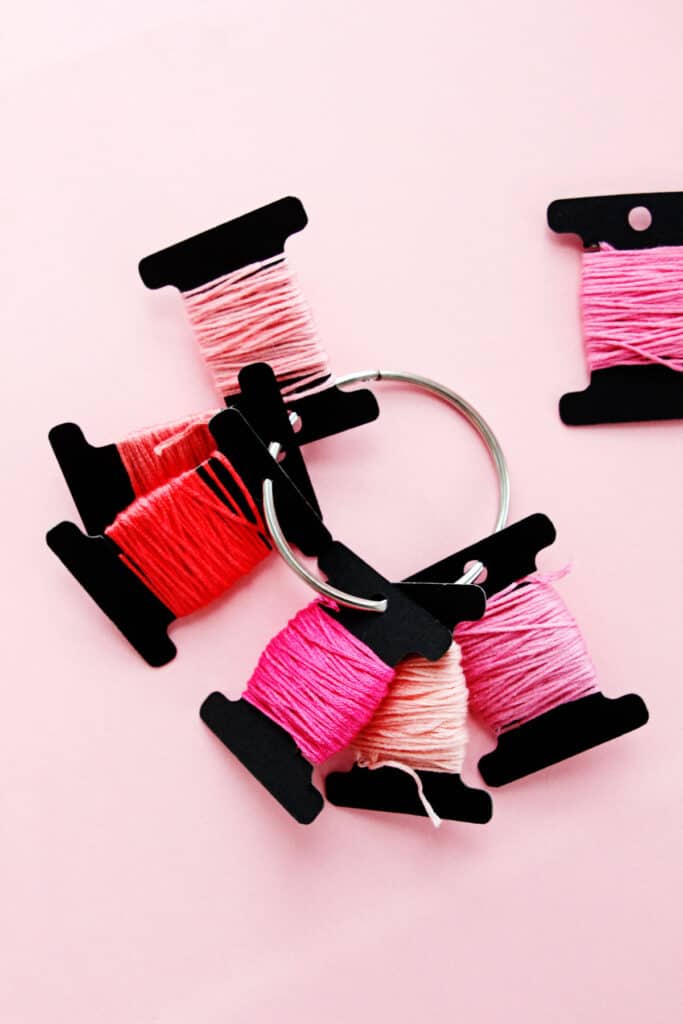
Download the PDF file if you are cutting by hand. Download the JPG file if you are using this with a cutting machine – just upload the JPG like you would SVG files.

How to make floss bobbins
Making your own bobbin storage system is so easy! I’ll show you how to use the JPG files to cut the embroidery floss bobbins out with a cutting machine like a Cricut or Silhouette.
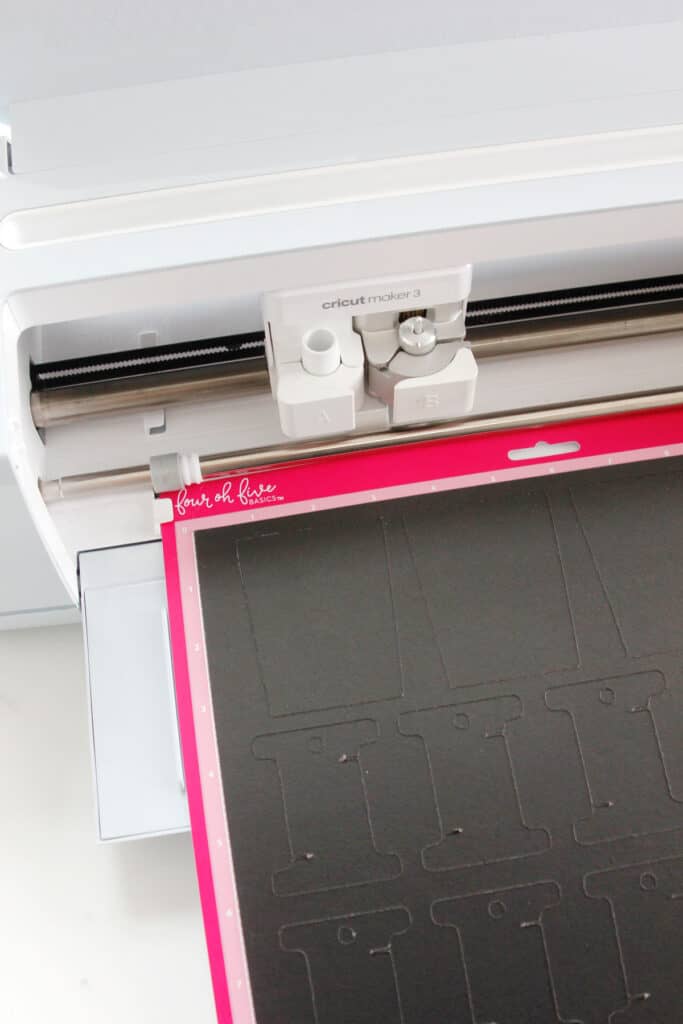
Resize to 1.9″ wide before cutting. You can fit about 20 bobbins on one 12″ mat, or 15 bobbins and 4 dividers. When your machine is done cutting, peel them off the mat and they are ready to go!
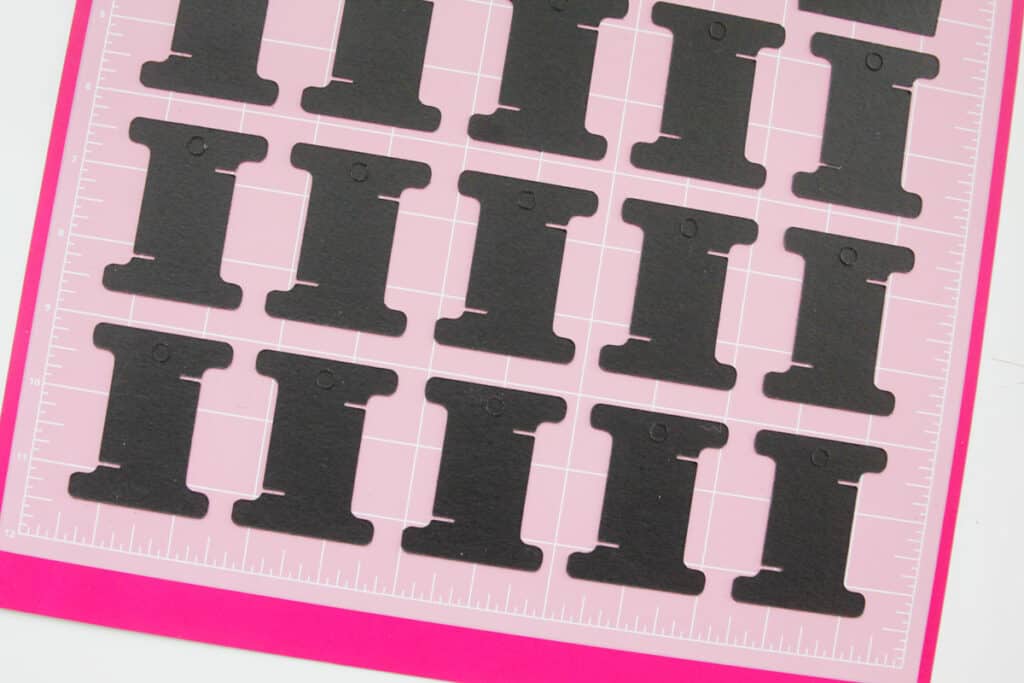
Use the extra space around the punch holes to write the thread floss number, brand or any other information you want to remember.
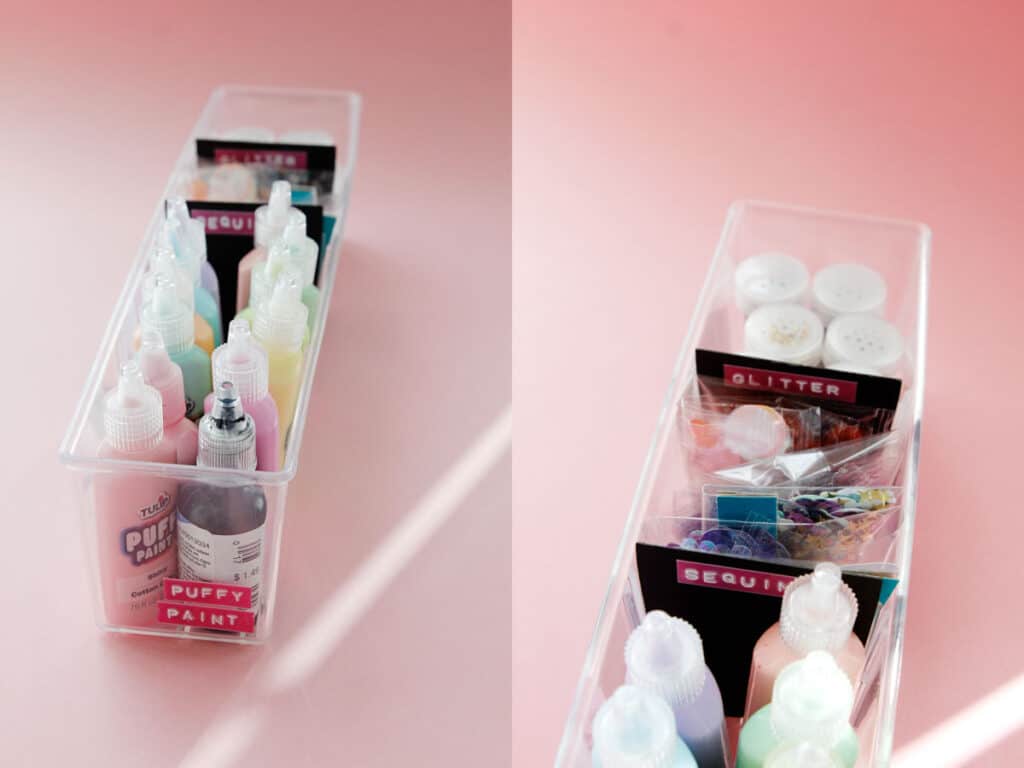
Craft Divider Tutorial for the DreamBox Notions Totes
- Thick card stock, chipboard or Cricut kraft board (affiliate links)
- Cutting machine or tool
- Double stick tape
- Label Maker
The floss divider template can be used in any small organization system you have but are perfectly sized for the notions totes in the DreamBox 2!
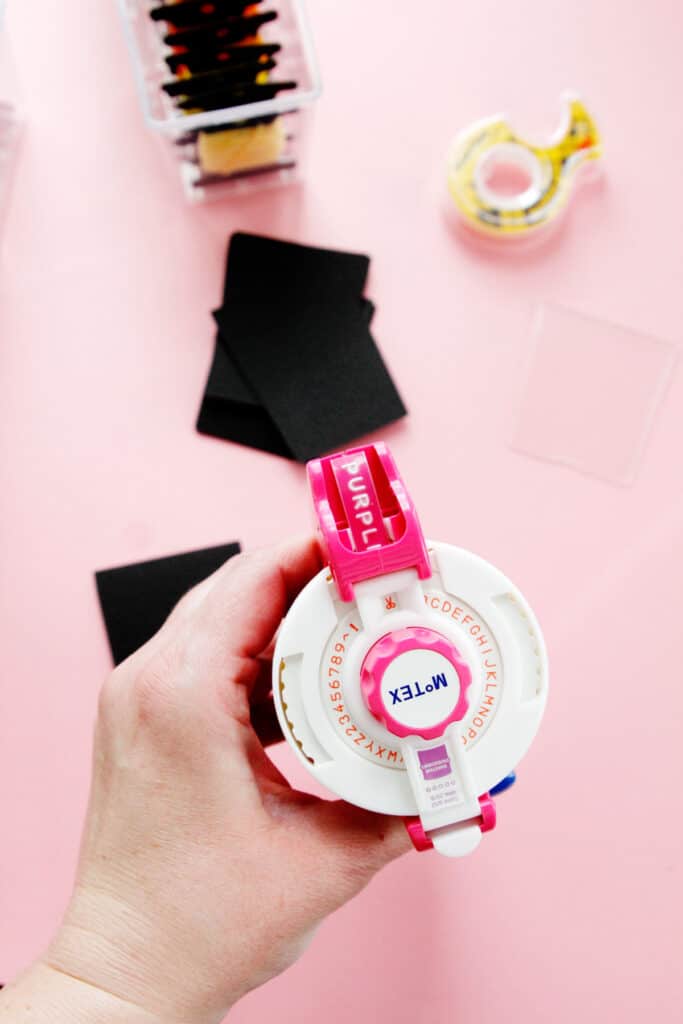
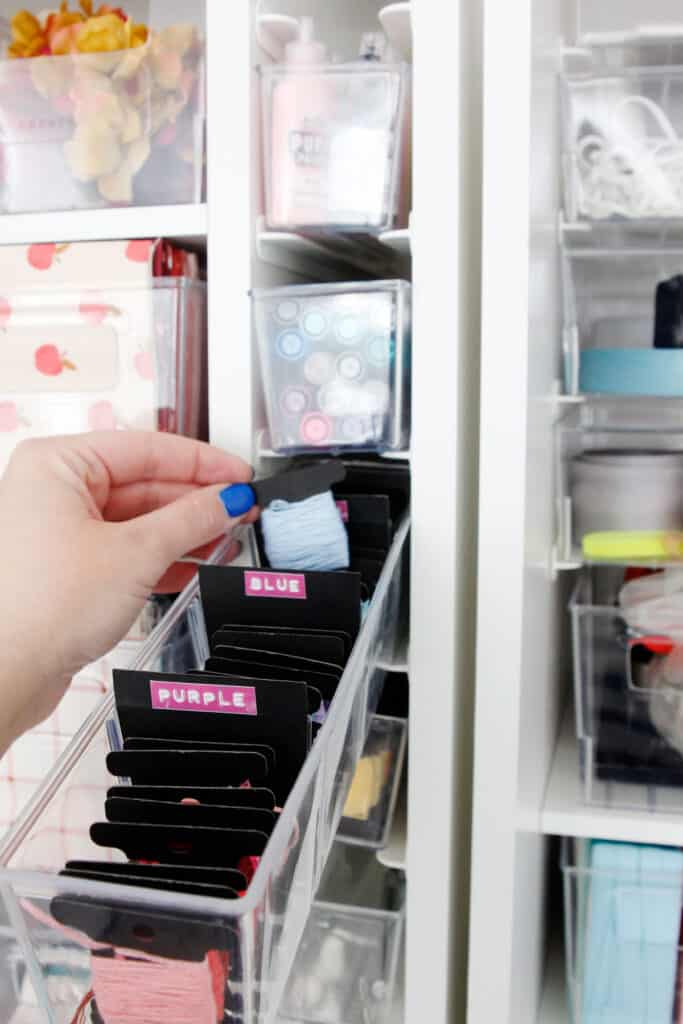
These can be used to divide the floss bobbins into colors, brands or thread sizes. They can also be used to divide the notions totes for other notions!
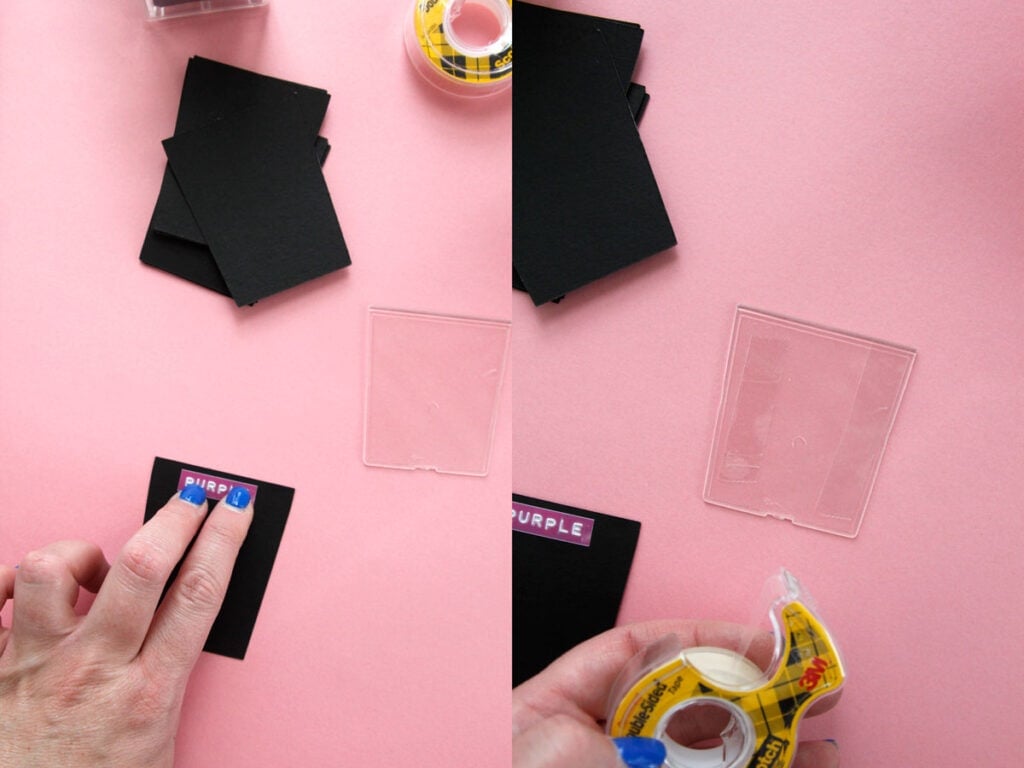
Cut these out the same way you cut out the floss bobbins! Use a label maker, vinyl or a permanent marker to label the sections as you organize. Resize to 2.38 inches wide before cutting.
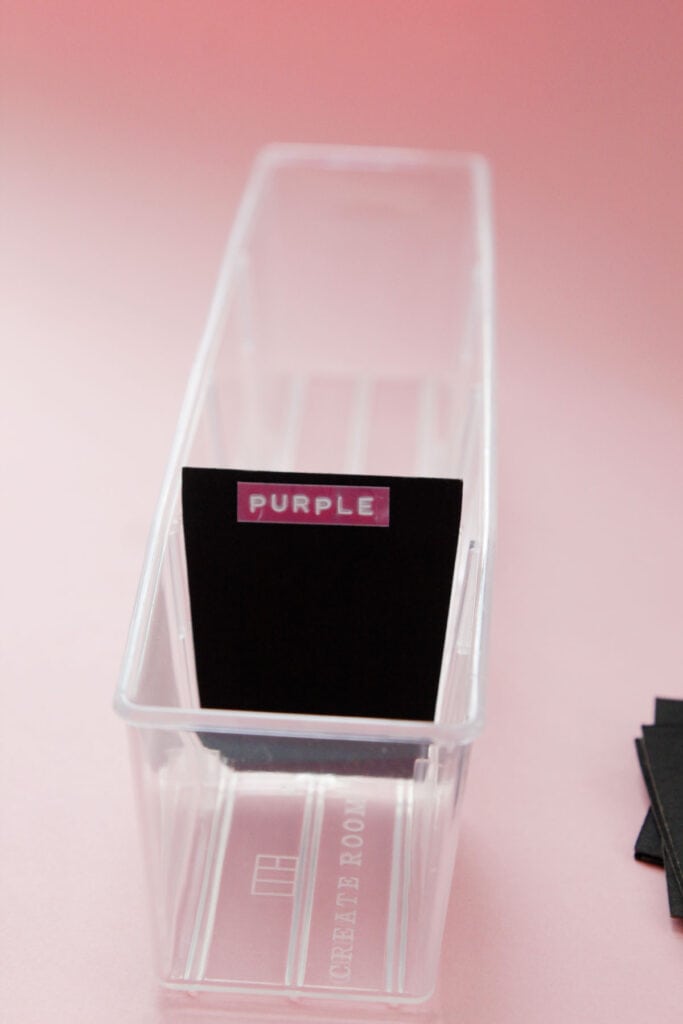
These can also be used for other notions! This is helpful if you are putting a few different craft supplies in one notions holder, you can sometimes see the first divider without pulling the bin out.
More sewing room storage ideas
Organize your craft supplies with more posts and ideas!
- Sew a new ironing board cover
- 10 Clever Craft Room Hacks
- 30 Craft Room Ideas
- DreamBox 2 Review
- Vinyl craft room labels
- Join my quilt pattern subscription


