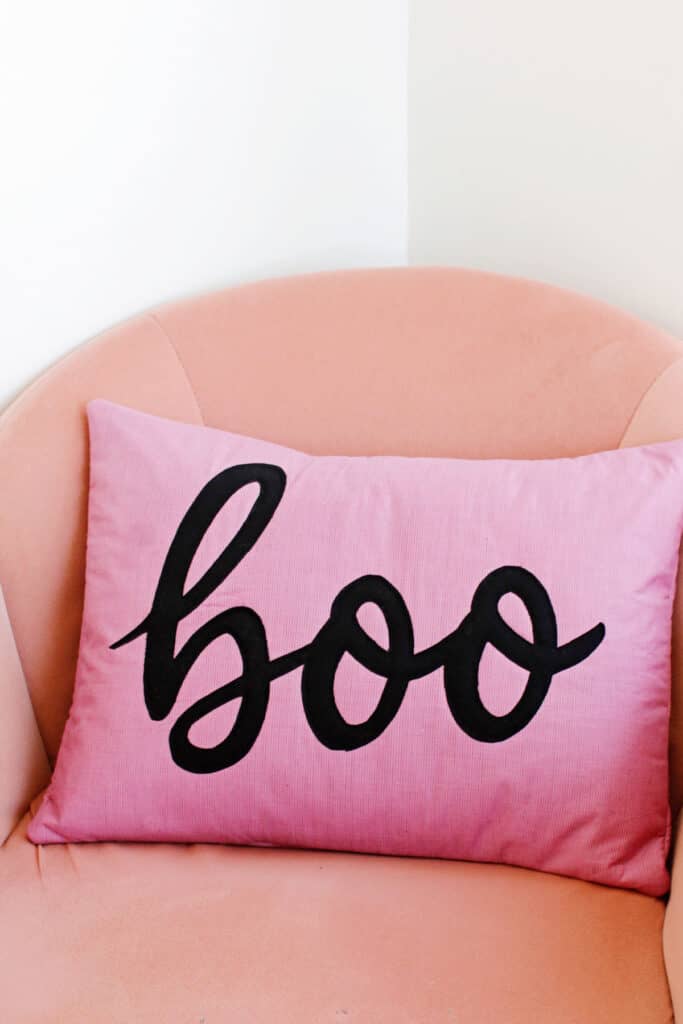
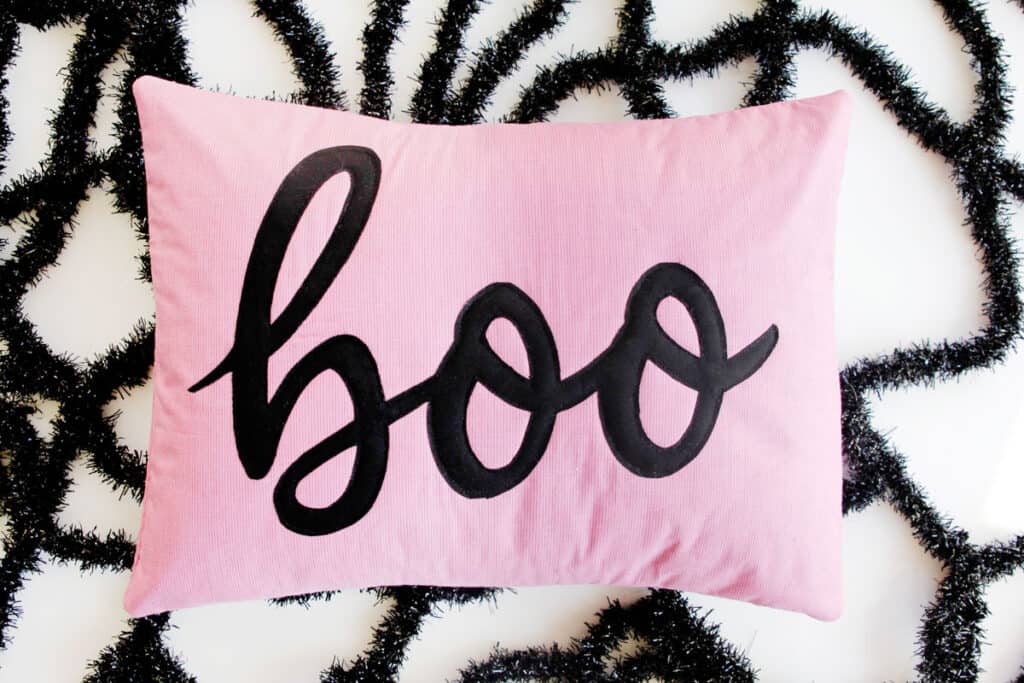
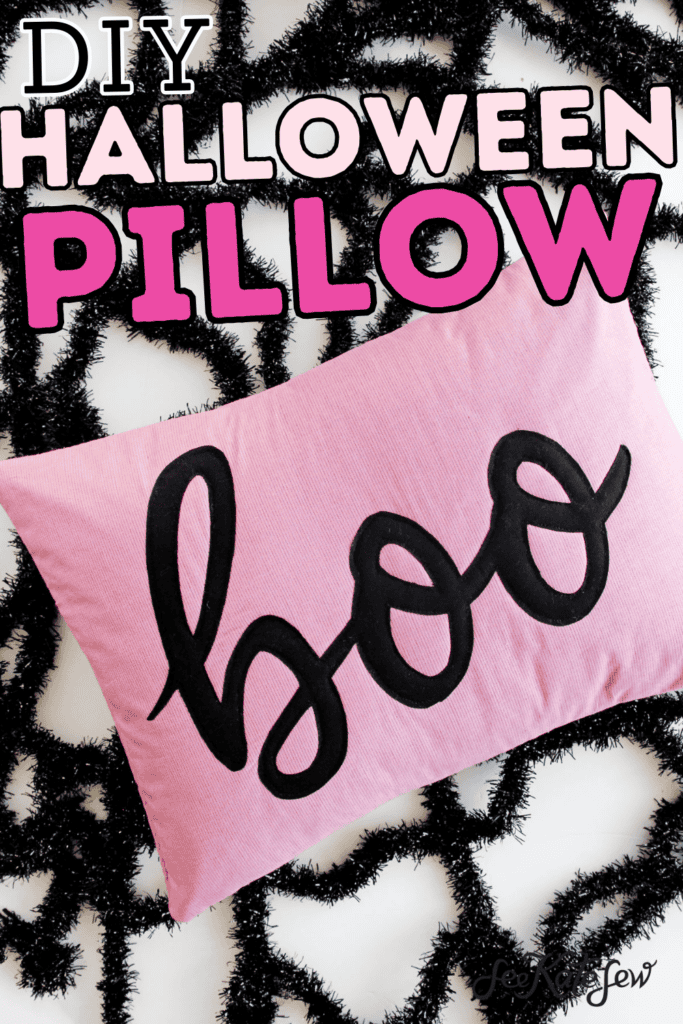
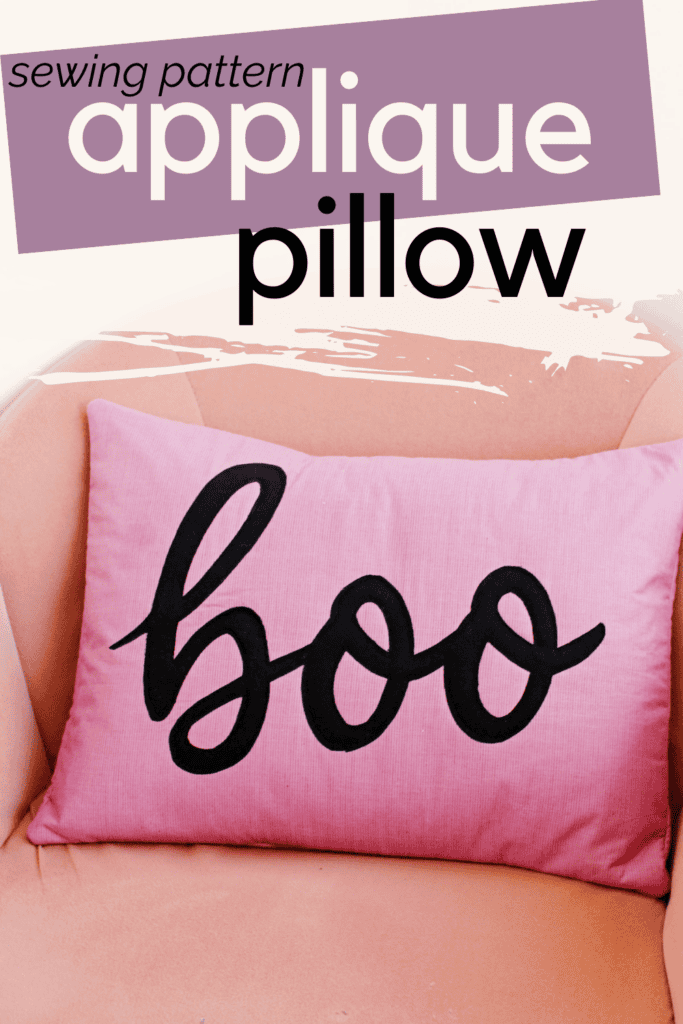
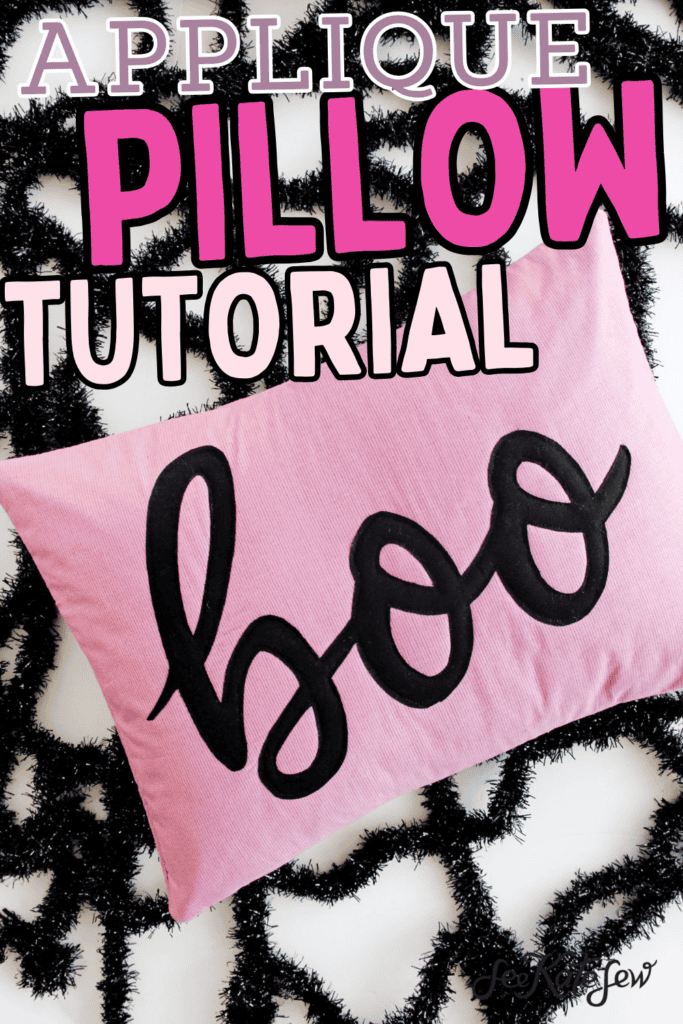
Let’s get spooky! This adorable Halloween BOO pillow sewing pattern will make any room Halloween ready! This is a simple appliqué pillow that packs a pop of fun during the Halloween season.
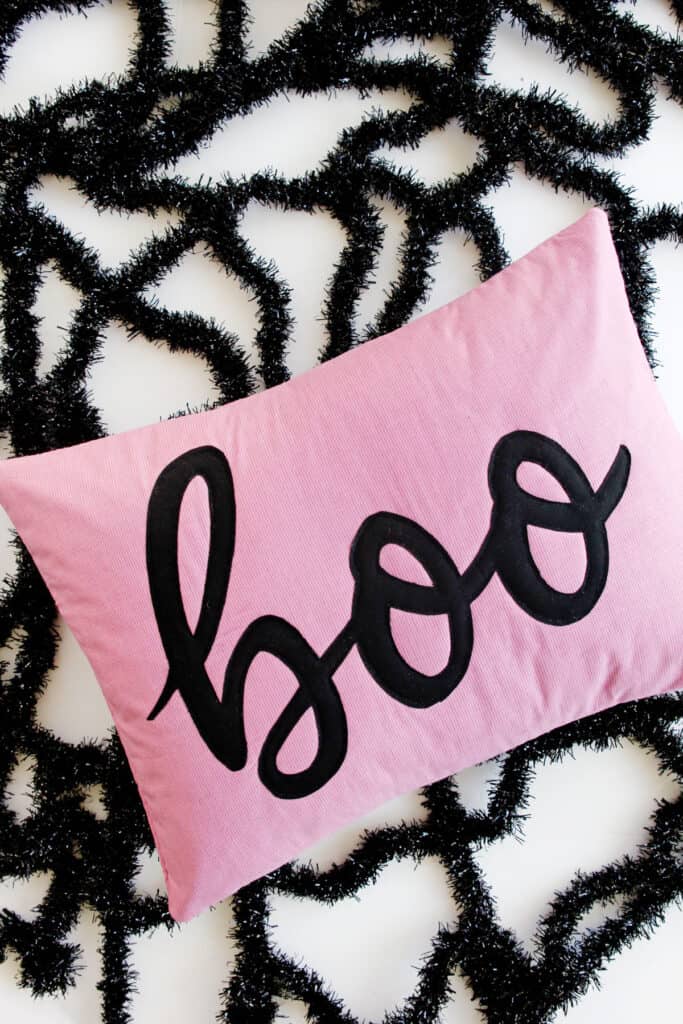
Make a new cover for your accent pillow to get you in the Halloween spirit this October! I’ll show you the easiest way to make the appliqué letters – the instructions are so simple!
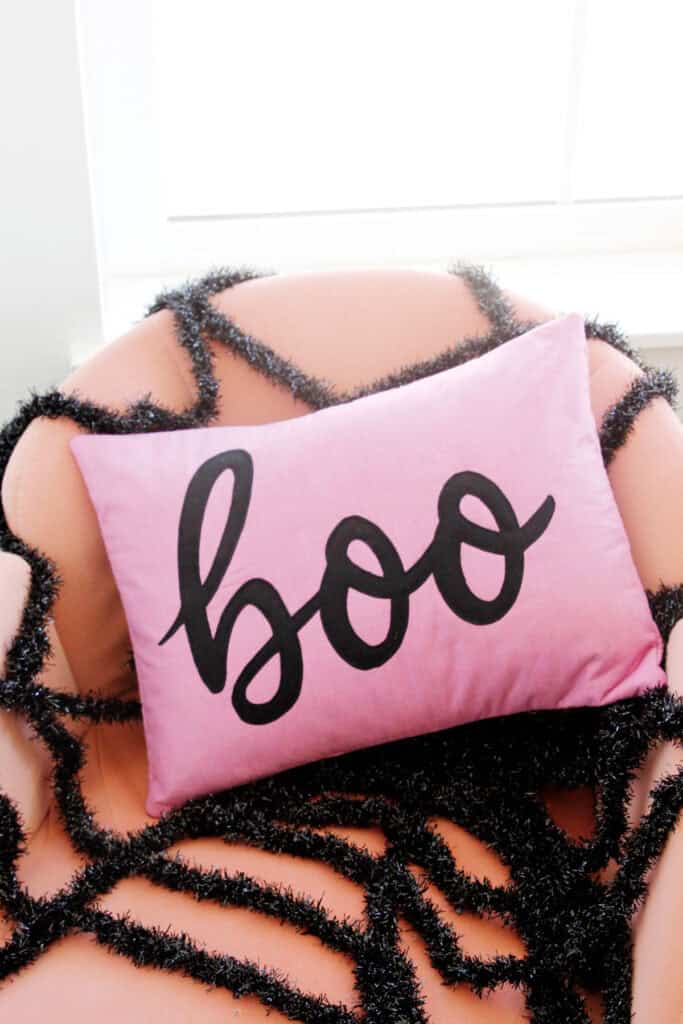
The pillow has an envelope back closure, so no zippers! Download the appliqué template and let’s get sewing!
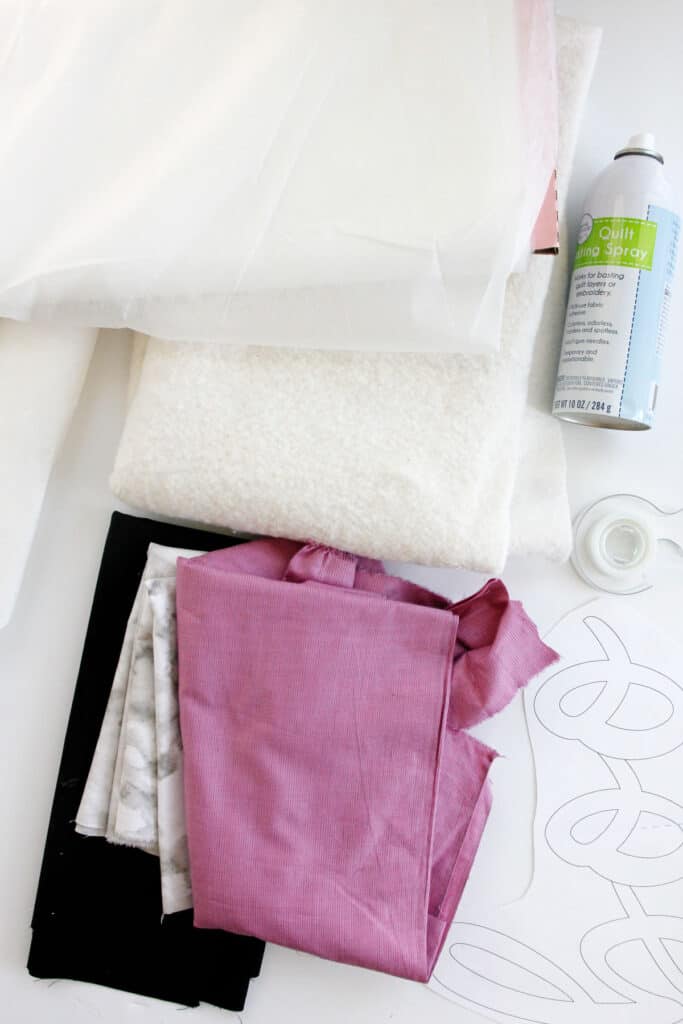
Halloween Boo Pillow Materials
- 1/2 yard quilting cotton
- 1/3 yard solid black fabric (affiliate links)
- Contrast fabric for lining
- Quilt batting
- Heat N Bond Ultra
- Pillow form, 12″ x 16″
- Spray baste
- Fusible interfacing, optional
- Free appliqué template, see below
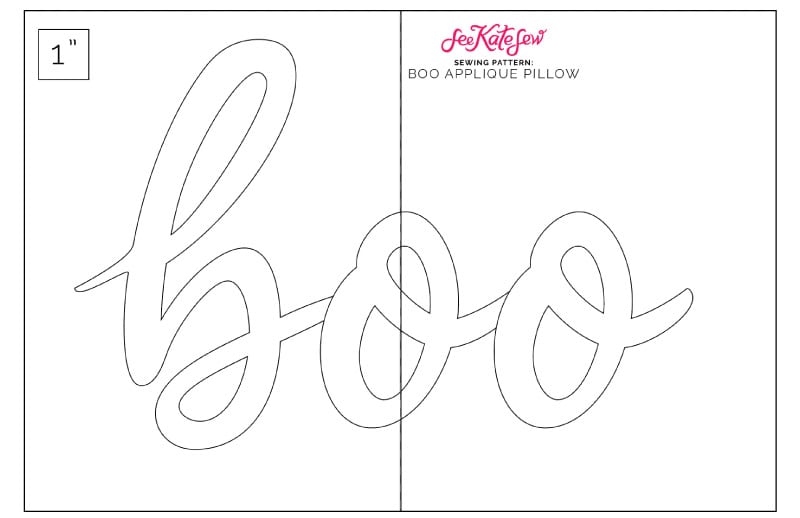
Halloween Boo Pillow Applique Template
Click on the button below to download the appliqué pattern.
This is a PDF file that will print on 2 pages. Be sure to print at 100% or DO NOT SCALE. Then trim along the dashed lines and tape together.
Pillow Cover Measurements
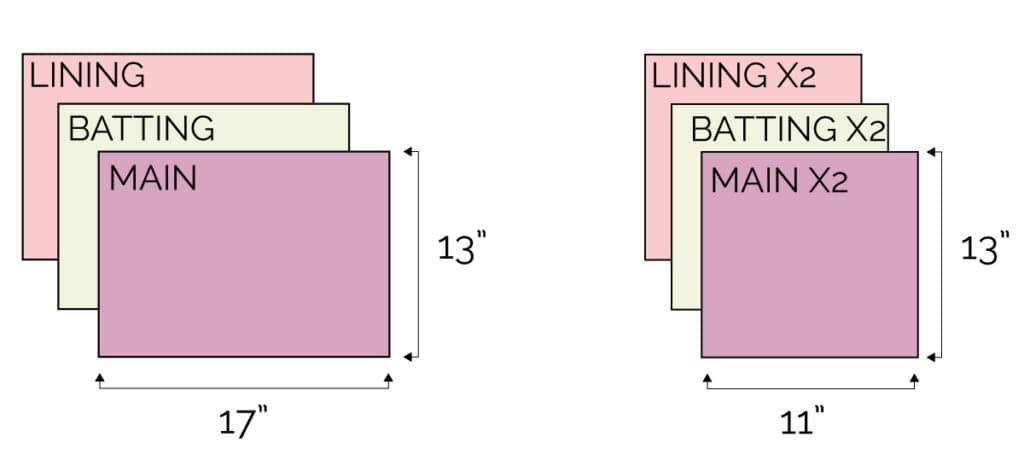
The finished size of the Halloween boo pillow cover is approximately 12″ by 16″ which will fit a 12″ by 16″ pillow form snugly!
Cut the following pieces:
- Front: 13″ by 17″
- Cut 1 main
- Cut 1 lining
- Cut 1 batting
- Back: 13″ by 11″
- Cut 2 main
- Cut 2 lining
- Cut 2 batting
Fusible interfacing is optional for the main fabric pieces.
How to sew an appliqué Halloween Boo pillow Cover
Use a 1/2″ seam allowance.
Cut your fabric pieces from the measurements above.
Lay the main pieces in a stack with the lining face down, batting in the middle and main fabric face up. Baste the layers together with spray baste and smooth. Let the spray baste dry for a few minutes.

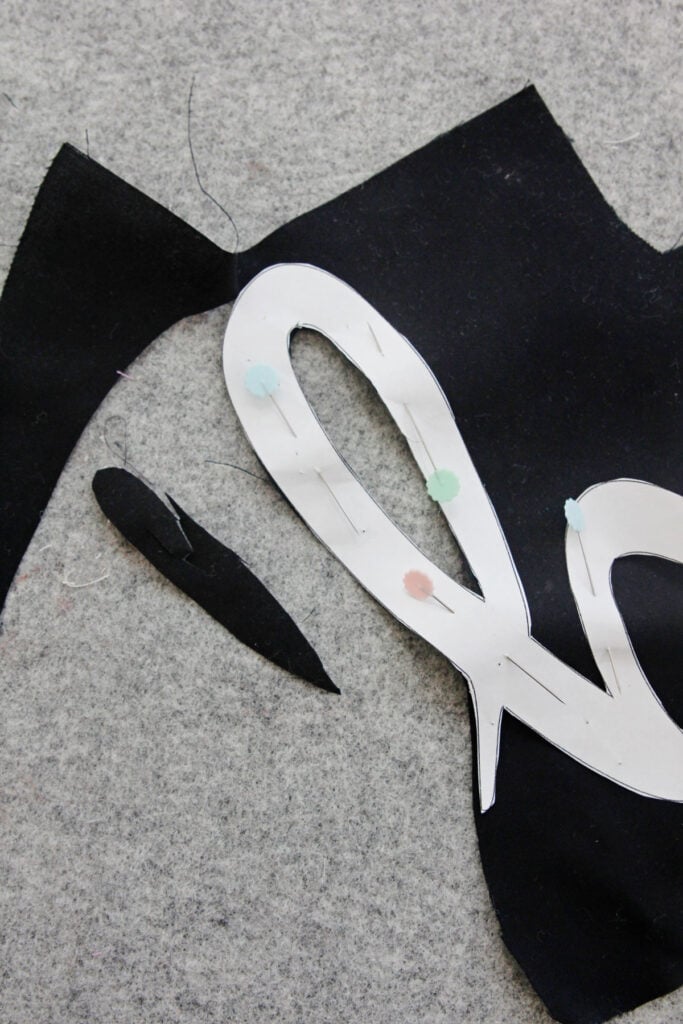
While the basting dries, back black appliqué fabric with heat n bond. Peel off the white paper backing. Then pin the template to the top of the fabric. Use lots of pins to hold the design. Cut out the BOO design with scissors, carefully curving them around the letters.
Grab your front piece and center the design on the main fabric. Press with your iron to adhere the appliqué design to the front of the pillow.

Topstitch around the lettering about 1/8″ from the raw edges. Don’t forget to topstitch around the insides of the letters.

To create the envelope backing, stack the main and lining backs right sides together. Pin the batting to the back of the lining fabric. Sew along one short edge with a 1/2″ seam allowance.

Turn rightside out and press the edge. Then topstitch about 1/4″ from the folded edge. Repeat with the other back piece.

Lay the pillow front on your table. Then stack the back pieces on top, overlapping them in the middle. The right sides will be together. Sew around the pillow all the way around, pivoting at the corners. Don’t leave an opening on the edges since we can turn the pillow though the envelope back.

Clip the corners and turn right side out. Give it a final press and stuff with pillow form.
More Halloween Sewing Projects
I hope you enjoyed this fun pattern! Here are a few more projects for the month of October!


