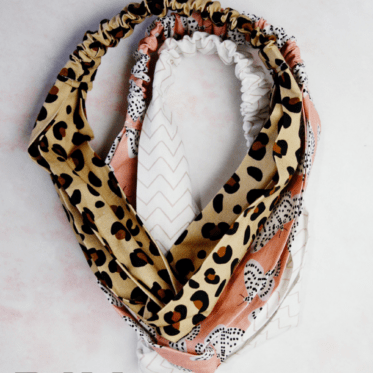
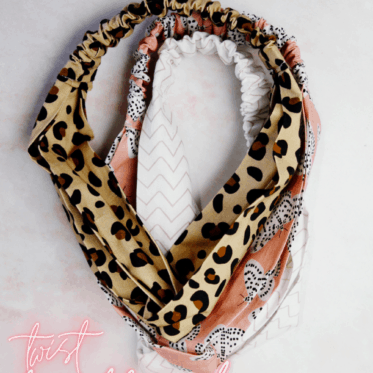
This twisted headband pattern is fun to sew. It’s a great scrapbuster sewing pattern and only requires a little bit of elastic.

So it’s fun to add a cute accessory to make a messy topknot or ponytail look more intentional and a great way to show off your cute fabric!
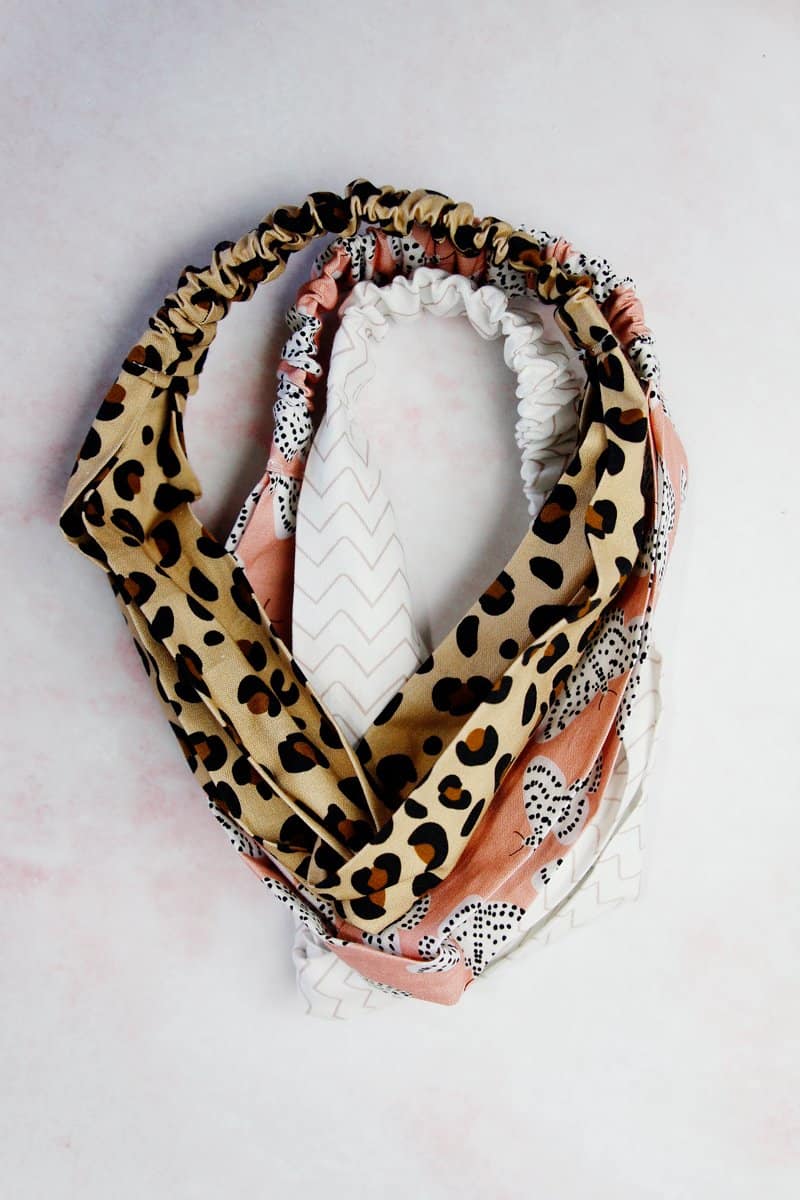
The twist headband is made with two pieces of fabric that loop in the middle, creating a little knot. It’s fun to play with fabric this way and you’ll love making these!

The twisted headband pattern will be your new go-to gift and scrap buster! There are two ways to make this – one with a thicker volume of fabric and a low-profile option.
I made these headbands with my new fabric line, SPOTTED! Preorder Spotted here:
- Spotted Fat Quarter Bundle
- Spotted Bouquet Pink *Sparkle*
- Spotted Leopard White
- Spotted Spots Black and White
- Spotted Leopard Tan
- Spotted Butterflies Salmon Pink
- Spotted Main Teal
- Spotted Spots Gold *Sparkle*
- Spotted Daisy Fields Black *Sparkle*
- Spotted Daisy Fields Pink *Sparkle*
- Spotted Stripes Teal
DIY Twist Headband Materials
- Woven cotton fabric, such as quilting cotton
- Featured in this post: Spotted Fabrics
- View the Spotted Storyboard from Riley Blake
- 1″ elastic
- Pattern pieces, sign up to get the printable below
Twist Headband Pattern Printable
Print off the pattern pieces at 100% or DO NOT SCALE. Trim the edges and tape together.
Knot Headband Sizes
There are two sizes included in this headband pattern, small and large. The small will fit kids and the large will fit adults. Adjust the sizes by using more or less elastic. Choose either low or high volume for a different style.
How to Make a Twisted Headband
The fabric featured in this tutorial is Spotted Leopard in Tan.
Cut out 1 elastic piece from elastic using elastic guide for length.
Cut out 1 headband back and 2 main fabric pieces.
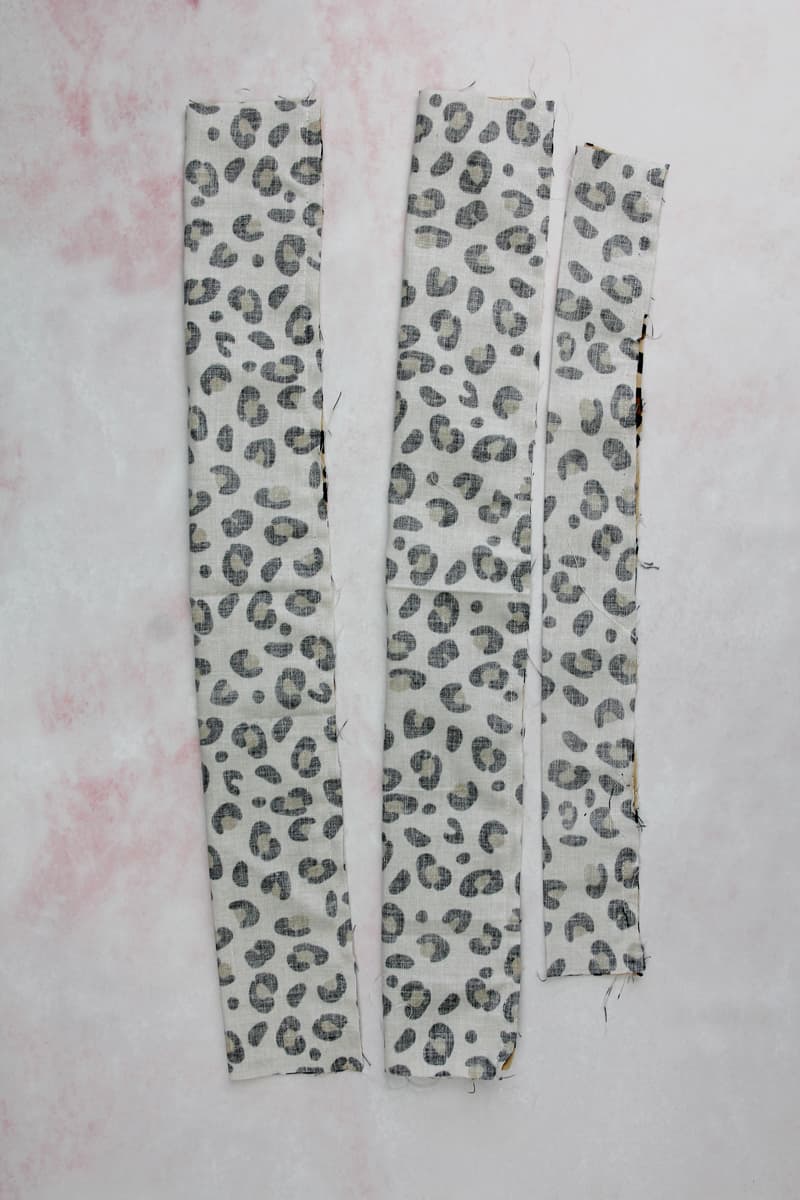
Fold all three fabric pieces in half lengthwise and sew the long edge with a 1/4″ seam allowance.
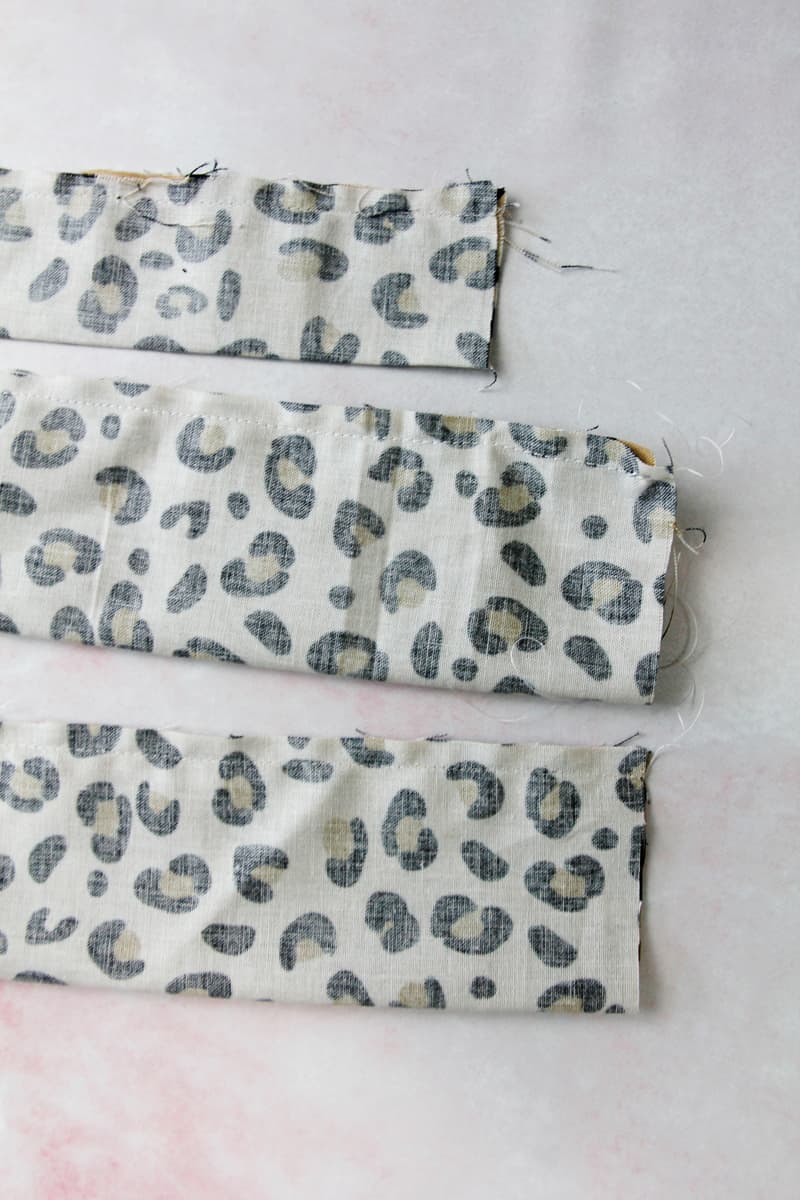
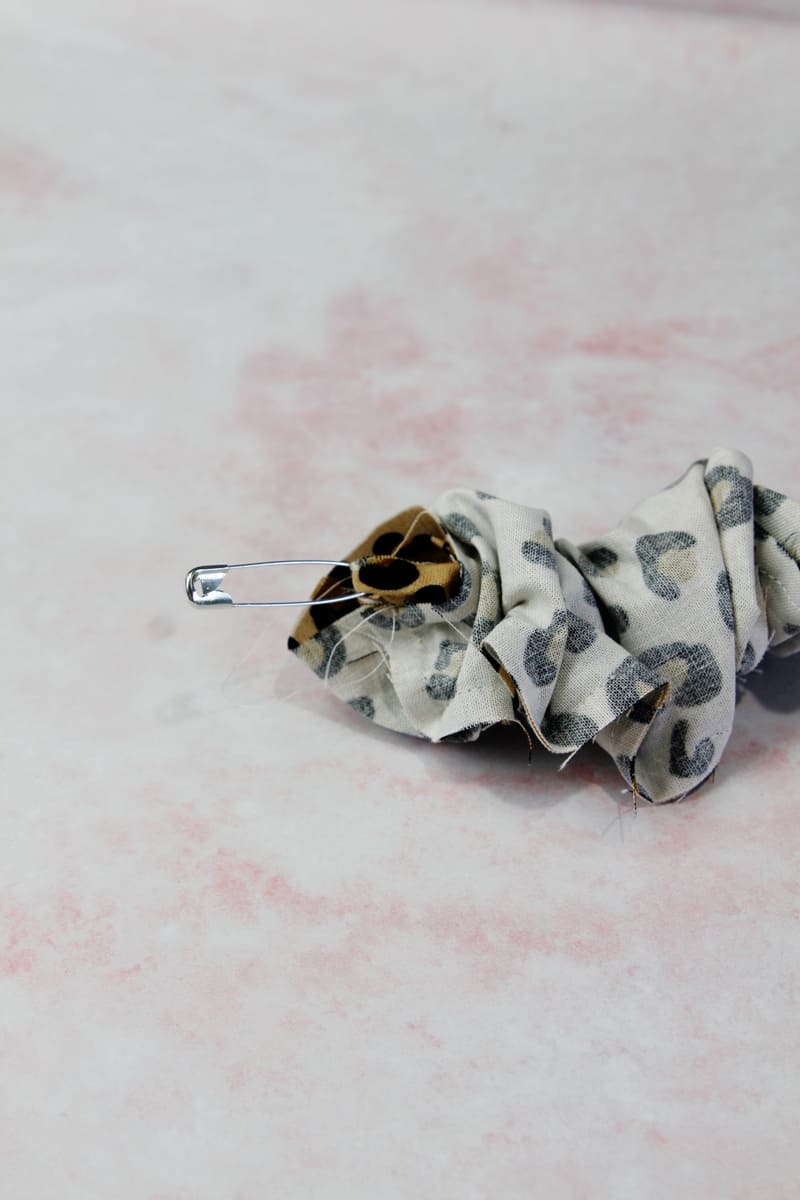
Clip a safety pin to the end of the tube and turn it right sides out.
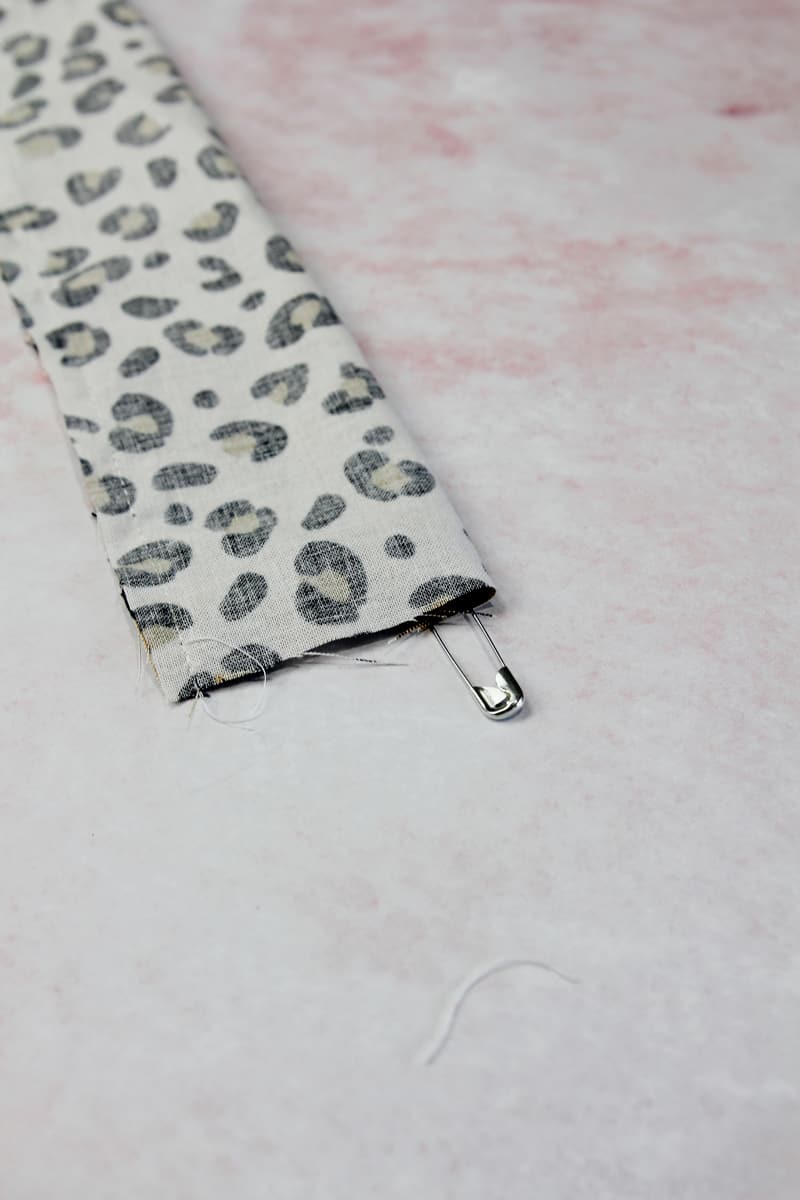
Turn all three tubes right side out.
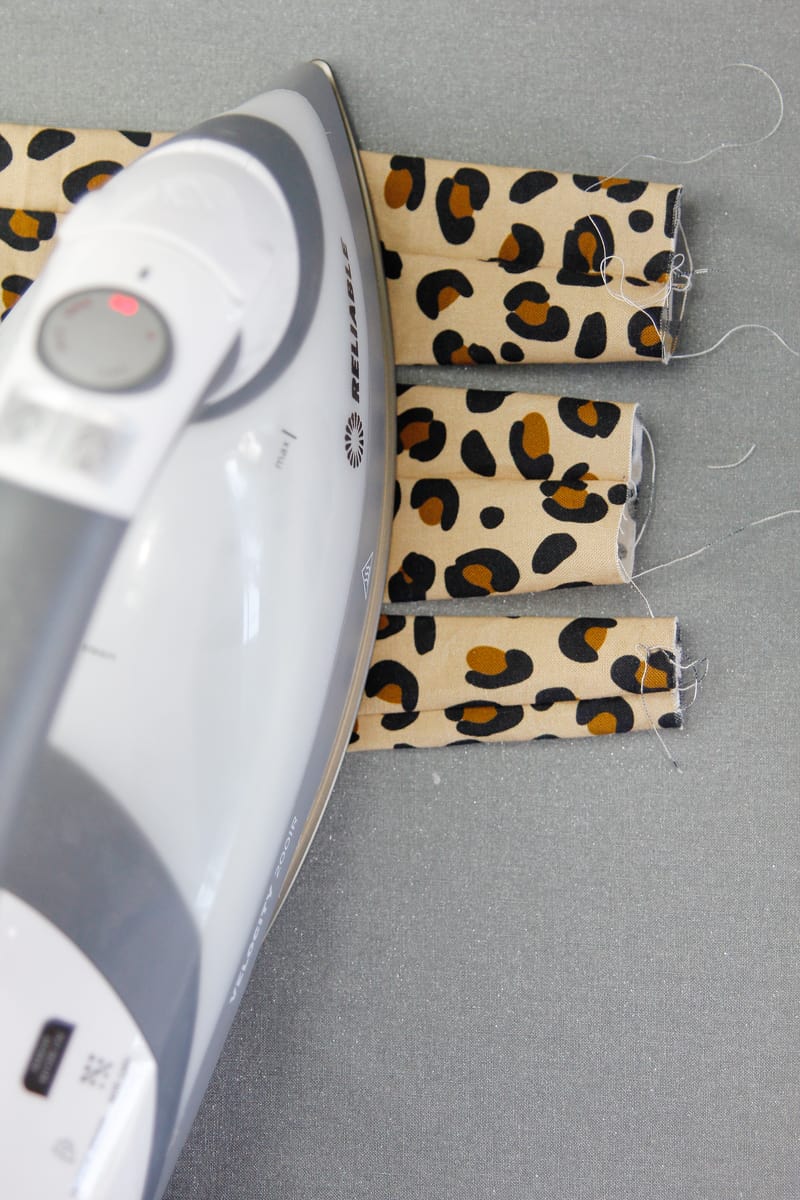
Press tubes flat with the seam allowances on the back.
Fold one of the headband main tubes in half and match the short edges together with the seam allowance facing the inside.
Add the Elastic

Place the elastic on top of the raw edges overlapping about 3/8″. If you are making the high volume headband, fold the pieces over the elastic and clip in place. For the low volume, you will not need to fold the fabric over.
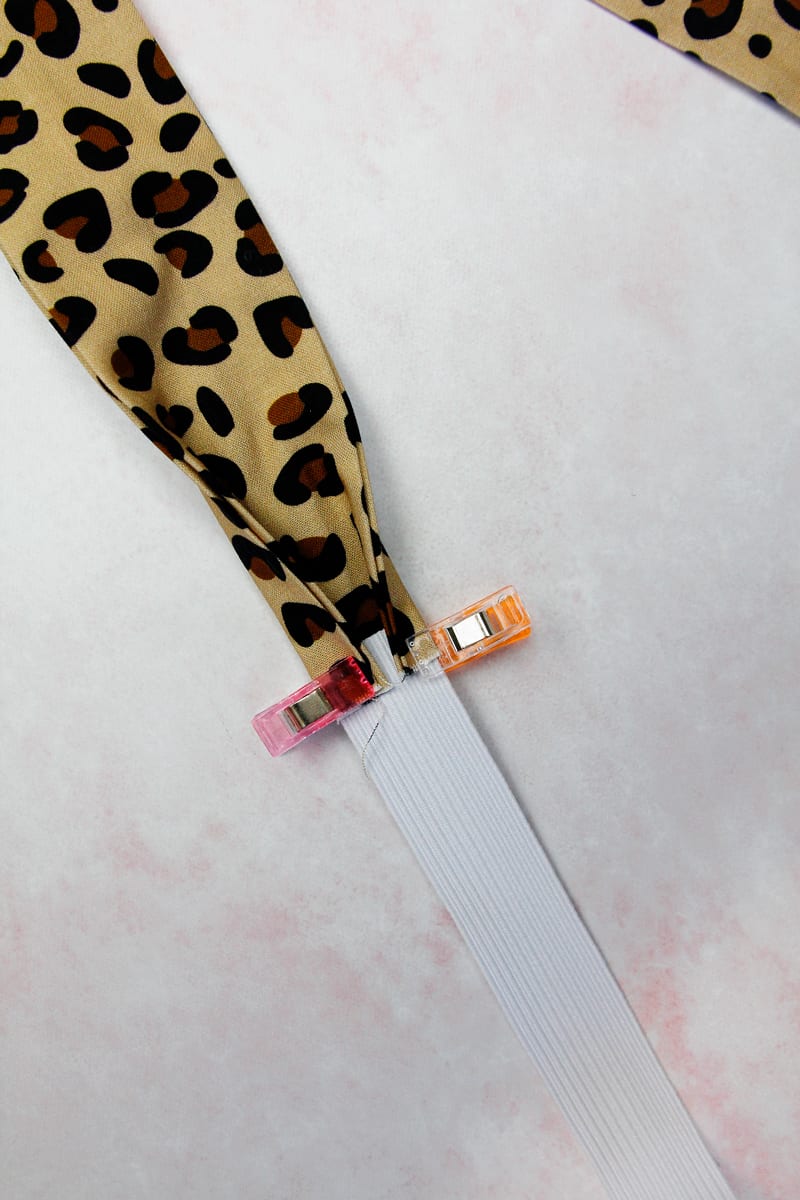
Sew fabric to elastic.
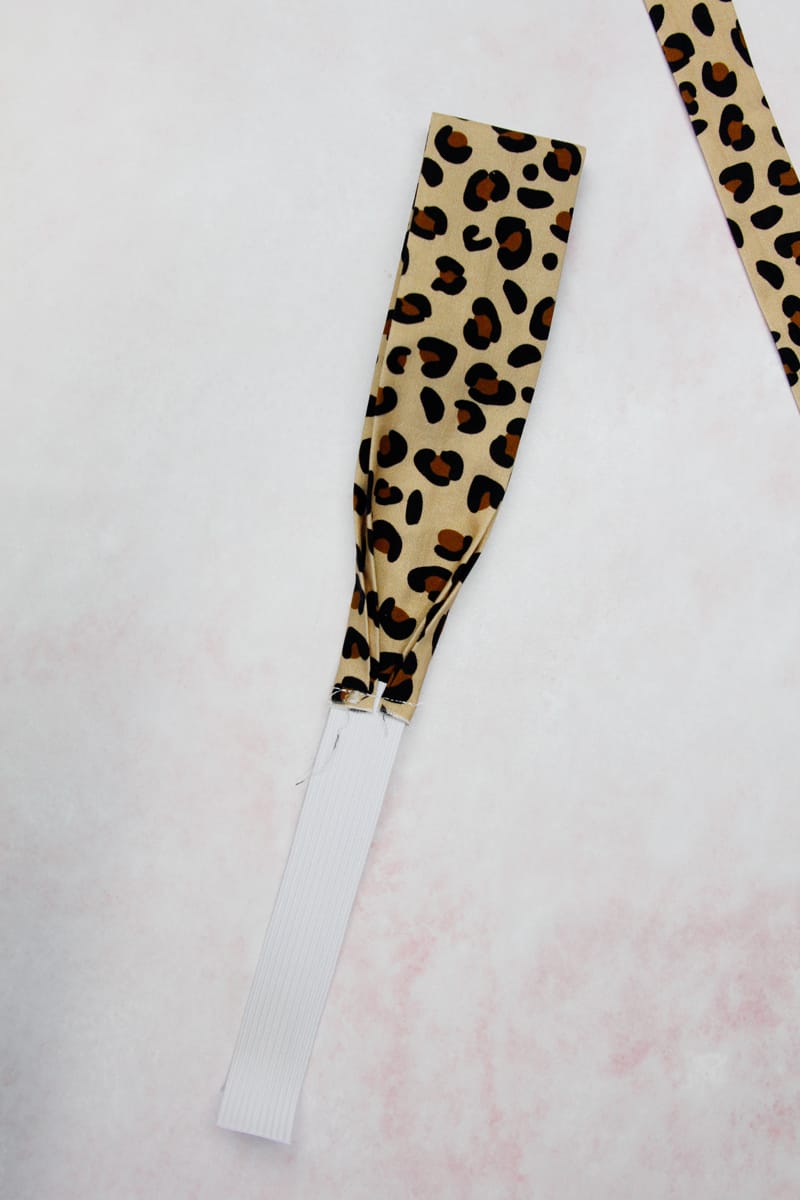
Turn under about 1/2″ of the elastic cover tube’s ends. Press to the inside of the tube.
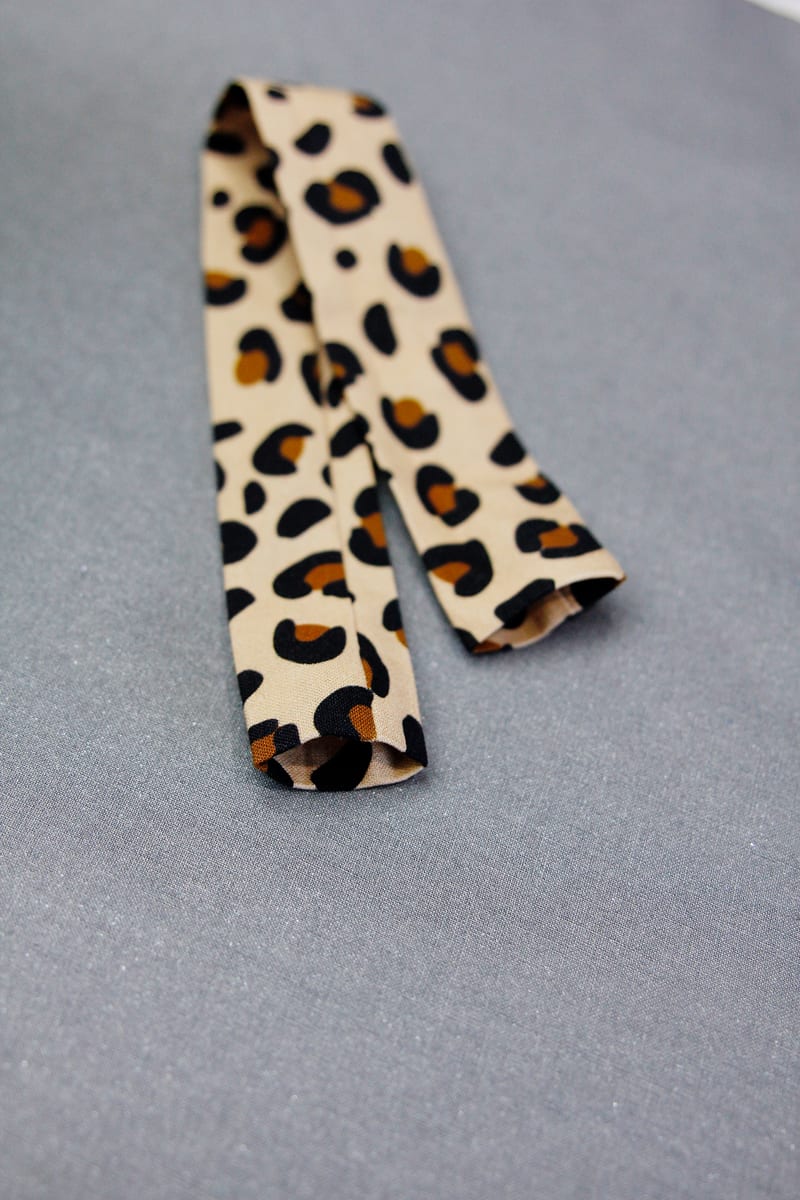
Using a safety pin, thread the elastic that is connected to the headband through the elastic cover tube.
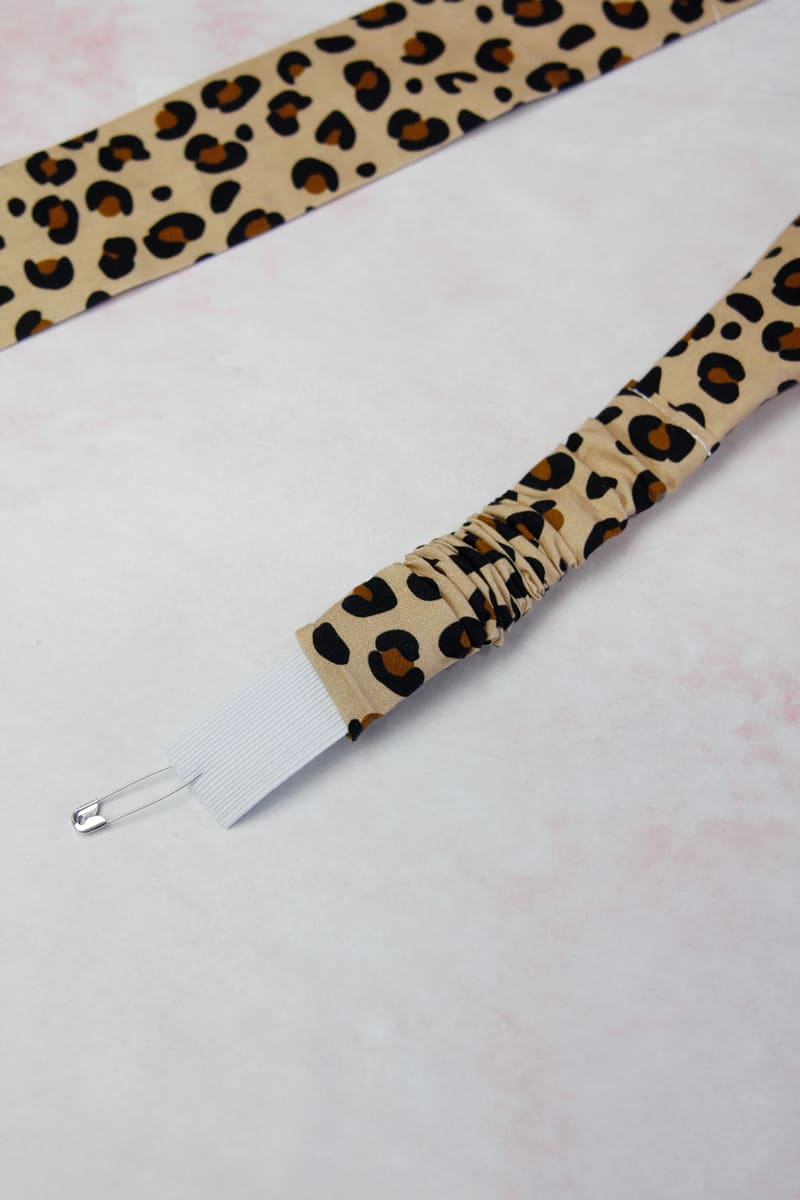
Pull the end of the tube up over the elastic that is sewn to the headband piece.
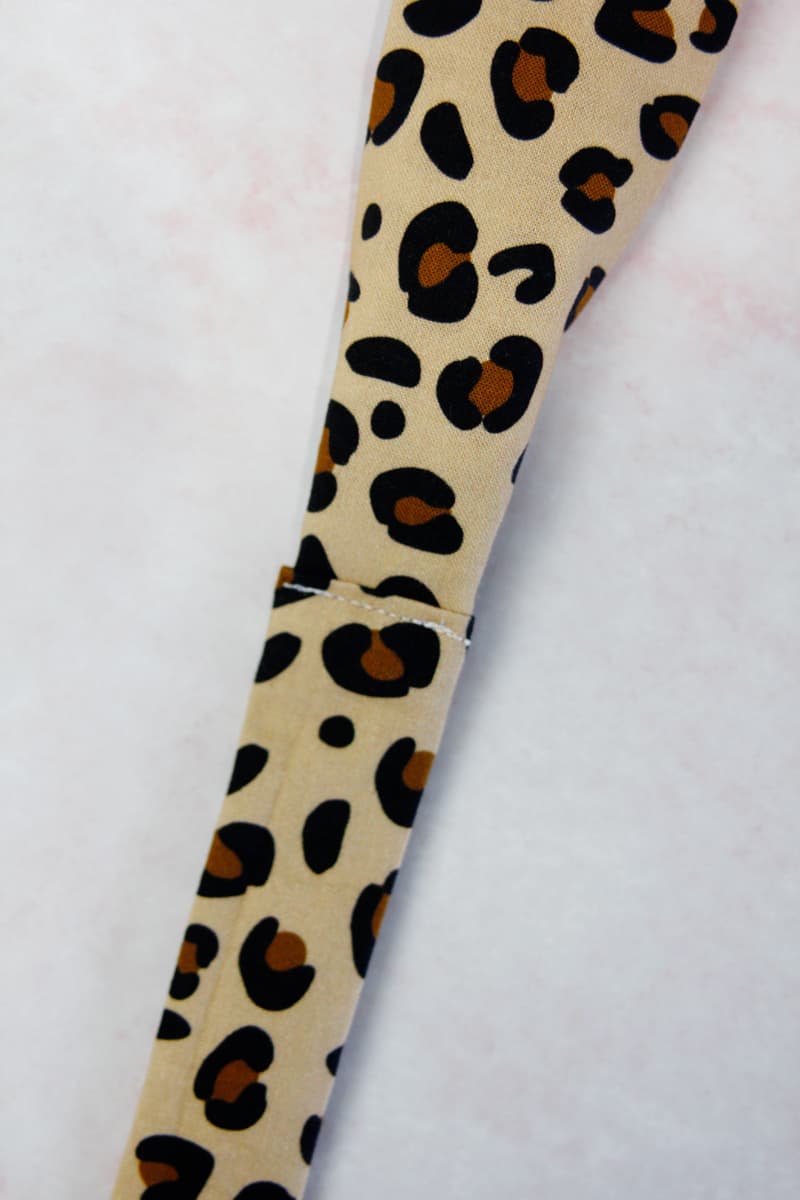
Topstitch along edge for a clean finish.
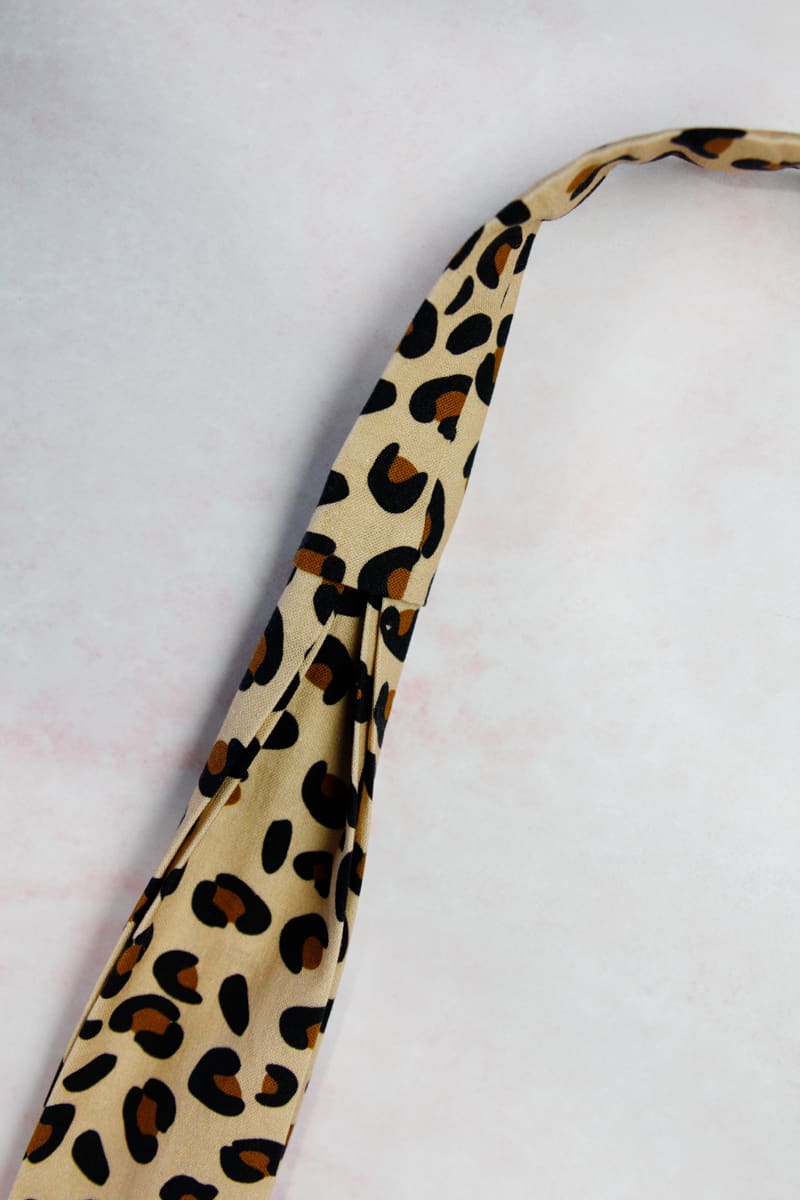
Thread the other main headband piece through the loop you made with the first one, keeping the seam allowance side to the inside of the fabric.
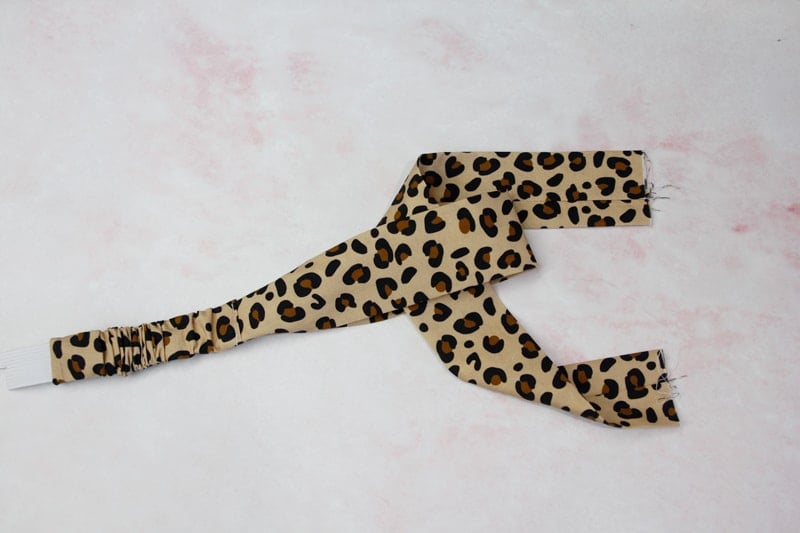
Match up the raw edges of the second loop. Then pin to the elastic on the other side and clip fabric to the elastic as you did on the other side.
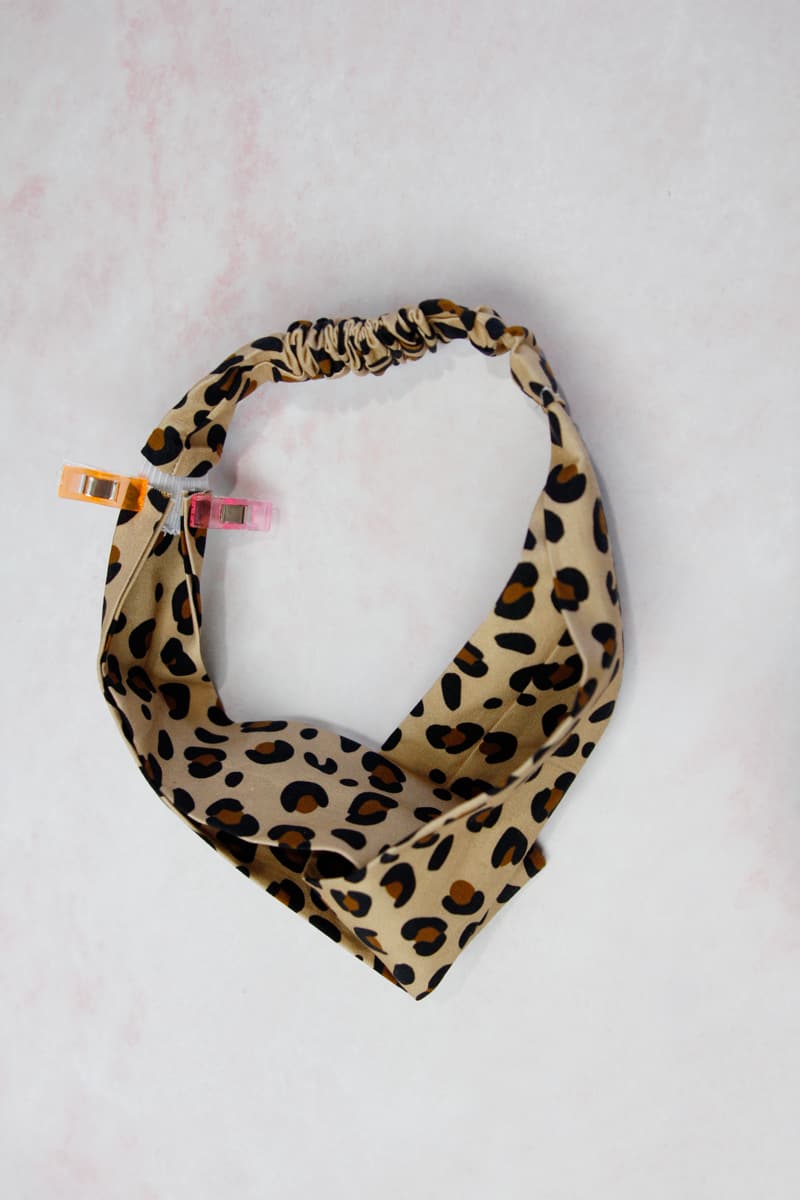
Stitch in place to hold.
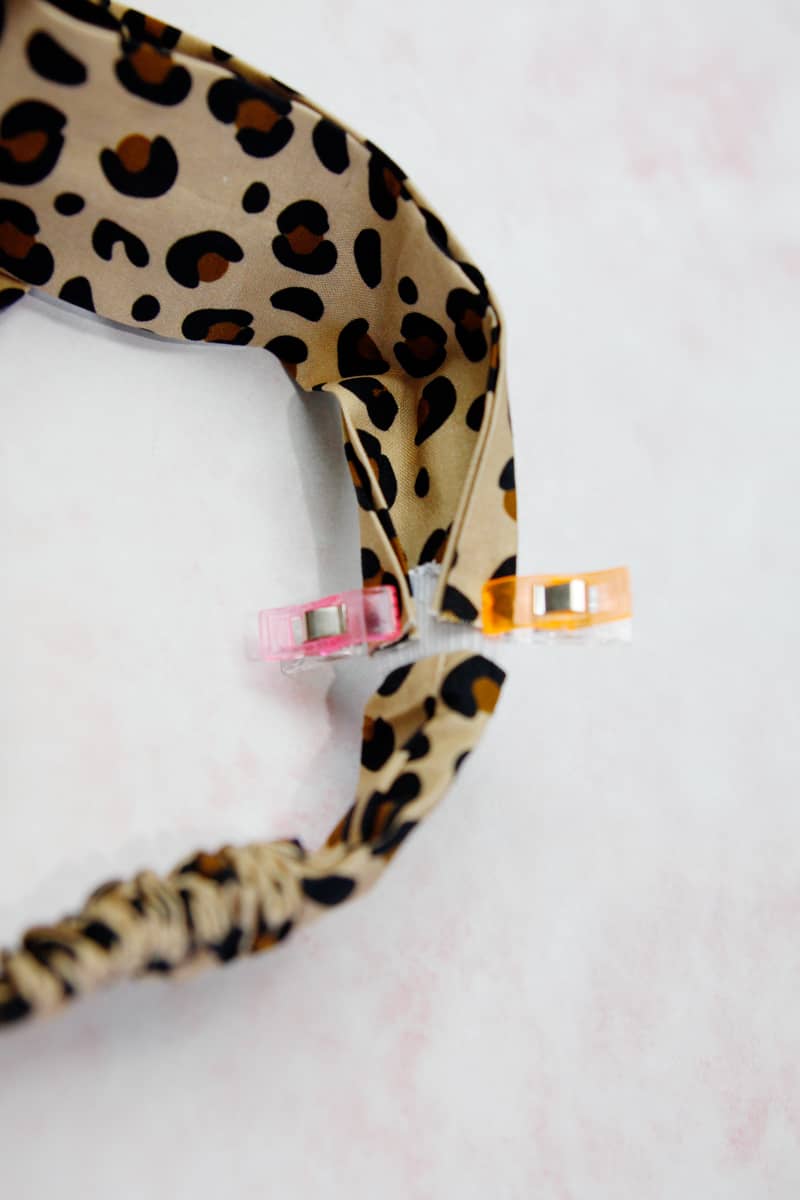
Then pull the elastic cover over the stitching with the edge of the tube still folded over and sew in place.
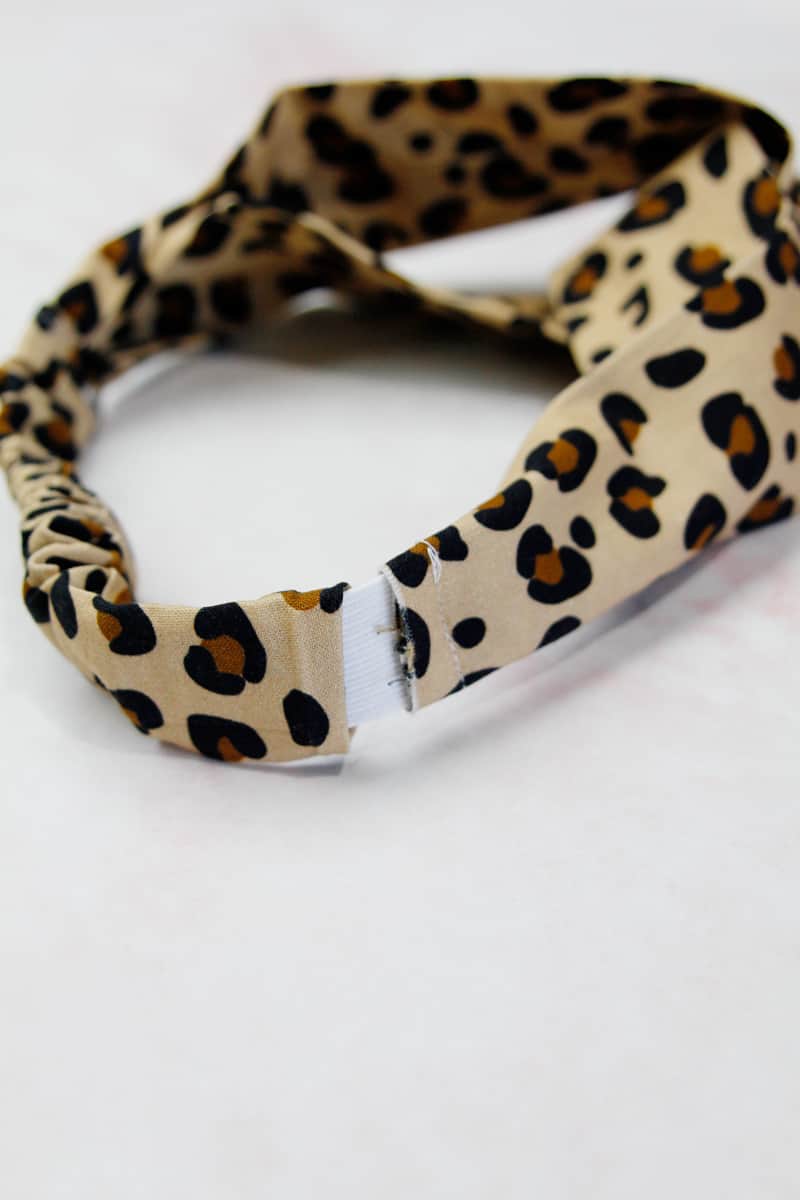
Your twisted headband is done! Now try it on!






My headbands always slip around on the back of my head or don’t stay in place. What am I doing wrong?
A few things that can help are sticking a bobby pin at the back, backcombing your hair to create some friction or sew a little bit of plastic vinyl to the outside of the headband where the elastic is, or even sew clear swimsuit elastic on top of the scrunched up part. That will help the headband stay. I hope that helps! My hair is pretty straight so this happens to me too!