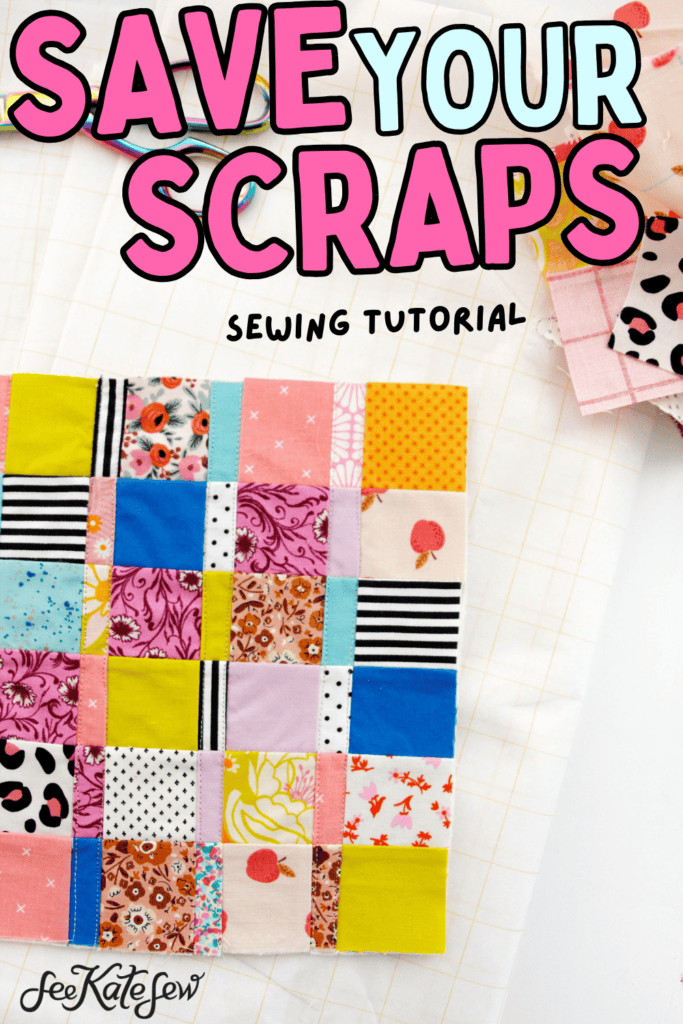
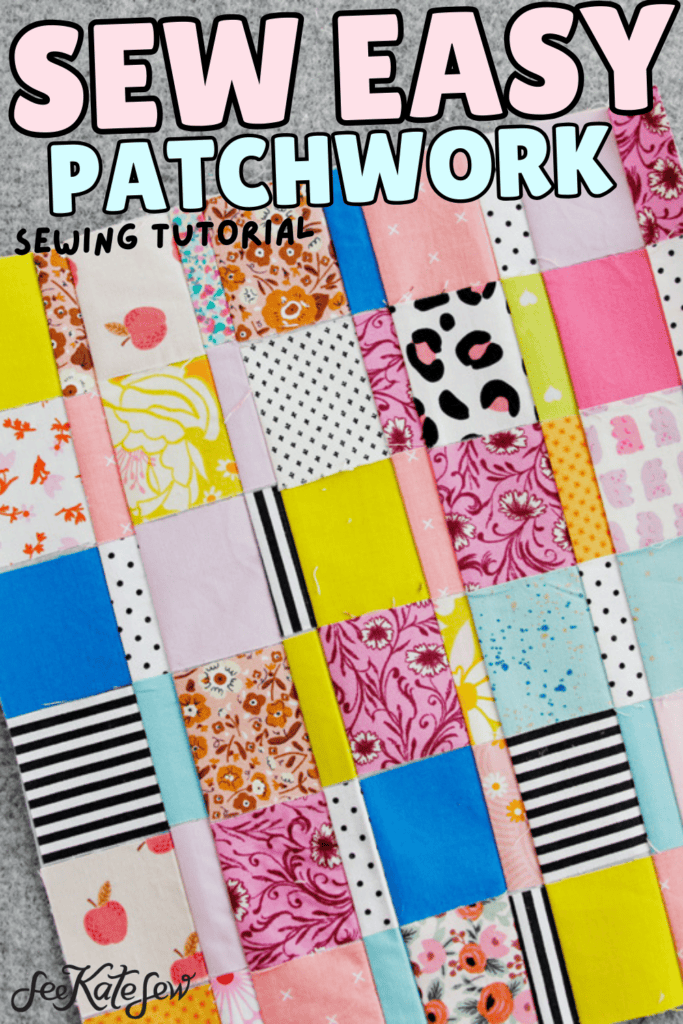
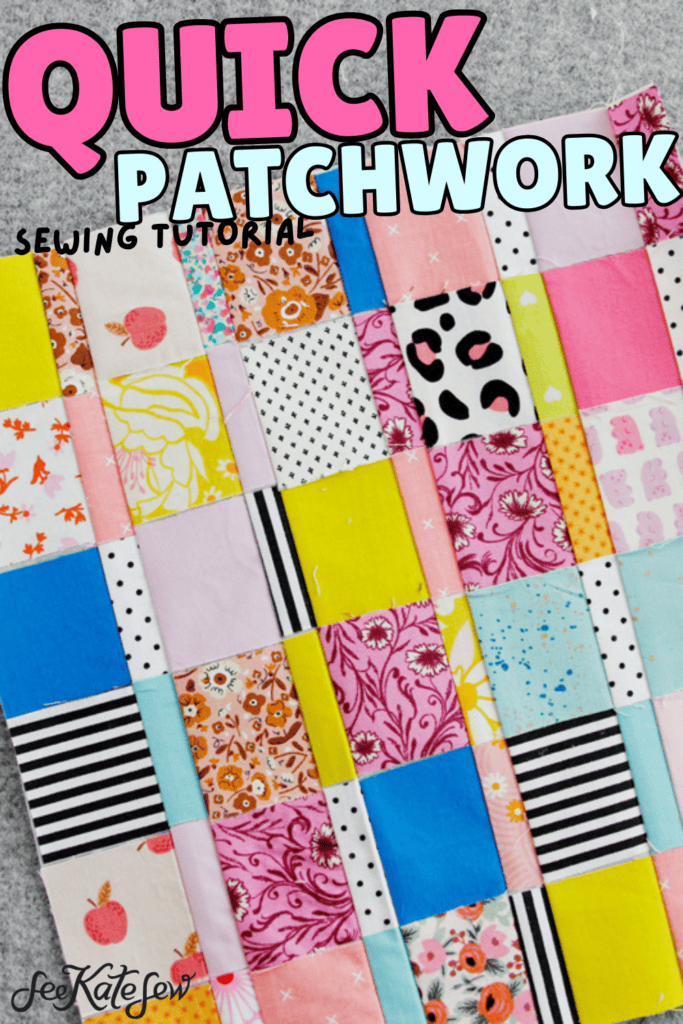
In this post I am going to show you a really simple way to use fabric scraps to make beautiful sewing projects! Raid your fabric scraps bin and let’s go!

I’ll show you the secret to perfect scrap patchwork and you’ll never throw away your scraps again!
We’ll use a special supply – interfacing with a printed grid to make this project precise and simple!
Materials & Supplies
- Cotton scraps – any size
- Grid Interfacing 1″ (affiliate)
- Pressing mat (I love this one!)
- Rotating cutting mat
- Mini Iron
- Cheat Sheet Download, see below

Quilter’s Grid Cheat Sheet Download
This download includes a guide the patchwork pattern for sewing your scraps together! Use this design or make up your own! To get the downloadable guide, just click the button below and enter your email address to sign up for the email newsletter!
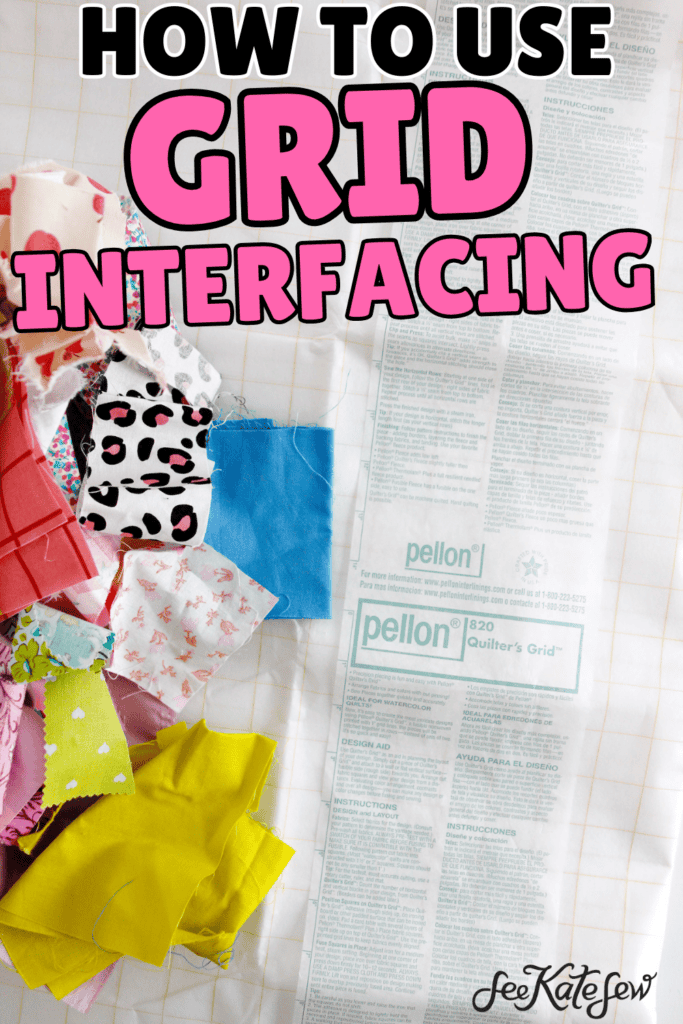
What is grid interfacing?
Gridded interfacing is a really cool sewing product. This is a medium weight interfacing designed specifically for quilters or anyone who likes piecing fabric!
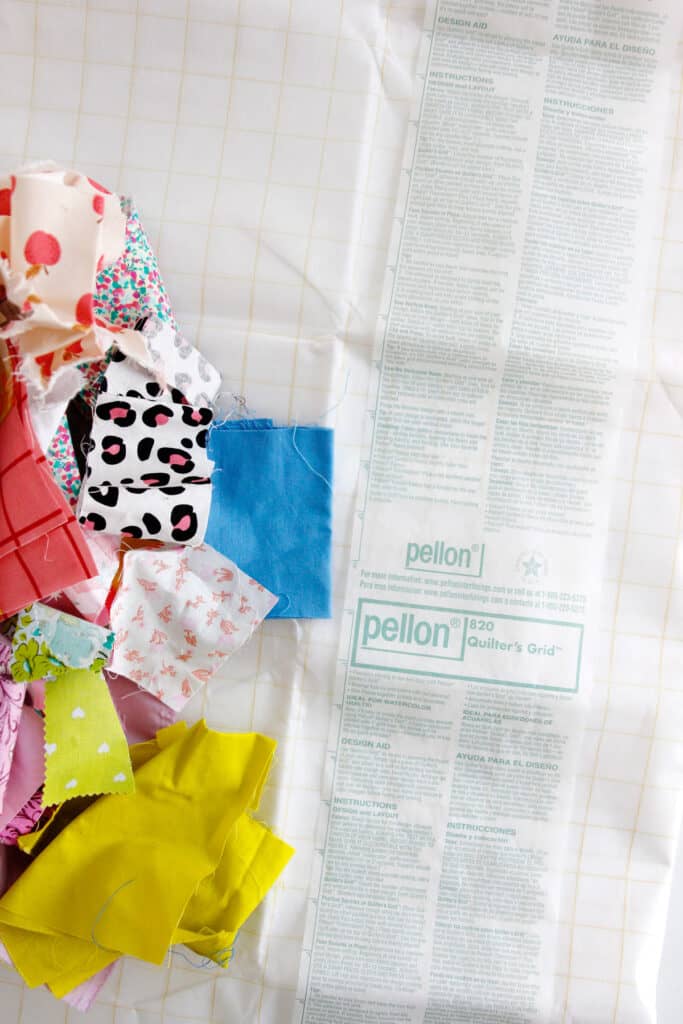
Using this allows you to sew tiny fabric pieces without pins and without the fabric warping. You’ll also get more precise seams and lines because you will be sewing multiple seams at once!
Pellon’s Quilter’s Grid comes in a few different sizes. I’m using 1″ but they also have it in half inch increments up to 2.5.”
Suggested Patterns
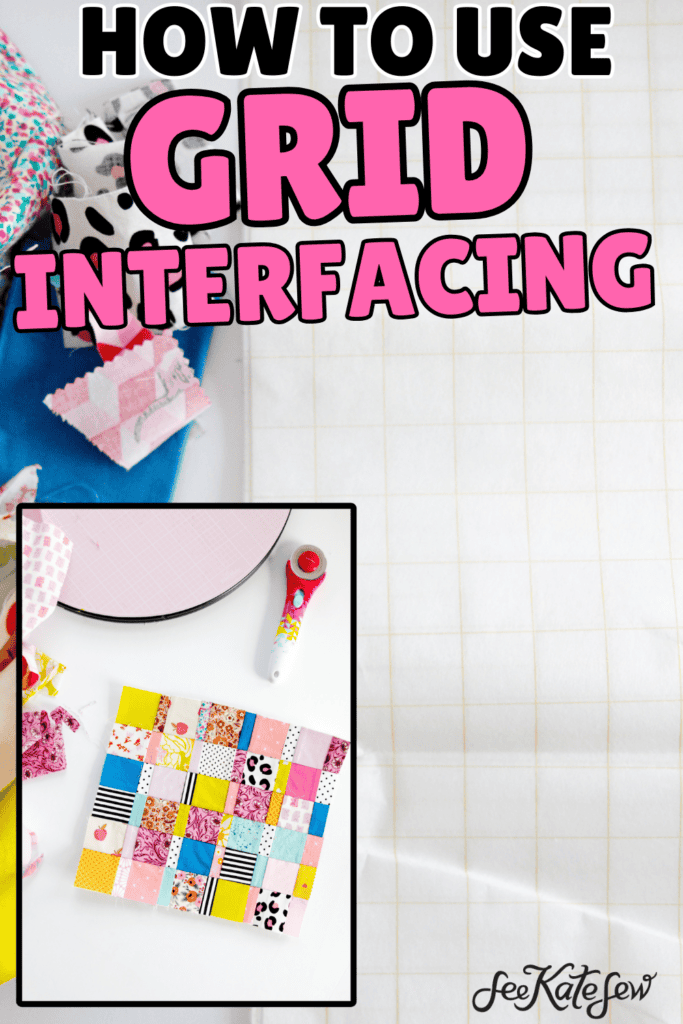
How to use grid interfacing to use fabric scraps
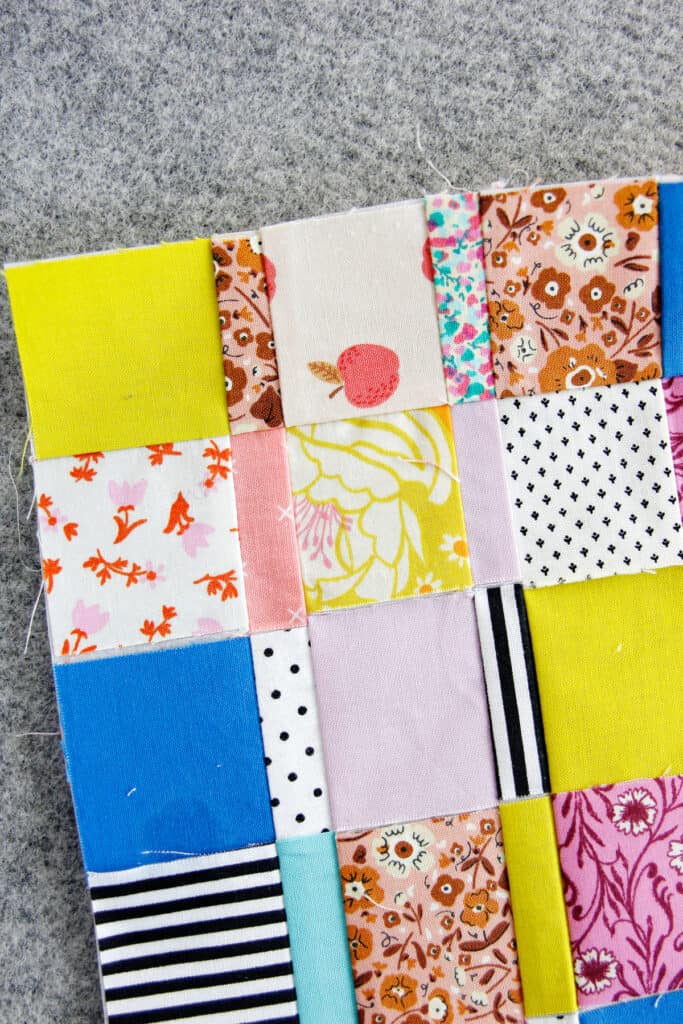
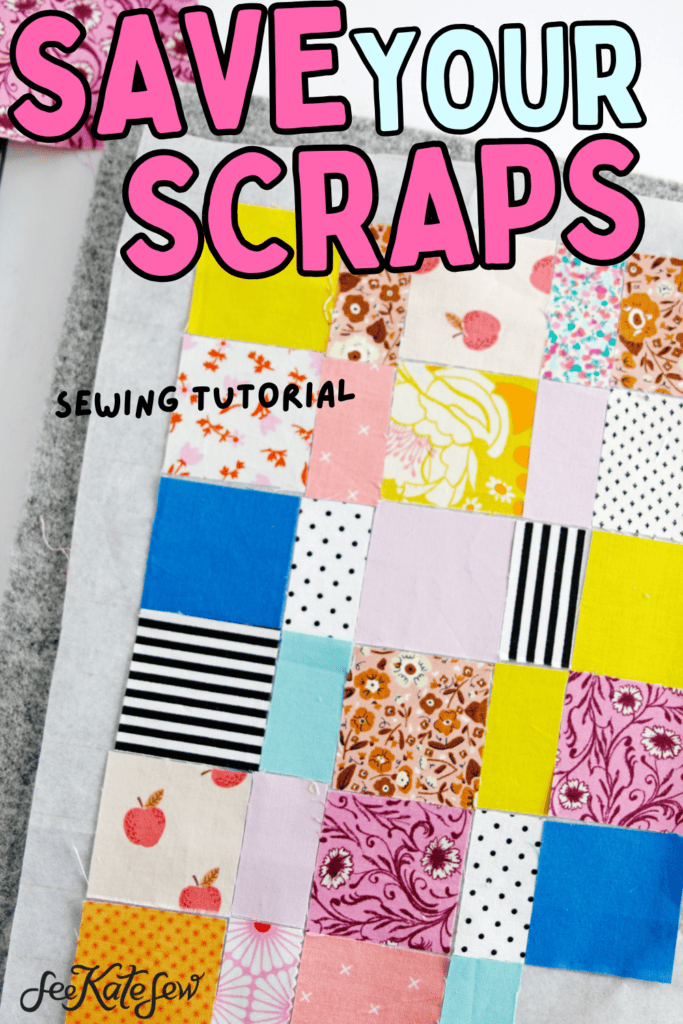
You can either decide on a design before starting or make one up as you go. For this tutorial I will show you the varied pattern from the downloadable guide. Once you get the hang of it you can do so many designs! This panel will finish about 9.5″ by 10.5″
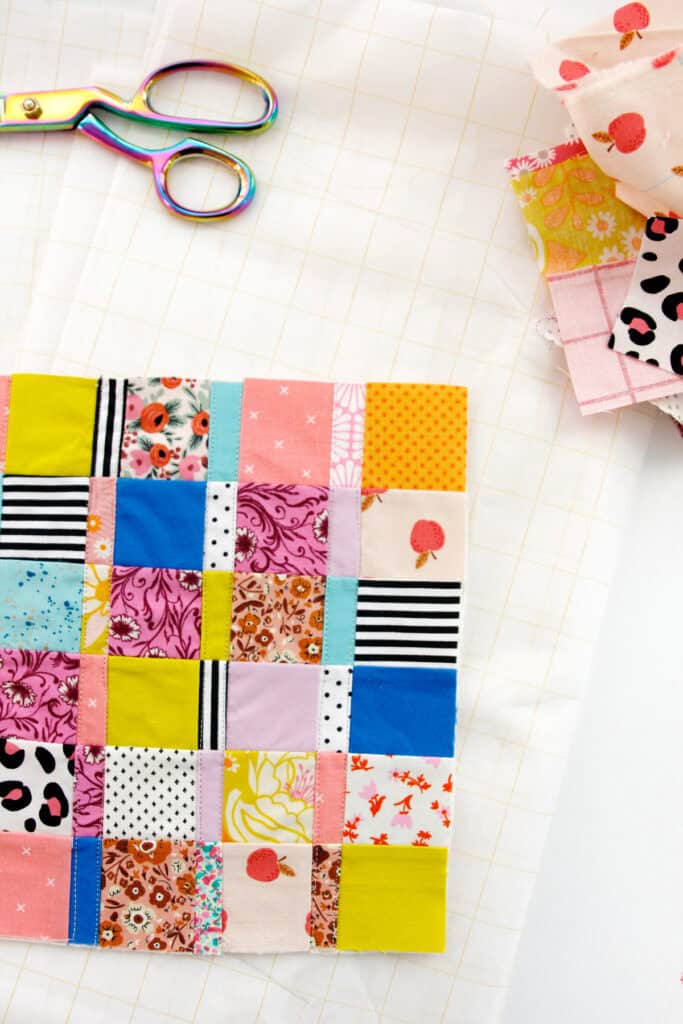
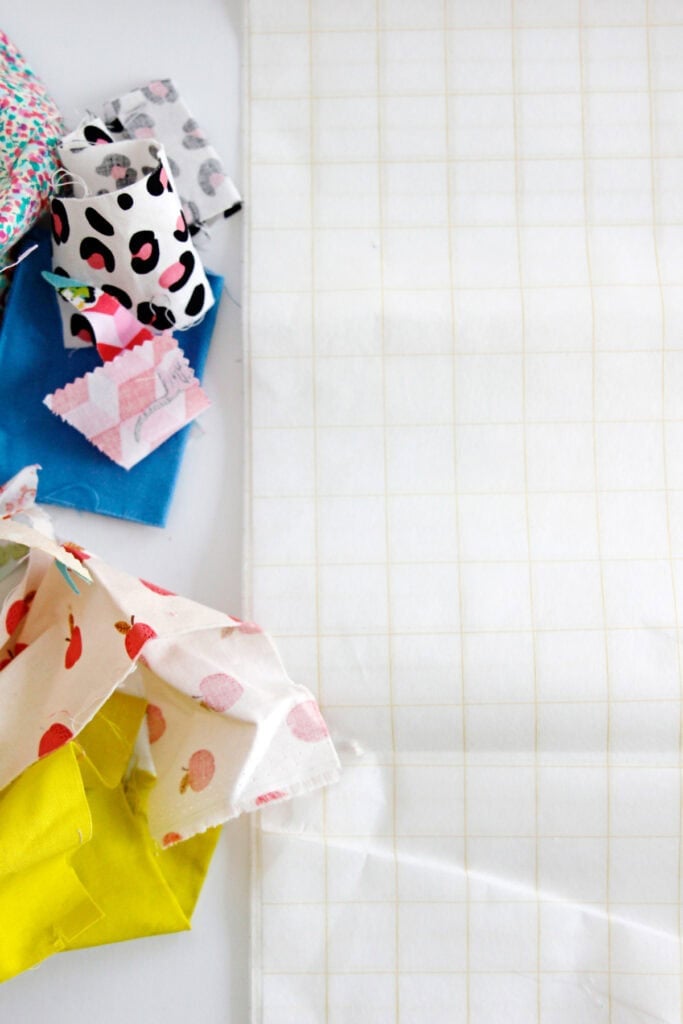
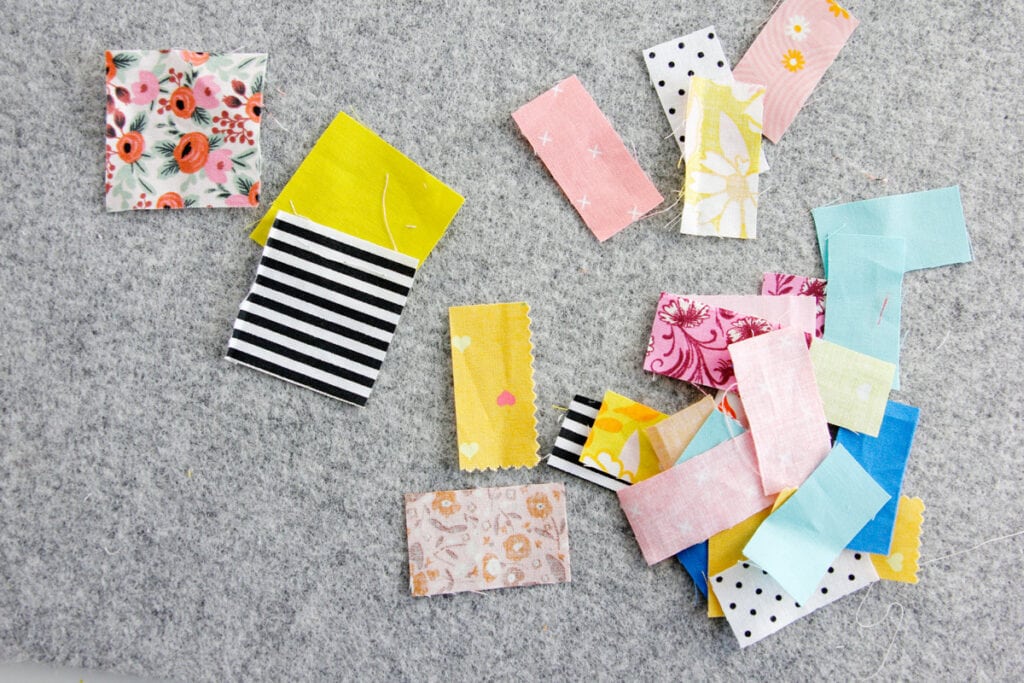
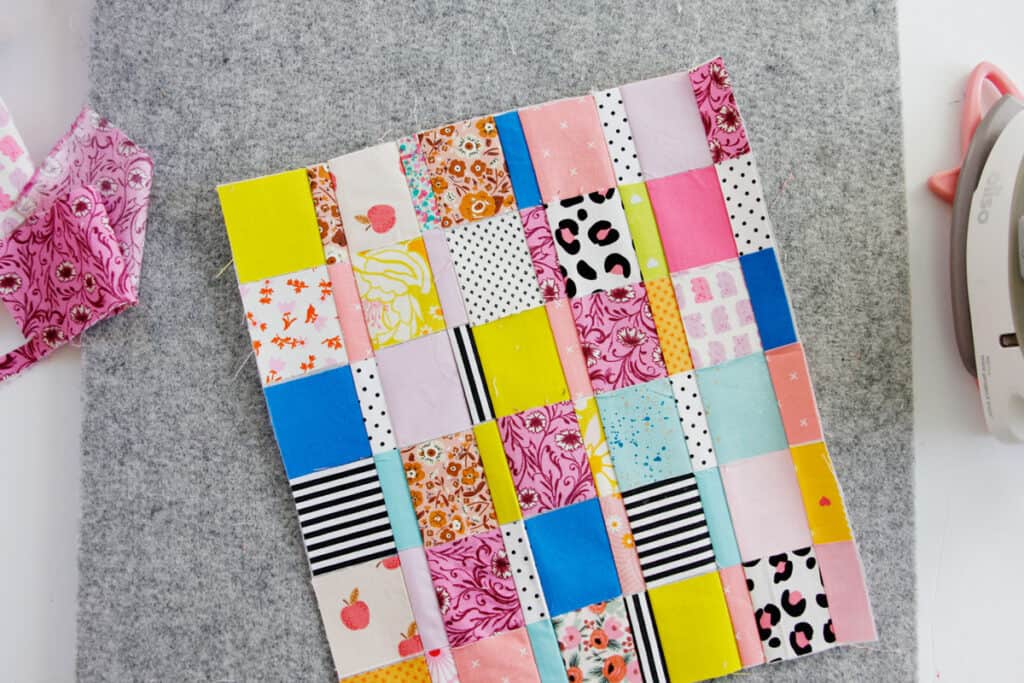
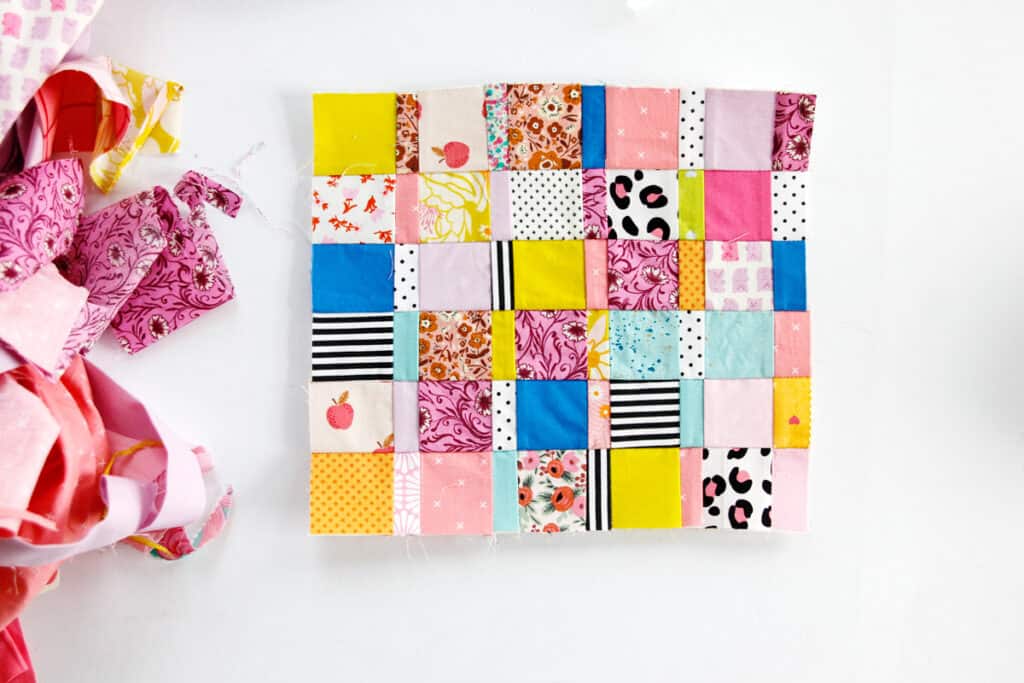
We’ll start by cutting our scraps into squares 2″ by 2″ and rectangles 2″ by 1.” I used 30 squares and 30 rectangles.
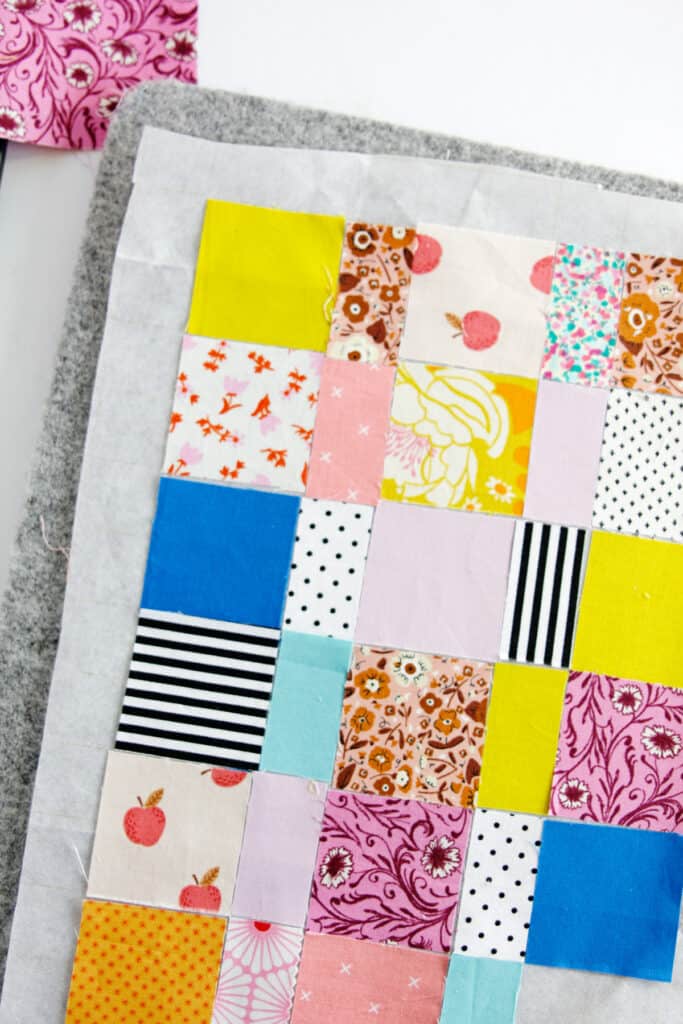
Line up a 2″ square on your Quilter’s Grid interfacing in the corner of an intersection of the grid. Then place a few more down the same column. Alternate 2″ squares with the rectangles across. Press to activate the fusible interfacing and secure the scraps to it. It’s okay if you have a bit of space between the fabrics or if they overlap a little. The seam allowance will fix any minor imperfections!
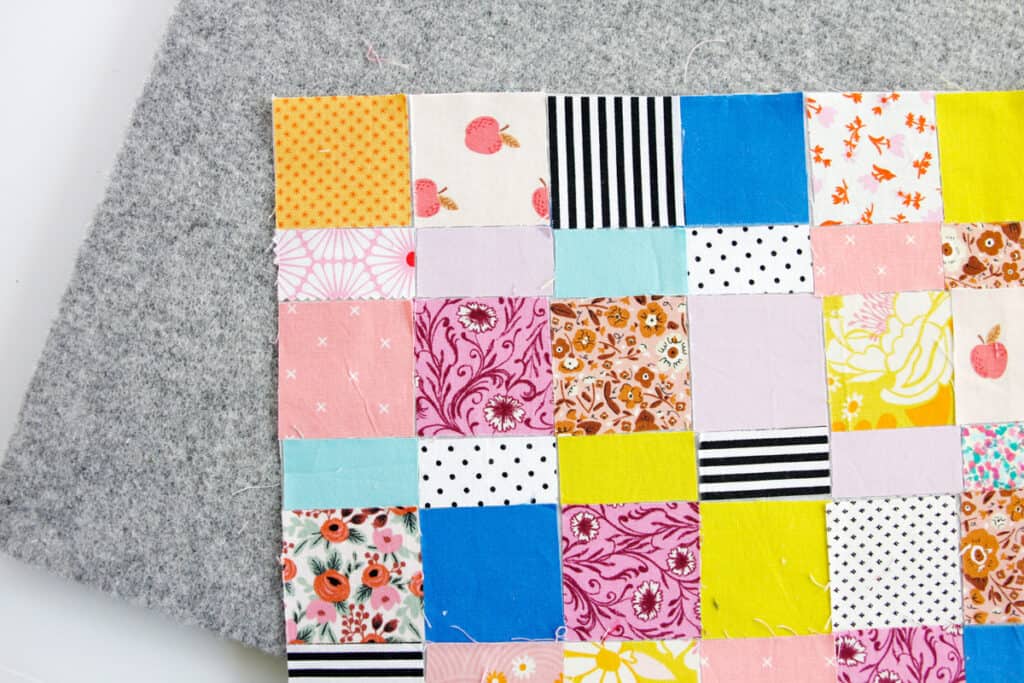
Repeat until you have a pieced panel large enough for your project. Be sure to calculate in seam allowances (1/4″) when you are deciding how big to make it. Press all the fabric to hold and then trim the edges.
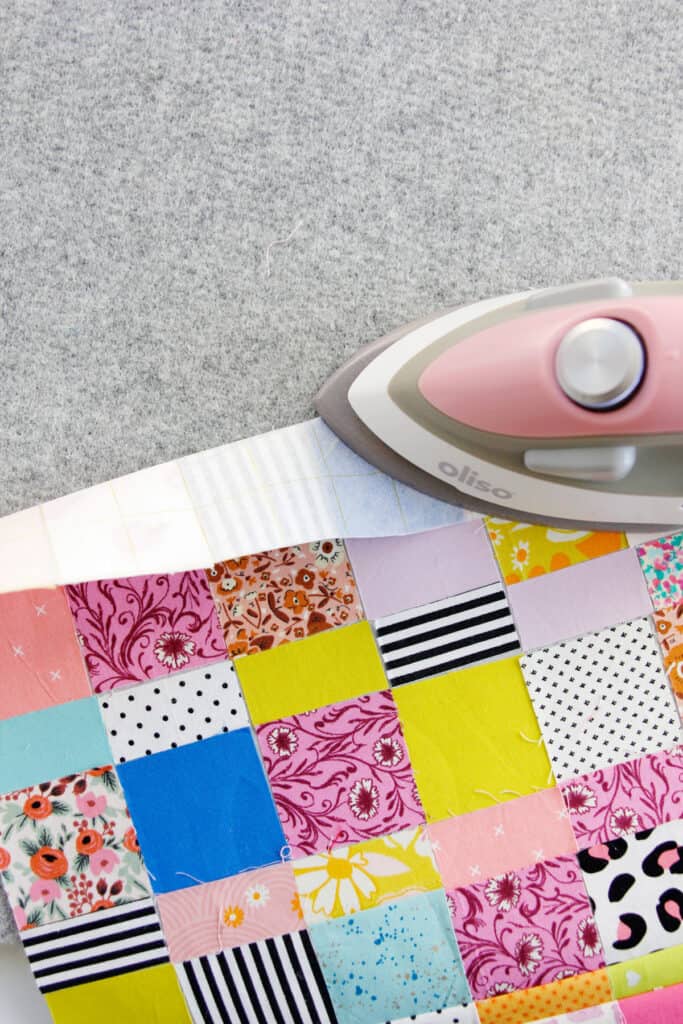
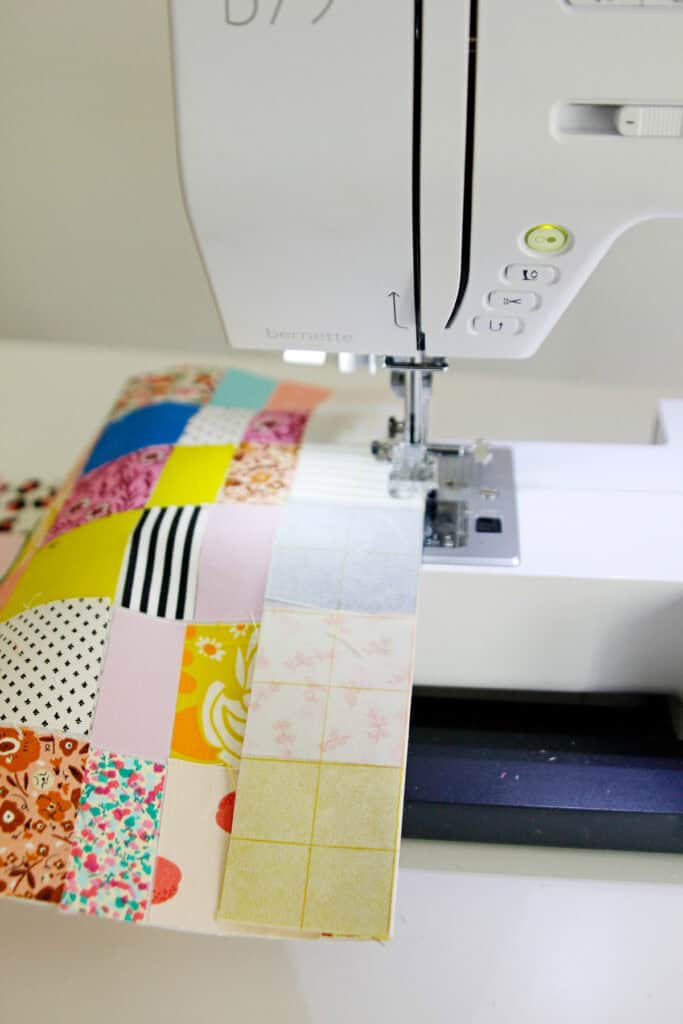
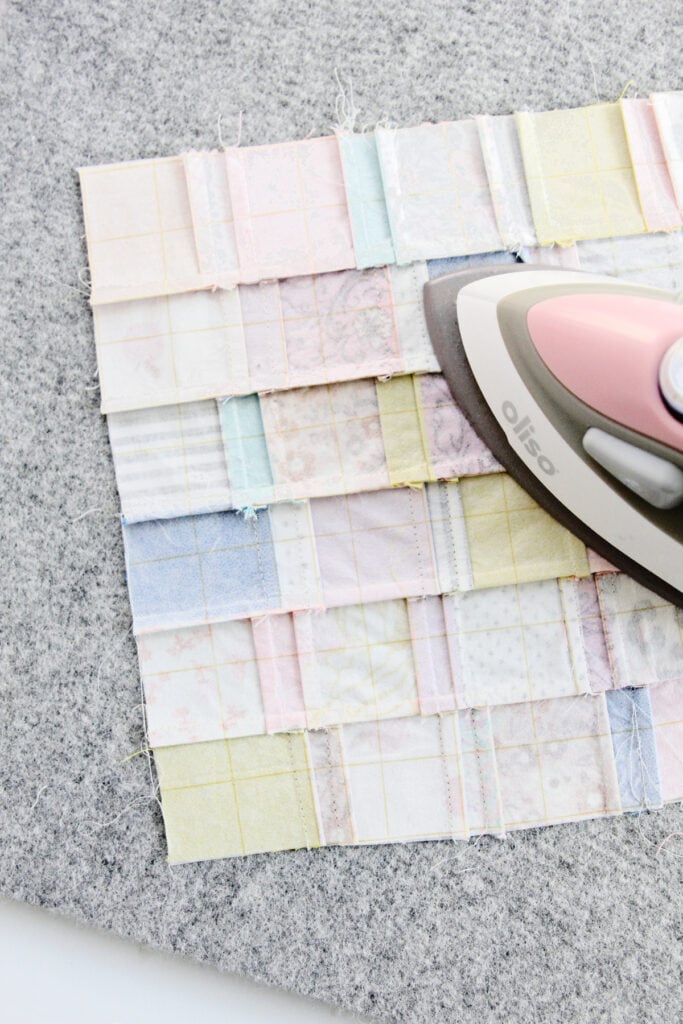
Now we’ll start sewing the seams by folding the first row down and pressing. The panel will naturally fold at the intersections. We will sew ALL the vertical seams and then all of the horizontal -or vis-versa.
Sew the seams
Sew along the seam with a 1/4″ seam allowance.
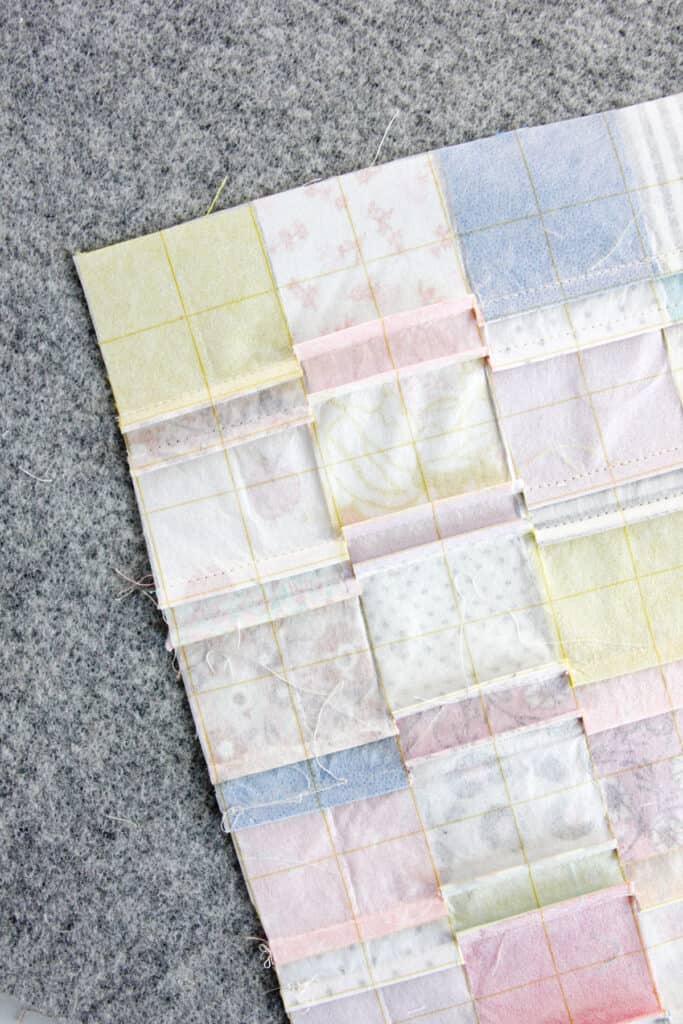
Continue sewing all the vertical seams. Then press all the seam allowances in the same direction.
Before starting on the horizontal rows, turn the panel over and clip the seam allowances at the intersections. We want to reduce the bulk of the seam allowances, especially since the interfacing makes them extra bulky. After you clip them at the intersections, press the seam allowances of each row in opposite directions.
Now fold the panel down at the next seam and press. Sew. Open it up and keep going until all your horizontal seams are done.
Press all seam allowances down to finish your panel.
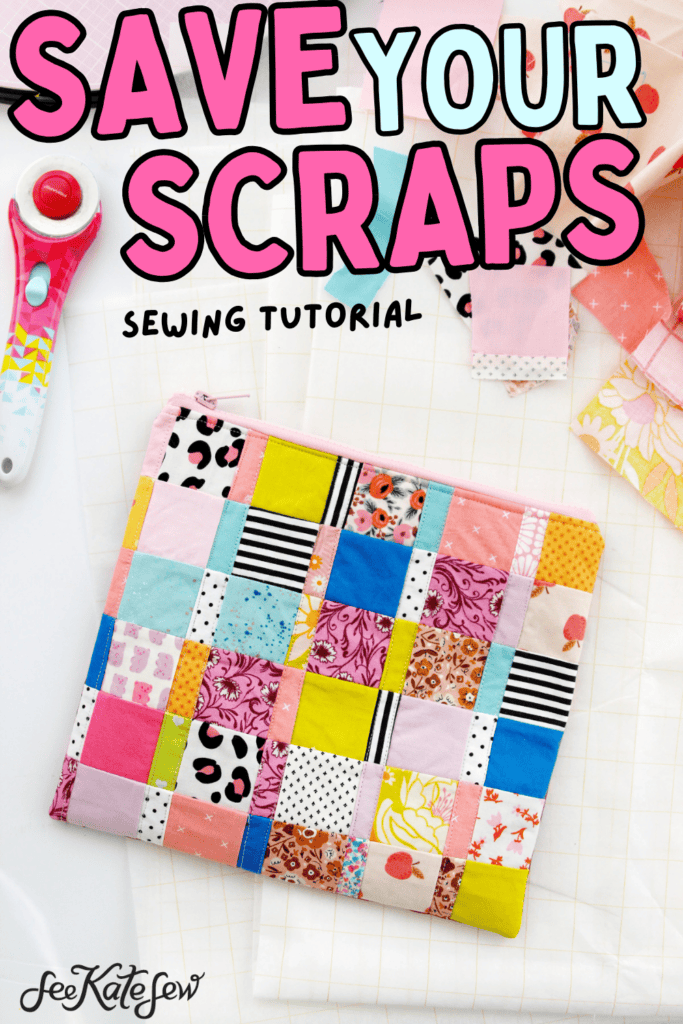
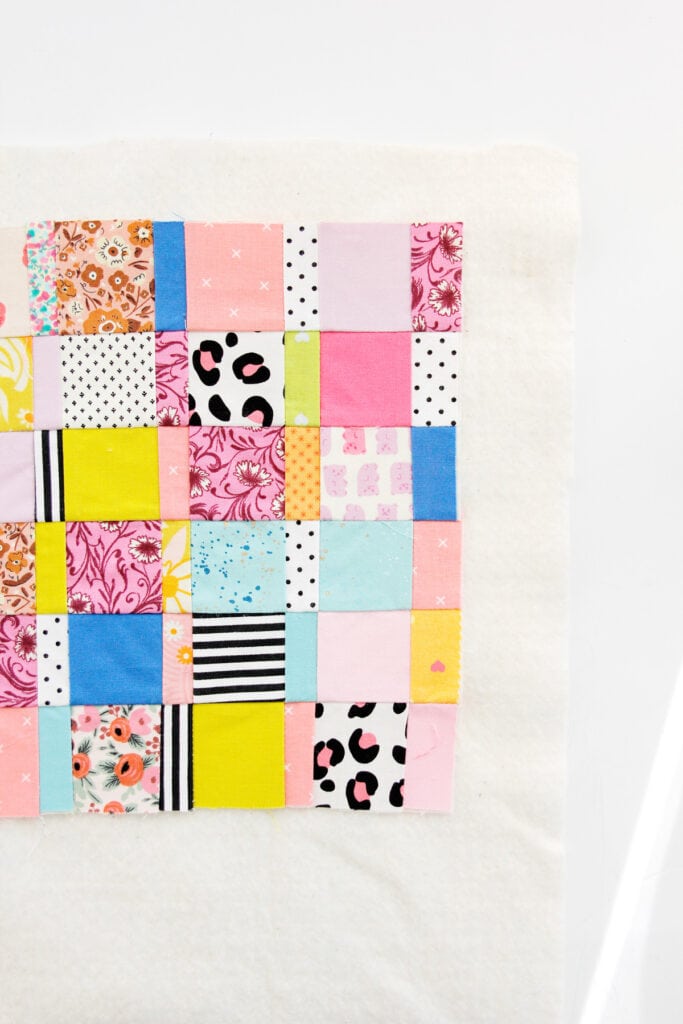
Now you can turn your patchwork panel into a mini quilt or use it as fabric to sew another project!
For zipper pouches or mini quilts, baste a piece of batting to the back and then topstitch to give it a quilted look!
This is the best way to showcase your favorite fabric scraps!


More sewing projects you’ll love