This is a sponsored conversation written by me on behalf of Cricut. The opinions and text are all mine.
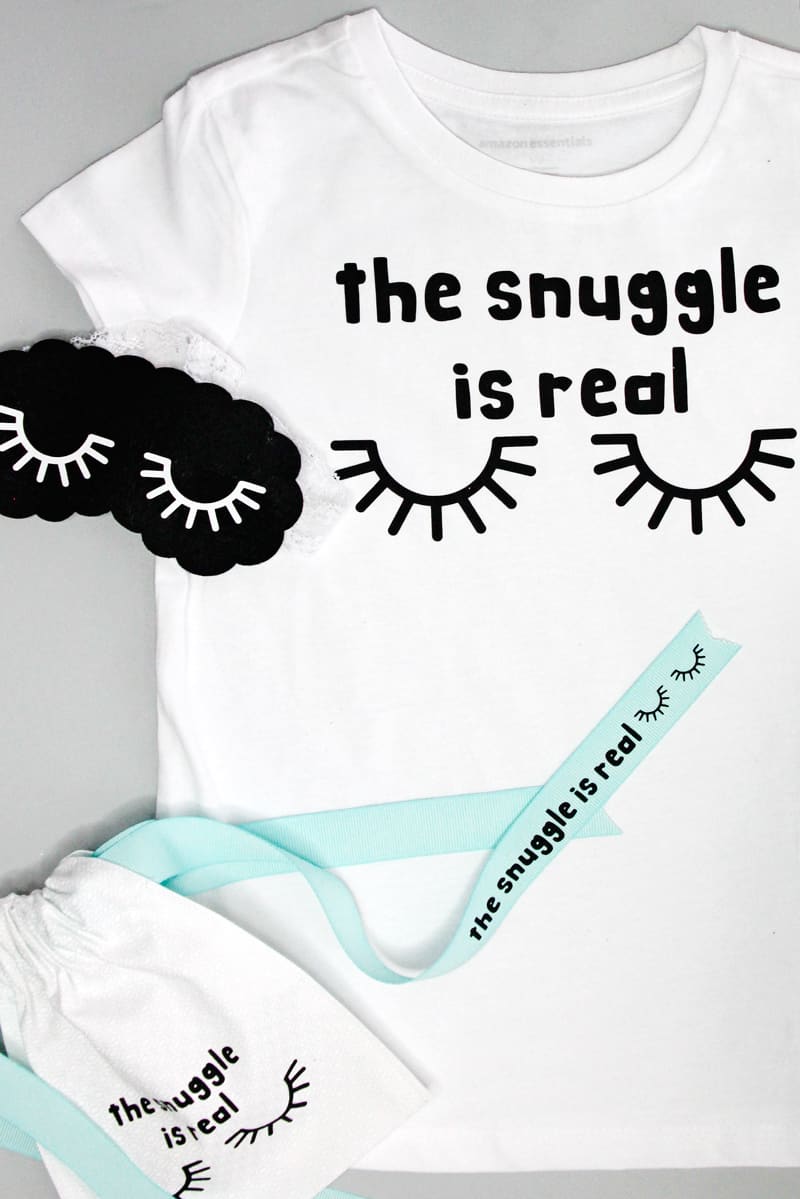
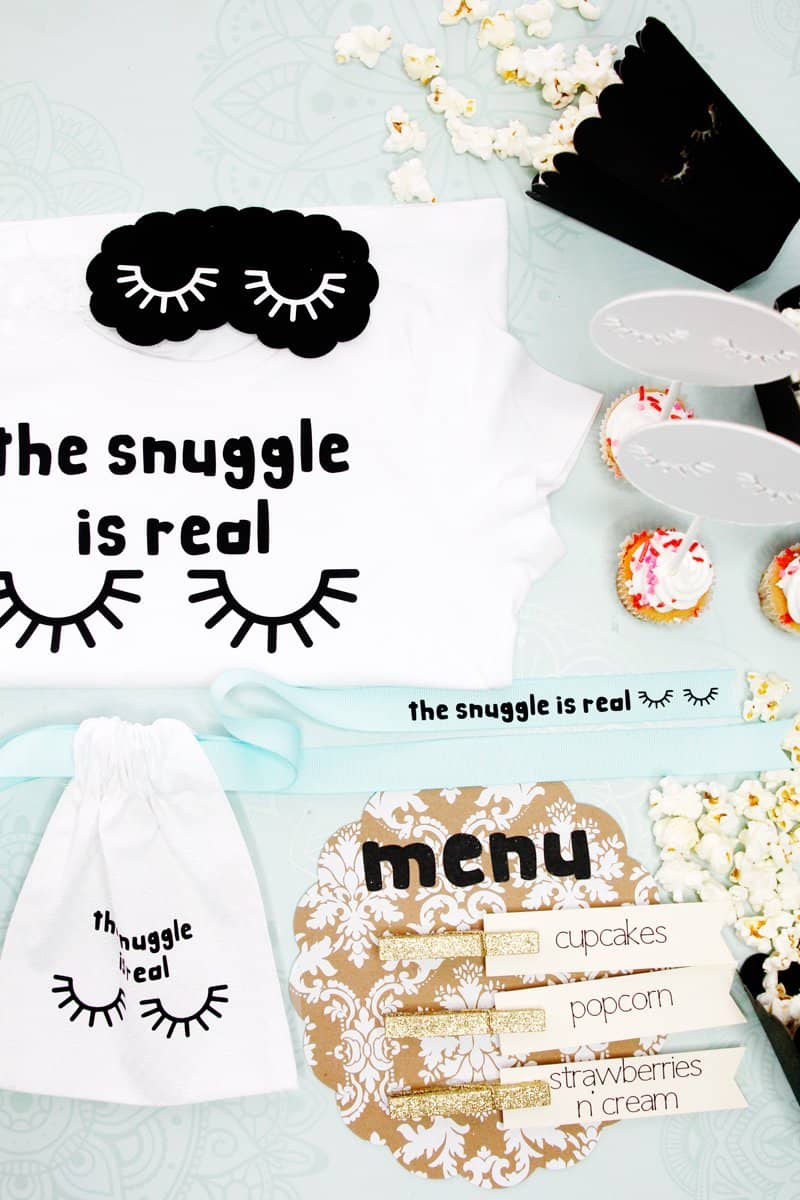
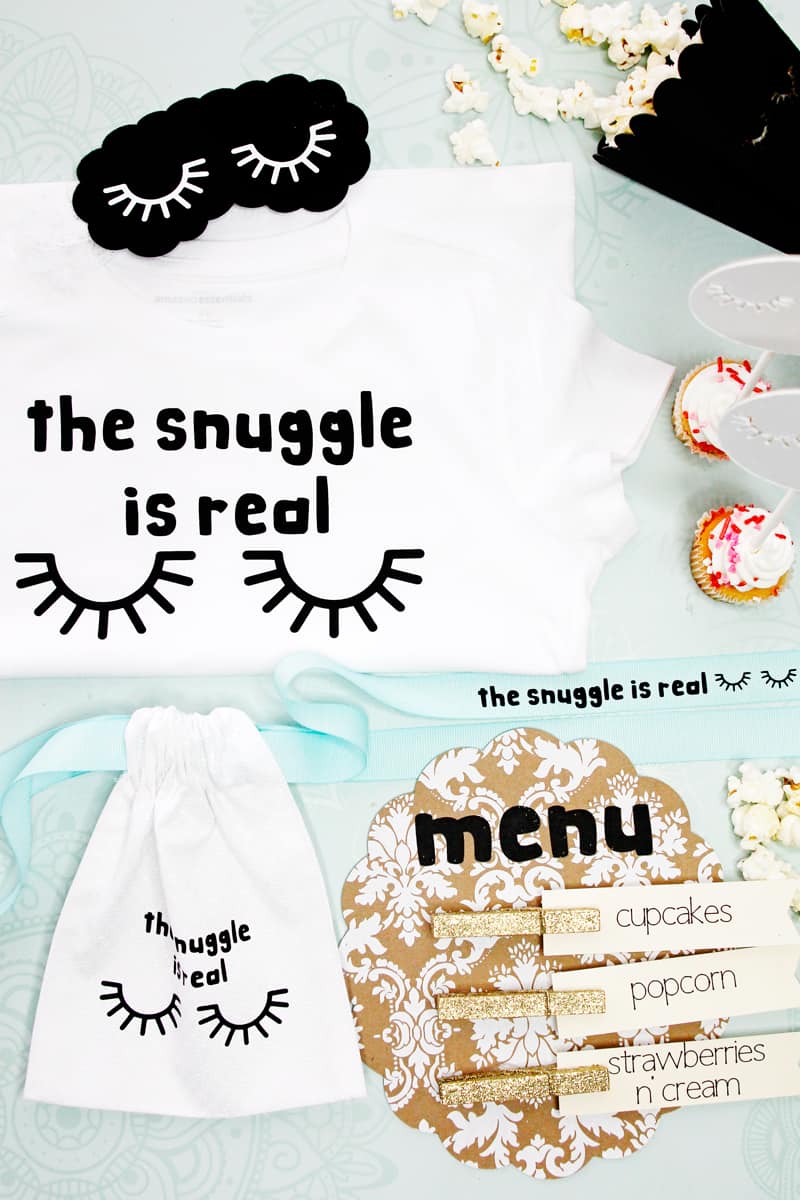
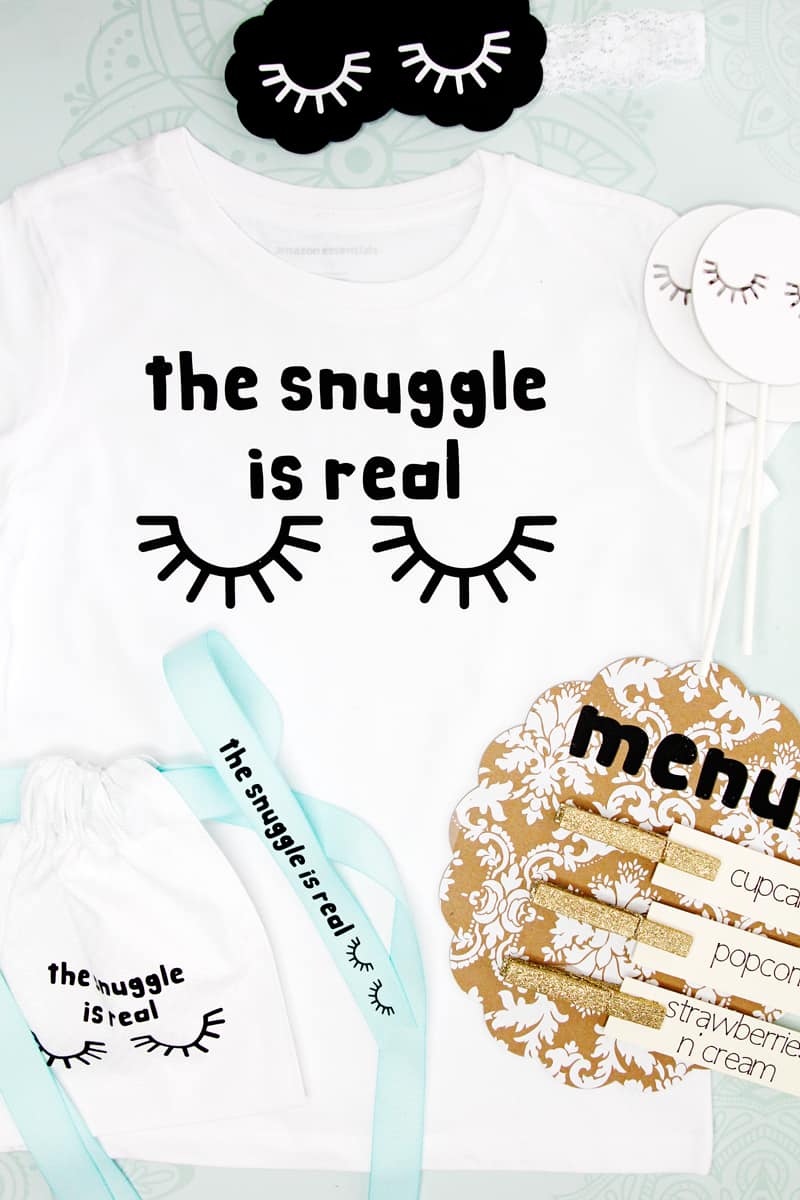
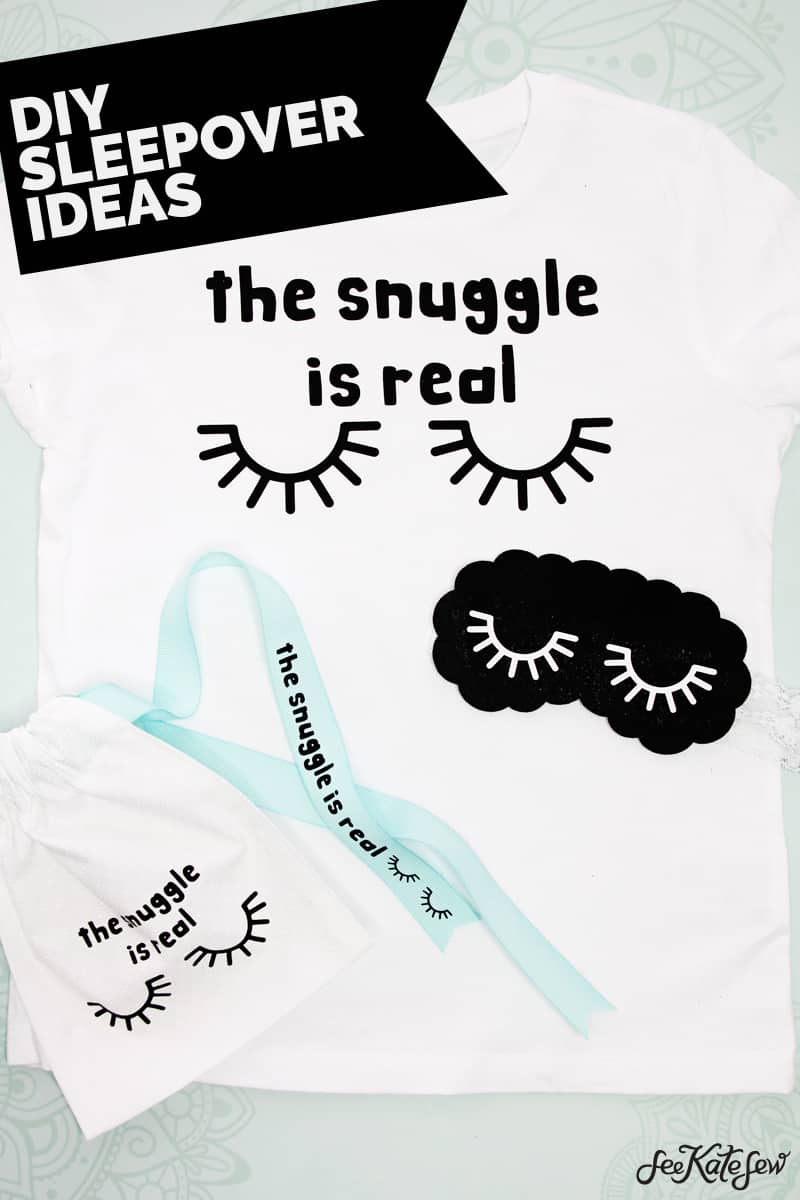
It’s sleepover time! My daughter is really into throwing birthday parties for her dolls lately – she’ll decide a doll who needs to have a birthday party and then we plan it and make a few things and wrap birthday presents for that doll. It can get a little involved but I just love how creative she is so I indulge and we get creative together! So, we’re always looking for simple birthday party ideas! Not all of the doll parties are this intense haha, but we had fun with this “The Snuggle is Real” themed set! In this post we have 7 DIY Cricut birthday party ideas that you can transfer to your occasion with your own theme! Or use this theme – all the elements are included and linked! I love the Cricut Maker for crafts like this because it is so easy to make a whole coordinating set of things for any occasion! I just used the same elements on all of the things – popcorn holder, sleep masks, etc – to tie them all together!
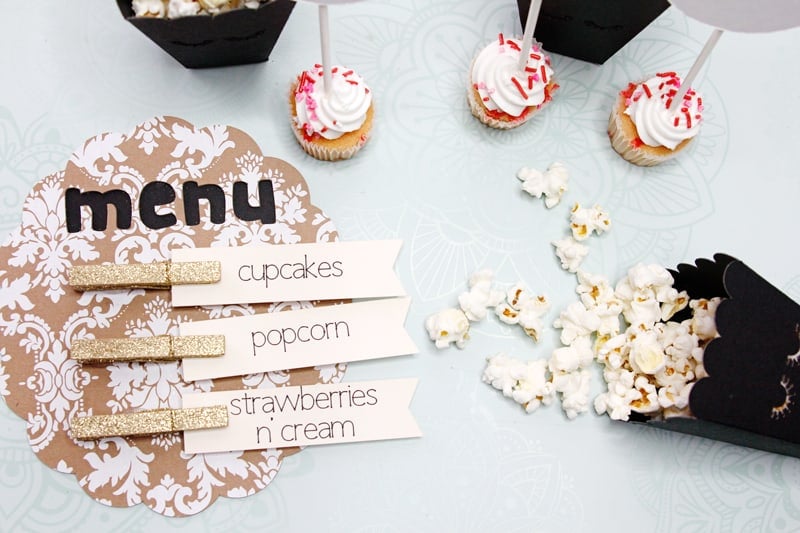
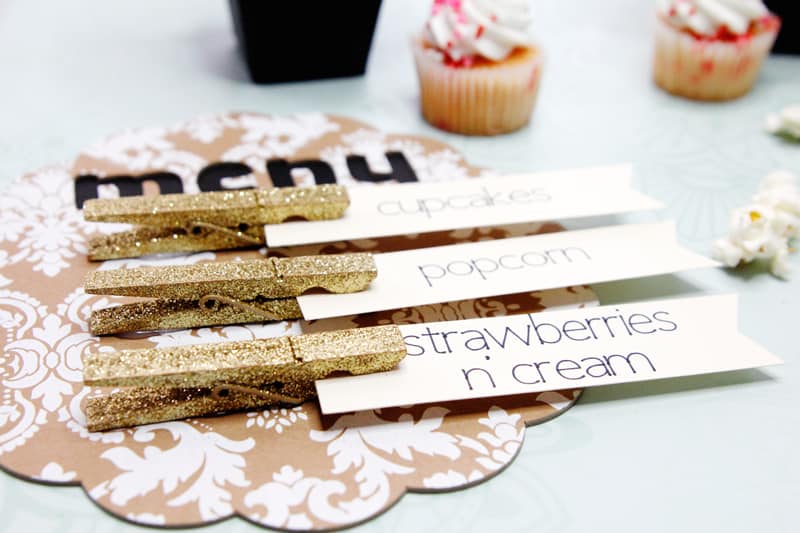
We also made a chipboard menu board that we can use over and over! The chipboard is sturdy so it will last, and the menu items can be replaced using the clothespins. I’m excited to add this little menu board to all our parties and maybe special dinners, too!
We used just about every Cricut Maker blade for these items – the scoring wheel, the knife blade, the rotary cutter and the fine point blade – and a variety of Cricut materials from felt to vinyl to card stock. I’m also using the EasyPress 2 for a lot of these projects. I’m obsessed with this little heat press, you can read more about it here! My favorite element is the custom ribbon made using iron-on vinyl! How fun would it be to have a date and birthday girl’s name on that ribbon?! Or a wedding date for wedding favors! So many applications!
There are 7 elements in this party set:
- DIY Sleep Masks
- Treat Bags with
- Custom Ribbon
- Menu Sign
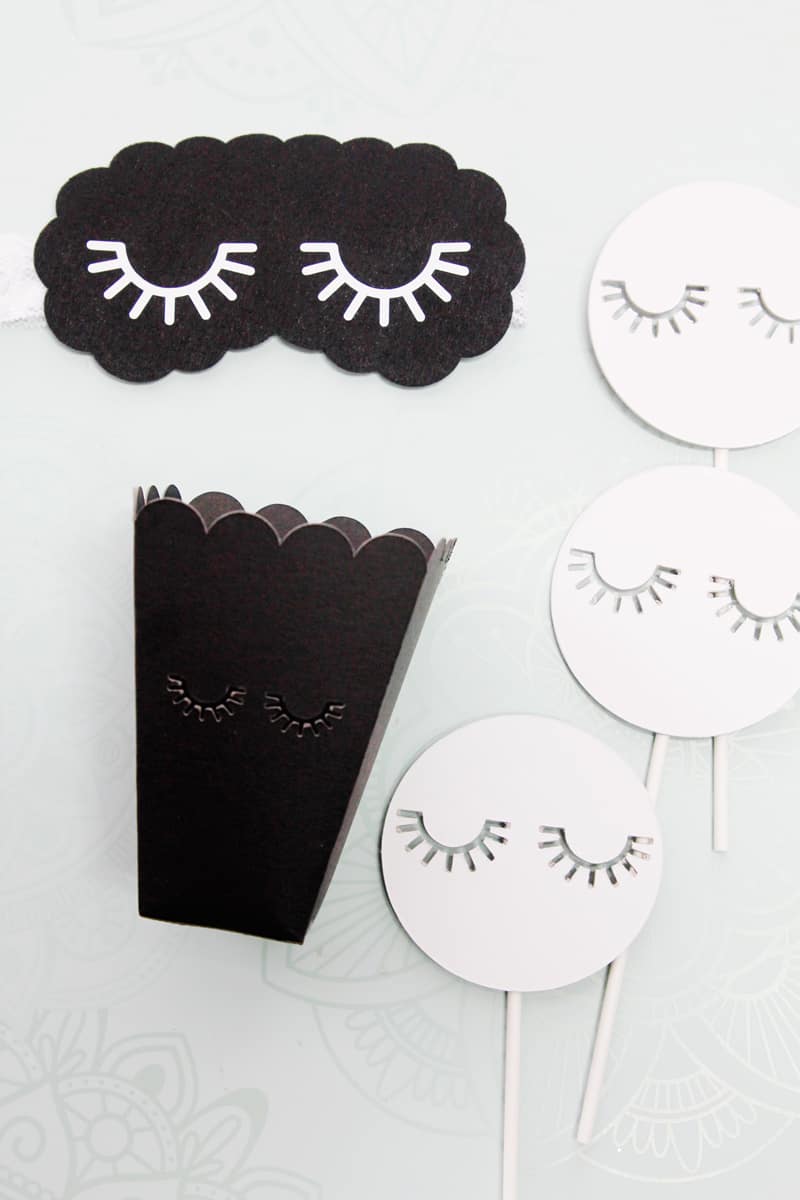
- Cupcake Toppers
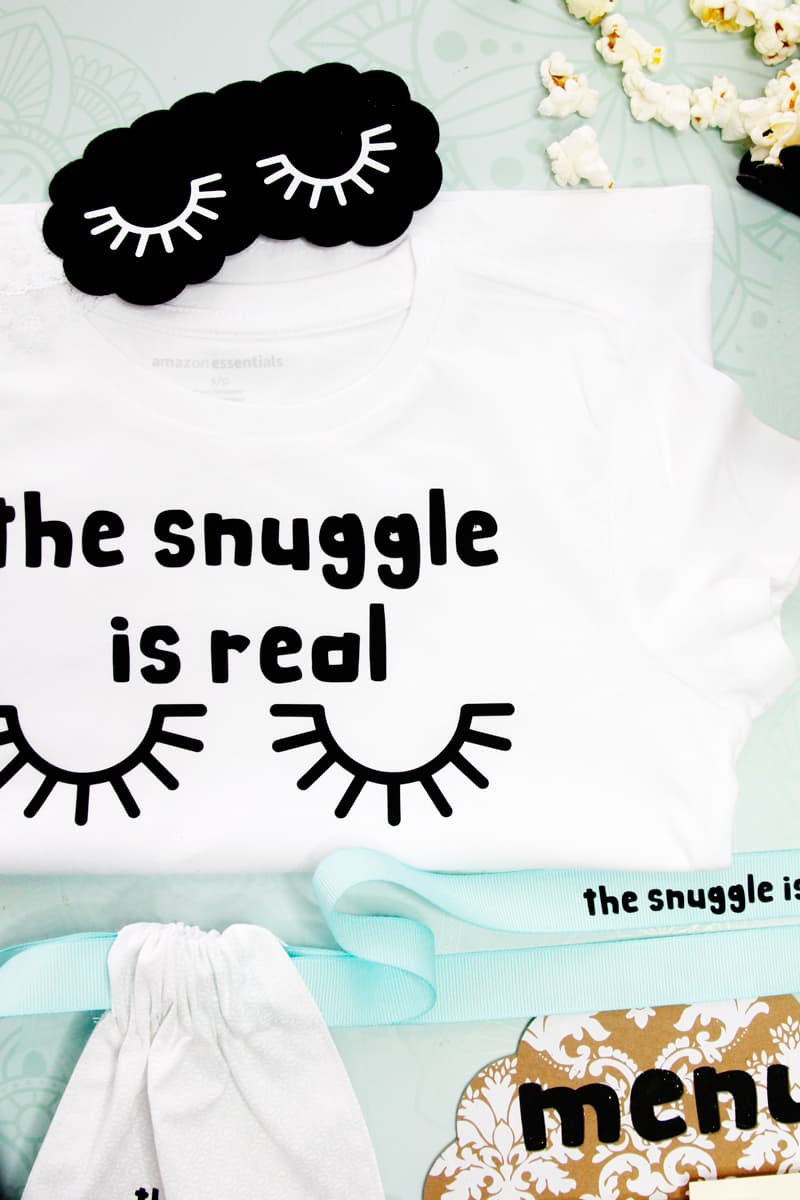
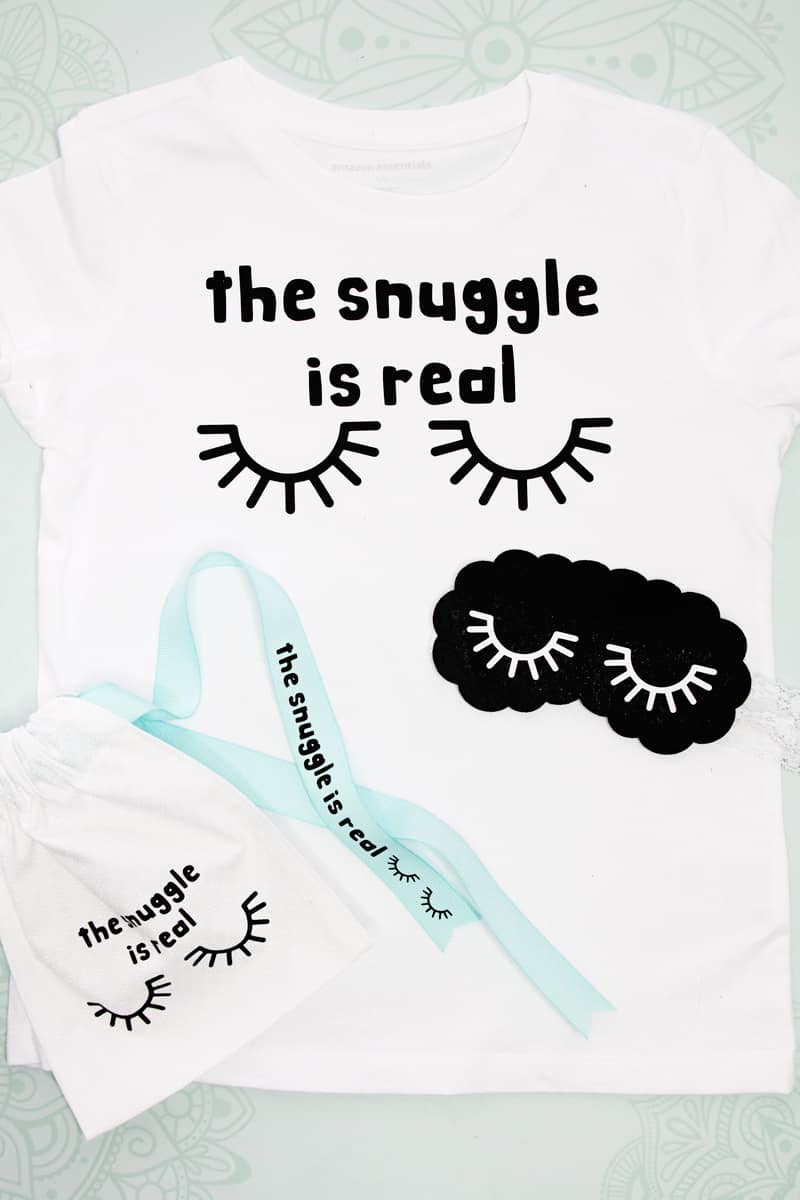
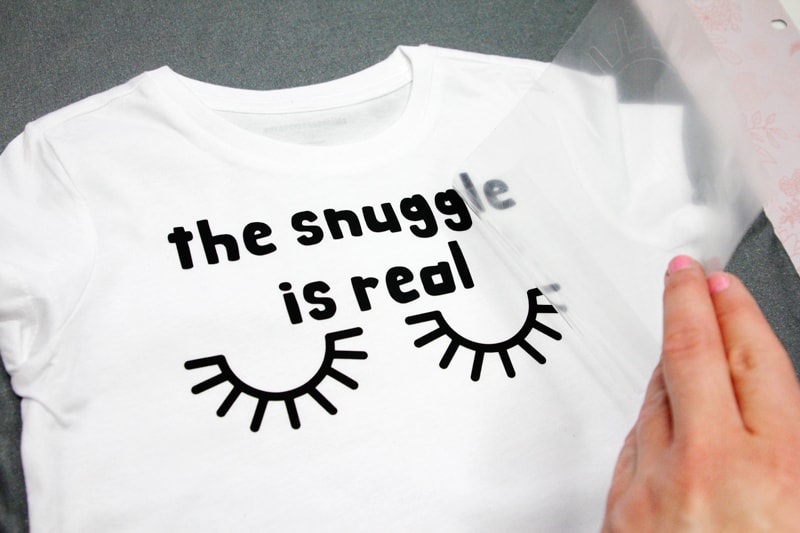
- The Snuggle is Real Tees
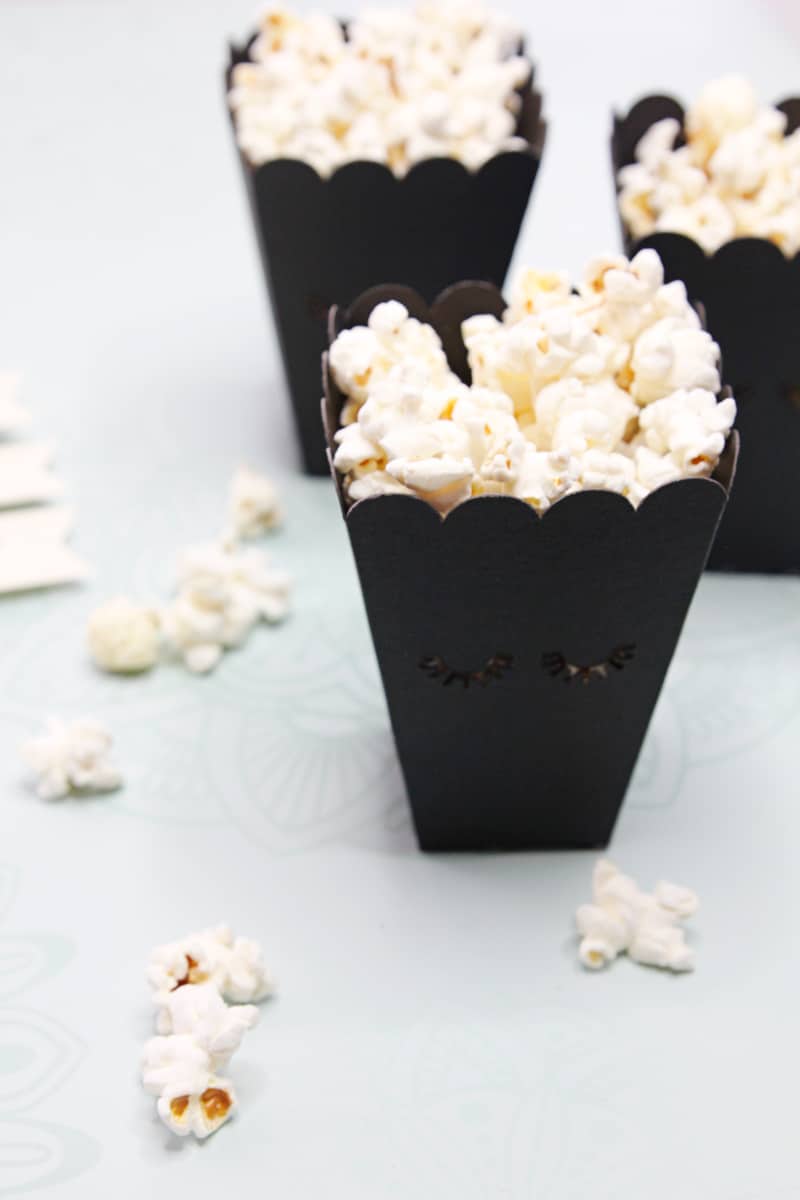
- Popcorn Holders
Let’s get crafting! I’ll walk you through each of these little party features – but remember – you can choose ANY theme by just swapping out the eyelashes for another element! Although, you definitely can’t go wrong with the sleepy eyelashes, especially for a sleepover!
1. DIY Sleep Masks
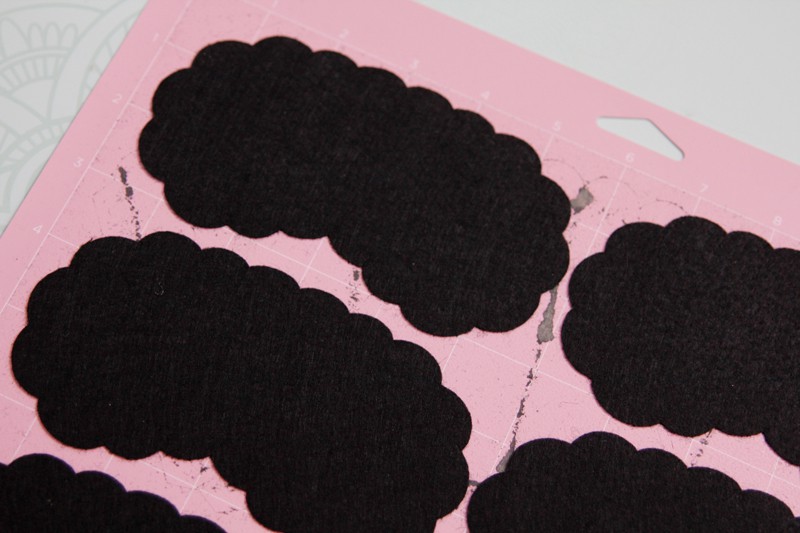
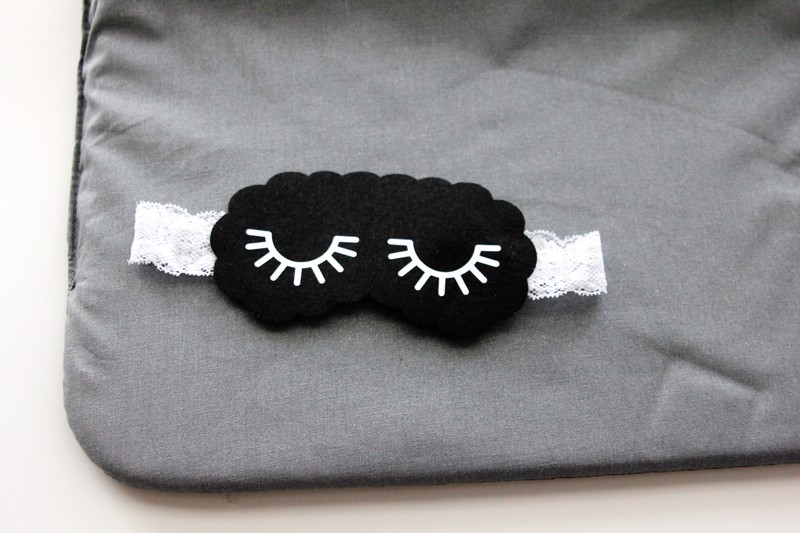
These sleep masks are NO-SEW which is perfect if you’re making a batch for a gaggle of girls! The Cricut Maker cuts them out smoothly with the rotary blade and then you can add vinyl eyelashes with the EasyPress and an elastic band with hot glue. The Rotary Blade is the best for cutting felt! You can read all about the Rotary Blade in this post!
Cut the scalloped eye mask with felt and the rotary blade! The easiest scallops you’ll ever cut!
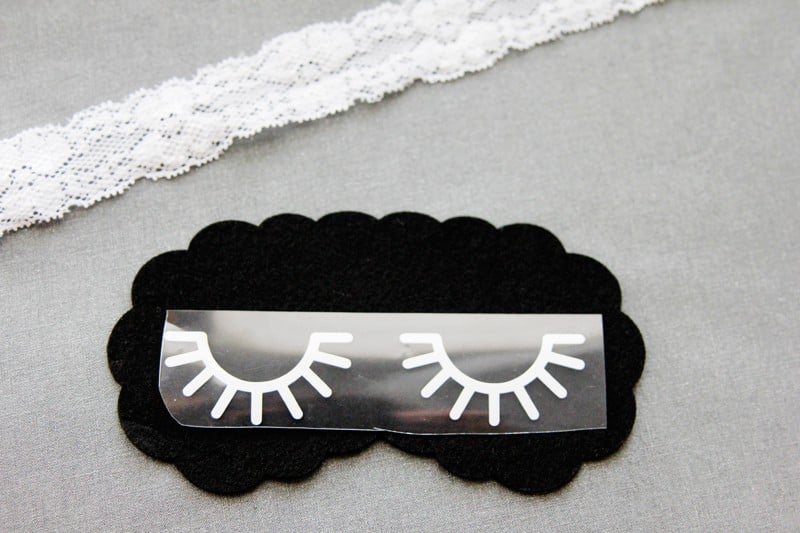
Cut the eyelashes from white iron-on vinyl with the fine-point blade (the regular blade!)
Press the eyelashes to the felt. I’ve found using iron-on on felt requires a little extra pressure, so I like to press/scrape it down with one of my tools before peeling the clear plastic off.
Glue stretchy elastic to create the headband!
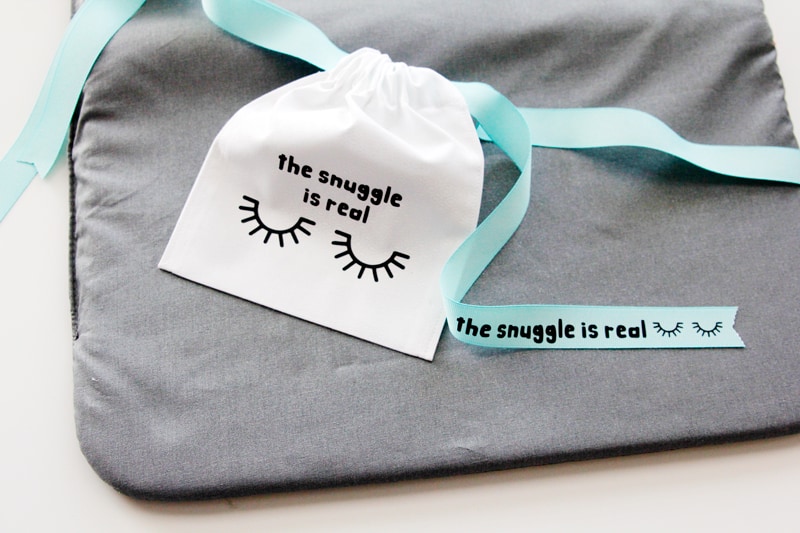
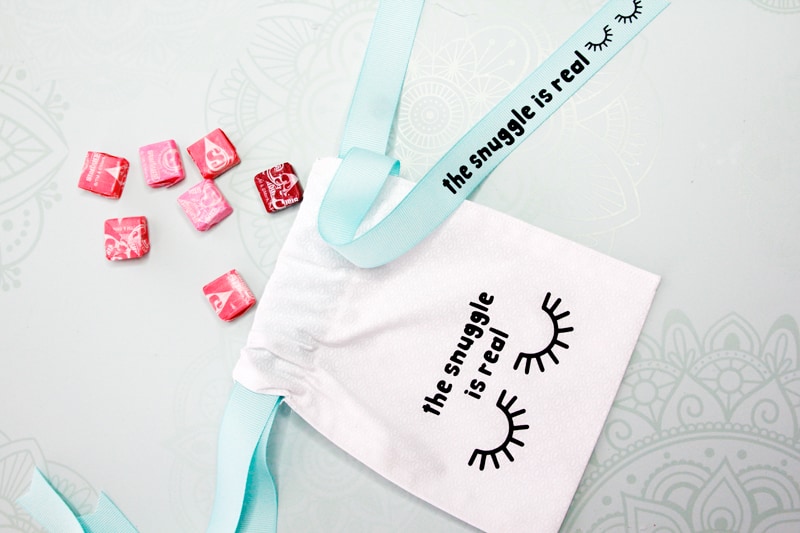
2. DIY Treat Bags
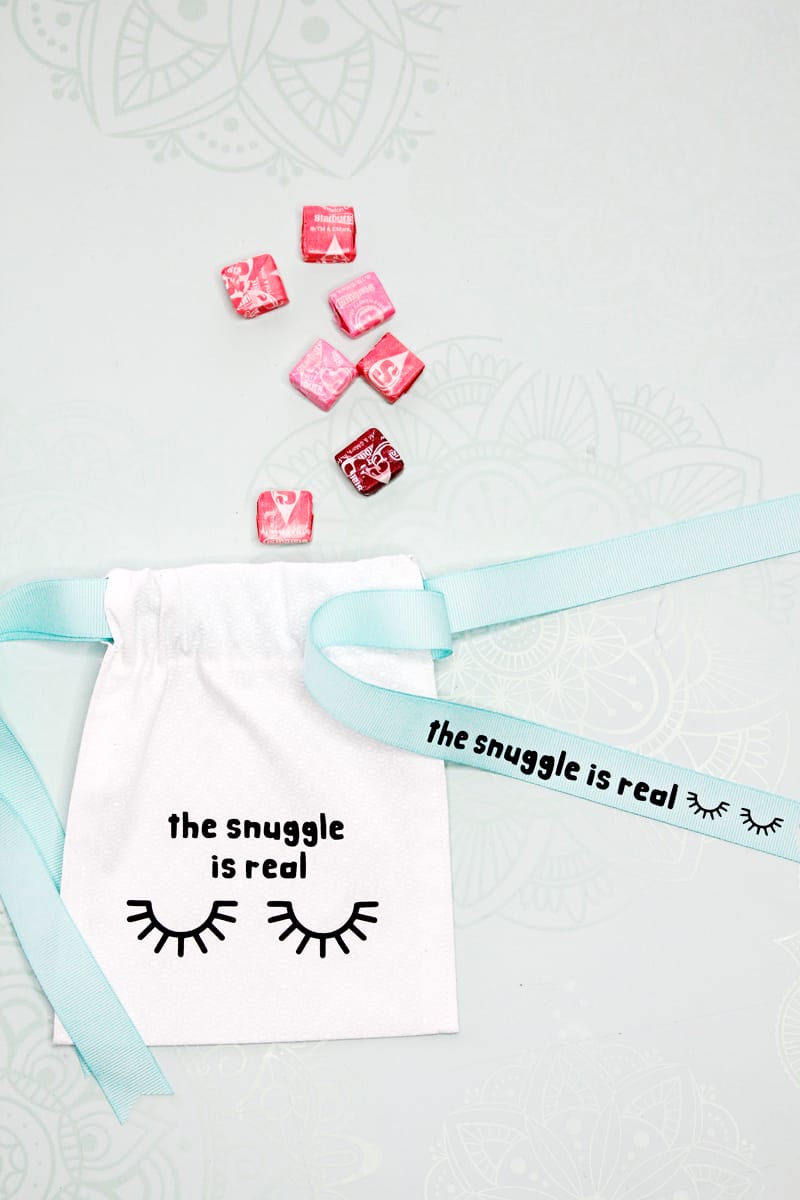
Every party needs a treat bag to hold candy and favors! These are drawstring bags made from fabric but you can start with pre-made treat bags if you want. These are pretty quick to make and only require basic cotton. I used custom ribbon to tie them up, which I’ll also show you how to do!
- 100% Cotton
- Ribbon
- Treat Bag Design in Design Space
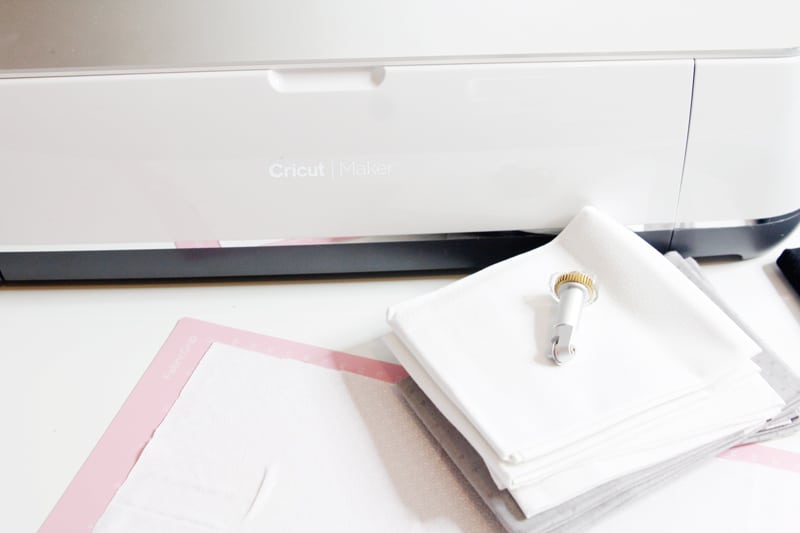
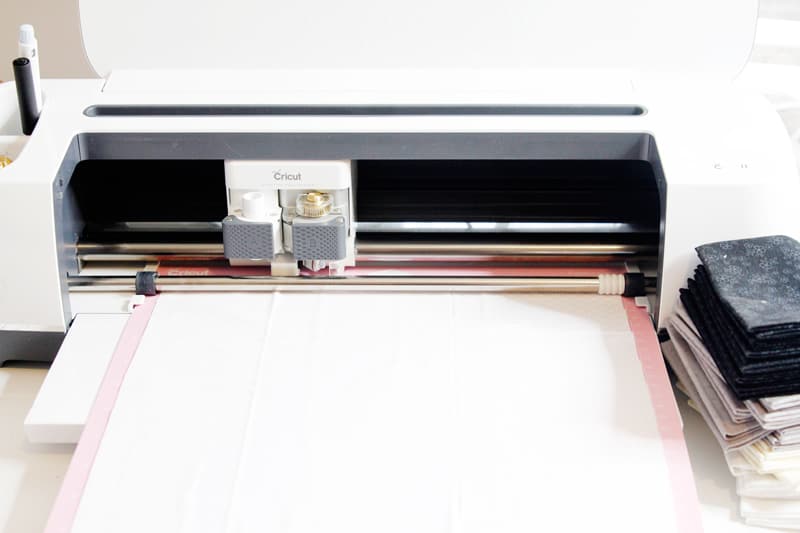
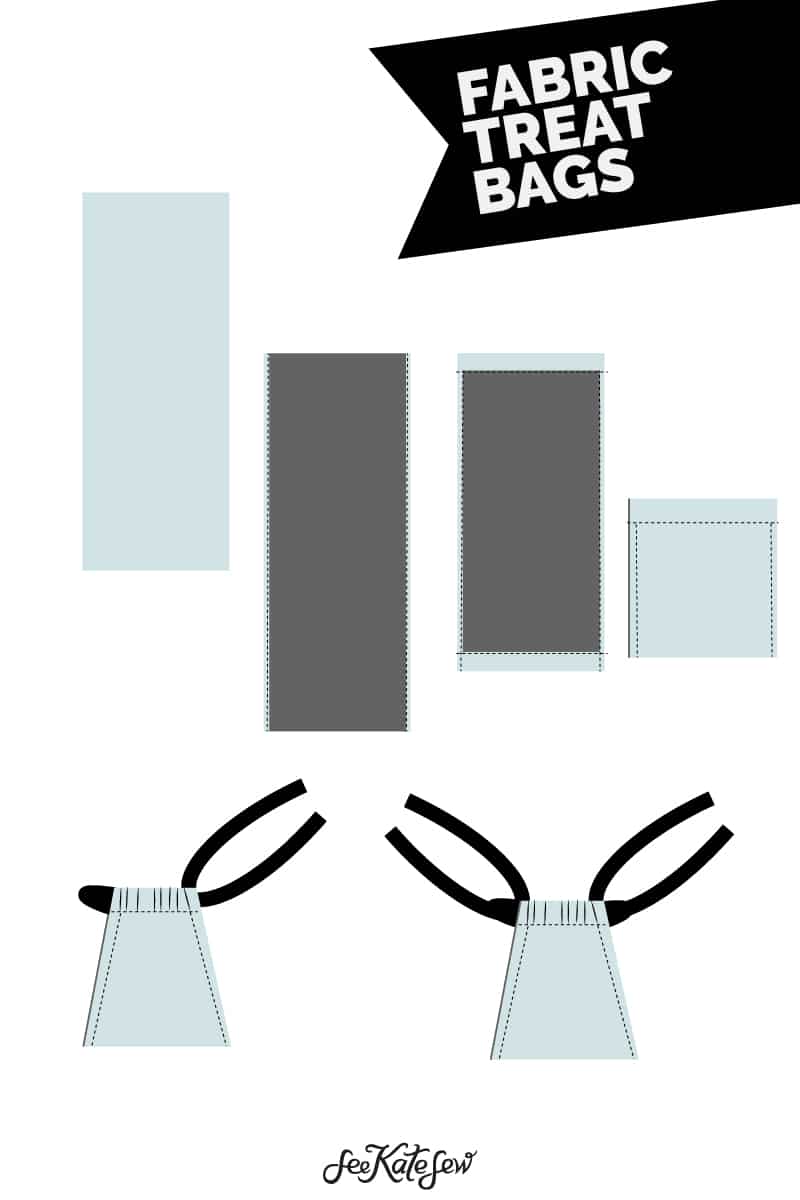
To sew your own treat bags, cut out pieces with the Cricut Maker. Whip out the rotary blade for this one! The starting size is 7″ wide by 18″ tall if you are cutting by hand.
- Fold and press the long edges under 1/4″ and sew.
- Fold the top and bottom short edges down 1.5″ and sew. This will be your ribbon casing.
- Fold bag in half with wrong sides together and sew from the casing to the bottom edge, backstitching at each end.
- Thread the ribbon (20″ each) through to create the drawstring.
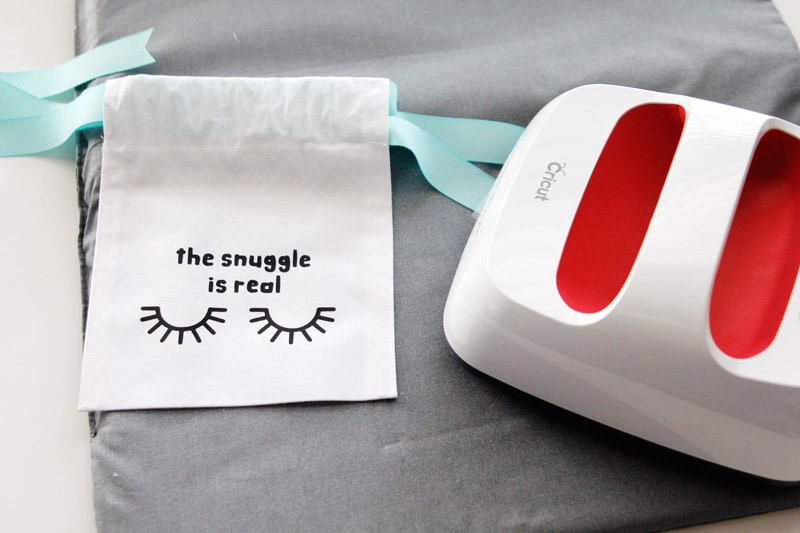
Then cut out the design in Design Space (mirror image ON) and fuse to the front of the bag!
3. Custom Ribbon
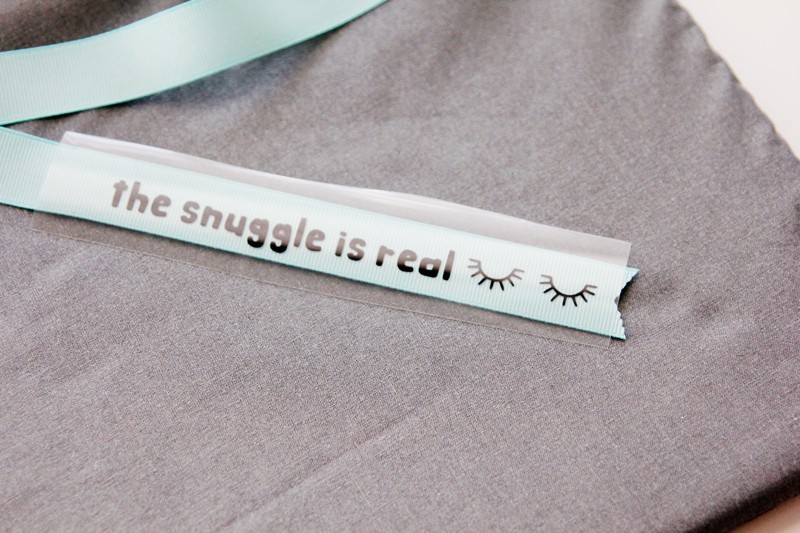
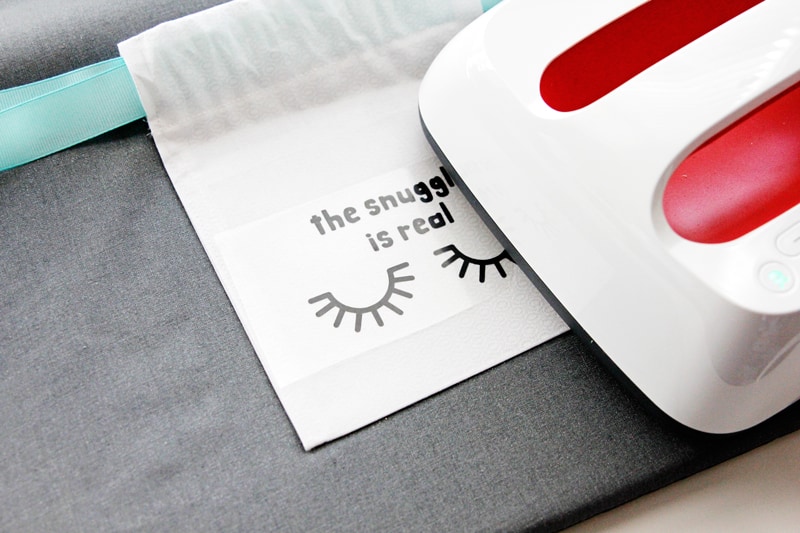
Can you use iron-on vinyl on ribbon? YES!! Yes you can and it is so easy and fun!
- Grosgrain Ribbon
- Iron-on Vinyl
- Cricut EasyPress
- Design in Design Space (this is cut with the treat bag vinyl)
This hardly needs a tutorial because it is so easy! Just use the EasyPress to fuse the vinyl. I like Grosgrain ribbon for this because it withstands more heat than some ribbon.
Use the EasyPress Interactive Quick Reference Guide to find the right settings for your ribbon.
4. Cut-OUt MENU SIGN
- Damask Chipboard
- Knife Blade
- Black Kraftboard
- Clothespins
- Glue Gun
- Cardstock
- Black Writing Pen
- Party Menu Board Design in Design Space
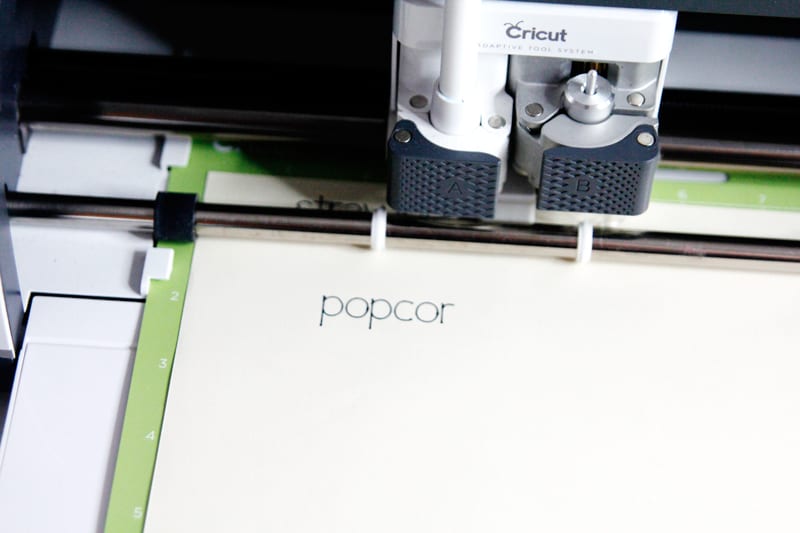
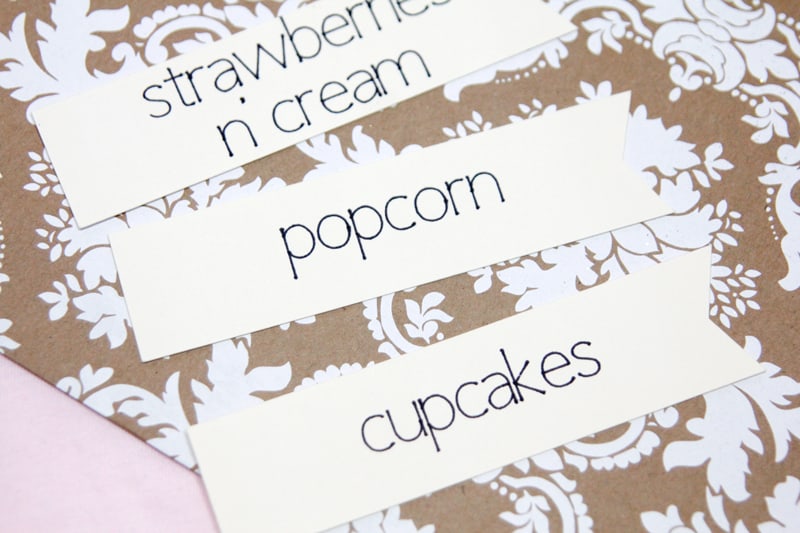
Draw and cut the menu items with Cardstock and the writing pen.
Set them aside.
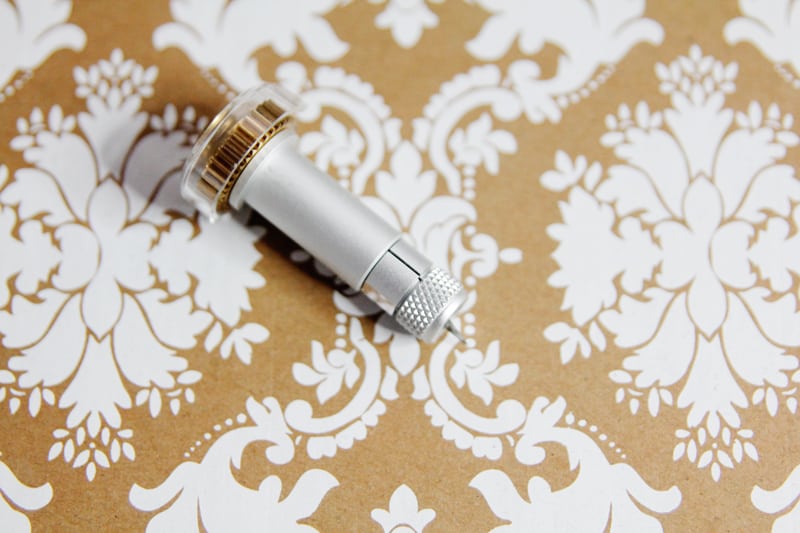
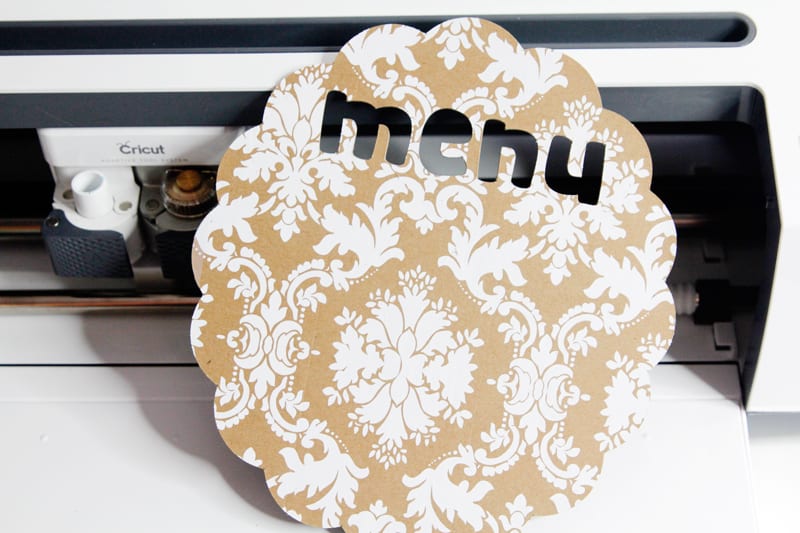
Pull out the KNIFE BLADE! The Knife blade works exclusively with the Cricut Maker and cuts thicker materials, like chipboard! I LOVE cutting chipboard, it’s super fun and nice and sturdy for projects you want to last. Check out my sewing machine ornaments here!
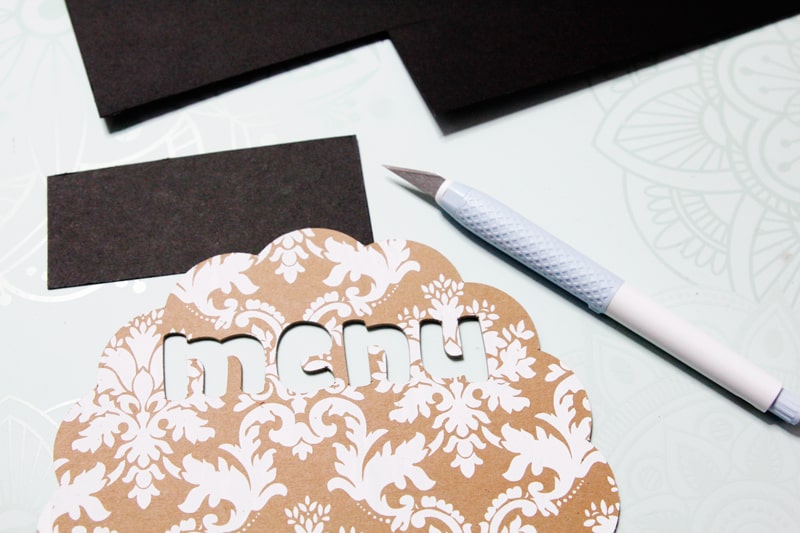
It took 12 passes on this sign to get it perfectly cut! It takes a while, but you just set it and go work on other things! I also cut the letters for menu right out of the sign so it has a cut-out design.
Use a scrap of black kraftboard to fill in the letters, just glue it to the back.
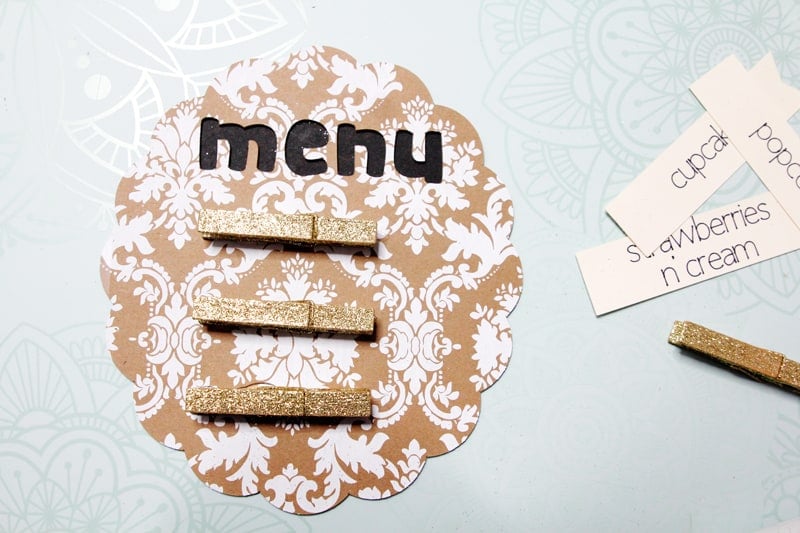
Hot glue clothespins to the board. 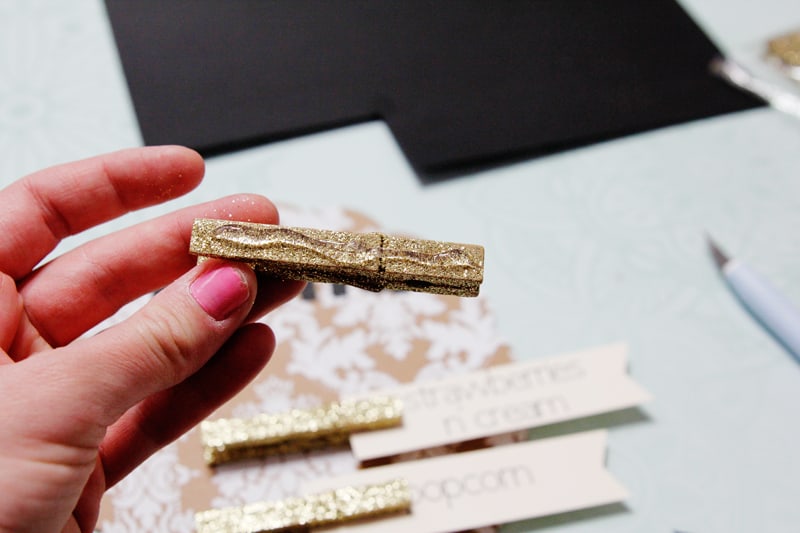
Then stick in the interchangeable menu items!
5. Cupcake Toppers
- Chipboard
- Lollipop sticks
- Glue Gun
- Knife Blade
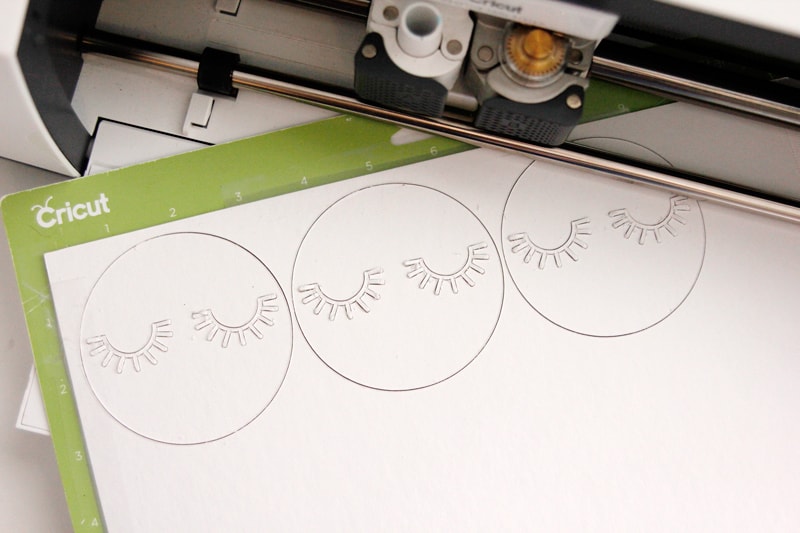
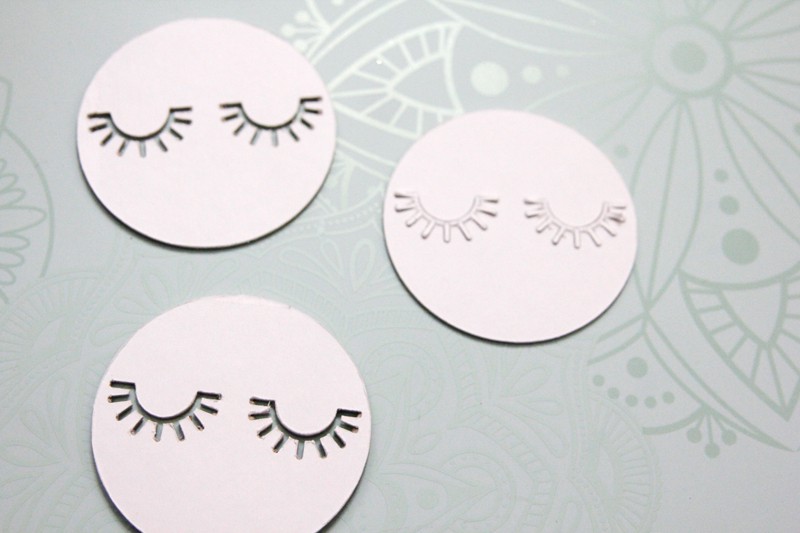
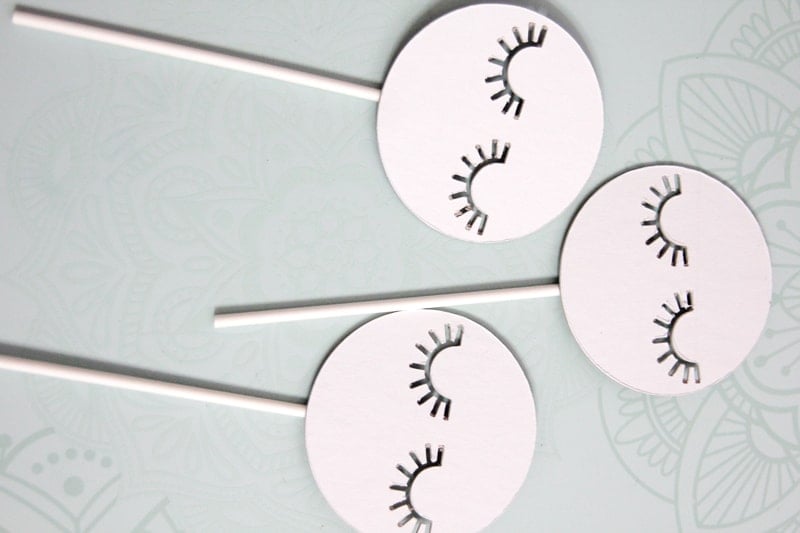
- Eyelash Cupcake Topper Design in Design Space
These were also made with the knife blade!
Cut them out then push the eyelashes out.
Glue lollipop sticks to the back of the toppers!
6. THE SNUGGLE IS REAL Tees
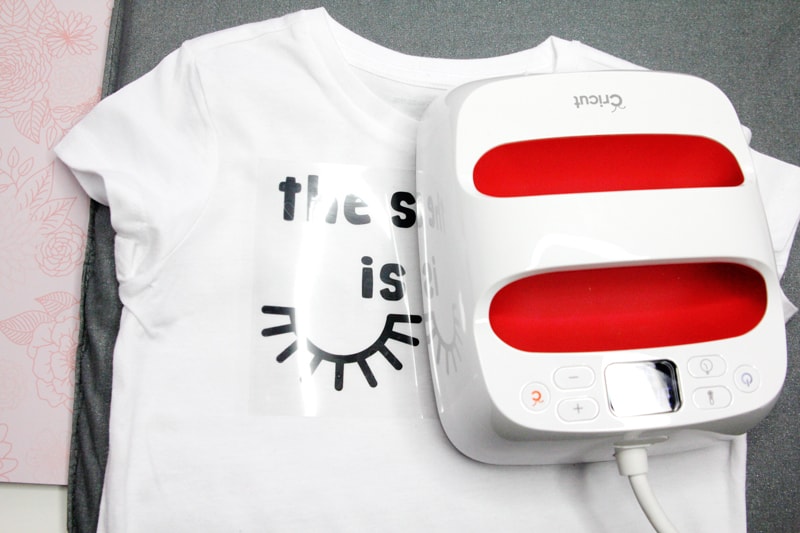
Cut it out and heat it up! Make sure the iron-on is set to MIRROR IMAGE ON when you cut it out!
7. POPCORN HOLDERS
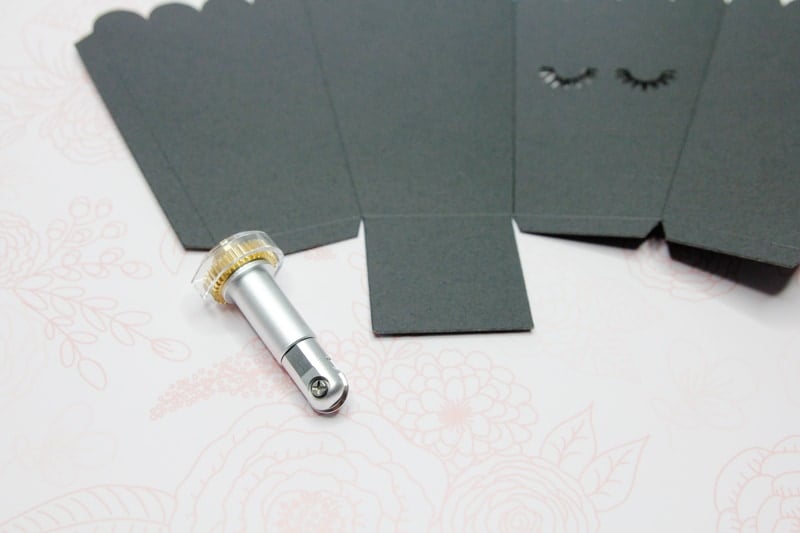
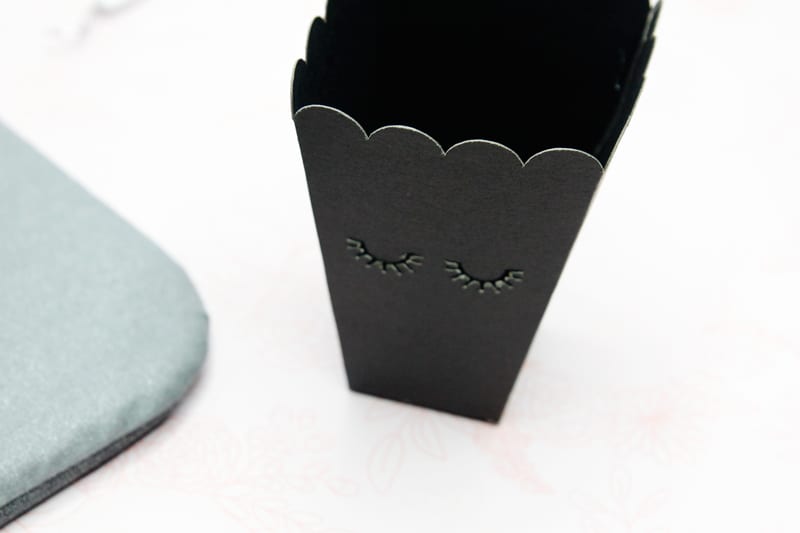
The Scoring Wheel is pretty new to the Cricut Maker and it is also fun to use! It created scored lines to help you fold! I’ve used it to make little boxes and these popcorn holders are so perfect for movie nights!
The Cricut Maker will score the paper first, then will prompt you to put the fine point blade back in and cut it out!
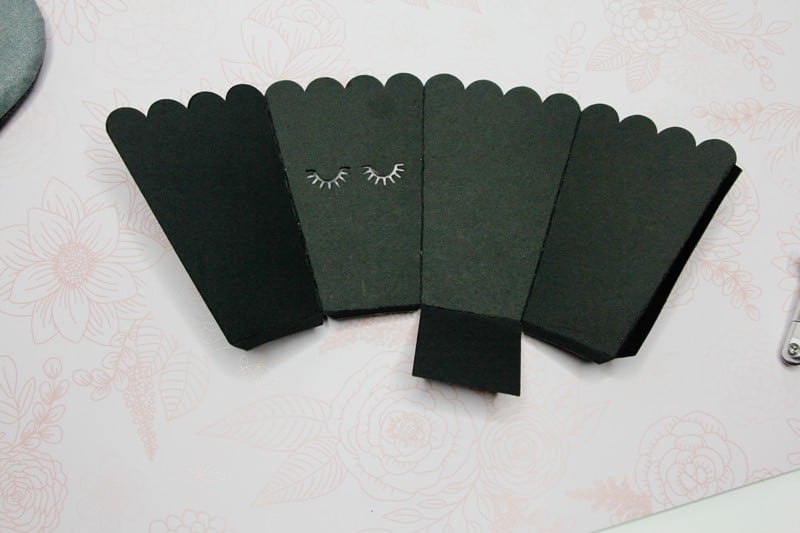
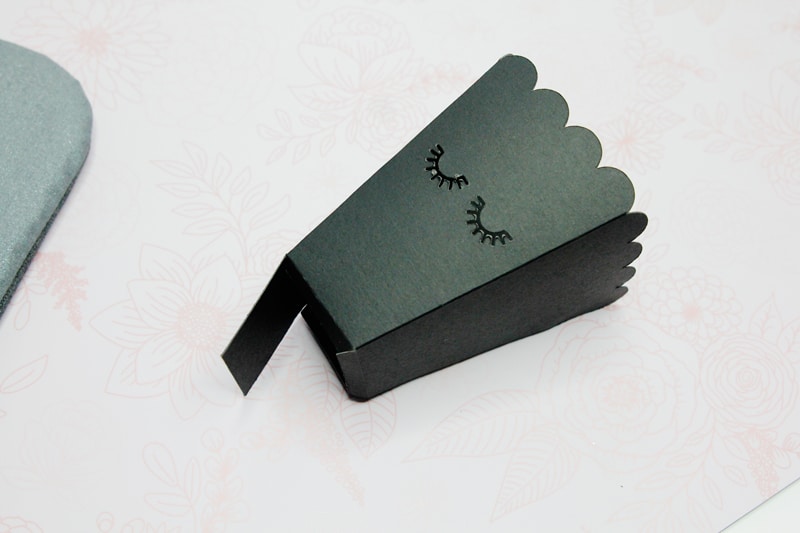
Fold along the score lines and glue the box together.
Look how nice those cut lines are!
Party on!

