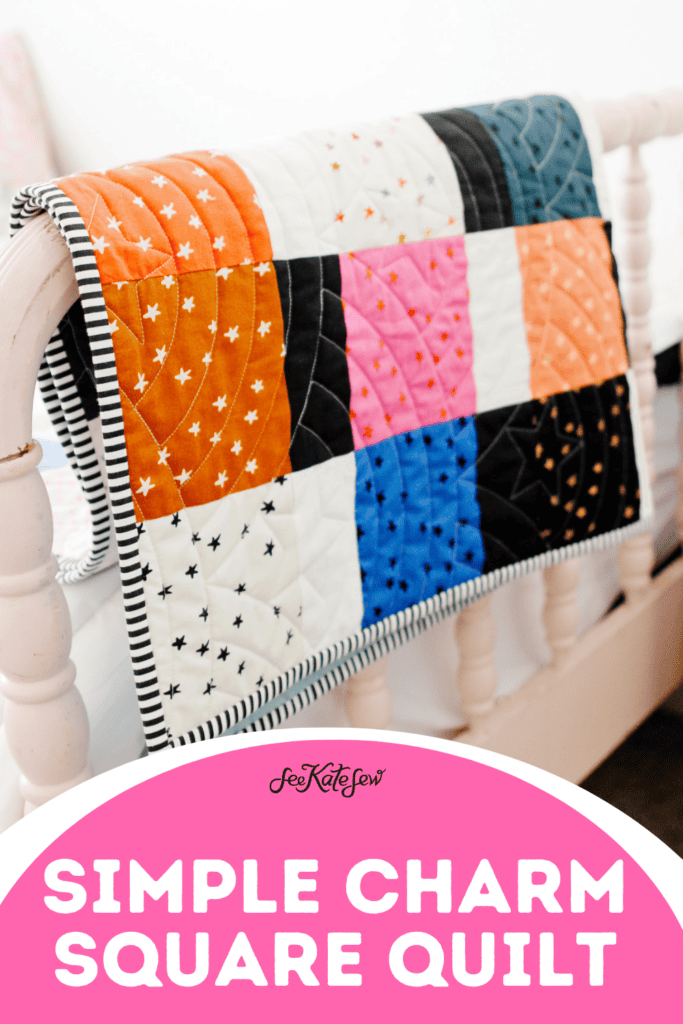
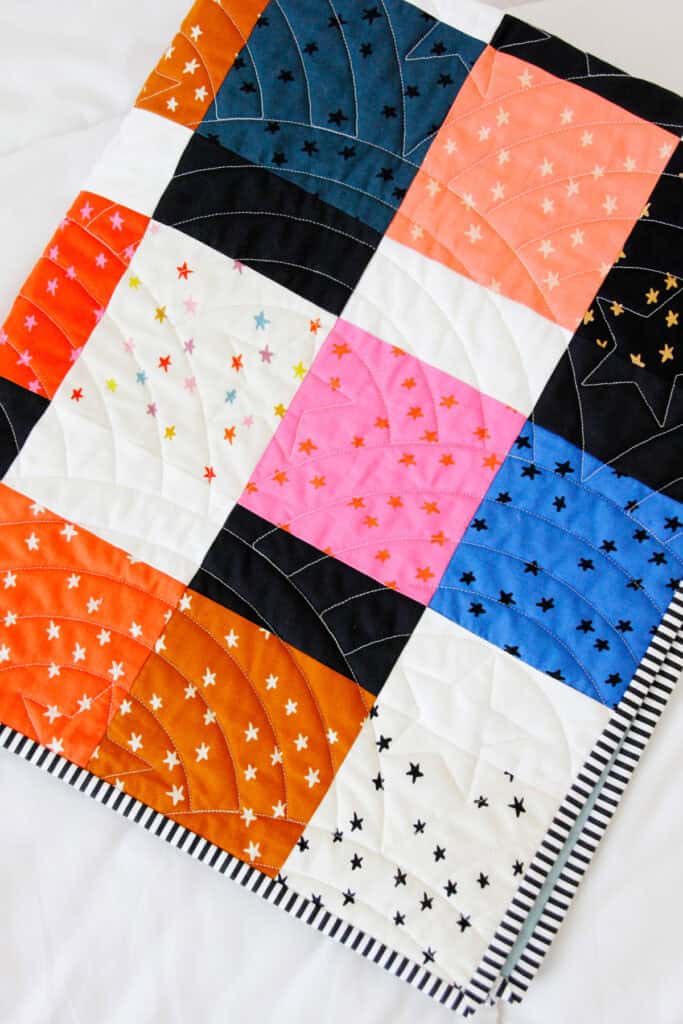
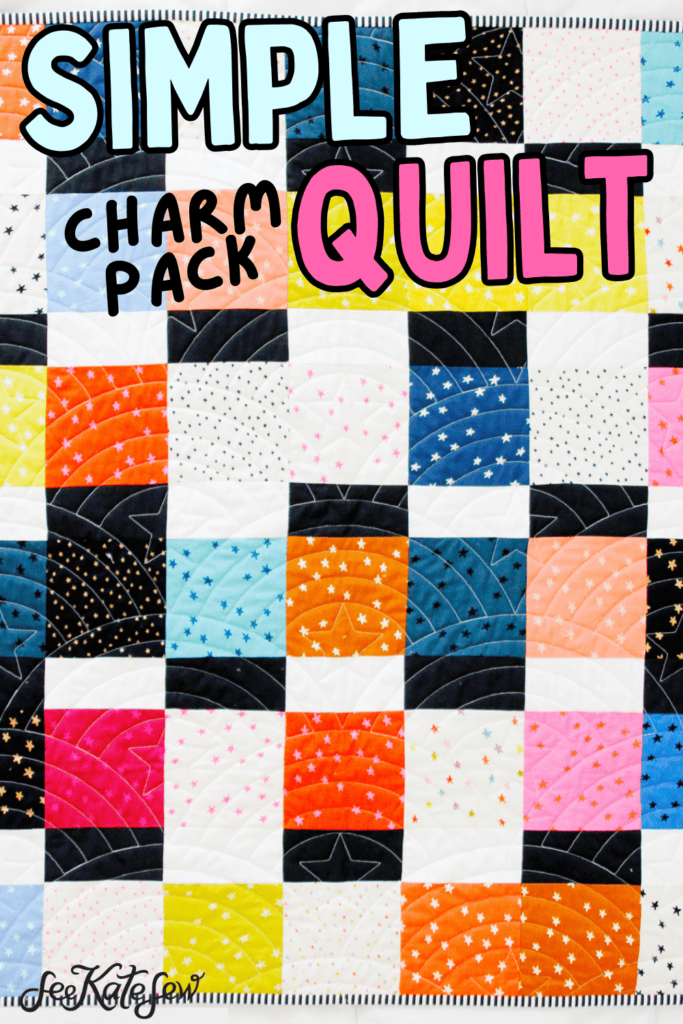
Let’s sew a charm square quilt! This easy charm square quilt pattern is not only adorable but quick and easy, too!
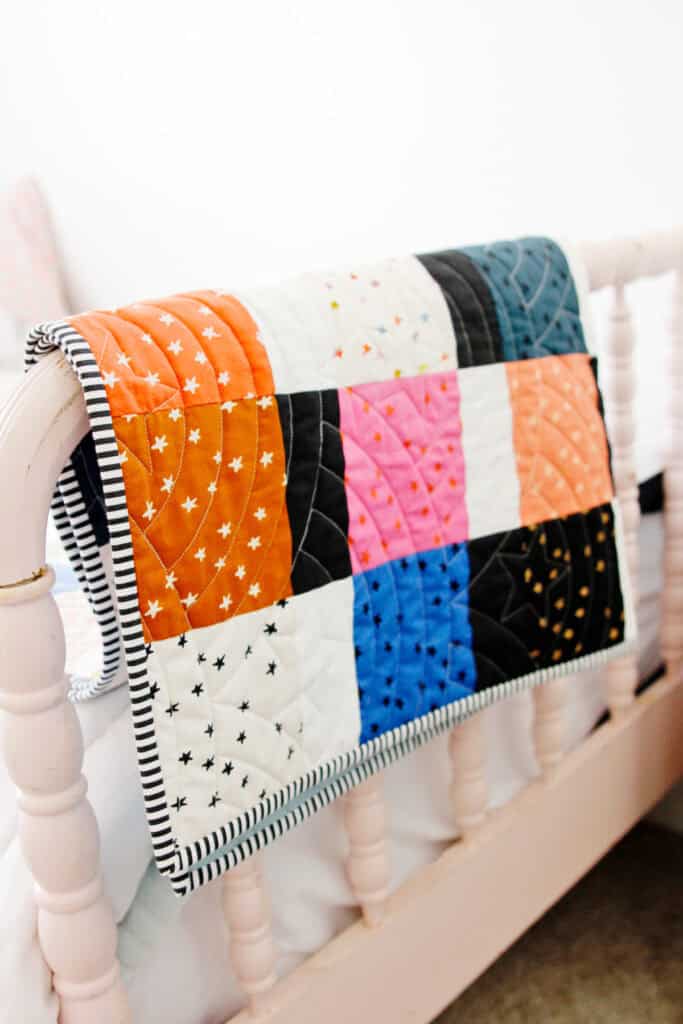
I used a really pretty charm pack plus a few 5″ squares of black and white to make this bold baby quilt! This post includes a free charm pack quilt pattern. It’s easy to make this in any size – just grab a few more charm packs.
Charm pack quilts are great for a beginner quilter because starting with precut squares takes out the most time consuming step.
Beautiful quilts make me so happy and this is a perfect afternoon project because it is so simple and QUICK!

Easy Charm Square Quilt Yardage and Supplies
The instructions below make a baby size quilt about 32″ by 38″ – a great size for a crib or stroller. Most charm packs come with a standard 42 squares and we will use ALL of this charm pack’s squares plus a few more solid squares for this baby quilt. For different sizes, grab a few more charm packs and just follow the same pattern to make it the size of your choosing.
- 1 charm pack (42) squares
- 9 black charm squares
- 9 white charm squares
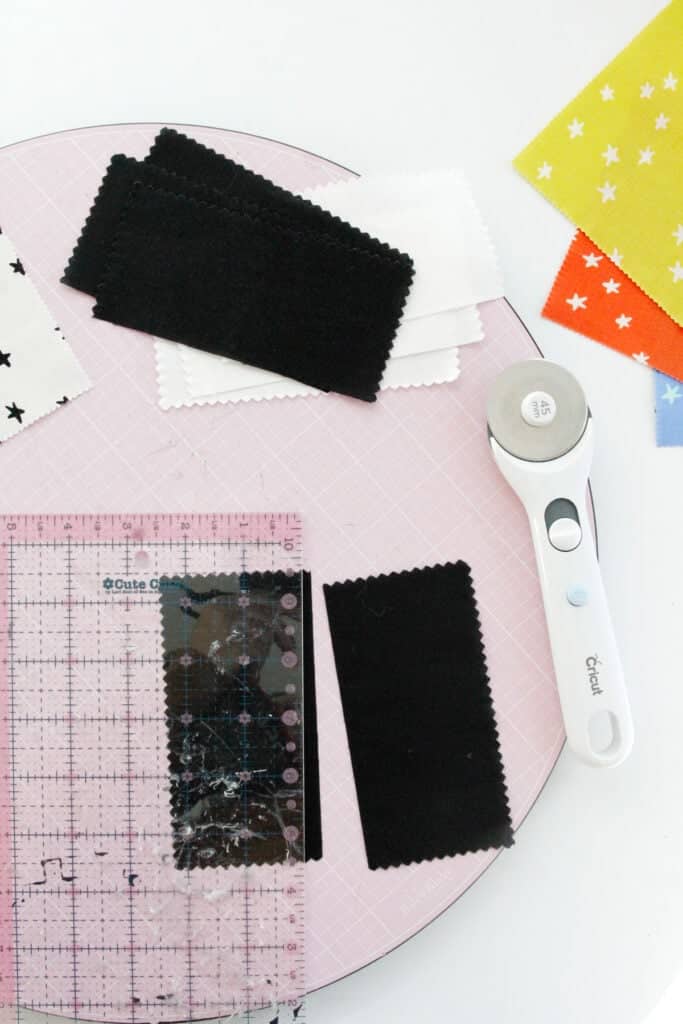
A few sewing supplies and tools you’ll need:
- Acrylic ruler, rotary cutter and mat
- Iron and ironing board
- Coordinating thread, pins and a sewing machine
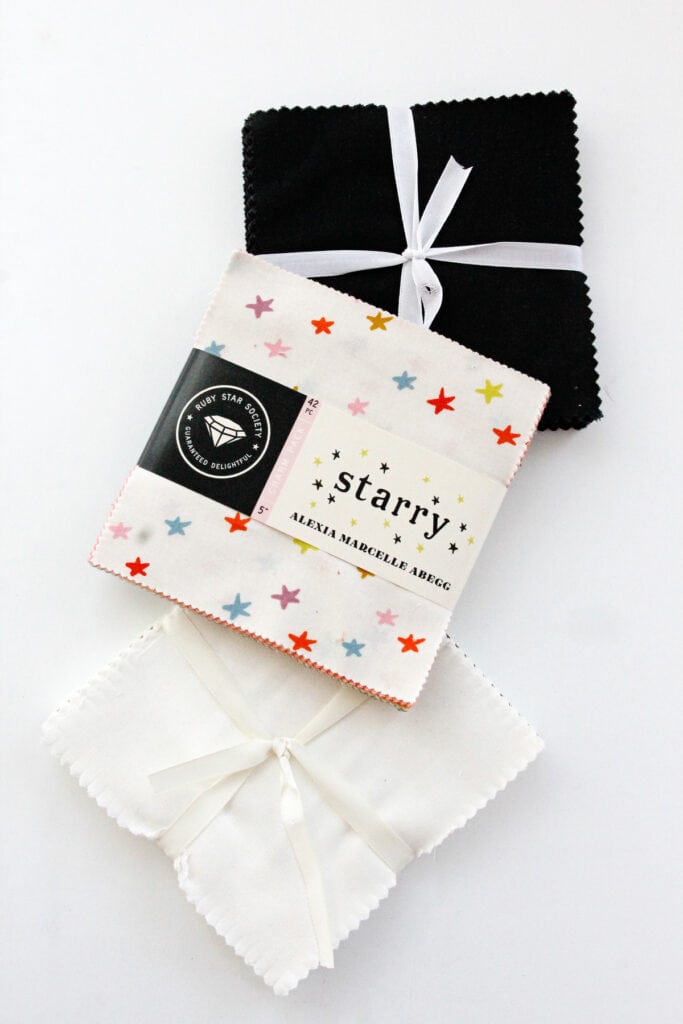
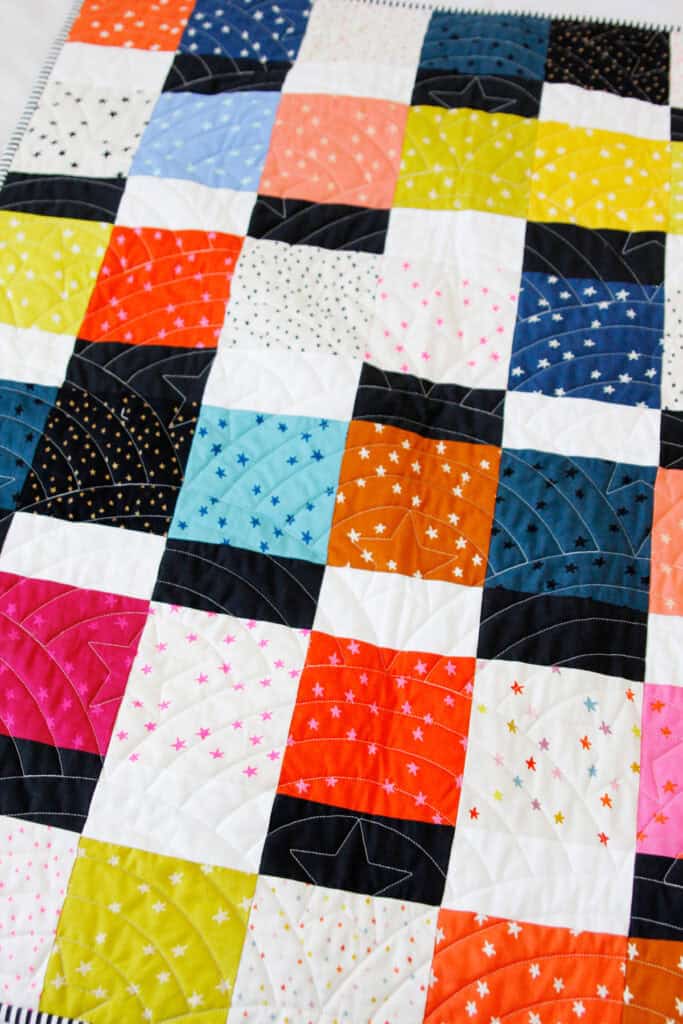
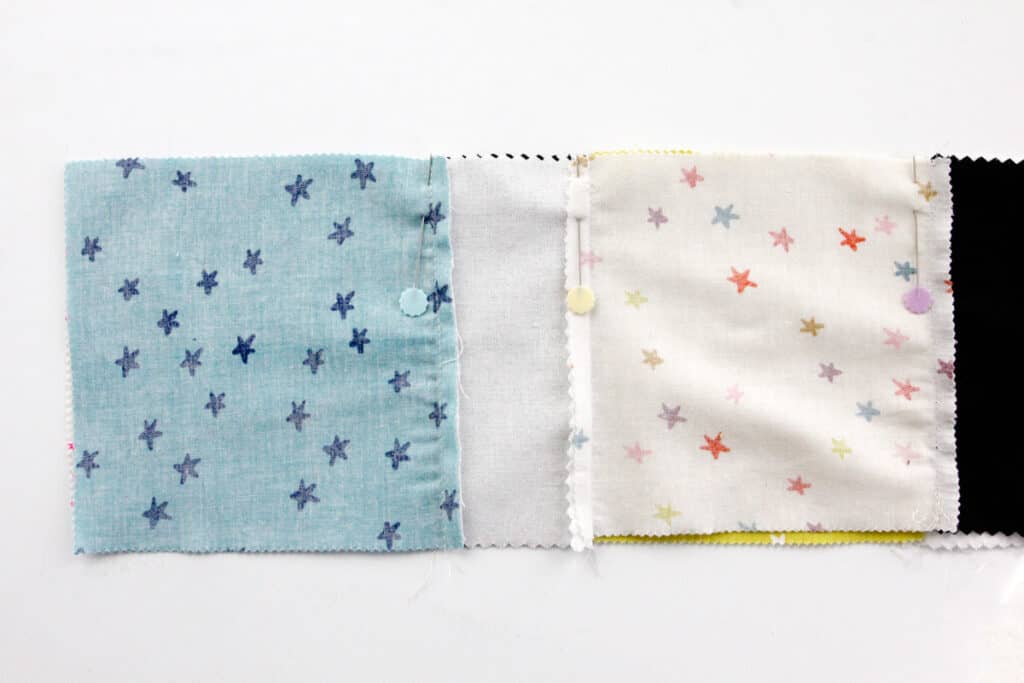
I used the line Starry(affiliate) for this project and I love how cute it looks with the black and white! This fabric is lots of stars on bold colors and I can’t wait to gift this as a baby gift!
You can also replace the black and white squares of fabric with any solid fabrics for a different look.
Want a scrappy quilt? You can always replace 5 inch squares with scraps, too! Just raid your fabric stash and cut the squares yourself before starting the pattern.
Printable Yardage & Coloring Page
Click on the button below to download this helpful PDF! This includes the layout and yardage specifications plus a coloring page!
How to sew the easy charm square quilt
Start by cutting all of the black and white squares in half. These will be spacers between the main charm squares.
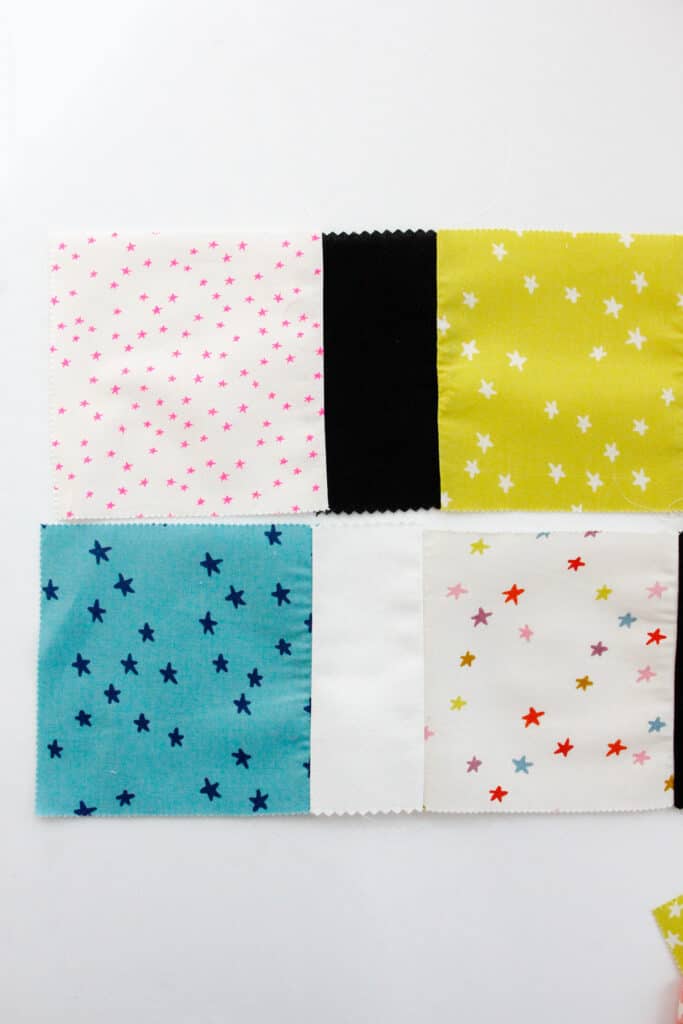
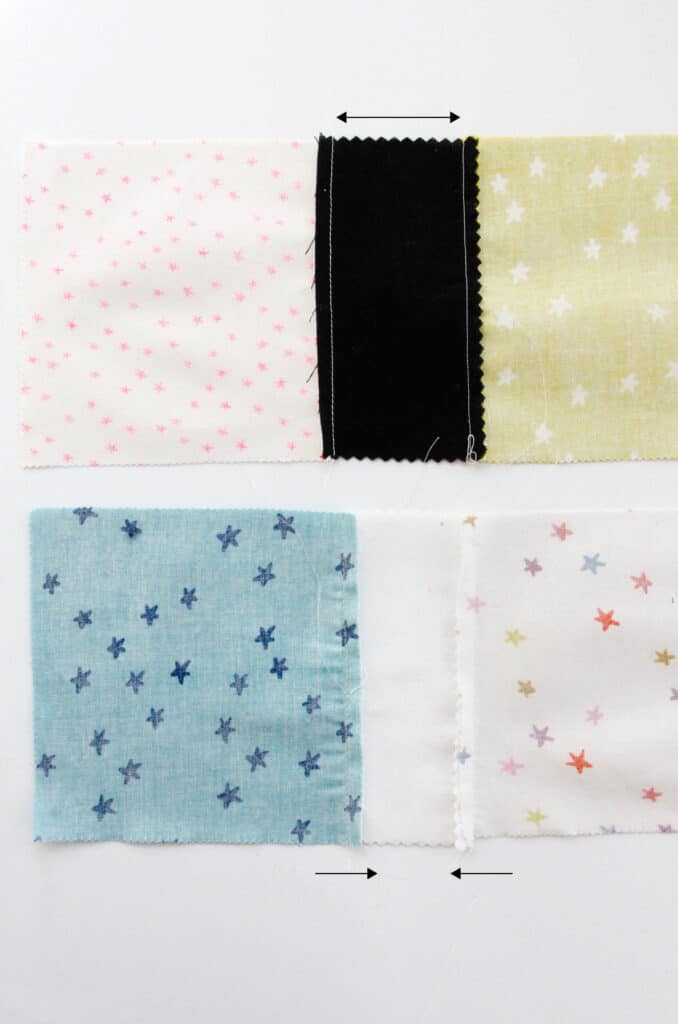
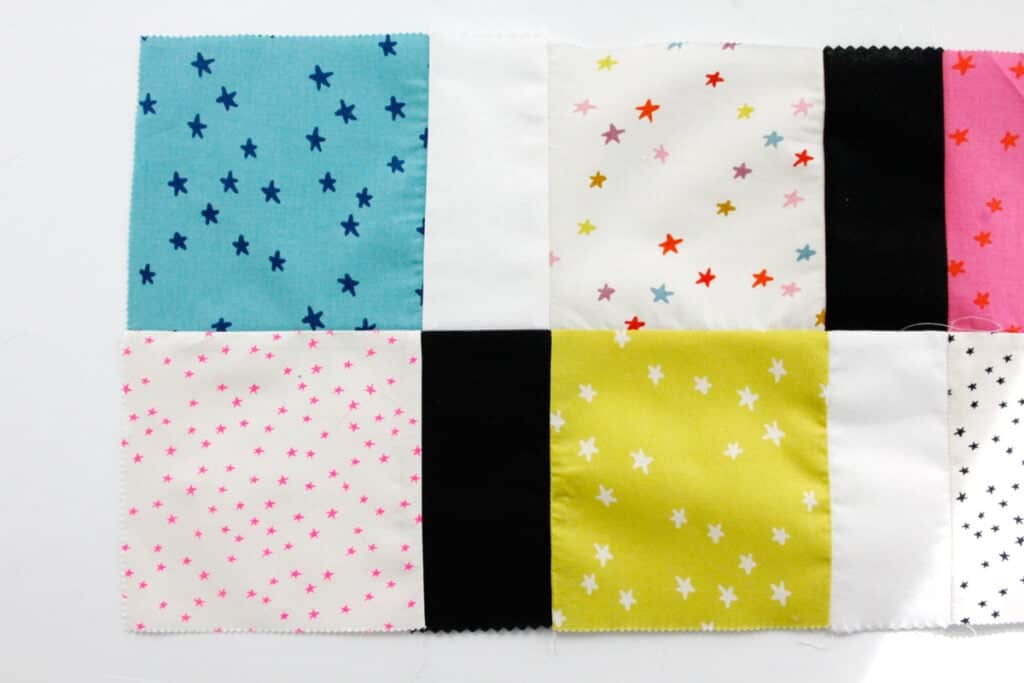
Sew 6 charm squares together with a black and white rectangle separating them. Start with black and then alternate to white, then black again, etc.

For the next row, sew 6 squares together again but start with white when putting in the spacers.
Repeat to complete 7 rows, which should use up all 42 charm squares.
Press the seam allowances. Then press the black spacer seam allowances out. Press the white spacer seam allowances in. This will allow us to interlock all of the seam allowances as we sew the rows together.
Then sew the rows together, interlocking the seam allowances as you sew the rows. This is one of the quilting tricks that will give your quilts crisp corners!
Sew all 7 rows together.
Press well and your quilt top is done!
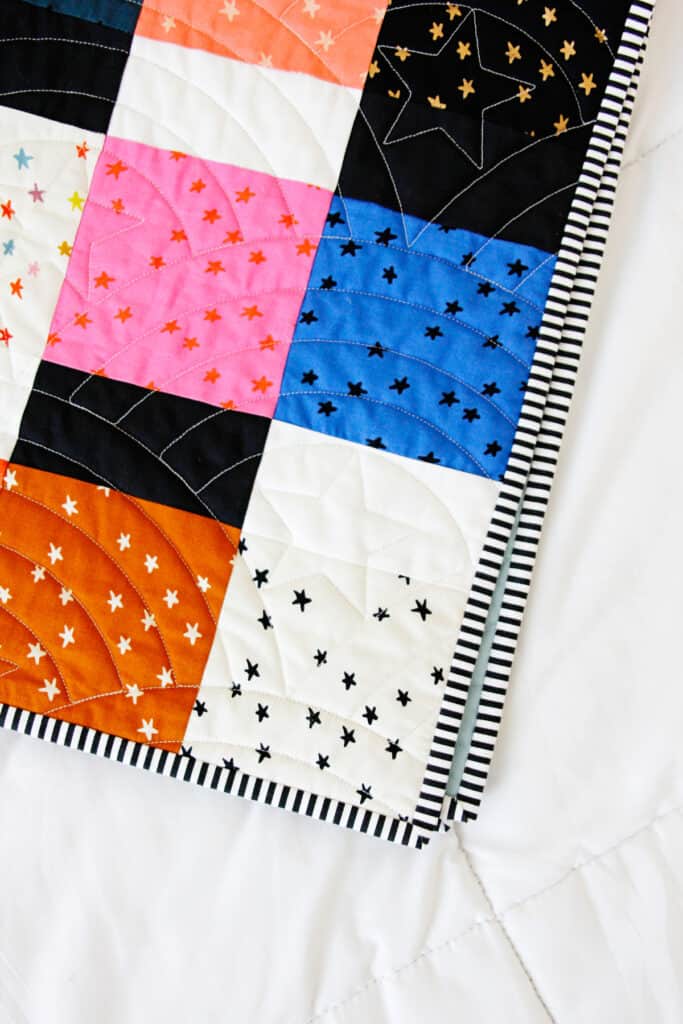
If you want to, add strips around the edge of the quilt for a border. Quilt the quilt however you want then read this post to sew your binding.
More fun quilting projects
- Fabric scrap coasters
- Book quilt pattern
- 40+ Fat Quarter Projects
- The Amelia Quilt
- Jelly roll quilt pattern
- Another simple patchwork quilt
- 10 free quilt patterns
Happy Quilting!