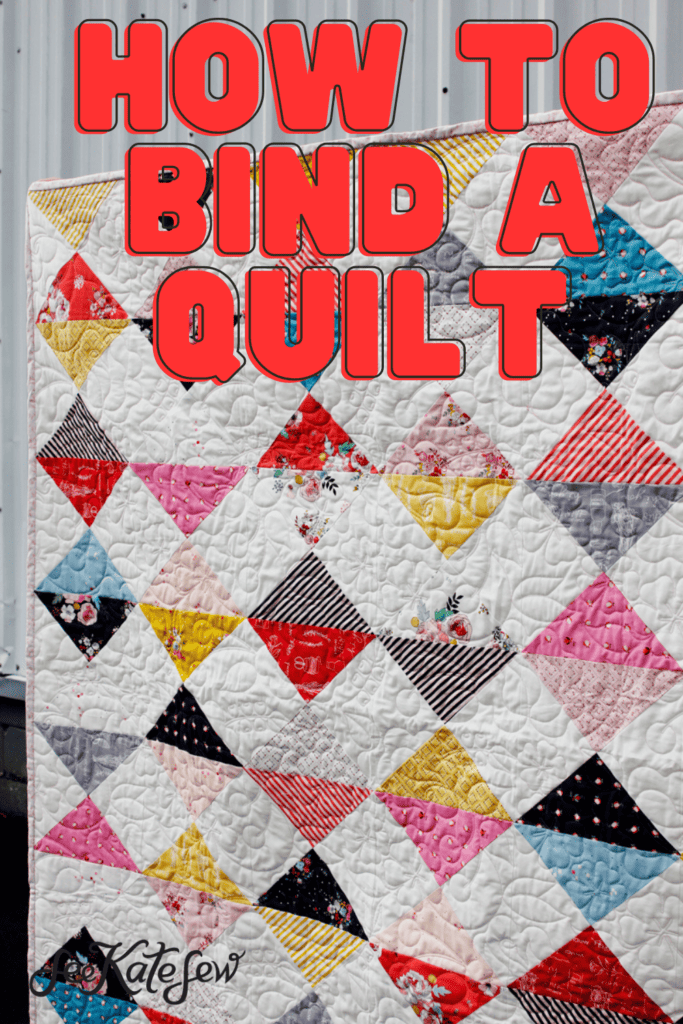
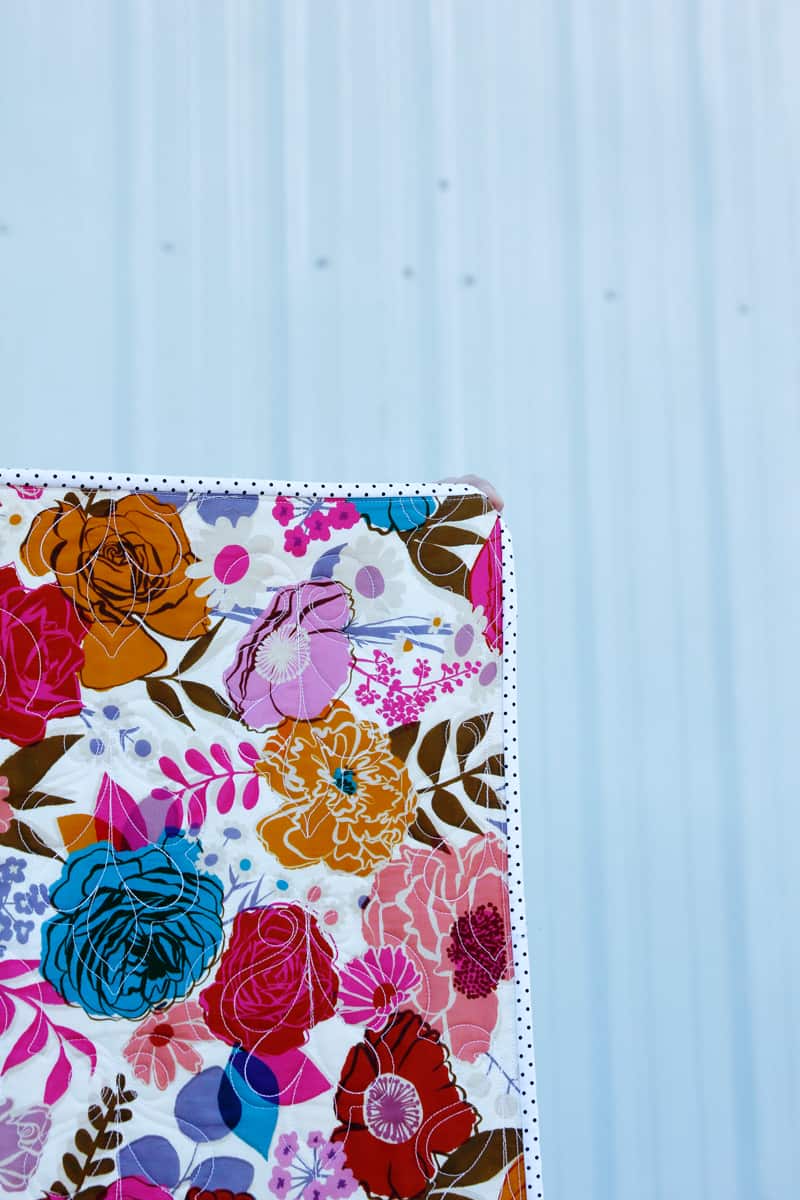
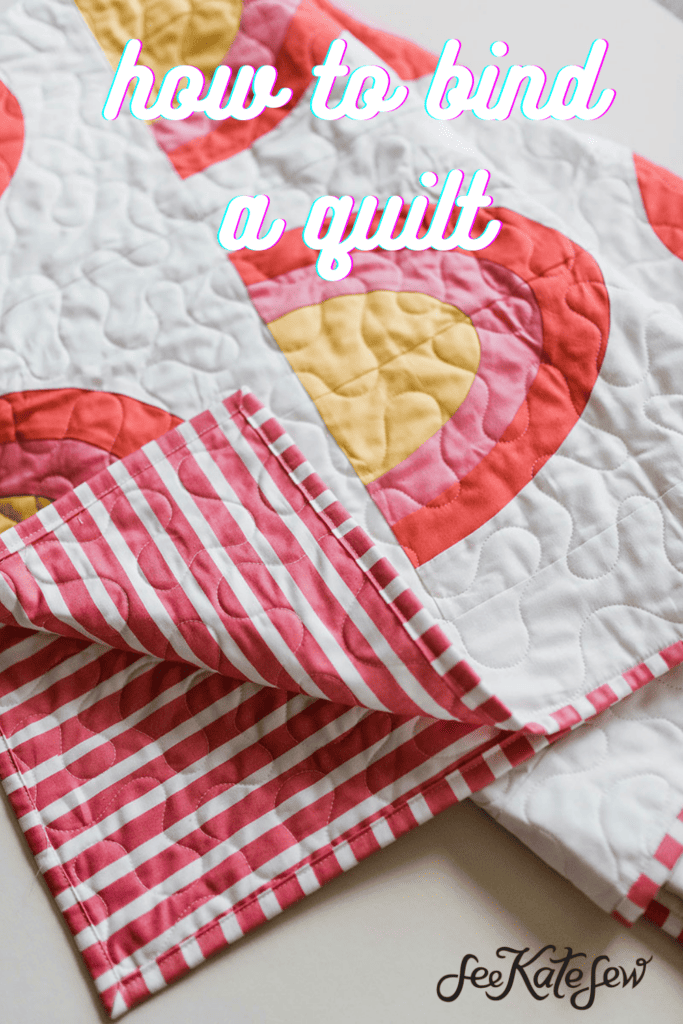
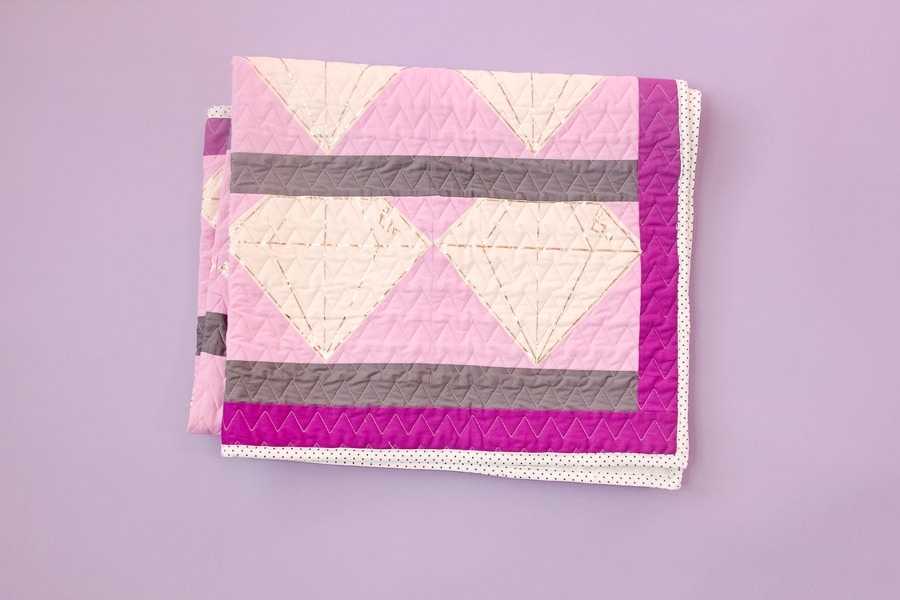
The last step to sewing quilts is binding! Today I’m showing you how to bind a quilt including making your own binding. I’ll show you how to attach the binding to your quilt’s edge and how to miter the corners.
Make your own quilt binding – materials
You can pick up quilt binding that is pre-made if you want. Just make sure you buy enough packs to cover your whole quilt edge. Making your own quilt binding is really easy and gives you the option to use any fabric. I actually prefer homemade binding, it’s just nicer and softer than packaged bias tape.
- About 1/2 yard fabric (more for larger quilts)
- Rotary cutter and acrylic ruler
- Iron and ironing board
- Fabric marker
How to make quilt binding
Cut strips of fabric 2.25″ – 2.75″ wide. The easiest way to do this is to leave the fabric folded as it comes off the bolt, with selvedges together. Each strip will give you about 42-44″ of length.
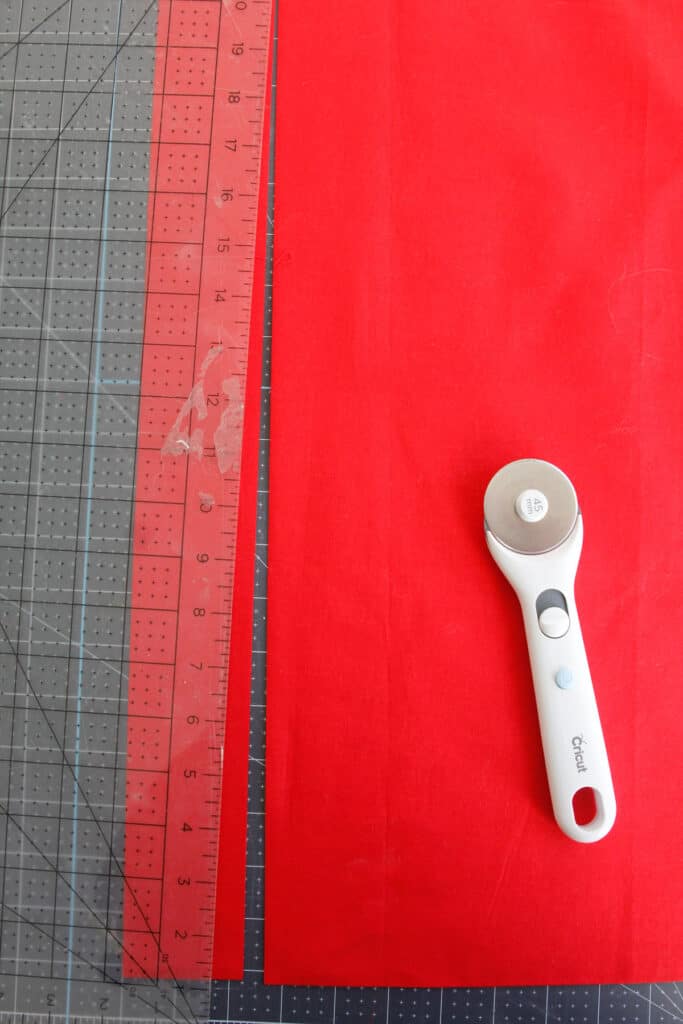
2.25″ will give you a narrow binding where 2.75″ will give you a bit wider one. Find your sweet spot, which may depend on your quilt, batting or preference. Cut enough to equal the length of all the edges plus about 10-12″ for the corners and overlap. That will include enough extra so you don’t have to worry about running out of binding.

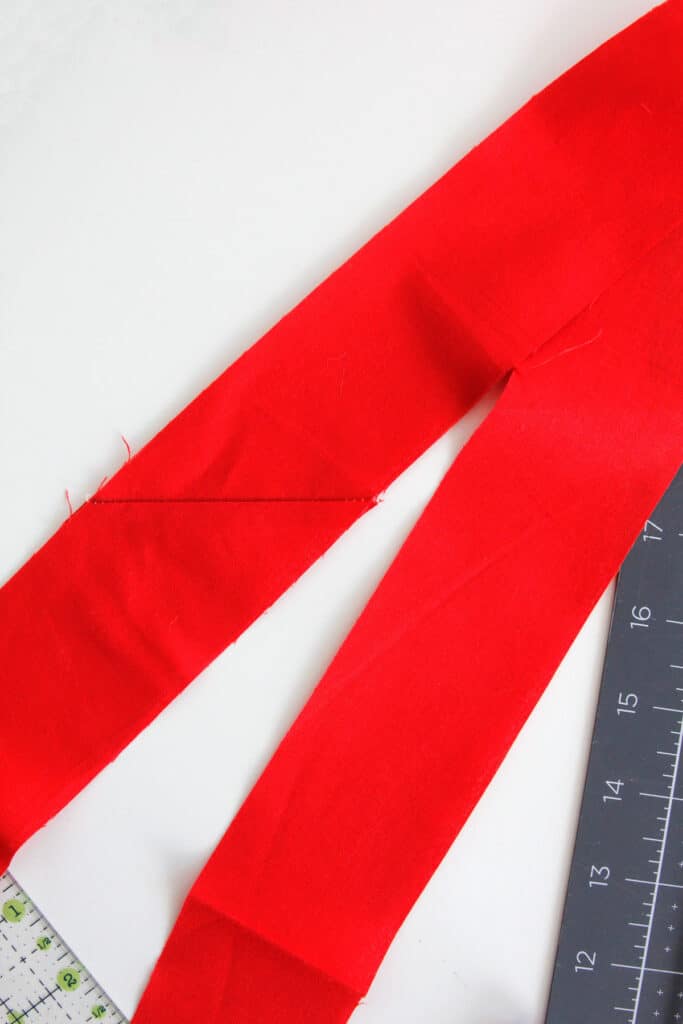
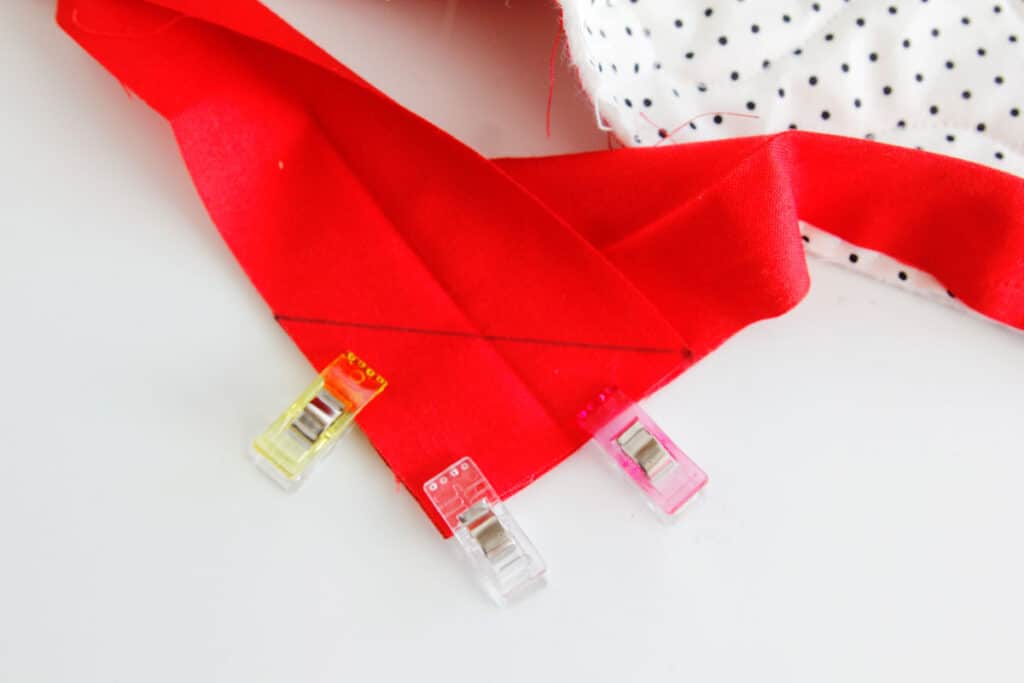
To sew these strips together, lay the binding out with right side up. Then lay the second piece perpendicular with the right side down, creating a square with the ends. Sew through the square on the diagonal. Sewing the strips together on the bias will distribute the bulk of the seam allowance so that there isn’t a big difference in thickness at one point in the binding.
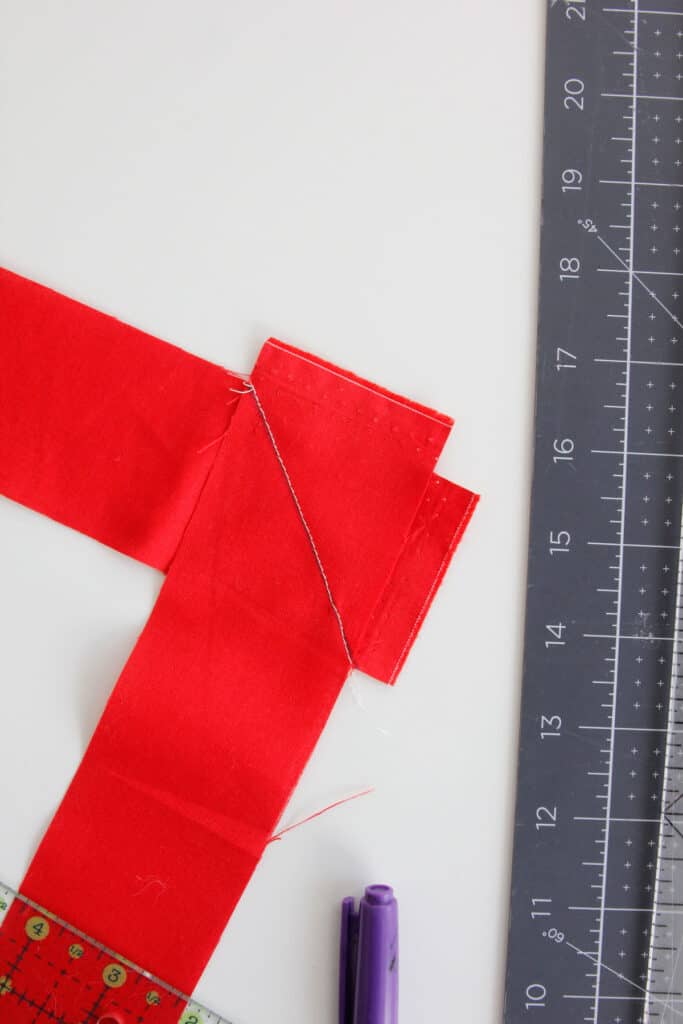
Trim the excess fabric off and press seam allowance open.

Repeat until you have sewn all your strips together.
Quilt Binding Instructions – How to bind a quilt
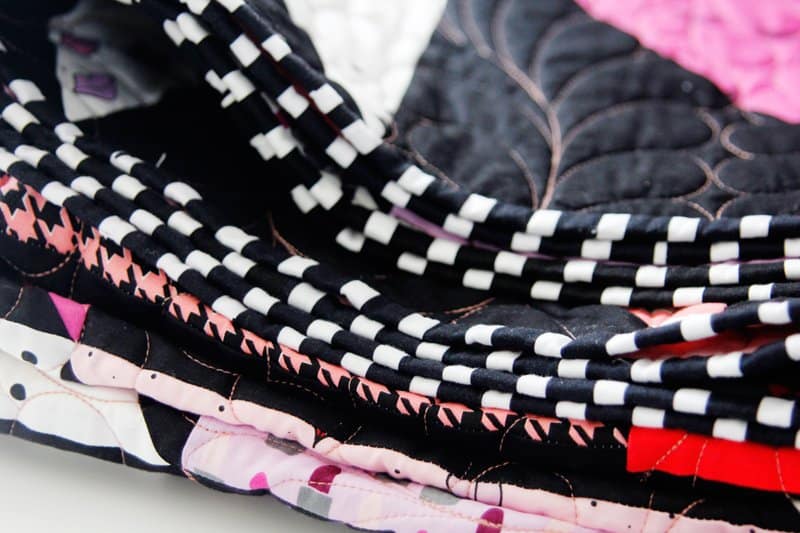
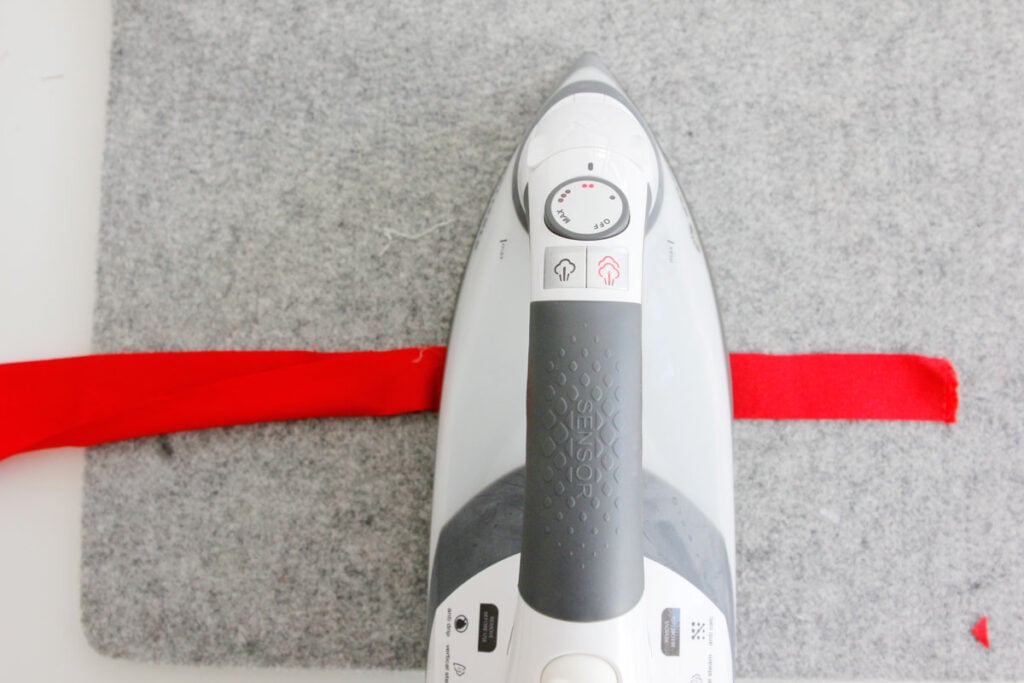
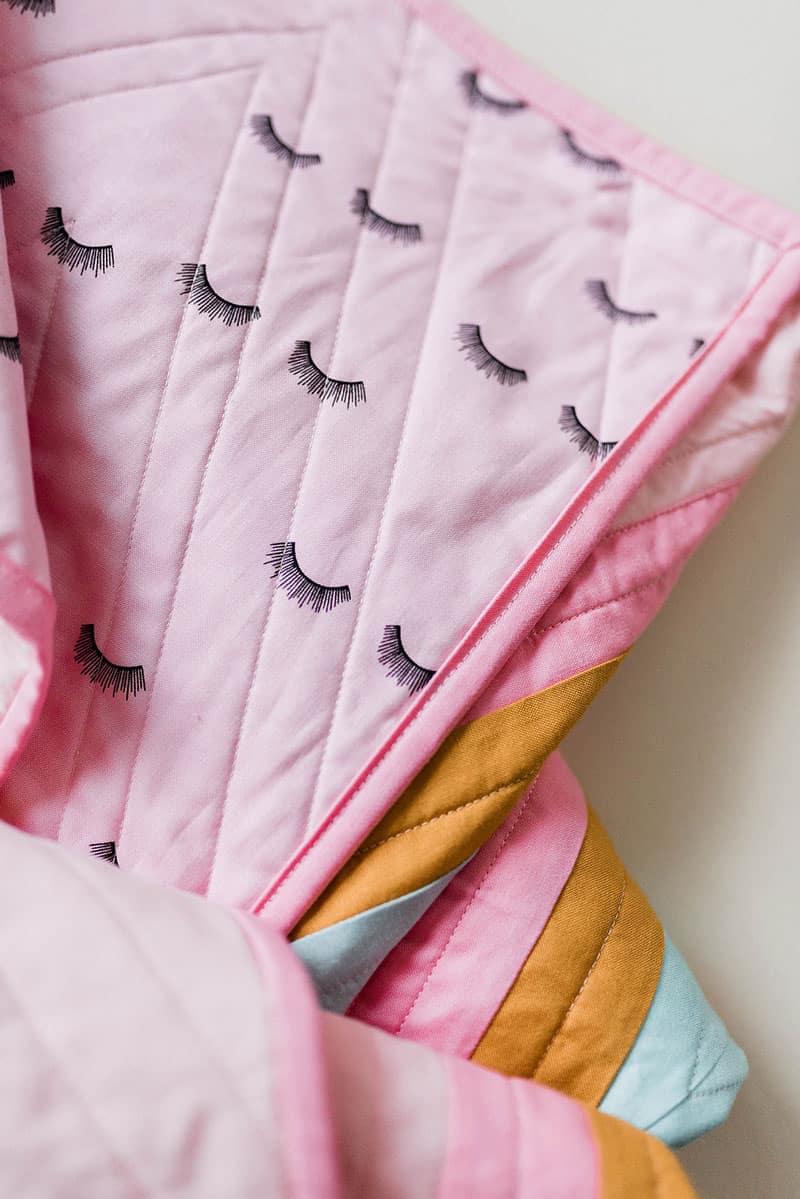
Press binding in half with raw edges together and wrong sides inside.
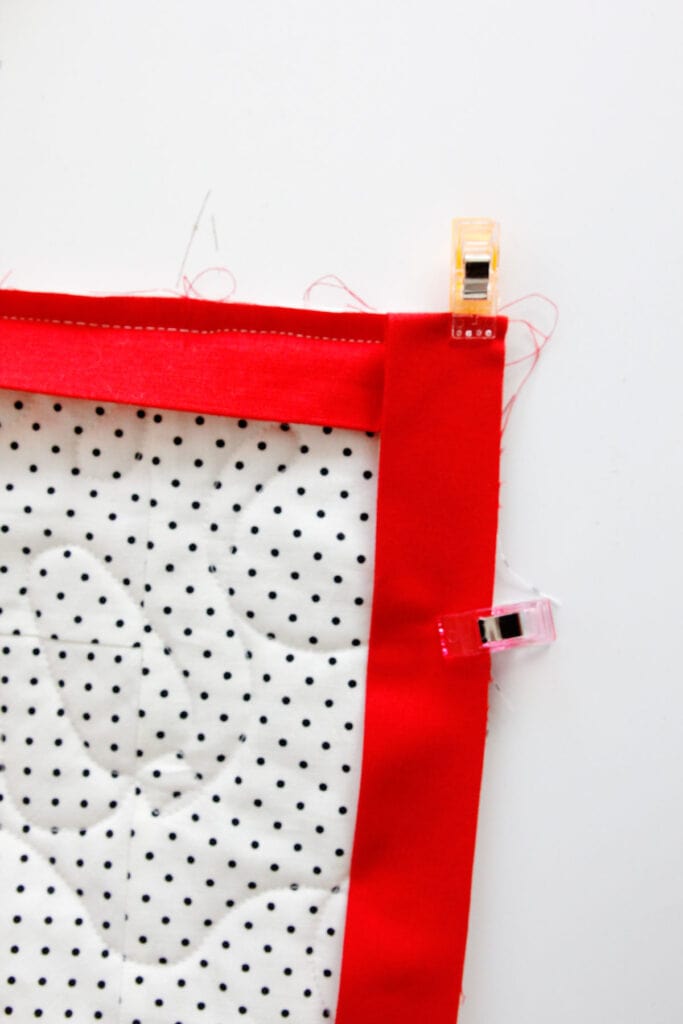
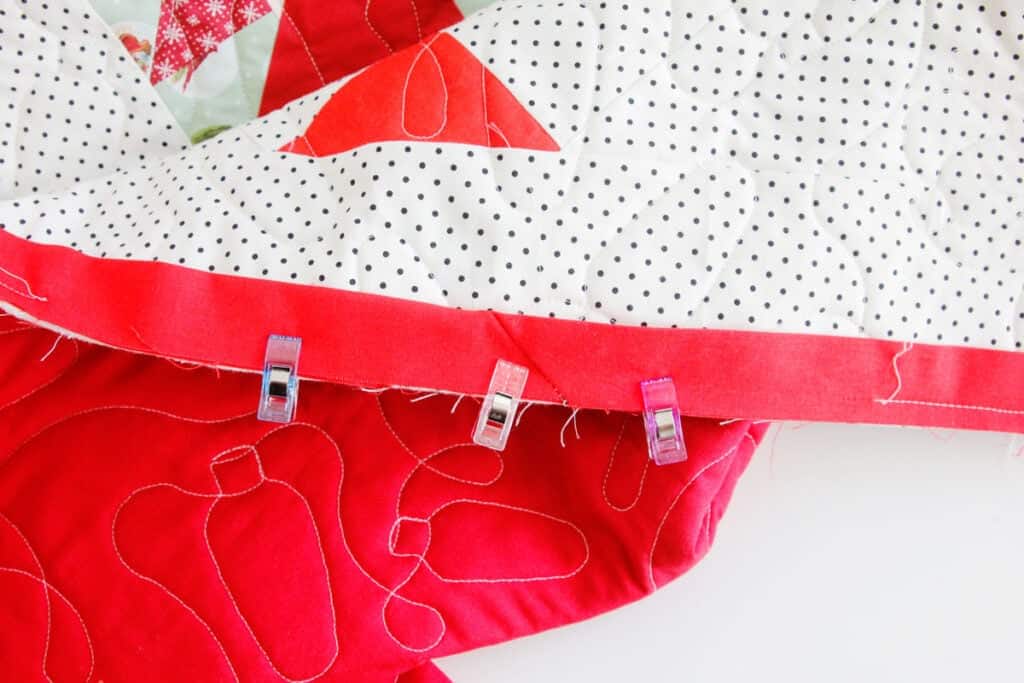
Start attaching binding to your quilt on one of the sides, I usually start on the front for this. I like to use sewing clips (affiliate) for this. You will want to leave a piece hanging off, about 5″ wide. This will be used later to connect the two ends of the quilt binding.
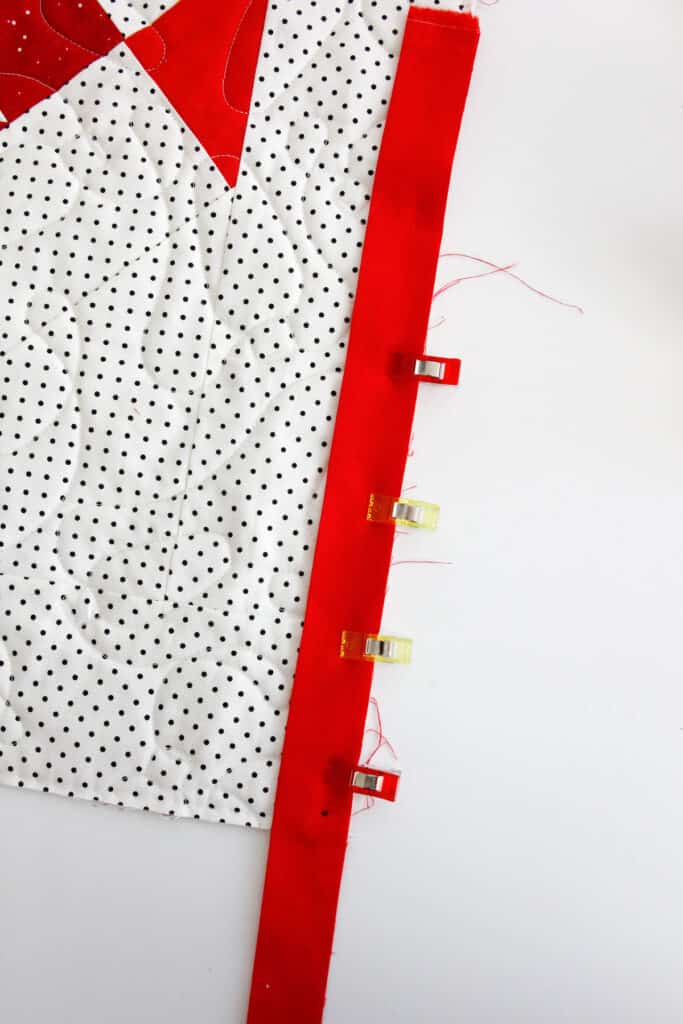
Sew binding on 3/8″ from edge until you get to the corner.
How to bind a quilt with mitered corners

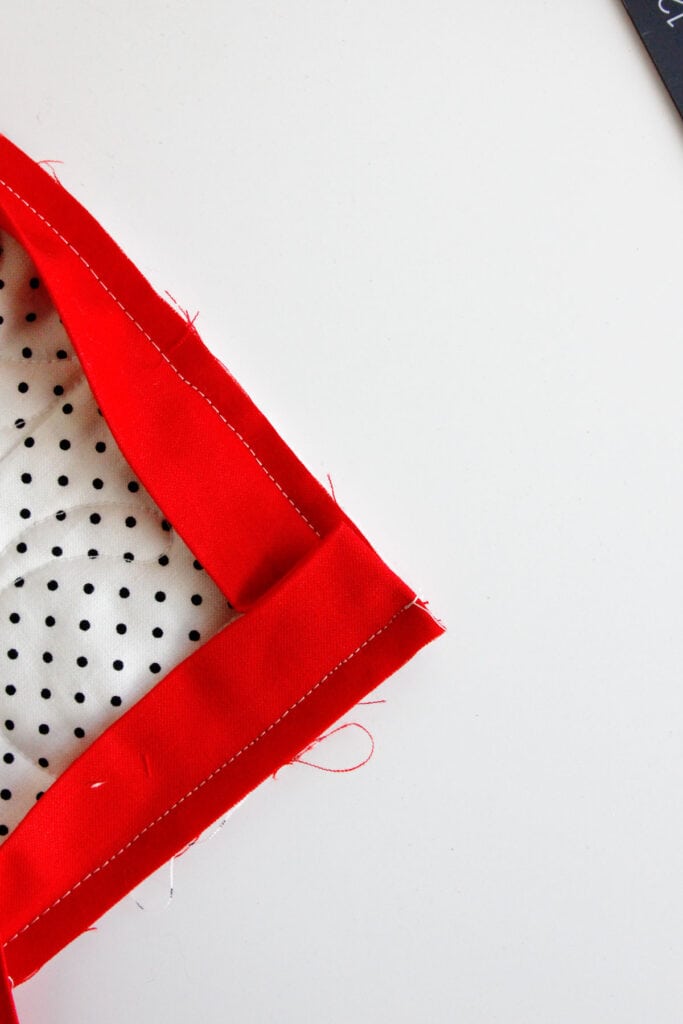
To sew a mitered corner, fold the fabric up along the diagonal so it matches the other side of the quilt.
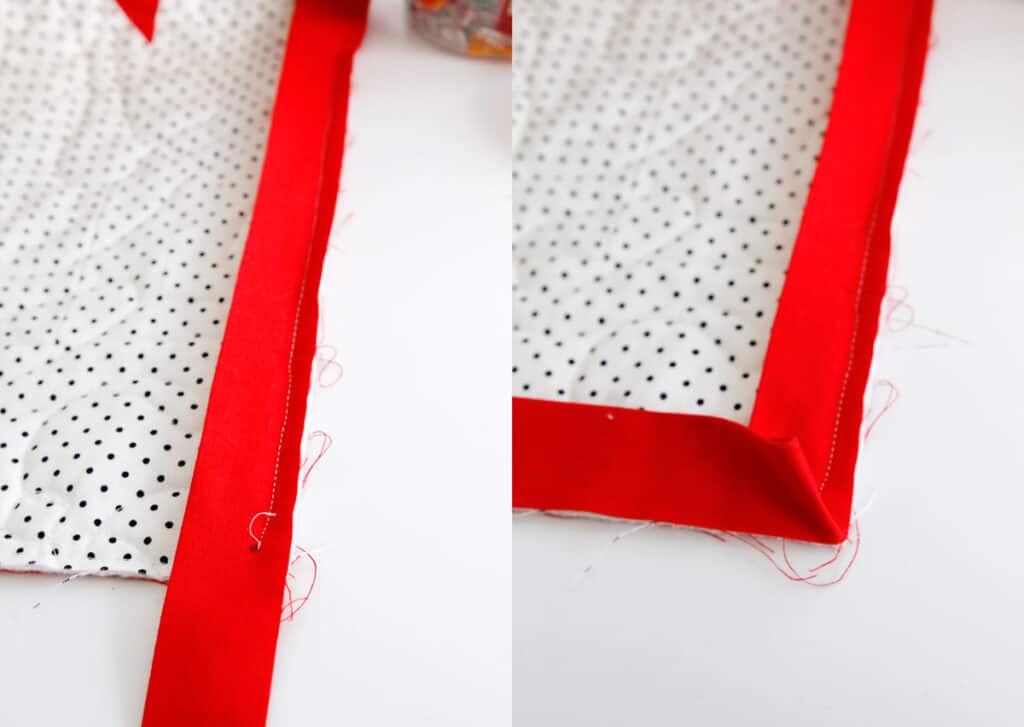
It will create a triangle under the fabric. Clip in place. Then start sewing again at the edge of the quilt.
Continue along the quilt binding until you get to the next corner and repeat.
How to sew binding on a quilt – Connecting the ends
When you get near where you started, measure your binding’s width to create the overlap. Since my binding is 2.25″ wide, my overlap needs to be exactly 2.25″.
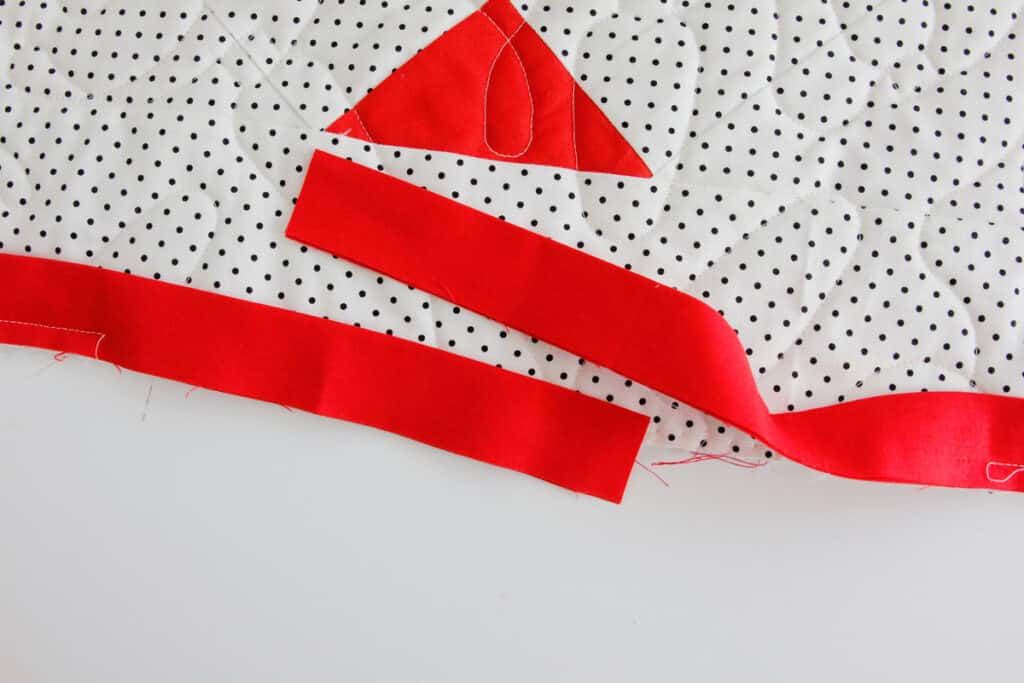
Cut the extra off.
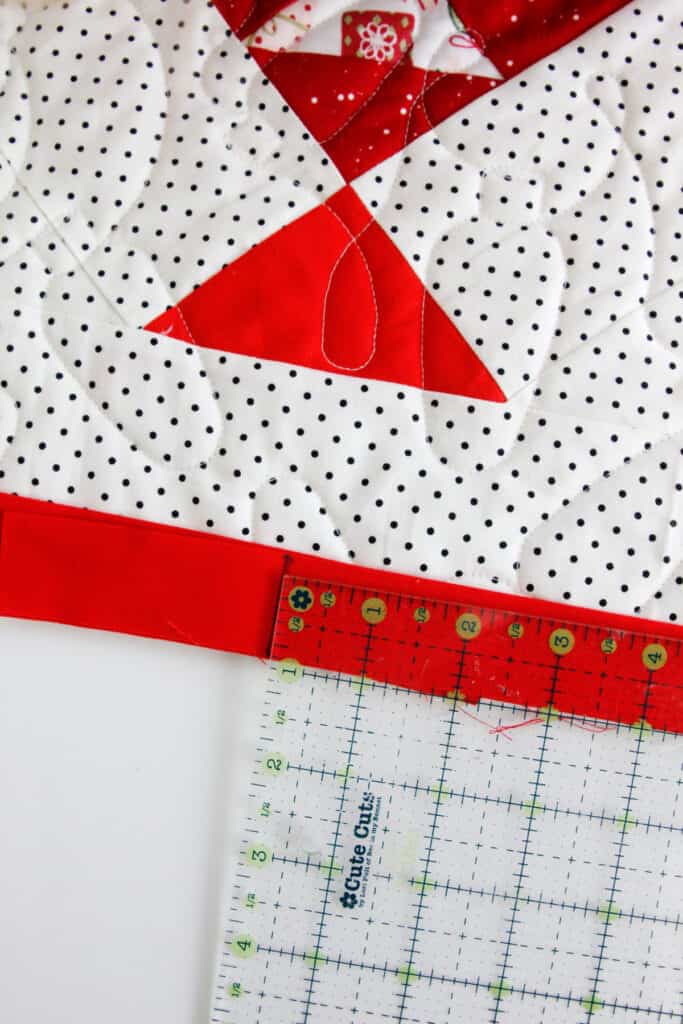
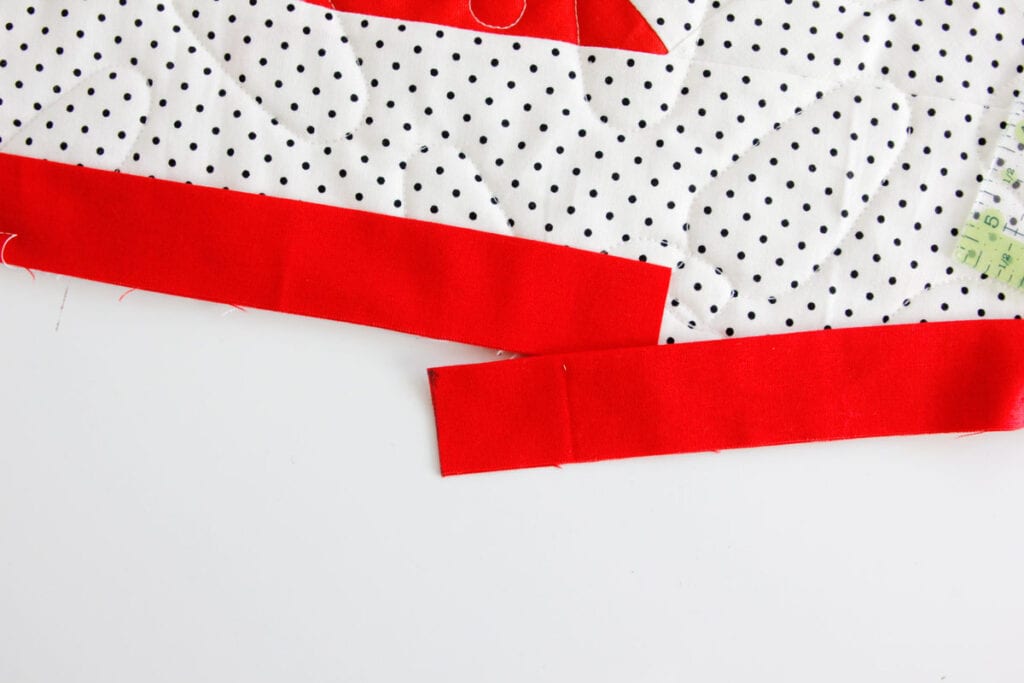
Then pin the overlap together, right sides together, perpendicular, creating a 2.25″ square.
This step is very similar to connecting the binding like you did previously. If you need to unpick a little bit of the binding so you can maneuver the binding better, feel free to do that. We will just sew it right back on. Then sew through the diagonal.
Lay the binding out on the quilt edge to make sure it lays flat. If it does, you’re good to go – trim the excess seam allowance. If not, unpick, remeasure the overlap and try again.
Finish sewing the binding on with your machine.
Finish binding by hand
To finish the binding, fold it over to the other side. There are two ways to finish, either by hand or by machine.
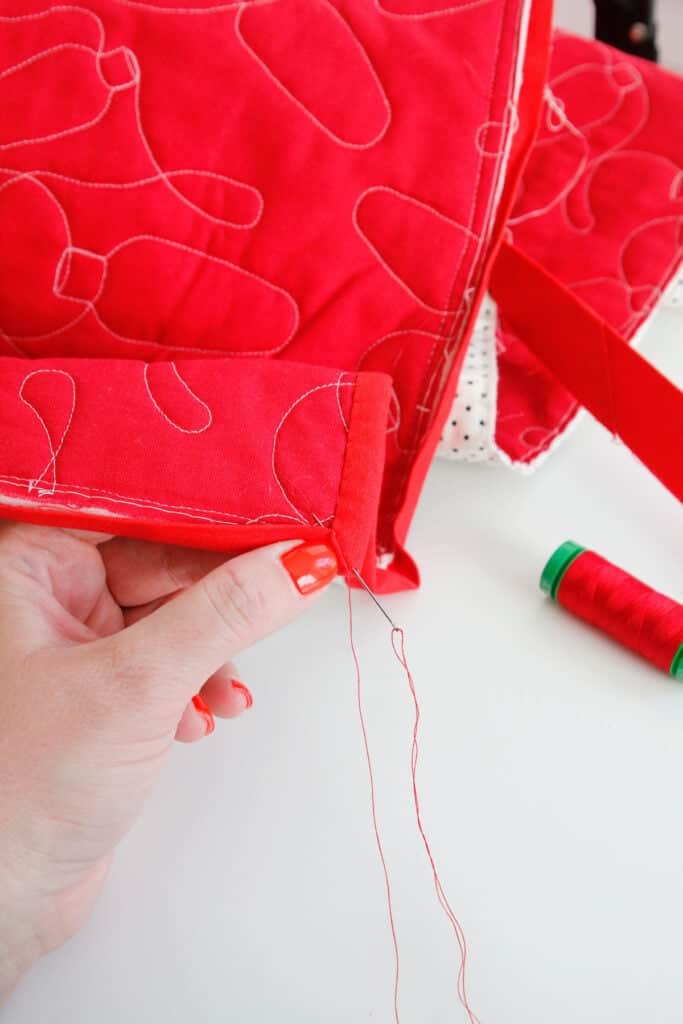
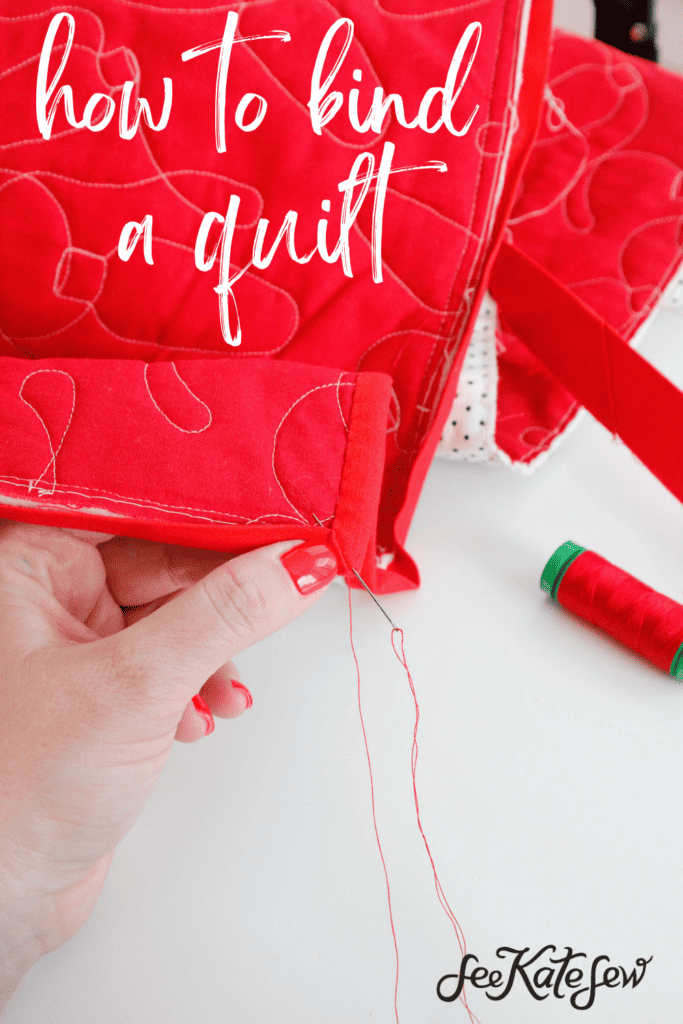
Sewing the binding on by hand is a great project for downtime and gives it a nice clean finish. To sew the binding on by hand, use a ladder stitch or invisible stitch.
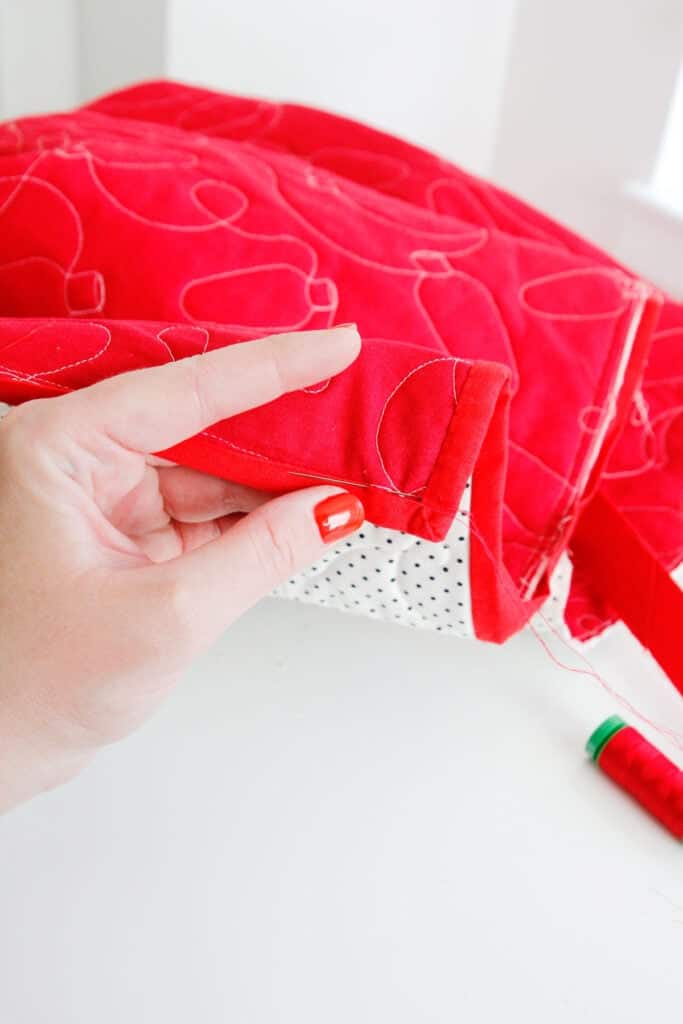
When you get to the corners, fold them over and tuck the lower layer into the corner. Because of the way you’ve stitched the corners, the fabric will kind of tell you what to do – work with it to get a flat, crisp corner.
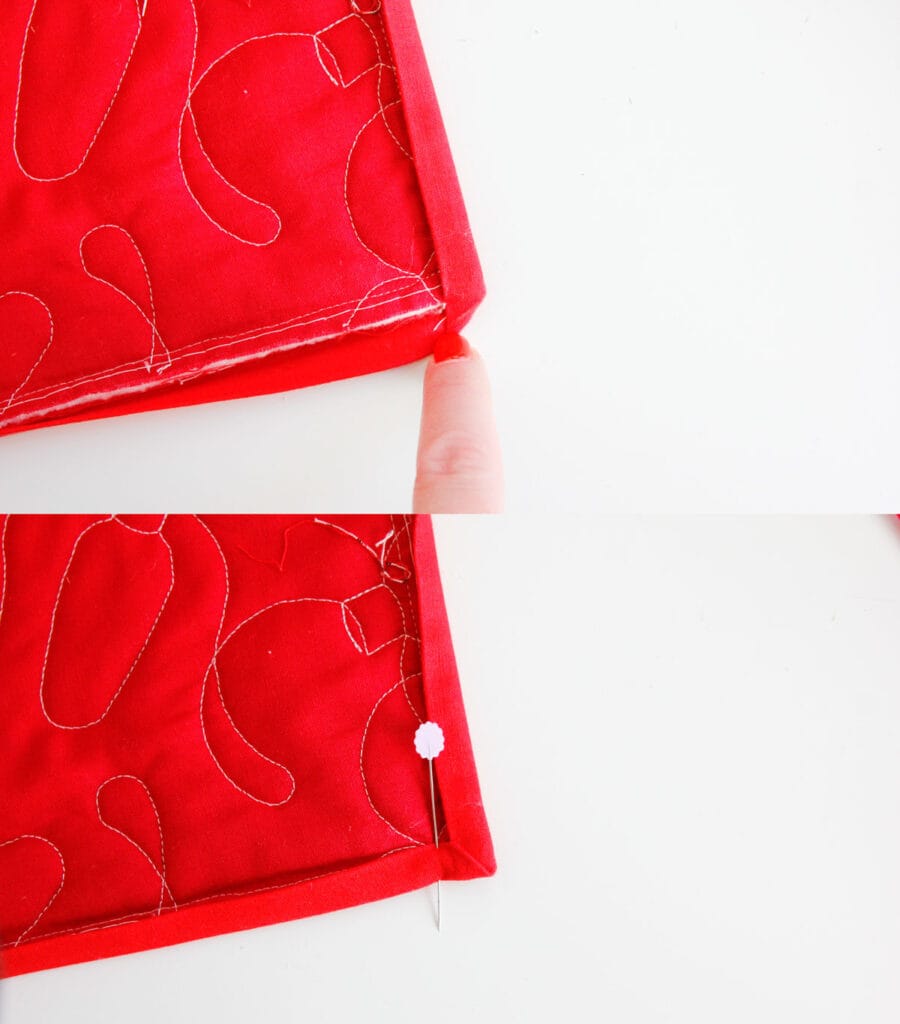
As you stitch the binding to the quilt, continue along the corner fold to secure.
How to bind a quilt by machine
To finish the binding with a machine, use sewing clips to hold it in place. When you stitch the binding on by machine, stitch about 1/8″ from the edge of the binding.
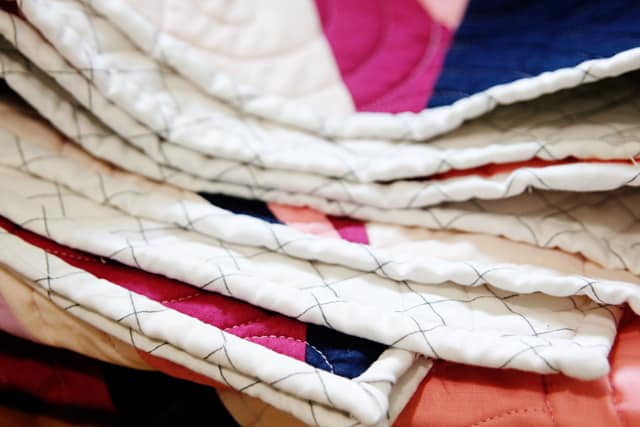
The reverse side of the quilt will have stitching along the quilts edge next to the binding. Keep in mind that the stitching will show on both sides when choosing a thread color.
The best way to do this is to use a machine binding foot.


Thank you for the wonderful visuals of binding a quilt!
It helps immensely to be able to see what is written about. ❤️
your information arrived just in time. getting ready to bind my first quilt. thank you.