Bean bags are so easy to sew! I love filling them up and my kids love playing the toss game with them. In this post I will show you how to make a bean bag. This tutorial is so simple!
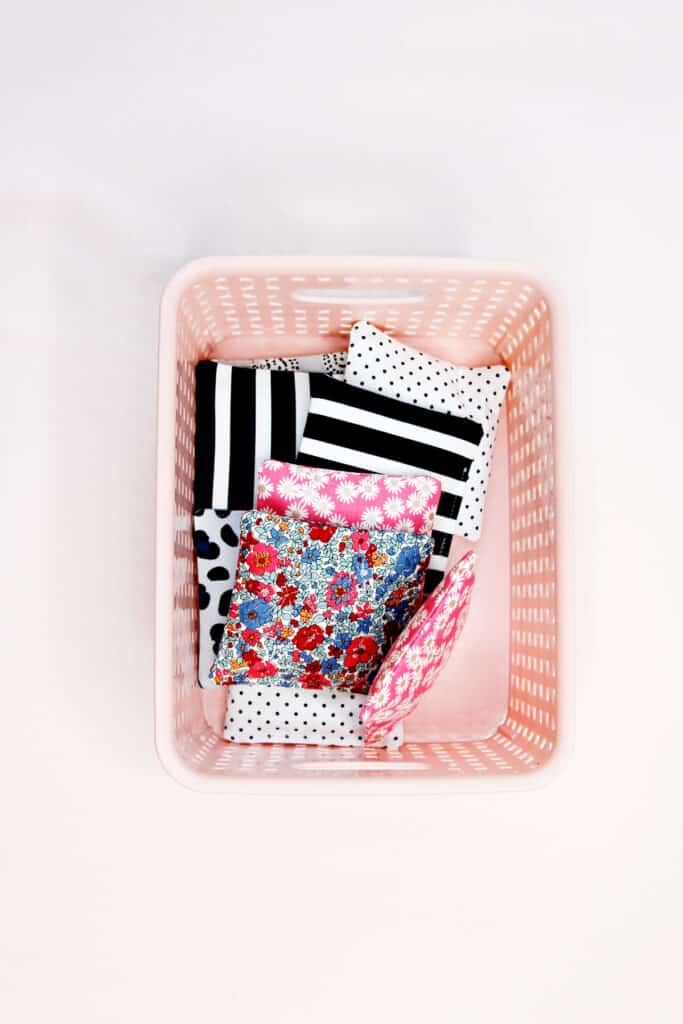
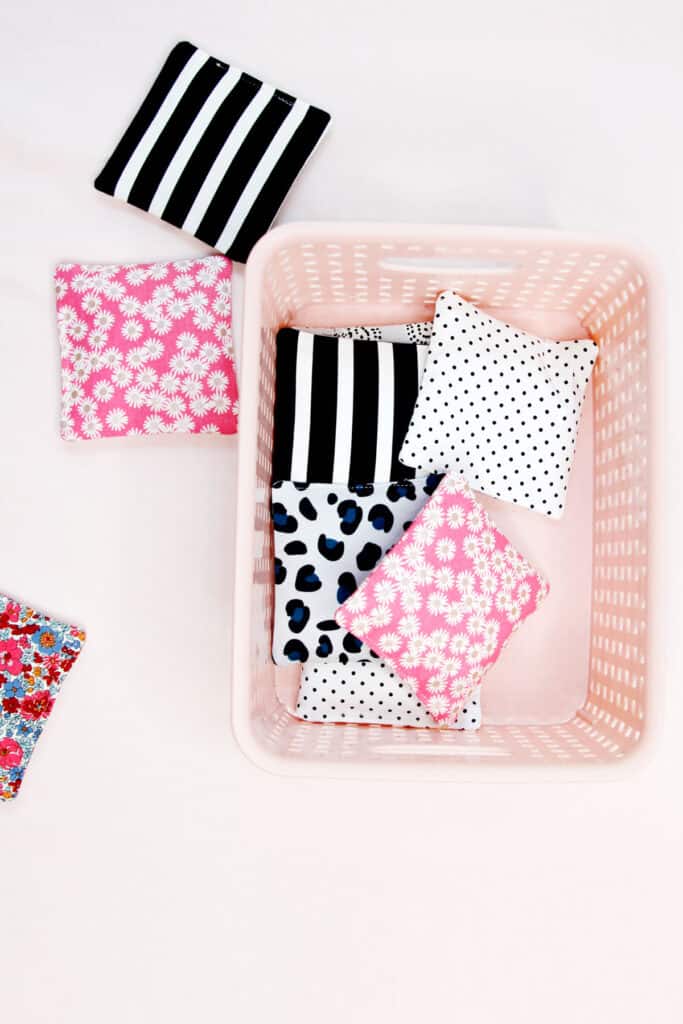
A bean bag toss game is a great game for springtime as the weather gets warmer. Just sew up a few bean bags and find a bucket or bin to throw them in! If it’s too rainy for yard games, play inside as a rainy day game!
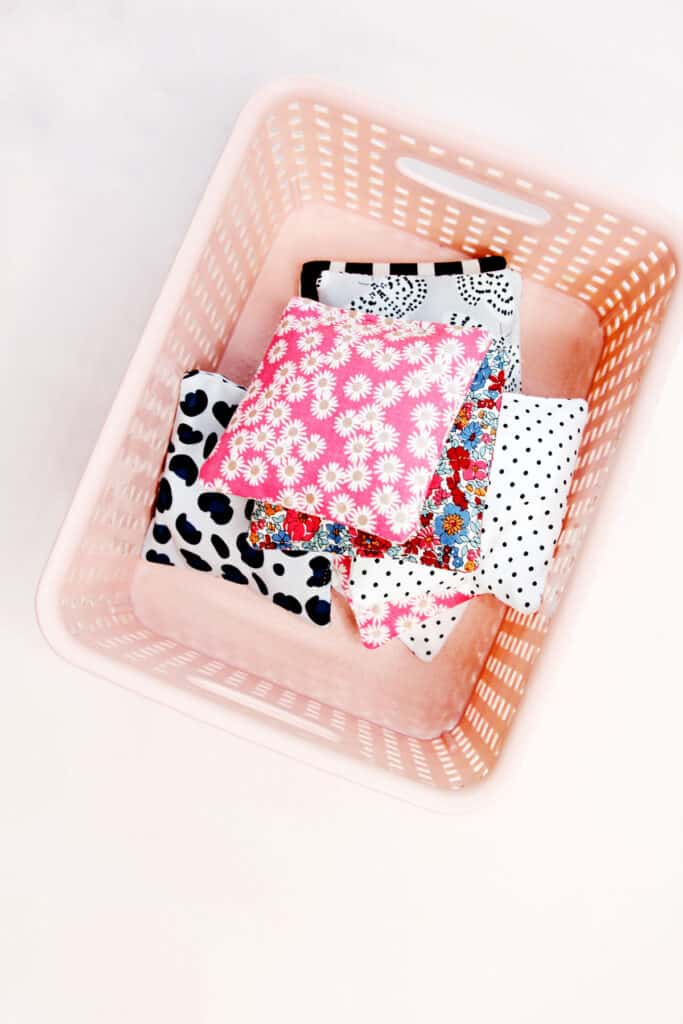
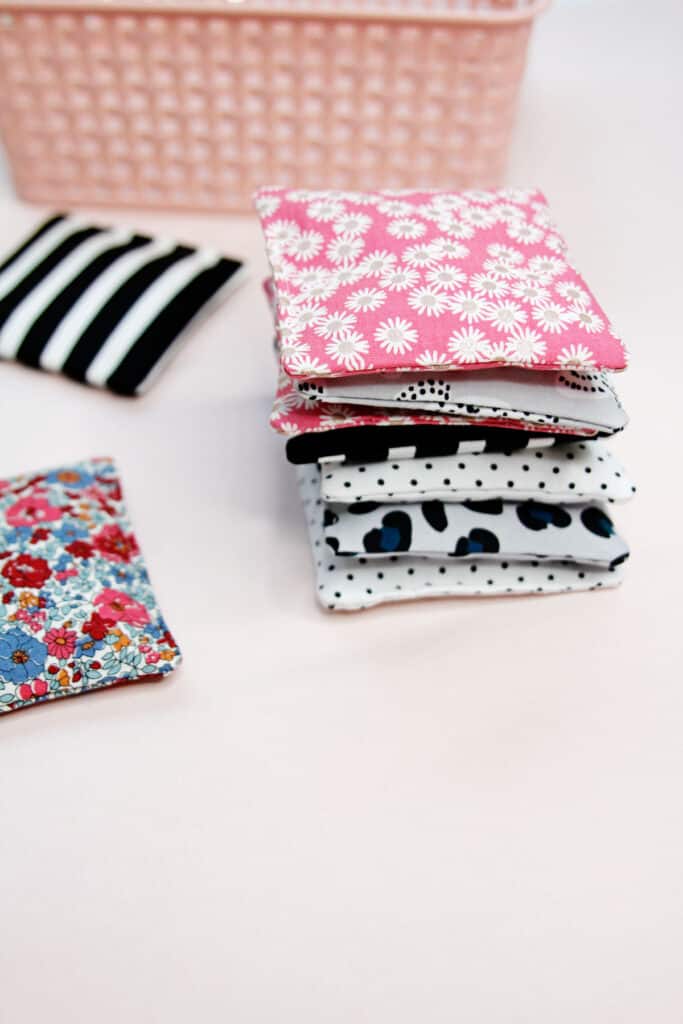
The best part about DIY bean bags is you probably have all of the supplies on hand since they only require tiny scraps of fabric. This is also a fun project for teaching kids to sew because it requires only straight stitches and just a few minutes!
After making the weighted blanket in this post, I had leftover poly pellets that I was anxious to use. Of course, bean bags are an obvious use for them and so fun to have around! Sew a large drawstring bag to keep them in!
Bean Bag Materials and Supplies
- 100% cotton fabric scraps or a 5″ stacker*
- Fabrics used in this post: Spotted Fabrics(affiliate links), Liberty for RBD, Kiss Me Kate Nail Polish Stripe, RBD Dotted Swiss B/W
- Alternate fabrics: Recycle old denim or use medium weight fabric such as corduroy or cotton duck canvas to make sturdier bean bags. Fusible interfacing is not required for thicker fabrics.
- Lightweight fusible interfacing
- Poly pellets (or dry beans)
- 1/3 cup measuring cup
- Funnel, or rolled paper
- Fabric marker
- Matching thread for topstitching
* A 5″ stacker or “charm pack” is precut with 5″ squares of fabric. This is a great way to make this project even easier!
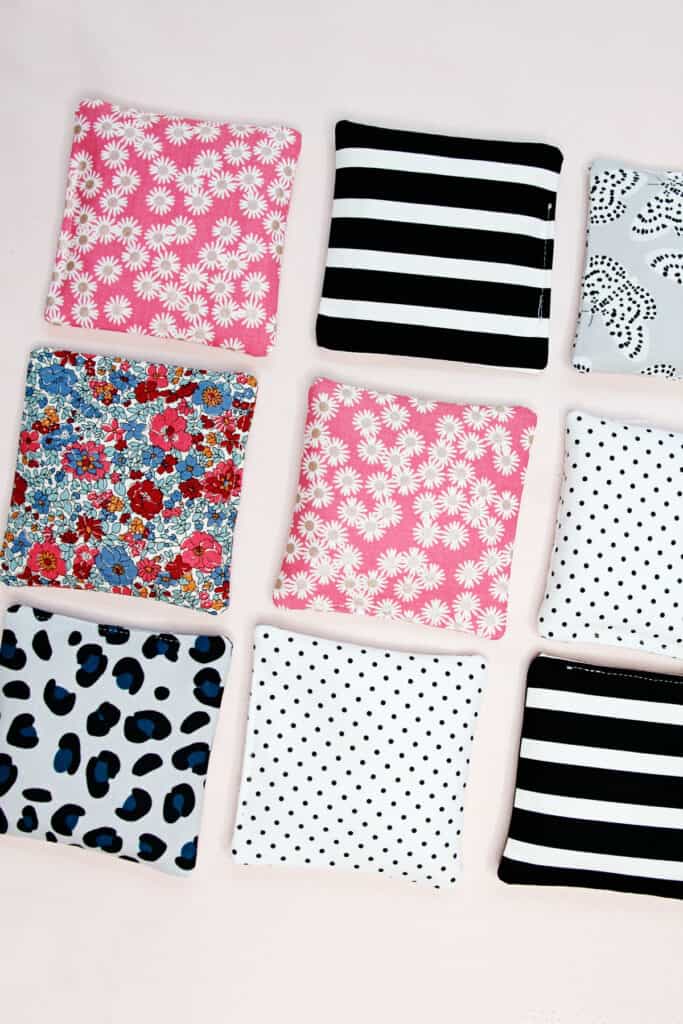
Bean Bag Dimensions
The finished size of these bean bags is 4″ square, which is a nice size for tossing from kid hands! Cut starting squares 5″ wide with a 1/2″ seam allowance allowed. To make bean bags smaller or larger, adjust the measurements as necessary.
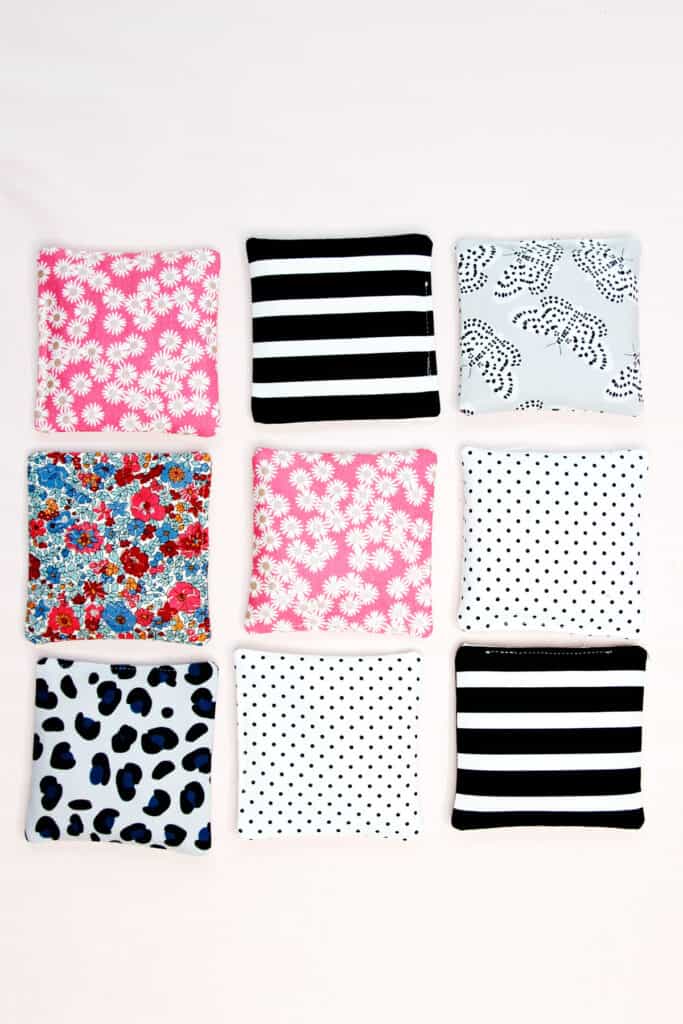
DIY Bean Bag Instructions
Use a 1/2″ seam allowance.
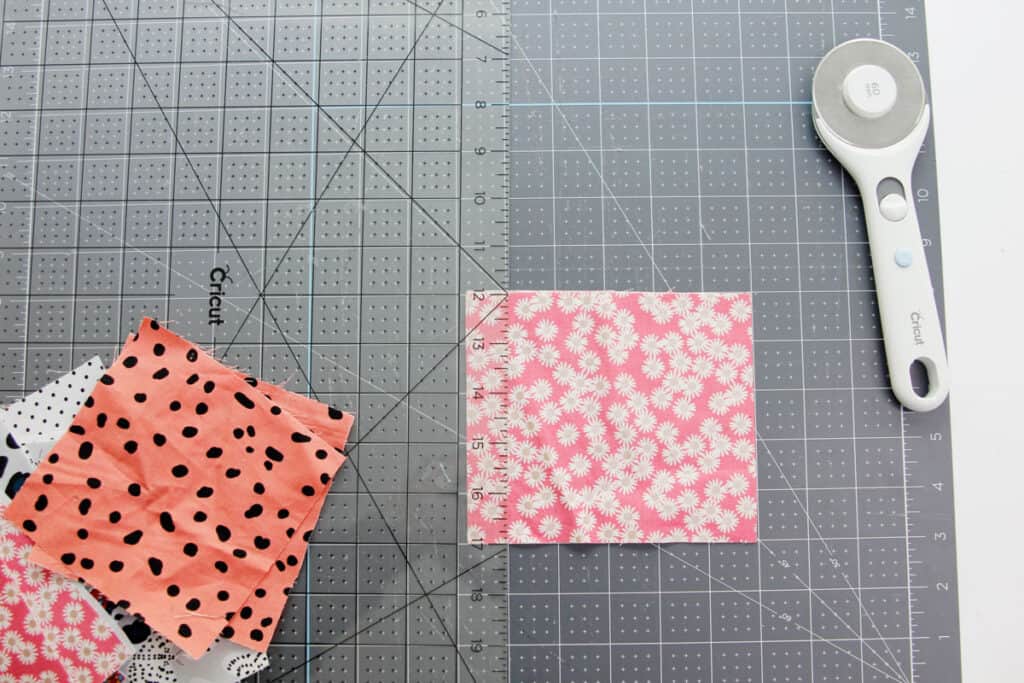
Cut squares 5″ wide. Choose either the same fabric for the front and back or mix it up and choose two different fabrics.
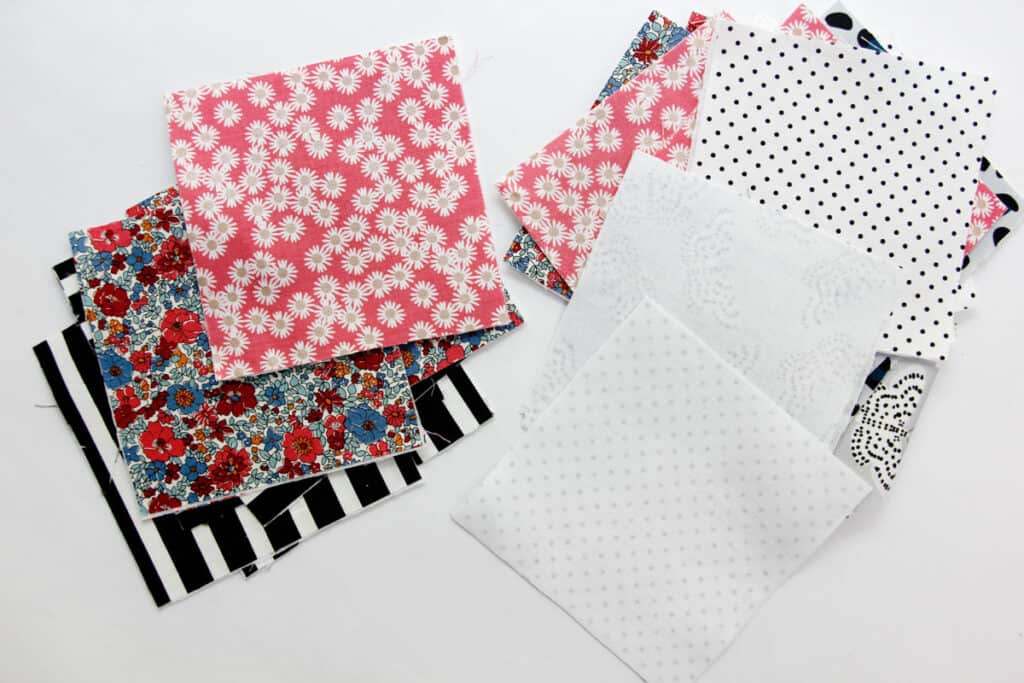
Back squares with lightweight fusible interfacing.
Pin two squares together with right sides together. To make sewing easier, use ruler to draw lines 1/2″ from the raw edges with a fabric marker.
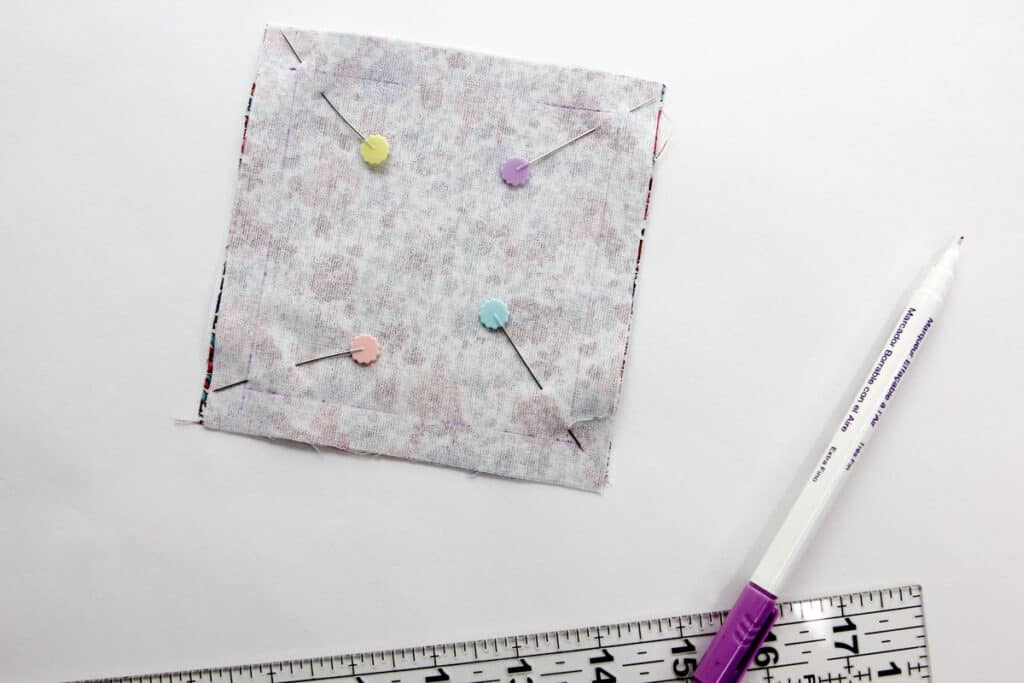
Sew around the lines, leaving a 1.5″ opening on one of the straight edges of the bean bag. Use scissors to trim corners.
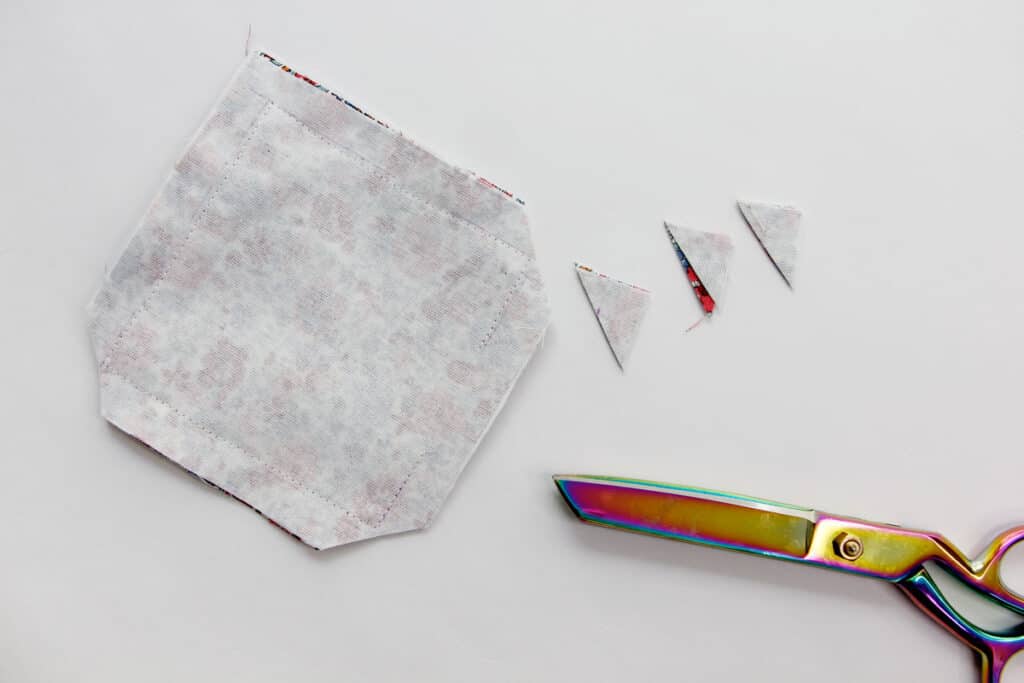
Trim seam allowances to about 1/4″.
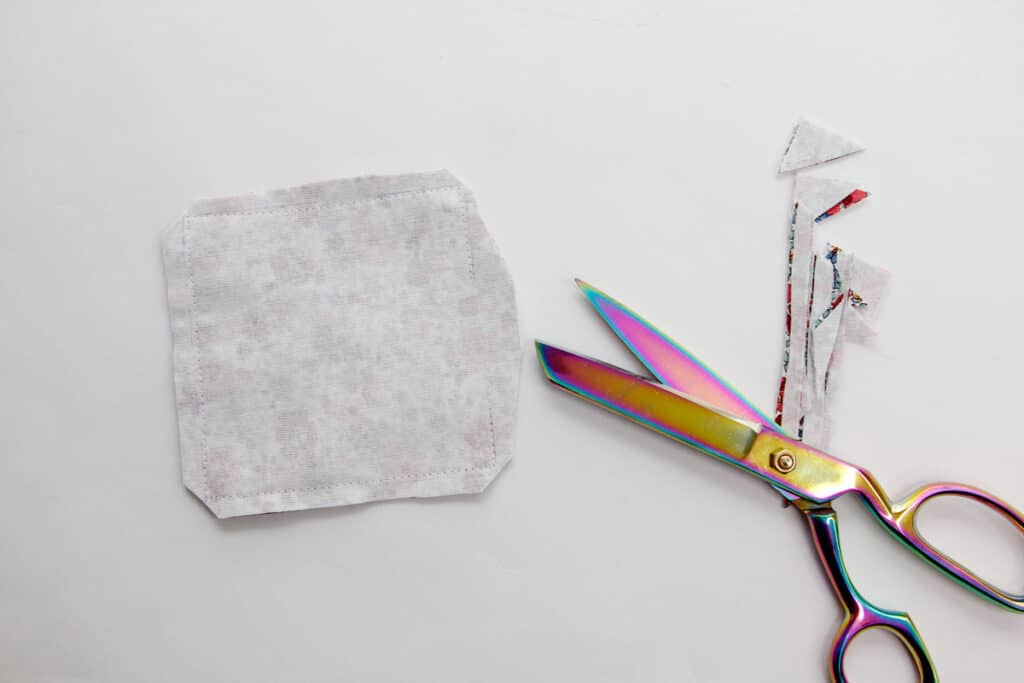
Turn bean bag right side out through the opening. Push out the corners and press well. Be sure the folds of the opening are straight and line up with each other.
Add the Filling
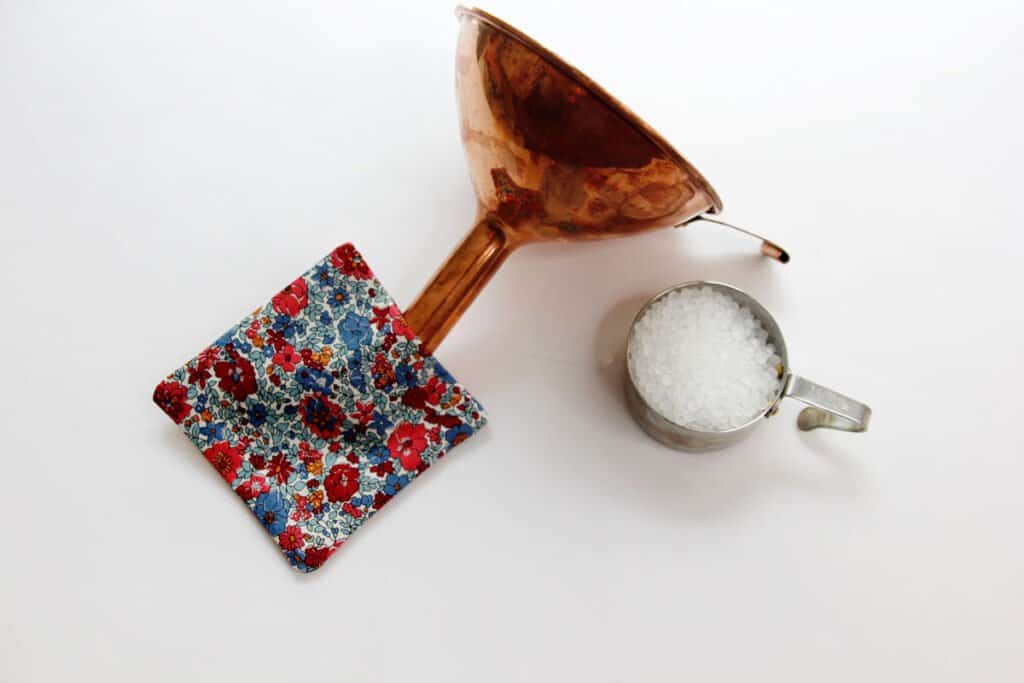
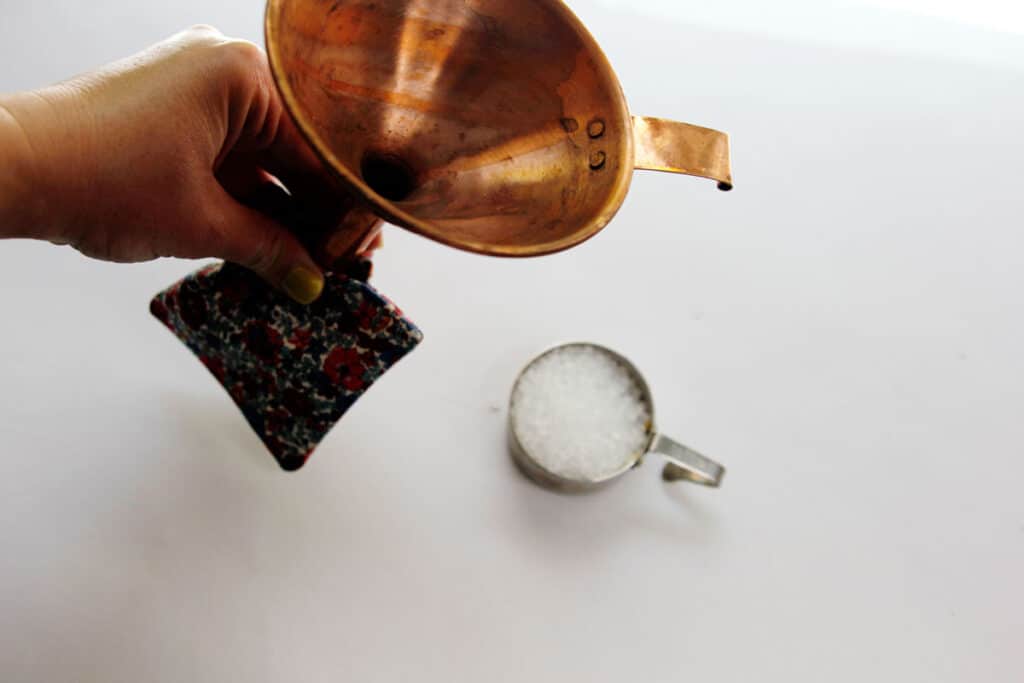
Fill the bean bag with about 1/3 cup of pellets or your chosen bean bag filler. You can also use dry beans, corn or rice.
Pin opening closed making sure to fold under the seam allowance fabric evenly.
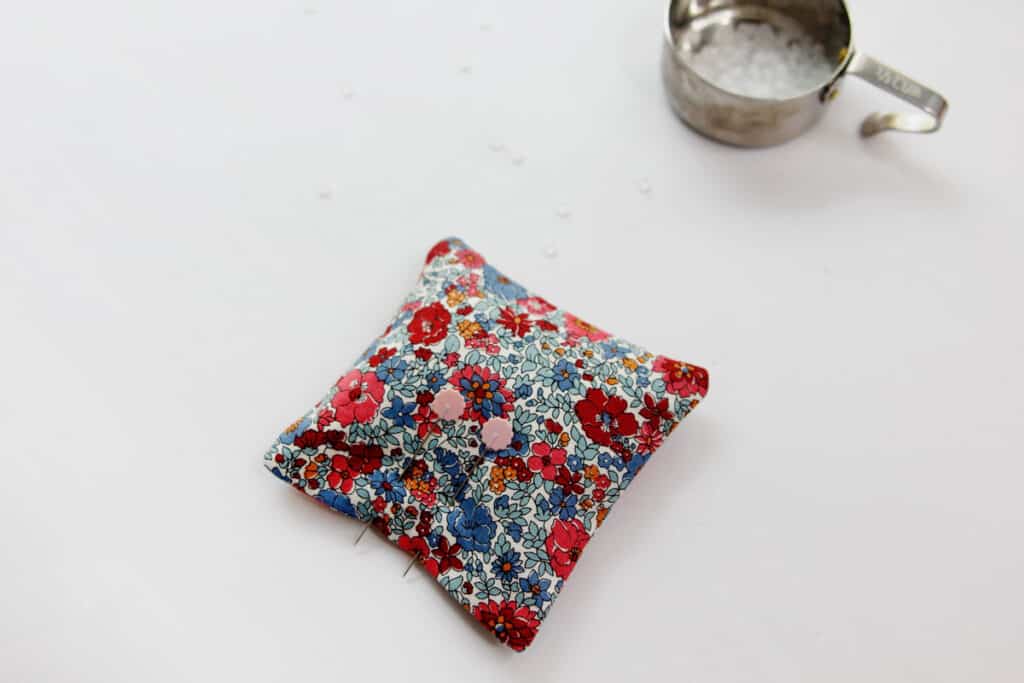
Align your sewing machine needle about 1/8″ from the edges and topstitch along the opening with a straight stitch, backstitching at both ends.
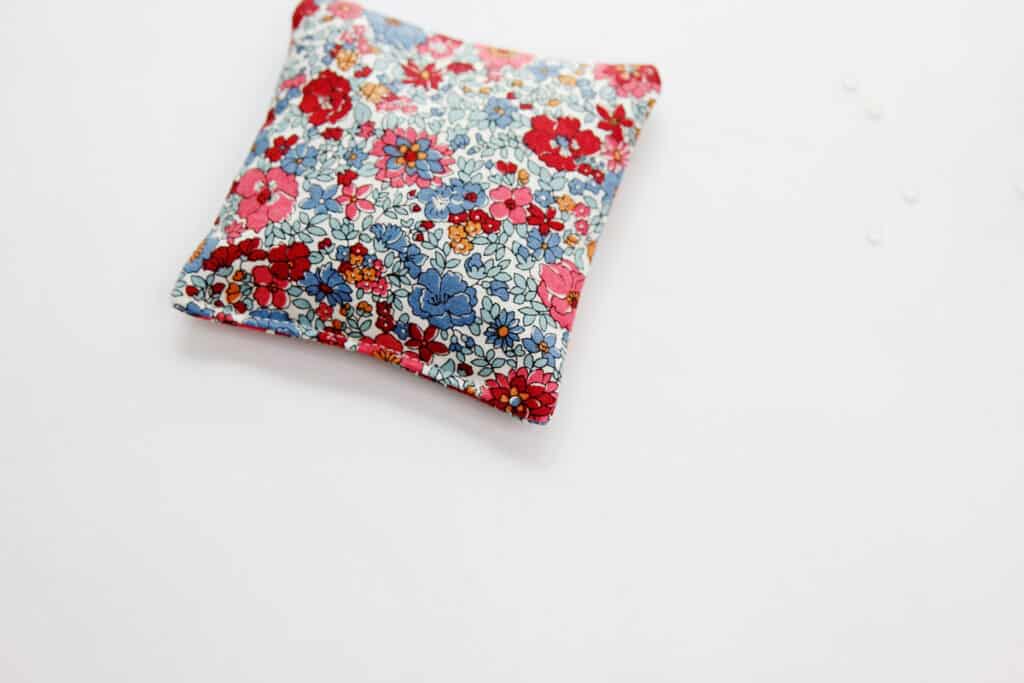
That’s all! Make a few more and start tossing!




I wish you would not recommend doll panels that I can no longer buy. Every site you listed no longer have them available.
Hi Judy, You can find some on Spoonflower still https://www.spoonflower.com/profiles/seekatesewfabric